manuals.online logo
Brands
  1. Home
  2. •
  3. Brands
  4. •
  5. FarmTek
  6. •
  7. Tent
  8. •
  9. FarmTek ClearView 105657 User manual

FarmTek ClearView 105657 User manual

©2006 FarmTek™
All Rights Reserved. Reproduction is prohibited
without permission.
Revision date: December 2006rp
ClearView™Panels
STK# DESCRIPTION
105657 16 Mil 4 Unfinished Sides
10565720 20 Mil 4 Unfinished Sides
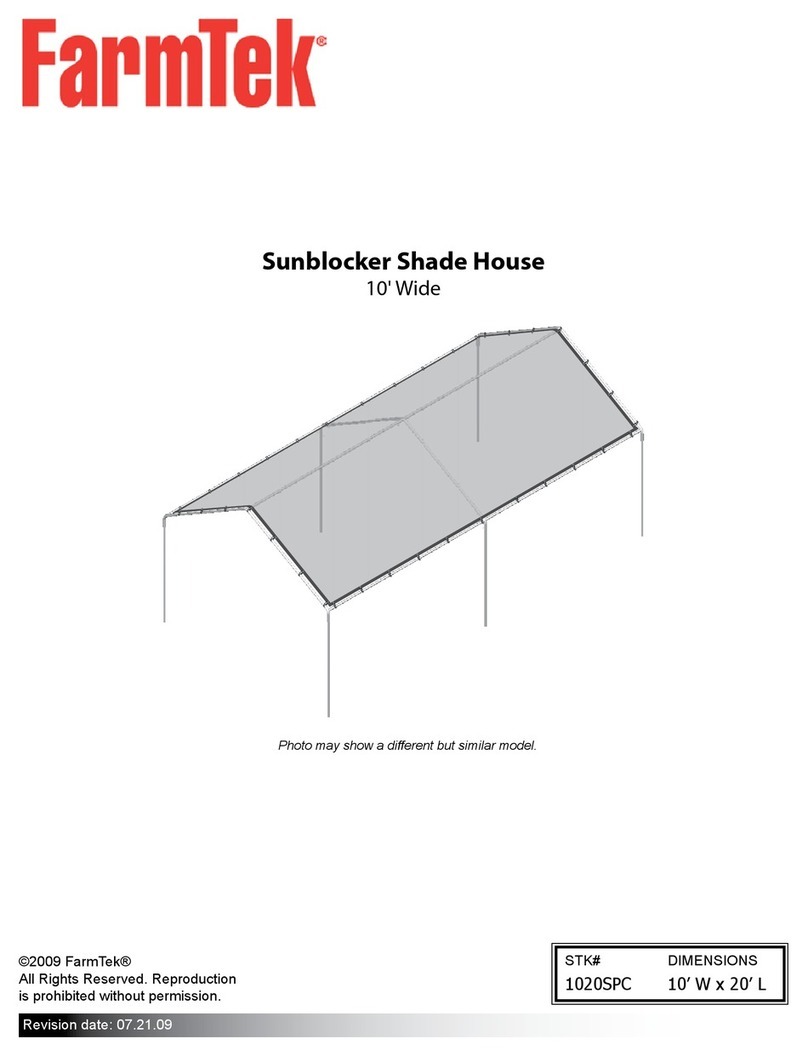
Photo may show a different but similar model.
Visit www.ClearSpan.com for additional products and customer assistance.
CLEARVIEW™PANELS
2
YOU MUST READ THIS DOCUMENT BEFORE YOU
BEGIN TO ASSEMBLE THE PANEL.
Thank you for purchasing this ClearView™ panel. When
properly assembled and maintained, this product will
provide years of reliable service. These instructions include
helpful hints and important information needed to safely
assemble and properly maintain the panel. Please read
these instructions before you begin.
If you have any questions during the assembly, contact
Customer Service for assistance.
SAFETY PRECAUTIONS
Wear eye protection.
Wear gloves when handling metal parts.
Use a portable GFCI (Ground Fault Circuit Interrupter)
when working with power tools and cords.
Do not occupy the shelter during high winds,
tornadoes, or hurricanes.
Provide adequate ventilation if the structure is
enclosed.
Do not store hazardous materials in the shelter.
Provide proper ingress and egress to prevent
entrapment.
WARNING: The individuals assembling this structure
are responsible for designing and furnishing all
temporary bracing and support needed during the
assembly process. For safety reasons, those who are
not familiar with recognized construction methods and
techniques must seek the help of a qualified
contractor.
ClearView™ panels are intended to be used as a porch
or patio enclosure or as a room divider. If you intend
to use the panels in a different manner, call Customer
Service for further information.
•
•
•
•
•
•
•
ASSEMBLY PROCEDURE
Following the instructions as presented will help ensure the
proper assembly. Failing to follow these steps may result
in an improper assembly and will void all warranty and
protection the owner is entitled.
The steps outlining the assembly process are as follows:
Verify that all parts are included in the shipment. Notify
Customer Service for questions or concerns.
Read these instructions, and all additional
documentation included with the shipment
before you begin.
Gather the tools, bracing, ladders, and
assistance needed.
Check the weather before you begin. Do not install
panels on a windy or stormy day.
Assemble the components in the order they are
presented in these instructions.
Read the Care and Maintenance information.
LIST OF WORDS AND PHRASES
Before you begin, it is important to become familiar with the
words and phrases used in this instruction manual.
These words and phrases are common to most
ClearView™ panels and identify the different parts of the
panel. (Some are used in this document. Others may not
apply to this particular panel.) These terms describe the
shipped parts and can also be found on the materials
list/spec sheets included with the shipment. To aid in the
assembly, read through the following definitions before you
begin.
Tek Screw: A self-tapping fastener used to secure
items to either wood or steel without drilling a pilot hole.
Fender Washer: A large diameter flat washer used
to secure fabric or other soft material to wood or steel
components.
1.
2.
3.
4.
5.
6.
•
•

3
CLEARVIEW™PANELS
Visit www.ClearSpan.com for additional products and customer assistance.
REQUIRED TOOLS
The following list identifies the tools and equipment needed
to assemble the panel. Additional tools and supports may
be needed depending on the location, and application.
Tape measure or measuring device
Variable speed drill
3/8'' Nut Setter or 3/8'' socket
Scissors
Box cutter or utility knife
Ladders, work platforms, and other machinery for lifting
designed to work safely at the height of the panel.
UNPACK AND IDENTIFY PARTS
The following steps will ensure that you have all the
necessary parts before you begin.
Unpack the contents of the shipment and place where
you can easily inventory the parts. Refer to the Bill of
Materials/Spec Sheets.
Verify that all parts listed on the Bill of Materials/Spec
Sheets are present. If anything is missing or you have
questions, consult the Pictorial Parts Guide for
clarification, or contact Customer Service.
NOTE: At this time, you do not need to open the plastic
bags containing smaller parts such as fasteners or
washers.
•
•
•
•
•
•
1.
2.
OVERVIEW
This section is an overview of the process for assembly
and care of your ClearView™ panel. For details, please see
each section.
Read the care and maintenance information.
Locate the required parts for each assembly procedure.
Prepare the frame.
Hang the panel.
1.
2.
3.
4.
FA4482B
Tek Screw
FAMF01
Fender Washer
The following graphics and photos will help you identify
parts and accessories available for the ClearView™ panel.
PICTORIAL PARTS GUIDE
Your ClearView™ panel will provide years of trouble-free
service. To protect your investment follow the tips below.
To remove fine dust from the panel, spray a liquid
window cleaner on it and wipe with a soft cloth. Do not
wipe the panel with a dry cloth.
To reduce static electricity in the panel, lightly wipe it
with a clothes dryer anti-static sheet.
To remove mud or dirt from the panel, spray it with
water from a garden hose and wipe with a soft cloth.
Secure the panel to the frame if high winds are
expected.
To store the panel when not needed, roll it rather
than fold it to prevent permanent wrinkles in the clear
material.
Do not store the panel if it is wet. Allow it to air-dry
before storage.
•
•
•
•
•
•
CARE AND MAINTENANCE
FAS8, FAS11,
FAS12, FAS13,
FAS14
Stainless Steel
Decking Screws
FAME16
Stainless Steel
Washer
NOTICE: Accessories are sold
separately. Ask your sales associate for
details.
Visit www.ClearSpan.com for additional products and customer assistance.
CLEARVIEW™PANELS
4
ClearView™Panel
PREPARE THE FRAME
Gather the Tools and Materials
Tape measure or measuring device•
With the help of an assistant, hold the panel centered
on the outside of the frame.
Mark the frame where each upper corner of the panel
will be located.
Draw a straight line between the marks on the frame.
This assures the panel hangs straight and does not sag
in the middle.
1.
2.
3.
HANG THE PANEL
Gather the Tools and Materials
Variable speed drill or screwdriver
3/8'' Nut Setter or 3/8'' socket
Tek Screws or non-corrosive wood screws
Fender Washers or 1/4'' non-corrosive flat washers
•
•
•
•
With the help of an assistant, hold the panel along the
straight line drawn on the frame.
Insert a screw with a washer through the panel into the
frame in either upper corner of the panel.
NOTE: If the frame is metal use a self-drilling Tek
screw with a fender washer. If the frame is wood use
a non-corrosive wood or decking screw with non-
corrosive flat washer.
1.
2.
The bottom of the panel may be attached to a deck
railing, the floor, or a 2'' X 4'' screwed to the floor.
Attach the bottom of the panel using screws and
washers at least every 24''.
6.
Hold the panel tight and insert a screw with a washer
into the opposite upper corner of the panel.
Hold the upper edge of the panel on the line and insert
screws with washers at least every 24''.
Attach the sides of the panel to the frame using screws
with washers at least every 24''.
3.
4.
5.

This manual suits for next models

1

Other FarmTek Tent manuals

FarmTek 1820CC User manual

FarmTek

FarmTek 1820CC User manual

FarmTek Chick-Inn User manual

FarmTek

FarmTek Chick-Inn User manual

FarmTek 1020SPC User manual

FarmTek

FarmTek 1020SPC User manual

FarmTek Chick-Inn Series User manual

FarmTek

FarmTek Chick-Inn Series User manual

FarmTek 104400 User manual

FarmTek

FarmTek 104400 User manual

FarmTek Sunblocker 2020SPC User manual

FarmTek

FarmTek Sunblocker 2020SPC User manual

FarmTek 1420CC User manual

FarmTek

FarmTek 1420CC User manual

FarmTek 820PC User manual

FarmTek

FarmTek 820PC User manual

FarmTek WeatherShield 1010CC User manual

FarmTek

FarmTek WeatherShield 1010CC User manual

FarmTek 104321 User manual

FarmTek

FarmTek 104321 User manual

FarmTek 1820SPC User manual

FarmTek

FarmTek 1820SPC User manual

Popular Tent manuals by other brands

Anchor Navi-Trac installation instructions

Anchor

Anchor Navi-Trac installation instructions

Coleman Instant up 6P Gold Series Setup instructions

Coleman

Coleman Instant up 6P Gold Series Setup instructions

Boutique Camping ADVENTURE BELL TENT PLUS instruction manual

Boutique Camping

Boutique Camping ADVENTURE BELL TENT PLUS instruction manual

CampTrails Grand Manan Assembly instructions

CampTrails

CampTrails Grand Manan Assembly instructions

Crivit Outdoor 96716 instruction manual

Crivit Outdoor

Crivit Outdoor 96716 instruction manual

Coleman ELITE EVANSTON 2000004674 Setup manual

Coleman

Coleman ELITE EVANSTON 2000004674 Setup manual

Coleman Evanston 9163-141 installation instructions

Coleman

Coleman Evanston 9163-141 installation instructions

Jet Tent BUNKER owner's manual

Jet Tent

Jet Tent BUNKER owner's manual

Dancover PRO EventZone 9m Series manual

Dancover

Dancover PRO EventZone 9m Series manual

Sunjoy D-GZ942PST Assembly instructions

Sunjoy

Sunjoy D-GZ942PST Assembly instructions

Outsunny A20-174 Assembly & instruction manual

Outsunny

Outsunny A20-174 Assembly & instruction manual

ShelterLogic 62697 Assembly instructions

ShelterLogic

ShelterLogic 62697 Assembly instructions

Costway NP10848 Assembly instructions

Costway

Costway NP10848 Assembly instructions

Mammoth Tents Elite+ Assembly instructions

Mammoth Tents

Mammoth Tents Elite+ Assembly instructions

PULEX PERGOLA SHUTTER HARDWARE installation manual

PULEX

PULEX PERGOLA SHUTTER HARDWARE installation manual

GigaTent POP UP POD owner's manual

GigaTent

GigaTent POP UP POD owner's manual

Overland Vehicle Systems Nomadic owner's manual

Overland Vehicle Systems

Overland Vehicle Systems Nomadic owner's manual

skandika outdoor DROBAK Setup Instruction

skandika outdoor

skandika outdoor DROBAK Setup Instruction

manuals.online logo
manuals.online logoBrands
  • About & Mission
  • Contact us
  • Privacy Policy
  • Terms and Conditions

Copyright 2025 Manuals.Online. All Rights Reserved.