FAVI BLED3TPPWM3HD100-BH User manual
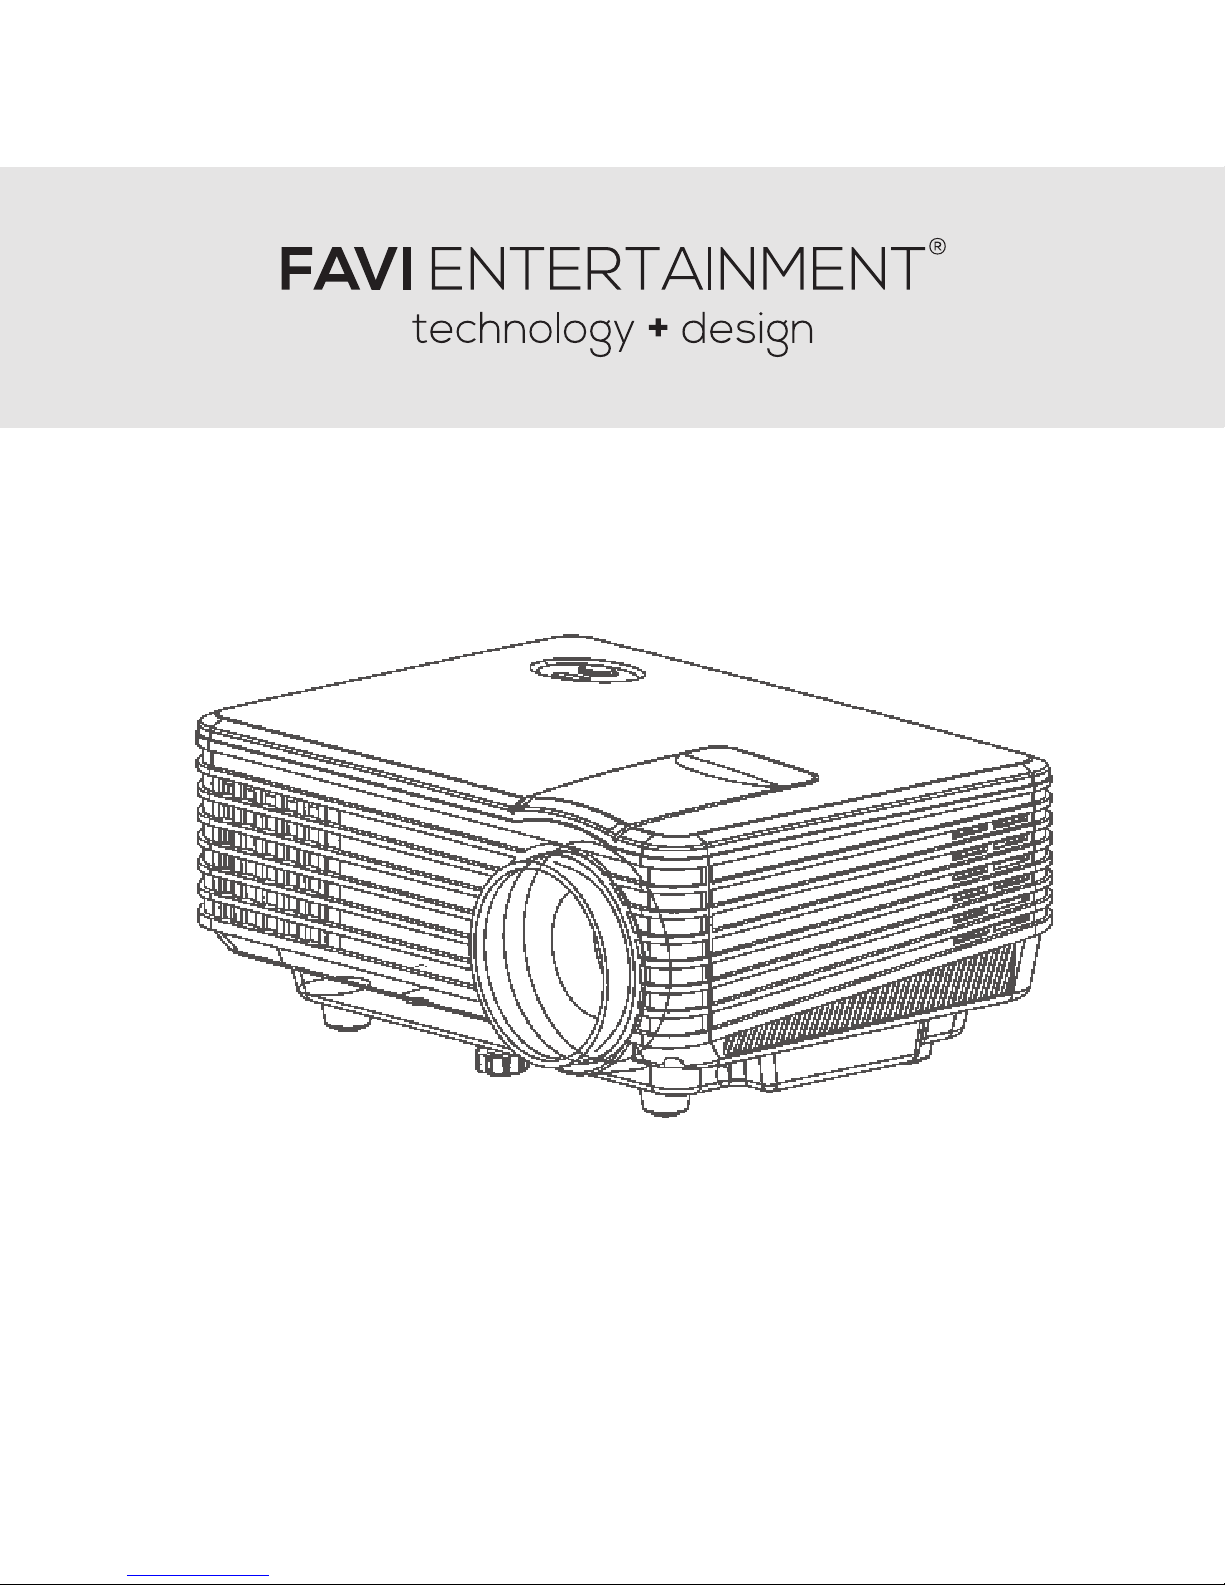
User Manual
Product specification and user manual is subject to change without prior notice due
to engineering improvement. Color and appearance of product and icons in user
manual may vary from that of actual product.

TABLE OF CONTENTS
Product Registration 01
Warranties 02
Important Safety Notes 03
Safety 03
Maintenance 03
Power Projector 04
Turn ON Projector 04
Turn OFF Projector 04
Projector Overview 05
Focus Adjustment 05
Input Panel Layout 06
Keystone Adjustment 07
Top Control Panel Layout 08
Remote Overview 09
Installation 10
Image Adjustment 11
Installation Methods 12
Menu Setting 13
Main Menu Overview 13
Settings Menu 13
Sound Menu 14
Time Menu 14
Picture Menu 15
Multimedia Menu 16
Troubleshooting 17

PRODUCT REGISTRATION
1
Thank you for your purchase. To better serve you in
the future, please take a moment to register your
product at:
www.favientertainment.com/support
Product Registration allows us to send you important
updates, service information and helpful hints. It will
also make it easier should you ever need to contact
our Support Team.
FAVI values your privacy and will never share your
information with other companies.

WARRANTIES
2
Your projector is warrantied to be free of defects in material
and workmanship for a period of 1 year from the date of receipt.
Should your projector develop an issue requiring it to be
repaired within this time frame, we will repair or exchange any
defective unit at no cost to you.
FAVI Entertainment will pay round trip shipping for warranty
claims within the USA. Excludes: HI, AK, APO, USA Territories,
and international orders.
Our parts warranty is valid up to one year from the date of
receipt. We will bill you a flat rate for repair and shipping costs
before accepting the unit back for repair. You will not be billed
for the cost of replacement parts. The above warranties will be
considered null and void in the event of damage caused by
misuse, neglect, improper handling, or improper installation.
FAQ’s, and other support information can be found at:
http://www.favientertainment.com/support
For technical support, you may contact us at:
techsupport@favientertainment.com

IMPORTANT SAFETY NOTES
3
Before you use this projector, please read this manual carefully.
SAFETY
• Do not stare directly into the light of projector’s lens.
• Do not expose projector to water or other sources of
moisture to avoid electrical shock.
• Do not use projector in areas where flammable gases or
fumes are present.
• Do not expose projector to extreme temperatures.
MAINTENANCE
• Use only the supplied power cable to power projector.
Using other adapter may damage the projector.
• When cleaning projector, remove power cable and use a
damp cloth.
• When not using projector, cover lens with lens cover to
keep dirt and dust from getting on the lens.
• Place projector on stable surfaces.
• Do not attempt to disassemble projector. Doing so will void
your warranty.
POWER PROJECTOR
4
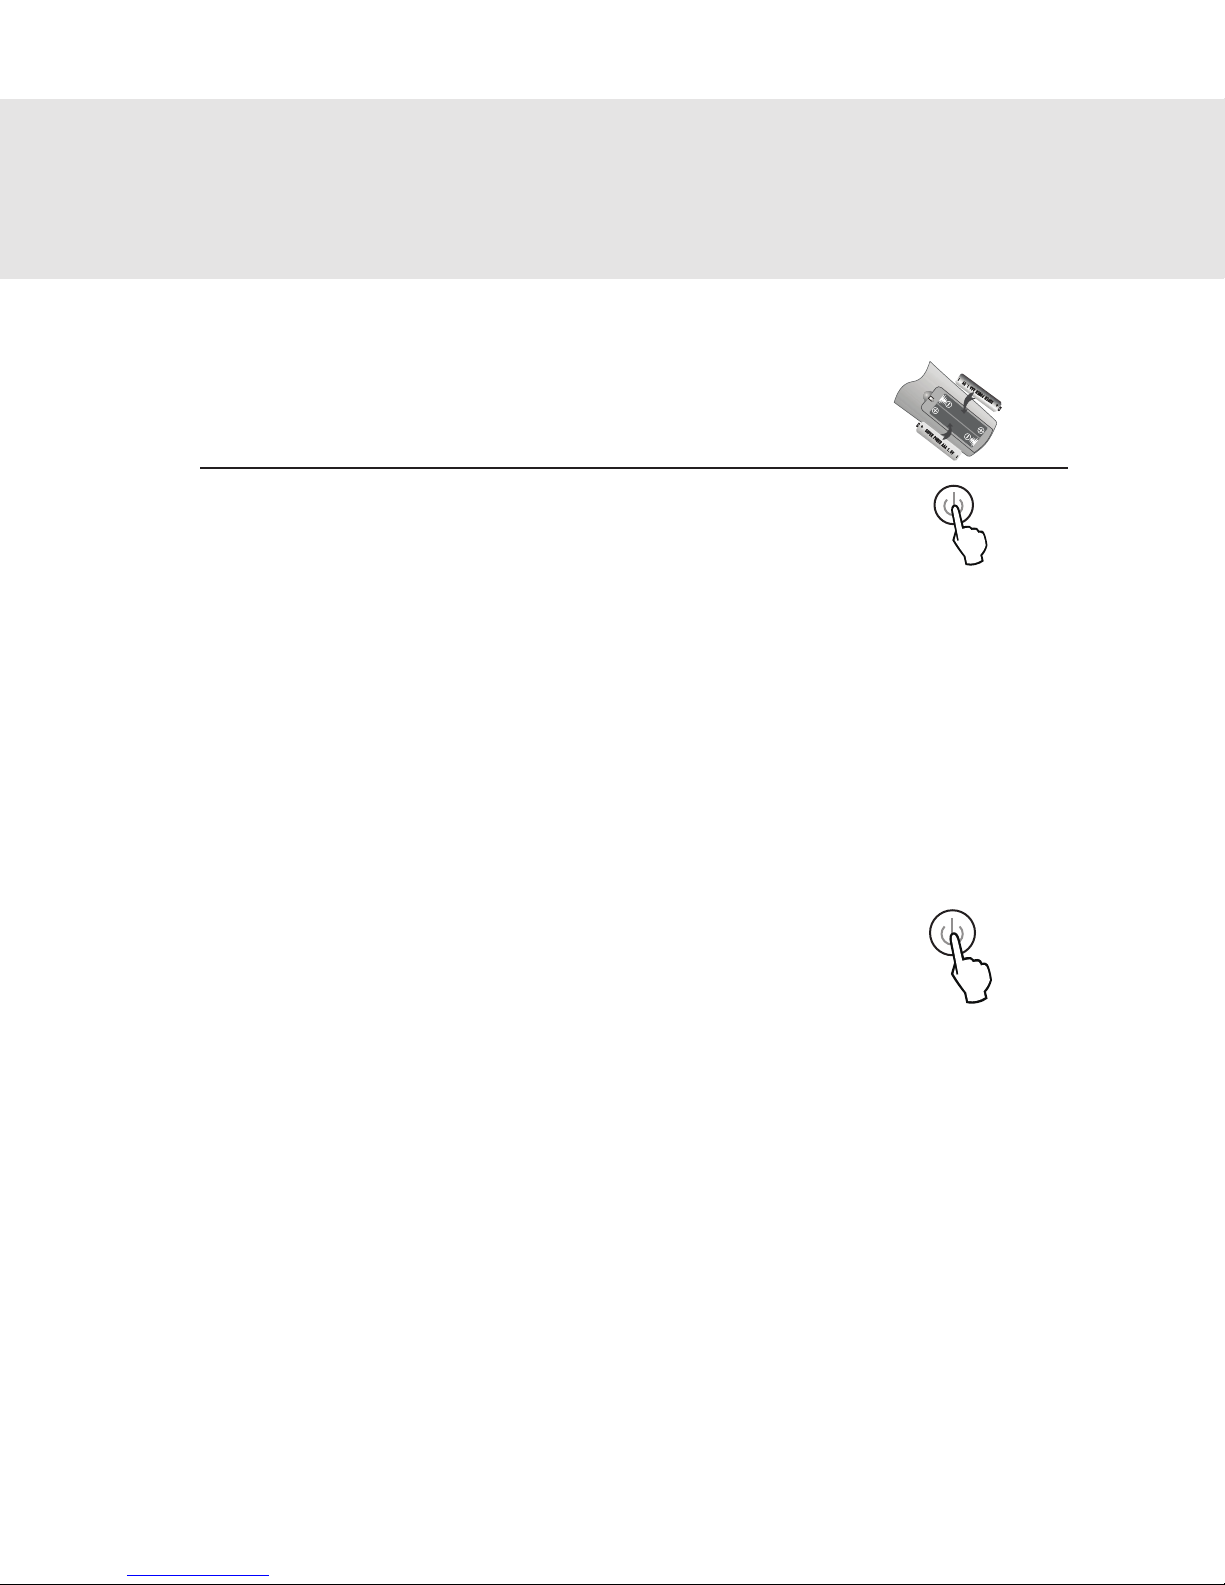
Starting up your projector for the first time:
Step 1: Insert two AAA batteries into
the remote control.
Step 2: Press the power button on the
remote or on the projector.
Note: The projector lamp should light up within a few seconds. The focus and
keystone correction may need to be adjusted. Please see Projector Overview >
Keystone Adjustment. After the necessary adjustments are made, your projector
will be ready to use.
Powering down your projector:
Step 1: When the projector is on, press the
power button on either the remote
or the projector to turn it off.
Note: The projector will not completely shut down at once. The projector will first
enter shut down mode, where the green indictor light will turn red, before
completely shutting down. You will not be able to turn the projector back on during
shut down mode. It is recommended to let at least 15 minutes pass before turning
the projector back on. Rapid powering on and off cycles will shorten the life of your
projector’s lamp.

PROJECTOR OVERVIEW
5
FRONT
1 – Ventilation
2 – Lens
The following diagrams point out the features of your projector:
Focus Adjustment
Rotate the lens clockwise or counter clockwise to adjust the
focus.
Rotate clockwise for a
larger picture.
Rotate counter clockwise
for a smaller picture.
2

PROJECTOR OVERVIEW
6
BACK
1 – USB input 2 – HDMI input
3 – AV input 4 – Remote IR Sensor
5 – VGA input 6 – Power input
7 – Keystone adjustment 8 – Audio output
9 – Ventilation Slot
IR
USB HD M I AV V G A
1
2
3
4
5
6
7
89

PROJECTOR OVERVIEW
7
Keystone Adjustment
After setting up your projector and powering it on, the image
may look trapezoid shaped.
1) If the projector is not properly positioned as shown in the
diagram, reposition the projector.
2) If the projector is properly positioned. You can adjust the
keystone control on the bottom of the projector (as shown
above) to correct this. Rotate the control left or right to adjust
the keystone control.
ProjectorHeight
Screen
Projector
Height-Feet
Adjustment
Height
Screen
IR
USB HDMI AV VGA
Keystone

1
2
PROJECTOR OVERVIEW
8
TOP
1 – Indicator Light
2- Power Button
Top Control Panel Layout
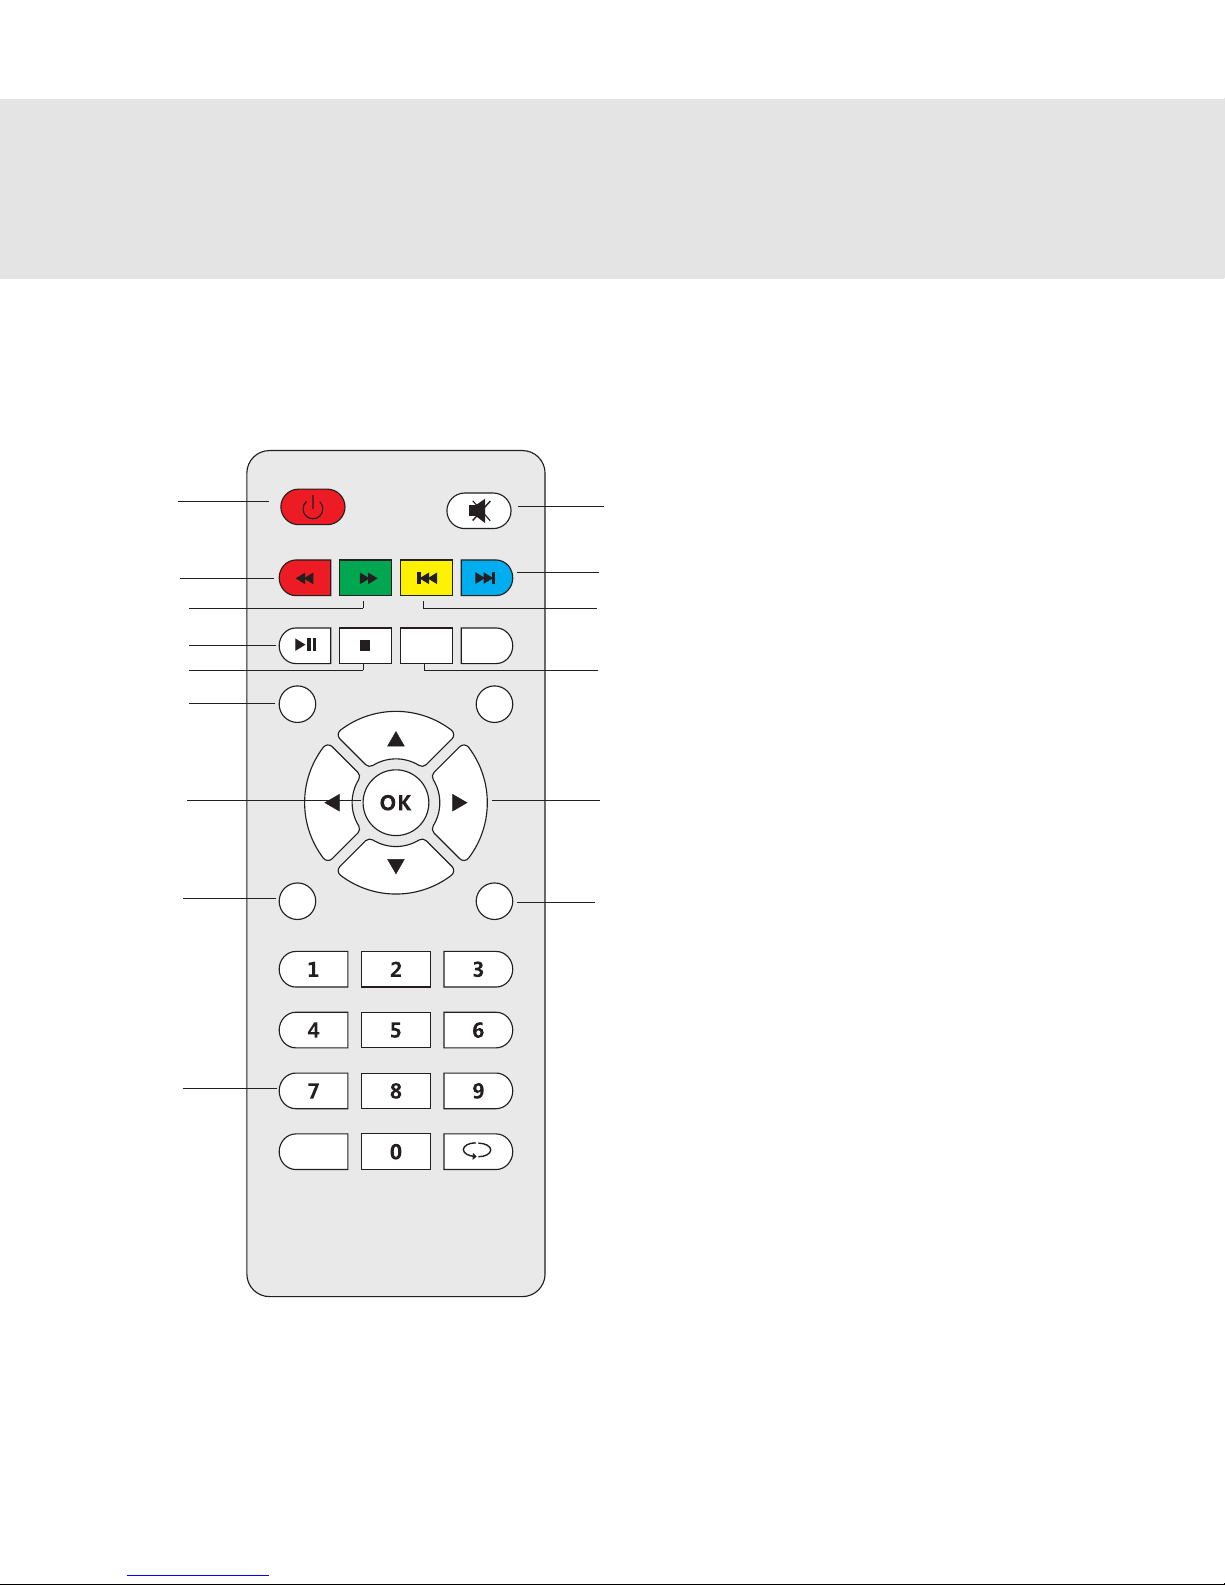
REMOTE OVERVIEW
9
AUD.LA NG
PVR
EPG
Source
Menu Exit
-/--
1
3
4
7
8
10
11
13
15
2
5
6
9
12
14
1. Power
2. Mute
3. Rewind
4. Fast Forward
5. Previous
6. Next
7. Play
8. Stop
9. Audio Language
10. Source
11. Select / OK
12. Directional keys
13. Menu
14. Exit
15. Number keys

INSTALLATION
10
Your projector can be installed in a wide variety of
configurations. It supports both front and rear screen
projection. Below is a sample diagram featuring a basic front
screen projection setup:
For best results regardless of your configuration, the projector should be
used in a darkened room, and should be used with screen sizes ranging
from 50 to 120 inches.

INSTALLATION
11
Image Adjustment
For best image results, the projector should be directly facing
the screen. Adjustment to the focus and keystone controls will
help to improve the picture. Please see the diagram below for
examples of correct and incorrect setup.
The projector is angled
too far to the left.
The projector is set up
correctly.
The projector is angled
too far to the right.

INSTALLATION
12
Installation Methods
There are several ways to install your projector, depending on
your needs. This projector can be set on a table or mounted to
the ceiling. It supports both front and rear screen projection.
Below are some examples of how this projector can be set up.
Note: FAVI recommends that a professional installer be contacted to install a
ceiling mount for your projector. If installing a ceiling mount yourself, please follow
the instructions that came with your mount. This projector must be installed in an
area where nothing can interfere with the ventilation slots.
Front projection ceiling
mount
Rear projection ceiling
mount
Front projection table mount Rear projection table mount

MENU SETTING
13
Main Menu Overview
1. To display Main Menu, press “Menu”
2. Use the “ ” keys to navigate through the sub
menus: Setting, Picture, Sound, and Time
3. Use the “ ” keys to move up and down the list of
items within the sub menus
4. Press “OK” or “ ” to select and adjust the item
5. Press “Menu” to exit out of item adjustment
6. Press “EXIT” to exit Menu Options
Setting Menu
Language
Restore Default
Blending
OsdDuration
Upgrade (USB)
Adjust projector setting,
such as language
English
YES / NO
OFF / LOW / MID / HIGH
OFF / 5S / 10S / 15S
Software Update
Setting Menu

MENU SETTING
14
Sound Menu
Time Menu
Clock
OFF Time
ON Time
Sleep Timer
Adjust projector time
setting.
Date / Month / Year /
Hour / Minute
OFF / Once / Everyday /
Monday~ / Sunday
OFF / Once / Everyday /
Monday~ / Sunday
OFF / 10mins / 20mins /
30mins / 1 hr / 1.5 hrs
Time Menu
Sound Menu
Mode
Balance
Auto-Volume
Surround Sound
Balance
Adjust projector setting.
Music / Movie / Sport /
User / Standard
(-50 ~ 50)
OFF / ON
OFF / SURROUND
(120/500/1.5K/5K/10K)
50 Hz
MENU SETTING
15
Picture Menu
Appendix 1
Appendix 2
Picture Menu
Mode
Color Temp
Aspect
Noise Reduction
Flip Horizon
Flip Vertical
Adjust projector setting.
Standard / Warm / User
(Appendix 1) / Dynamic
Standard / Warm / Cool
Auto / 4:3 / 16:9
(Appendix 2)
OFF / LOW / MID / HIGH
OFF / ON
OFF / ON
Picture
Contrast 0 ~ 100 Image contrast adjustment
Brightness 0 ~ 100 Image brightness adjustment
Hue 0 ~ 100 Image hue adjustment
Sharpness 0 ~ 100 Image sharpness adjustment
The setting of height-width is different under different modes.
Zoom is not valid in picture mode.
MENU SETTING
16
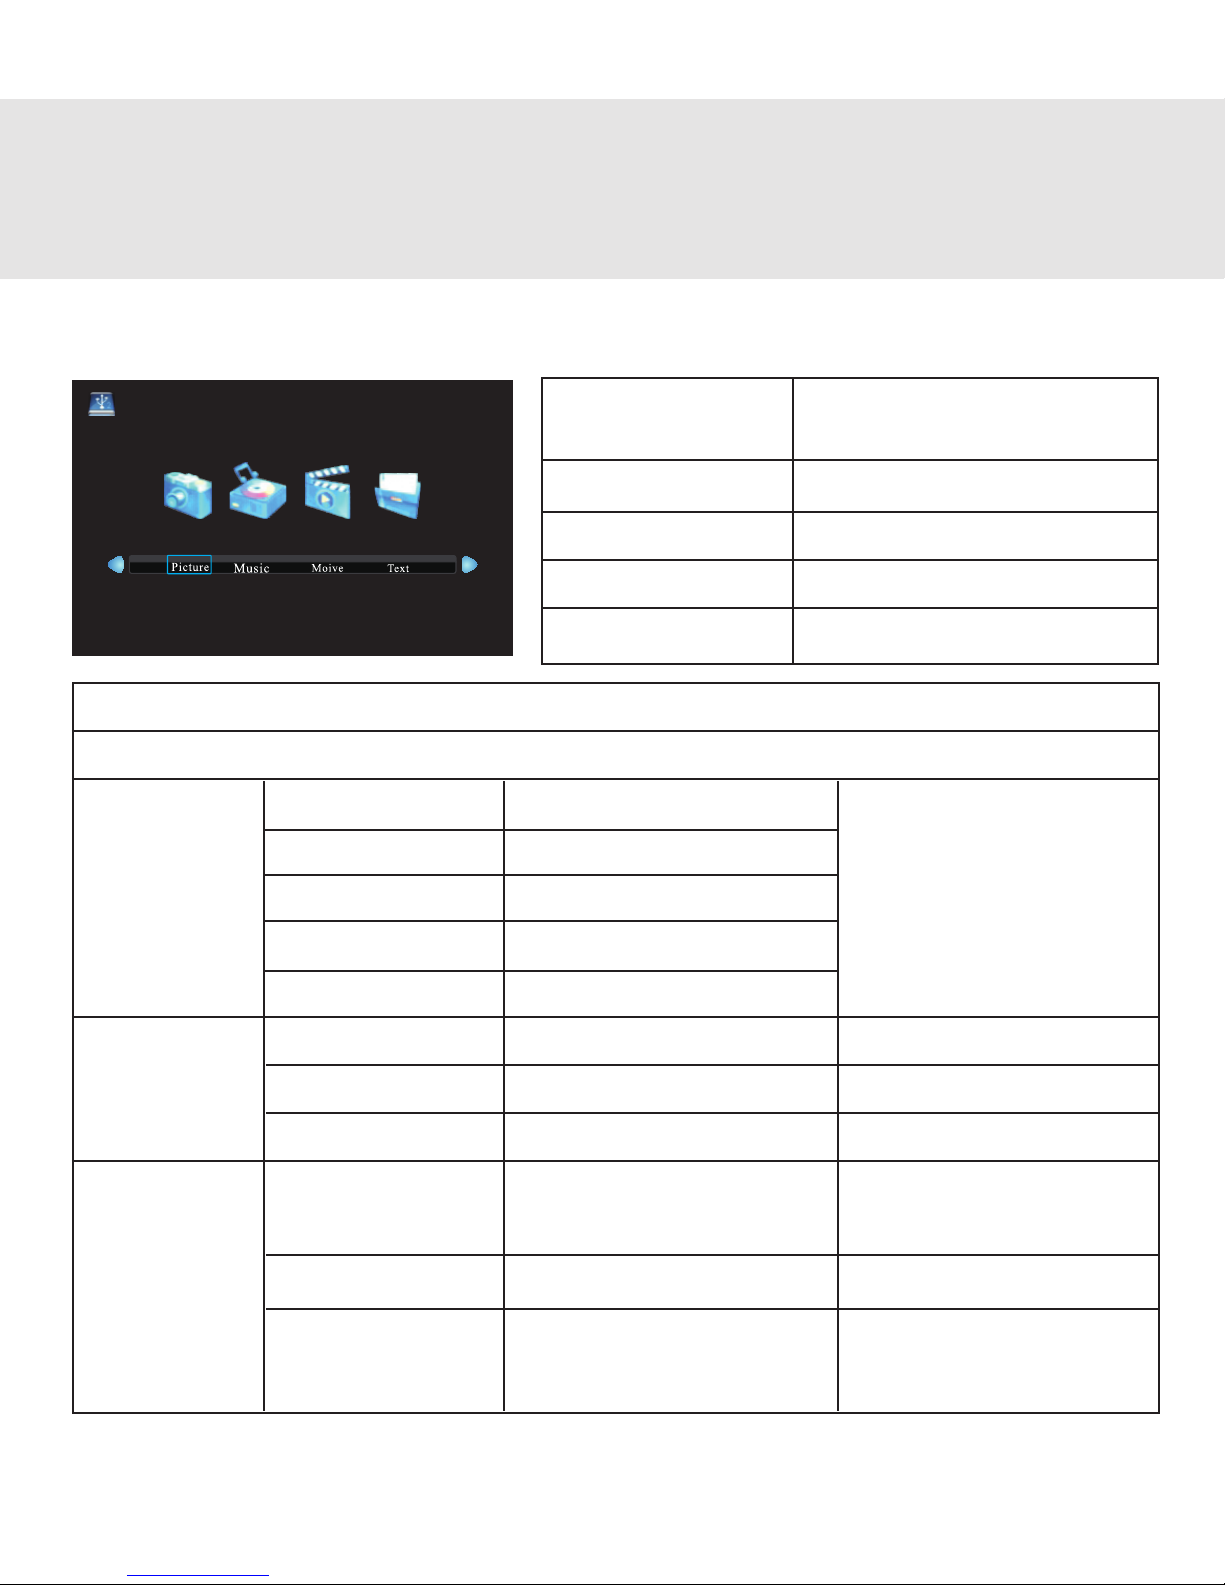
Multimedia Menu
Multimedia
Menu
Picture
Music
Movie
Tex t
Search, view, and play
media files.
View photo gallery
Play music
Watch movies
Read document
Supported Multimedia Format
Task Format Video Decode Audio Decode
MOVIE .AVI DivX, Xvid, MPEG-4
.MPG MPEG-1, MPEG-2
.DAT MPEG-1 MP3, WMA, AAC
.RM / .RMVB Real Media, video
.MOV / .MKV H. 264
MUSIC .MP3 -- MP3
.WMA -- WMA
.M4A / .AAC -- AAC
PICTURE .JPG / .JPEG Progressive JPEG --
Baseline JPEG
.BMP BMP --
.PNG Non-interlaced --
Interlaced

TROUBLESHOOTING
17
If you have any issues with using your projector, please refer to
the following solution below. If issues persist, contact our
technical support team at:
techsupport@favientertainment.com
Problem
Projector will not power
on.
The remote control
does not work.
I have a video source
connected, but the
projector shows “NO
SYNC”.
Small text is hard to
read in VGA mode.
Projector turns itself
off
Solution
• Check the power cord and power outlet.
• Check the batteries.
• Try aiming at the IR sensor on the back of
the projector.
• Check to make sure the projector is set to
the correct mode. If using HDMI, check to
make sure the projector is set to display
from the correct HDMI port.
• Check your video source and video cables.
• Set your desktop resolution to 1280 x 960
or lower if displaying in 4:3 mode. Set it to
1280 x 768 or lower if displaying in 16:9
mode.
• Increase the size of the text being
displayed.
• Check that nothing is blocking the
ventilation.
This manual suits for next models
1
Table of contents
Other FAVI Projector manuals

FAVI
FAVI E3-LED-PICO User manual

FAVI
FAVI Pico+ J5-PICO-HD User manual

FAVI
FAVI RioHD-LED-K1 User manual

FAVI
FAVI Entertainment RioHD-LED-3 User manual

FAVI
FAVI RioHD-LED-2 User manual

FAVI
FAVI RioHD-LED-K1 User manual

FAVI
FAVI A3 User manual

FAVI
FAVI RioHD-LED-4T User manual

FAVI
FAVI LED-2 User manual

FAVI
FAVI RioHD-LED-4T User manual

FAVI
FAVI Rio HD User manual

FAVI
FAVI 1500 User manual

FAVI
FAVI RioHD-LED-3T User manual

FAVI
FAVI RioHD-LED-2 User manual

FAVI
FAVI RioHD-LED-G3 User manual

FAVI
FAVI E3-LED-PICO User manual

FAVI
FAVI Pico+ J6-LED-PICO User manual

FAVI
FAVI J7-LED-PICO User manual

FAVI
FAVI Entertainment RioHD-LED-3 User manual

FAVI
FAVI RioHD-LED-4S User manual


