Environmental requirement
Accessories specication
Menu guide Keybord/Remote control
Safe mode Overheat protection
Power adaptor Input: AC100~240V 1.5A /50-60Hz; output: DC19V 4.74A
Maximum output power : 90W; Length of the cable: 1.8 m
VGA cable
PVC black 50P, Length: 1.5 m
AC power cable 220V/6A, Length of the cable: 1.3 m
Battery Remote control: AAA alkaline battery
Operating temperature
0°C~40°C (32°F~104°F)
Storage temperature -20°C~45°C (-4°F~113°F)
Operating humidity 10%RH~80%RH
Storage humidity 5%RH~95%RH
5INTRODUCTIONS
5.1Dimension ( L x W x H ): 130 x 135 x 50 mm
5.1
5.3 1.9
2.1
Audio
Supports audio input, 3.5mm audio output
Standard: NTSC/PAL/SECAM
Maximum resolution: 1920 x 1080, 60Hz
HDMI input
Best resolution: 800 x 600, 60Hz
VGA input
Maximum resolution: 1280 x 720, 60Hz
AV input
Maximum resolution: 720p
Remote control
121 x 46 x 22 mm, Color: Silver grey
Power Esc
Flip Menu
Up
Left Right
Down
BrightnessVolume
Mute
Enter
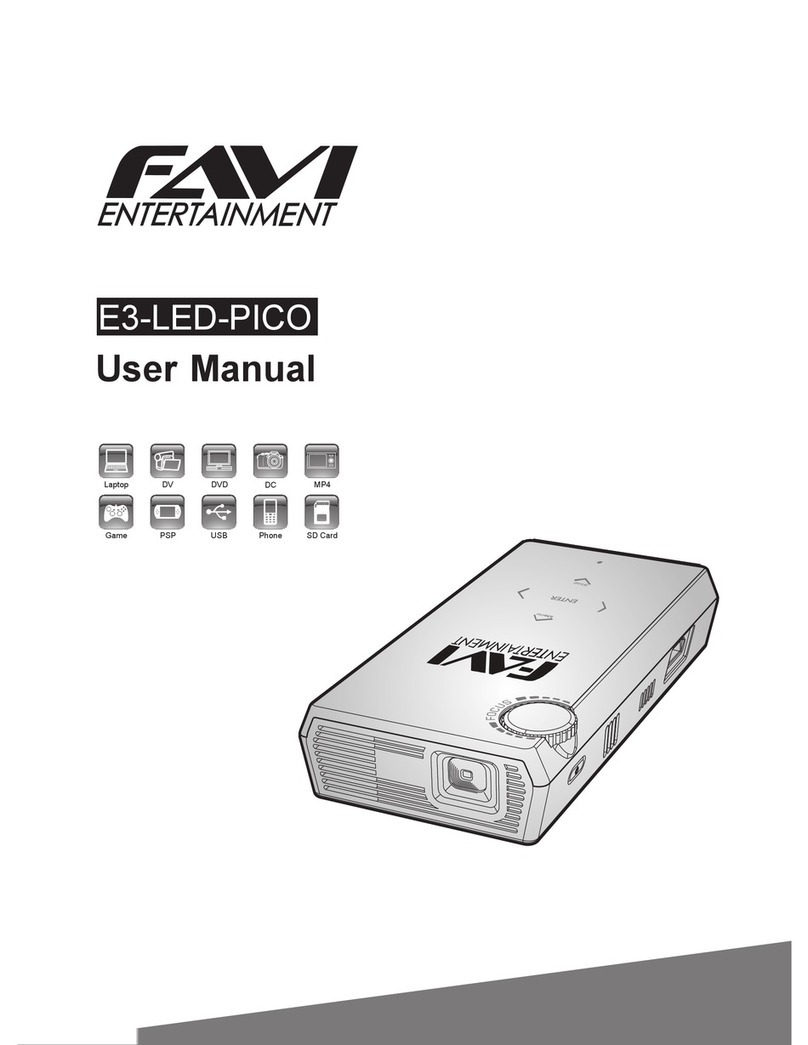
User Guide
RioHD-LED-4S
4SPECIFICATIONS
All specications are subject to change without notice.
Weight Approximately 1.4 lb
Display system DLP projection technology
Model RioHD-LED-4S
Basic specications
Dimension ( L x W x H ) 5.3 x 5.1 x 1.9 in
Screen size
Projection distance 0.5m-5m
15"-100"
Contrast ratio 2000:1
Focus
Manual
Aspec t ratio
Brightness 150 ANSI lumens
858 × 600
Light source technology RGB LED
Native resolution
16:9/4:3
3PRODUCT FEATURES
2PACKAGE CONTENTS
VGA cable
AV cable
Power adapter
Remote control
User
manual
Projector carrying bag
1POWERINDICATIONS
ラエフャ/ホハフ?
LEDヨクハセオニ
キ酲ネケハユマ
エサ?
オ釀エエェ
コ?ォ
クユイ衙マオ釀エ
オ釀エ
UserGuide
RioHD-LED-4S
ホツカネケハユマ
ーエシ? ホツカネアィセッ キ酲ネアィセッ
コ?ォ
ツフノォ
コ?ォノチヒク
コ?ォノチヒク
エェ
ケリアユ
エェ
ケリアユ
ケリアユ
ケリアユ
ケリアユ
ケリアユ
ケリアユ
エェ
ケリアユ
ケリアユ
ケリアユ
エェ
ケリアユ
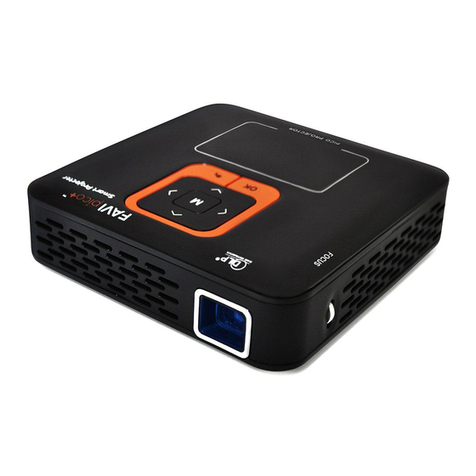
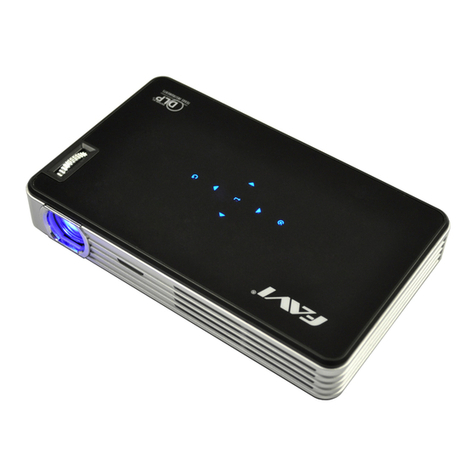
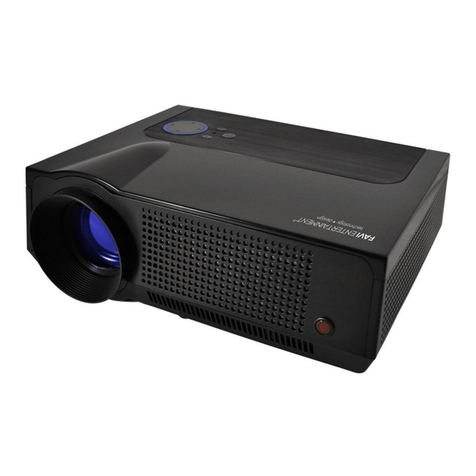
The LED-4S integrates high-performance, optical projection technoloy with
a user-friendly design. The LED-4S features include:
Three picture modes with various application options
Digital keystone correction with auto-adjust feature
16.77 million color display
Multi-language On-Screen Display (OSD) menu
Over 30,000 hours of lamp life
Brightness of 150 ANSI lumens
Power Indicator
USB ash disk / SD card
Audio: MP3, WMA
Video: MPEG2, MPEG4, RMVB,VOB, MP4
Picture: JPG, JPEG
Keystone Manual/Auto
Por ts Input: DC/AV/VGA/HDMI/USB/SD; Output: Audio
Power consumption
MAX: 85W, Standard: 45W
LED life span
30,000 hours
Status/symptoms LED Indicators
Power ON
Red Green
On
O
Fan Failure
Temperature Failure
Standby
Blinking
Blinking
O
On
1POWER INDICATIONS
O
O
MENU
SOURCE
POWER
AV cable 3.5 mm, Length: 0.4 m, Composite: AC cable
Maximum resolution: 800 x 480
Unpack the product and conrm that all of the items listed under contents
have been included.
Mute
Volume
Volume
Right
Menu
Esc
Down
Left
Up
Flip
Enter
4Left " "
Audio in cable Audio out cable
External speaker system
Earphone cable Headphone output
TV set-up box
DVD
Game
consoles
MP3/MP4
Digital
camcorder
Mobile phone
Digital camera
6.4Inserting a SD card or USB memory
1.
Inset
a
Micro-
SD
card
into the Micro-SD slot on the projector.
2.
Insert
the
USB
ash
drive into the USB port on the projector.
Mobile phone
6.3Connecting to an HDMI device
Connect the HDMI cable to the device and the HDMI input on the projector.
Connect to the HDMI
port on the device
HDMI port
blu-ray DVD
HD player
PC
Laptop HDMI cable
Brightness
Brightness
Micro-SD slot
USB ash drive
USB port
MOLEX
Micro-SD card
Power
Projector
does not
turn on
Symptoms
No picture
7TROUBLE SHOOTING
Plug the power cord into the DC in jack on the
projector and plug the power cord into the
power outlet.
Cause
There is no power from the
power cable.
Wait until the cooling down process has
completed.
Attempting to turn the
projector onagain during the
cooling process.
Turn the video source on and check that the
signal cable is connected correctly.
The video source is not turned
on or connected correctly.
The projector is not correctly
connected to the input signal
device. Check the connection.
The input signal has not been
correctly selected.
Select the corrected input signal with the Source
key on the projector or Menu key on the remote
control.
Remedy
Remote
control
does not
work
Blurred image
The battery is out of power Replace the battery with a new battery.
There is an obstacle between the
remote control and the projector. Remove the obstacle.
The projector lens is not
correctly focused.
The projector and screen are
not aligned properly
Adjust the focus of the lens using the focus wheel.
You are too far away from the
projector. Stand within 25ft of the projector.
Adjust the projector angle and the height.
6.5Connecting to an external speaker or earphone
Connect an audio cable from an external speaker system/earphone to the headphone
output on the projector.
6.2Connecting to an AV device
Connect the AV cable to the device and the AV input on the projector.
VGA port
VGA cable
PC
Laptops
Connect to the VGA port
on the computer
DC in
6CONNECTION SETUP
The LED-4S works with a variety of digital devices, such as PCs, laptops, TV
set-up boxes, DVD, game consoles, digital cameras, digital camcorders, PMP,
smart phones that output video signals, and etc. Supports USB, SD card
and audio on the projector. Please follow the instructions for setup.
Connect the VGA cable to the PC/laptop and the VGA input on the projector.
6.1 Connecting to a VGA device
When connecting signal source to the projector, be sure to:
1. Turn all equipment o before making any connections.
2. Use the correct signal cables for each source.
NOTICE
5.2Control buttons
Power
Source
Lef t
Down
Menu
Focus Wheel
Up
Right
5.3Remote Control
8SOURCE " "
SOURCE
2When in Menu, scroll the les up.
When playing videos, fast forward.
1Adjust the focus and projected image.
Item Key Functions
Focus
wheel " "
Up " "
2Rotate the screen image.
1Power ON/OFF
Shift the projector between standby and operation mode.
Item Key Functions
Power " "
Flip " "
3Up " "
7
8
Select to decrease the brightness.
Exit and go back to upper menu.
6Select to increase the brightness.
Brightness " "
Brightness " "
Esc " "
9 Menu " "
10 Enter " "
Decrease volume
11
12
Right " "
Volume " "
13 Volume " " Increase volume
14 Mute
Mute " "
5Down " "
Mobile phones with USB port are supported (USB drive software installation is unnecessary).
NOTICE
4Left " " When in Menu move to previous option.
When playing music photos or videos, move to previous le.
3Down " "
When in Menu, move to previous option.
When playing music, photos or video, move to previous le.
When in Menu, scroll the le down.
When playing videos, rewind.
When in Menu, move to next option.
When playing music photos or videos, move to next le.
Power Esc
Flip Menu
Up
Left Right
Down
Brightness Volume
Mute
Enter
1 8
2 9
3 10
4 11
5 12
6 13
7 14
POWER
6
POWER " "
7
MENU
MENU " "
Press to turn on the projector (green light).
Long press to turn o the projector (red light).
Exit and go back to main menu.
When in Menu, conrm the selected option.
5Right " " When in Menu, move to next option.
When playing music, photos or video, move to next le.
When in Menu, scroll the les down,
when playing videos, rewind.
When in Menu, conrm the selected option.
Exit and go back to main menu.
When in Menu, scroll the les up.
When playing videos, fast forward.
AV cable
AV out
Connection type
may vary
AV input
HD digital
camcorder
