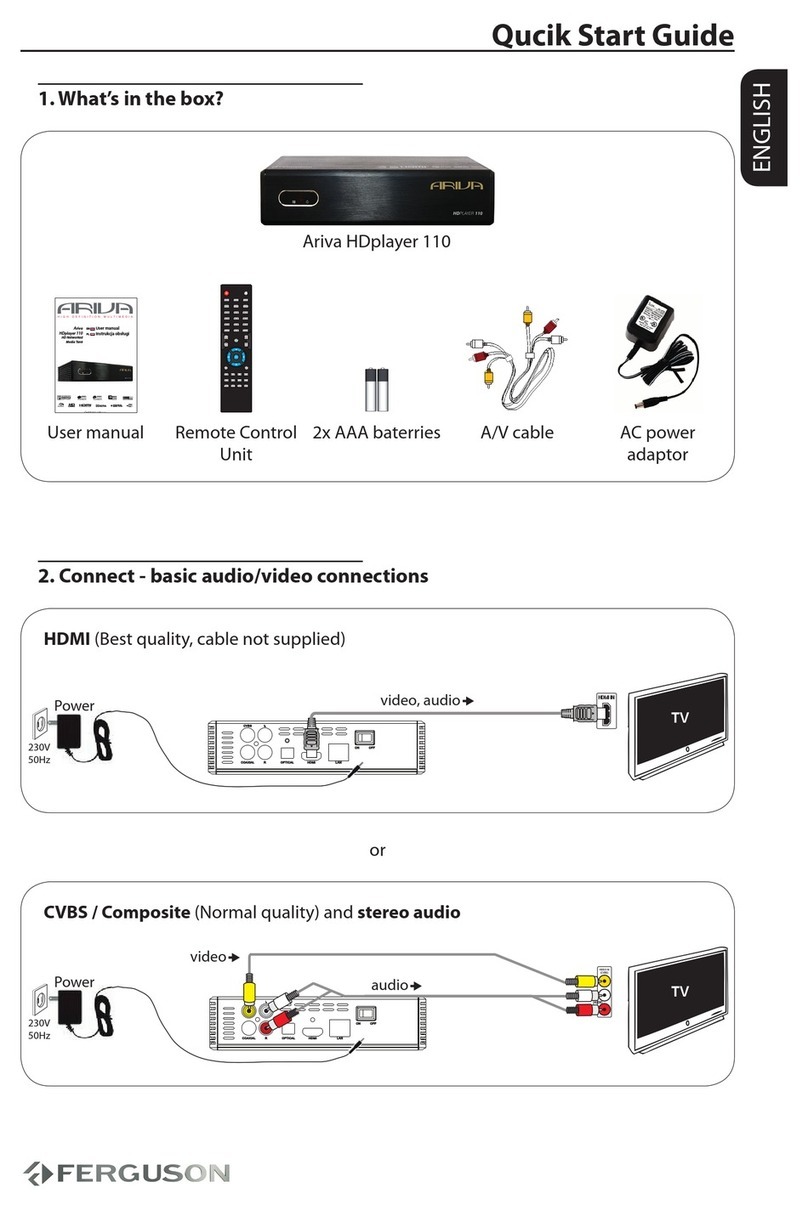
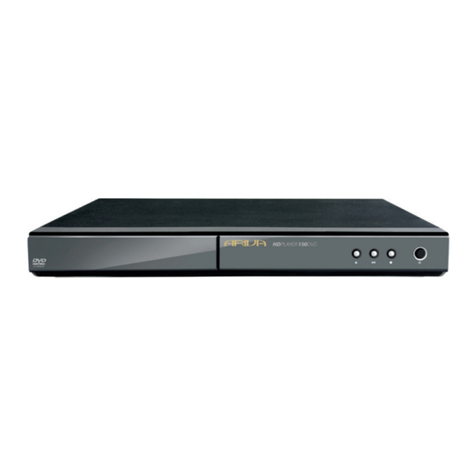
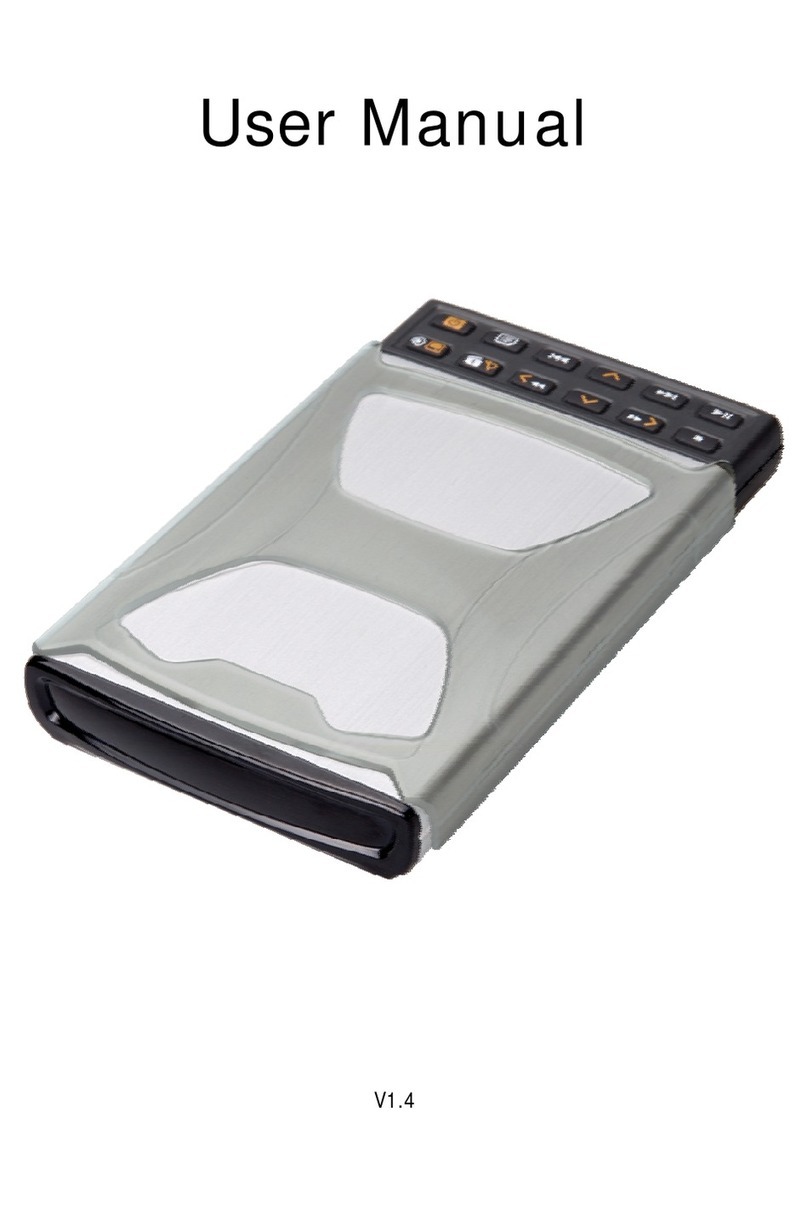
Ferguson Ariva HDplayer 200A User manual

Ariva
HDplayer 200A Networked Media
Tank
English

2

Spis treści
ABOUT THE INSRUCTION MANUAL............................................................................................4
MARKINGS AND SIGNS APPLIED TO THE RECEIVER..............................................................4
1. Before you be in..............................................................................................................................5
1.1 Safety Information.....................................................................................................................5
1.2 Features......................................................................................................................................7
1.3 Packa e Contents.......................................................................................................................9
1.4 Introduction of remote.............................................................................................................10
1.5 Replace the batteries of remote control...................................................................................11
1.6 Front and rear panel.................................................................................................................11
2. System Start up...............................................................................................................................13
2.1 AV input connection and TV....................................................................................................13
2.2 Connect With TV YPbPr component input..............................................................................13
2.3 HDMI interface to connect TV (Su ested)............................................................................14
3. Startup Media Player......................................................................................................................15
3.1 Main Menu. Introduction.........................................................................................................15
3.2 Movie Play...............................................................................................................................16
3.2.1 Movie thumbnail..............................................................................................................16
3.2.2 Menu of Movie list...........................................................................................................17
3.2.3 Play Movie.......................................................................................................................17
3.3 Photo Play................................................................................................................................19
3.3.1 Photo thumbnail preview.................................................................................................19
3.3.2 Photo list menu.................................................................................................................19
3.3.3 Play Photo........................................................................................................................20
3.4 Music play................................................................................................................................20
3.4.1 Music thumbnail..............................................................................................................20
3.4.2 Music list menu................................................................................................................21
3.5 Text Play..................................................................................................................................21
3.5.1 Text List Menu.................................................................................................................21
3.5.2 Text Play...........................................................................................................................22
3.6 Flash Play.................................................................................................................................22
3.6.1 Flash list Menu.................................................................................................................22
3.6.2 Flash Play.........................................................................................................................23
3.7 Network function.....................................................................................................................23
3.7.1 Streamin via UpnP-server..............................................................................................23
a) Installin UPnP Media Server on your PC.......................................................................23
b) Sharin Media on your PC...............................................................................................23
c) Streamin Media on your Player......................................................................................24
3.7.2 Net Radio.........................................................................................................................26
3.8 Picasa.......................................................................................................................................29
3.9 Flickr........................................................................................................................................30
4. Copy function.................................................................................................................................31
4.1 Copy file and Folder................................................................................................................31
5. Delete Function..............................................................................................................................33
6. File List Menu................................................................................................................................34
6.1 File list menu...........................................................................................................................34
6.2 File thumbnail..........................................................................................................................34
7. System setup...................................................................................................................................35
7.1 Display Settin s.......................................................................................................................35
3

7.2 Lan ua e Settin .....................................................................................................................36
7.3 Photo Settin ............................................................................................................................36
7.4 Movie Settin ...........................................................................................................................36
7.5 Music Settin ...........................................................................................................................37
7.6 TXT Settin .............................................................................................................................37
7.7 Default Settin .........................................................................................................................37
7.8 About Media Box.....................................................................................................................38
7.9 Up- rade Settin ......................................................................................................................38
7.10 Network setup........................................................................................................................39
Troubleshootin ..................................................................................................................................40
Specification.......................................................................................................................................41
Glossary..............................................................................................................................................42
4

ABOUT THE INSRUCTION MANUAL
Ferguson has made every effort to provide the most current information about its products.
Ferguson does not grant any guarantee as to the contents of the present instruction manual
and disclaims any implied guarantees concerning market value or suitability for specific
purposes. The information contained herein is an instruction intended to enable the correct
usage and maintenance of the receiver.
Ferguson reserves itself the right to introduce amendments, changes or translations of the
instruction manual without prior notification thereof. For this reason, we recommend you
regularly visit our website in order to obtain the latest information.
MARKINGS AND SIGNS APPLIED TO THE RECEIVER
Digital signal transmission logo.
This logo informs that the receiver
conforms to the Digital Video
Broadcasting standards.
C logo.
The logo informs that the receiver
conforms to the terms and conditions of
Directive 2004/108/ C concerning
observance by Member States of provisions
regulating electromagnetic compatibility,
and to the terms and conditions of
Directives 2006/95/ C concerning
observance by Member States of provisions
regulating low voltage electricity and safety
with relation to the handling and operation
of electrical equipment.
Risk of electric shock - do not open.
This notice warns the user not to open
the receiver housing. The housing may
be opened solely by authorized service
technicians.
When this crossed-out wheeled bin symbol is
attached to a product it means that the product is
covered by the European Directive 2002/96/EC.
Please inform yourself about the local
separate collection system for electrical and
electronic products.
Please act accordin to your local rules and do not
dispose of your old products with your normal
household waste.
Correct disposal of your old product helps to
prevent potential ne ative consequences for the
environment and human health.
R&TTE Hereby Fer uson Sp. z o.o., declares
that the device is in compliance with
the essential requirements and other relevant
provisions of Directive 1999/5/EC. You can find the
Declaration of Conformity on
www.deklaracje.fer uson.pl
This product has been desi ned, tested and
manufactured accordin the European R&TTE
directive 1999/5/EC.
Double insulation logo.
This logo informs that the receiver is an
electrically safe device, provided that it is
used in accordance with the
recommendations set forward in the
chapter concerning safety.
Your product contains batteries covered by the
European Directive 2006/66/EC, which cannot be
disposed with normal household waste. Please
inform yourself about the local rules on separate
collection of batteries because correct disposal
helps to prevent ne ative consequences for the
environmental and human health.
Hot surface mark
CAUTION: HOT SURFACE. DO NOT TOUCH. The
top surface over the internal heat sink may become hot
when operatin this product continuously. Do not
touch hot areas, especially around the “Hot surface
mark” and the top panel.
Your product is desi ned and manufactured with
hi h quality materials and components, which can
be recycled and reused.
When this logo is attached to a product, it
means a financial contribution has been
paid to the associated national recovery
and recycling system.
5

1. Before you begi
Thank you for purchasing the Ariva HDplayer 200A. This user manual provides step-by-step
instructions for installing and using your new HD media player. Ariva HDplayer 200A is a-
compact, highdefinition (HD) USB 2.0 media player that attaches to an entertainment unit
through a variety of audio/video interfaces and supports playback of major audio, video, and
image file formats. Player supports highdefinition video playback of up to 1080p through an
HDMI connection or standard definition for TVs with lower capabilities. High-fidelity digital
audio is supported from an optical interface. Two USB ports are available to connect USB
storage devices. The included remote control lets you quickly browse through your media
library and configure settings.
1.1 Safety I formatio
Please observe all warnings and instructions on the equipment and in these operating
instructions.
Please carefully read this user’s manual before using the device.
To avoid electric-shock hazards, do not open the cabinet, refer servicing to qualified
personnel only. If cabinet is opened warranty will be invalid.
Please switch off completely the device during thunder, during abnormal phenomenon,
before cleaning it and in case it remains out of service for a long period.
Do not expose the device under the sunlight. And keep it away from the heat source or
humid environments. Do not block ventilation holes of the device sothat air can circulate freely.
Please place the device in horizontal and stable conditions, keeping it away from vibrating.
If device is moved from warmer place to a colder one some problem might occur. Please
switch off the device and turn it on after 1 or 2 hours.
Keep the device away from flower vases, tubs, sinks, etc., in order to avoid damaging the
equipment. Do not touch power supply with wet hands.
Don’t put any objects on the device.
Be sure to turn the device off and disconnect the AC power cord before cleaning the receiver
surface. If the surface is dirty, wipe clean with a cloth which has been dipped in a weak
soap/and/water solution and wrung out thoroughly, and then wipe again with a dry cloth.
Do not connect cables while power is plugged.
Do not use damaged cables for connections: you could cause fires.
Please switch off completely the device while making all connections.
The product purchased is a sophisticated electronic device which is not suitable for children
under 18 years.
We do not assume responsibility for damages caused to people or object, deriving from use
of the device made by people under 18 years.
6

User ma ual
Ferguson has used all the available means to ensure the latest information regarding its
products. Ferguson does not give a warranty regarding the contents of this User Manual and
waives any implied warranties regarding market value or fitness for specific purposes. The
information contained herein provide guidelines allowing the operation and maintenance of the
receiver. Ferguson reserves the right to make changes, corrections or to translate the User
Manual without giving prior notice of such changes. Therefore, it is recommended that users
visit our website regularly to receive the latest information.
lTo obtai the most curre t user ma ual
Visit the Ferguson website www.ferguson-digital.eu to check the availability of the latest
version of user manual. Please visit the FAQ section too.
Software upgrade
Periodically Ferguson will issue software upgrade to enhance your user experience.
lTo dow load a d i stall the latest software to the player
Visit the Ferguson website www.ferguson-digital.eu to check the availability of the latest
software upgrade.
7

1.2 Features
Playable Co te t
File Systems
FAT (FAT16 and FAT32)
NTFS
XT2, XT3
ISO-9660 and partly UDF on external optical drive (DVD)
Video co tai ers
MP G-1/2 Program Stream (MPG, MP G)
MP G-2 Transport Stream (TS, TP, TRP, M2TS)
MP G-4 Part 14 (MP4)
VOB (also ISO images with DVD-Video)
AVI
Matroska (MKV)
AVCHD (MTS, M2TS)
MOV (H.264)
FLV - Flash Video
Realmedia (RMVB, RM)
BD (folder structure or ISO image)
Video codecs:
Most video codecs are supported up to
1080p resolution.
XviD (except 3 warp-point GMC)
MP G-1
MP G-2
Main@Main
Main@High
H.264 (MP G-4 AVC)
BP@L3
MJP G
Audio co tai ers:
M4A
MP G audio (MP1, MP2, MP3, MPA)
WAV
FLAC
OGG
Matroska (MKA)
and others
Audio codecs:
Dolby Digital (AC3)
DTS,
MP1, MP2, MP3
FLAC
Vorbis
ALAC
and others
8

Exte sio s recog ized i Ariva file browser.
List of recognized multimedia file extensions are listed below. Not all files with those
extensions are playable - some files may include not supported codecs and/or settings. Files
with other extensions Ariva will not play. aac, ape, flac, m4a, mps, ogg, wav, wma, bmp, gif,
jpeg, jpg, png, tif, tiff, m3u, pls, txt, 3gp, avi, divx, flv, m2ts, m4v, mkv, mov, mpeg, mpg,
mts, ogm, tp, trp, ts, vob, dat, iso, mp4, rm, rmvb.
Subtitle formats:
SRT (SubRip)
SMI (Sami)
SUB (MicroDVD, SubViewer2)
SSA (SubStationAlpha)
TXT (microDVD, mpl2, Sami, SubStation Alpha, SubRip with tags)
Some user-created subtitles may not work properly Some special characters are not supported
HTML tags are not supported A movie file and external subtitle file must be located in the same
folder. A movie file name and and it’s subtitle file name must be identical to be displayed.
Photo formats :
JP G, HD JP G (baseline)
BMP
PNG (except Interlace)
GIF
partly TIFF (uncompressed)
Flash Play
Supports Flash 4,Flash 5, Flash 6, Flash 7, Flash 8, Flash 9
Supports simple Flash Game
Other Future
USB port, Supports U-disk, High-capacity portable hard disk, SD / MMC / MS cards and other
external storage devices
Supports NTSCPAL, 480I, 480P, 576I, 576P, 720P, 1080I, 1080P HDMI Output .
Supports Amplifier through the coaxial connection to support and enjoy the theater 5.1
surround audio and visual effects
Supports FAT32, NTFS, HFS+file system
When View pictures or read the text, you can listen to music at the same time
CAUTION!
Playback of some files may fail or be incorrect
Copy protected content is not playable.
Playback may suffer temporary interruptions (image freeze, faster/slower playback, etc)
when the audio language (audio track) is changed
A damaged movie file may not be played correctly
Videos with resolution higher than 1920x1080@25/30P or 1280x720@50/60P may not work
properly
We do not guarantee smooth playback of movies encoded in profiles level 4.1 or higher in
H.264
Movies larger than 30 GiB may not
Playing a movie via a USB/SDHC card/ network that doesn’t support high speed may not
work properly.
Playback of movie files with video bitrate over 30 Mbps may be incorrect
9

1.3 Package Co te ts
Please check to make sure the following contents are in the product package.
Product contents may be subject to change.
Cables not specified above must be purchased separately.
10

1.4 I troductio of remote
Fu ctio s of remote co troller's keys:
POWER: Turns the player on or switches it to standby
mode
MUTE: Turn on/off sound
RESET: box resetting
COPY/DELETE: copy or delete the files (from folder or
device)
FOLDER: go to the folder structure
VIEW: press it to adjust the image ratio between 16:9
and 4:3 (not supported temporarily)
DEVICE: choose the device
SORT: switch the sorting modes of the files, such as
sorting by time or file names.
MOVIE:go to movie folder
NETWORK: go to the network menu
SETUP:go to the setup menu
PICTURE:go to picture folder
MUSIC:go to music folder
TEXT:go to text files folder
VOL+/-: Increase / decrease the volume
RETURN: Return to playback / folder up in file browser
OSD: press it to open or close the operation menu and
the currently playing file information in playing state.
Alpha umeric keypad 0-9 - Selects numbered items
in a menu
MENU: press it to pop up a control menu, then make
the corresponding operations by arrow keys and confirm
keys.
TITLE: To go back to show title menu
AUDIO: Selects an audio track or language
SUBTITLE: Selects a subtitle file / subtitle moving /
font change /time adjustment
ROTATE:Press it to rotate the pictures in four directions
of 0°, 90°, 180°,270°
ZOOM:Press it to zoom the playing pictures out
SLIDE SHOW: start a slide show
EDIT: Press it to copy and delete the selected files in
the file mode,Movie,Music, Picture, Text, Network are
the shortcut keys used to switch the playing contents
quickly
Navigate in the menu
Reverse search/ Fast forward
Skips to previous file
11

1.5 Replace the batteries of remote co trol
Remove the cover of the battery compartment on the rear panel of the remote control unit;
slide it downwards and put it aside. Insert two AAA (R03) batteries into the compartment,
observing the indicated polarity. Do ot mix old a d ew batteries, or batteries of
differe t types. Replace the battery compartment cover. Slide it upwards until it locks in
place.
1.6 Fro t a d rear pa el
Fro t pa el
1. POWER - Turns the receiver on and sets it in standby mode.
12

Rear pa el
1. COMPONENT - Component video output 3 x RCA (YpbPr).
2. COAXIAL (Digital Audio Out) – connect to coaxial audio input of an amplifier.
3, 9. USB 1/2 - Input the supported USB device.
4. HDMI - Audio and video output socket for the high definition television set.
5. CVBS (Video Out) - connect to CVBS video input of a TV.
6. L /R - connect to audio left/right input of a stereo system.
7. OPTICAL (Digital Audio Out) – connect to coaxial audio input of an amplifier.
8. Ether et - Network Interface (LAN).
10. SD/MMC - Input the supported flash card. SD or MMC.
11. DC Power Supply I put – connect AC power adaptor (use only supplied adaptor).
13

2. System Start up
2.1 AV i put co ectio a d TV
1. Connect one end of the 3 color ( white/Red/ Yellow) AV cable to the media player’s AV
output interface ,the other end to TV Set AV input . Connection Can be made by color.
2. Connect the media player to the power, set the "TV Output Settings" to PAL composite video
signal (or by remote control TV-OUT button), then transferred to the corresponding TV AV
video states for startup.
2.2 Co ect With TV YPbPr compo e t i put
14

1. Connect YPbPr Component cable into the product interface,the other three color input into a
TV set. Connection can be made by color.
2. A two AV cable (red, white), respectively insert the AV output ports L, R,another two
entered into TV audio ports L, R, according to the color connection is needed, or 2 (white, red)
into the Power Amplifier or speaker for audio input.
3. Connected to the power supply, set the "TV Output Display Settings" to "720P, 1080I" such
as output, and then transferred to the corresponding TV YPbPr Component Video state .
2.3 HDMI i terface to co ect TV (Suggested)
Note:
When connect to the corresponding TV input, for which TV have several AV Video/component
interface, please calibrated TV’s AV Video Status.
When Screen not display or TV screen is distorted, it may be wrong standard. Pls Make sure
that TV and the media player output mode.
15

3. Startup Media Player
Follow the above steps to well connect and set up media player with TV, turn on the power
switch, then enter into the main menu.
Note:
All available external storage device will show on the right corner of Main Menu (In blue can be
used , Contrary in Grey).
3.1 Mai Me u. I troductio
7 main function icon on Main Menu:
Movie ,Photos ,Music ,File ,Text ,Flash
,Network Setup .
16

Move to your desired function, press “OK” to enter in. If any empty device connect to player,
there will Tips “No file”.
3.2 Movie Play
Press “Left / Right” button on the remote to select the Movie icon, Press “OK” to enter into
Movie thumbnail or Movie list Menu
a) Press “Up/Down/Right/Left ” button to select the Movie, Press “OK” to play the selected
Movie
b) Press “ xit” button to return the Movie view interface, Press again to return to the Main
Menu.
c) Press “Movie” button to switching the Movie main Menu interface.
3.2.1 Movie thumbnail
When setting Movie setup View Thumbnail, Select Movie on the Main Menu and Press→ → → →
“OK” to enter into Movie thumbnail (or press Movie quick button to enter into Movie
thumbnail/List interface. Movie sorting according to the options under “Setting”-> “Movie
setup”-> “The order of movie”. When the cursor highlight the icon of one Movie, “Duration”,
“File size” , “File type” , such info of Movie will show on the left interface.
Video preview:
17

3.2.2 Menu of Movie list
When setting Movie setup View Thumbnail. Select Movie on the Main Menu and Press→ → →
“OK” to enter into Movie thumbnail Video preview will show the Movie on the left interface.
3.2.3 Play Movie
a) In Movie play status. Press the “OSD” button on remote, the Movie info list will show on the
bottom of the screen (Preview, backward, play/stop, subtitle, audio, video, forward, Next).
Press “Left/Right” button to select the function and Press “OK“ to confirm.
18

b) In the process of playing video file, press “9” key, recall an time selection interface, time
selection play can be set. (The election time should not longer than the total time the file).
c) When Play Movie Press “Return” button to return video list/thumbnail interface, press “OK”
key to play again. If “Movie setup” resume was set as “on”, the interface will displays resume
play prompt. If you select “Yes”, the platform will continue to play the file where you left off
last time, if you select "No", the platform will begin re-playing.
19

3.3 Photo Play
a) When the Setting Photo setup View thumbnail ,Select the photo the by the "Left/→ → →
Right" key, press "OK” button to enter into the picture thumbnails or pictures list of the menu.
b) Through "Up/Down/Left/Right" select preview images. Click "Slideshow button" Start Auto
Play pictures, Press "Play/Pause” button to" stop broadcasting pictures. Press " xit" button to
return to the photo view of the main interface.
3.3.1 Photo thumbnail preview
Select "Picture" icon on the main interface, press the remote control “OK“ button to enter into
the picture thumbnails. The sequence of all the pic will be according to the user ‘s setting
("Settings" "Picture Settings" "The order of image file"). On the left of the screen will→ →
show the "Image Type" "Image Size", "Image Resolution" "Picture-taking time."
3.3.2 Photo list menu
Select "Picture" option on the main interface by remote control "OK" button to enter into the
image list of the menu.
20
Table of contents
Other Ferguson Media Player manuals
