Ferroli TOP FAN Plus rem User manual

TOP FAN Plus rem
Fan coil
INSTALLATION MANUAL
EN

Dear Customer,
Thank you for having purchased a FERROLI fan coil. It is the result of many years experience, particular research
and has been made with top quality materials and higlly advanced technologies.The CE mark guaranteed thats the
appliances meets European Machine Directive requirements regarding safety.
The qualitative level is kept under constant surveillance. FERROLI products therefore offer SAFETY, QUALITY and
RELIABILITY.
-
ces are subject to variations without prior notice.
Thank you once again for your preference.
FERROLI S.p.A
The manufacturer declines all responsibility for any inaccuracies in this manual due to printing or typing errors.
The reserves the right to modify the products contents in this catalogue without previous notice.

3
TABLE OF CONTENTS
DECLARATIONOFCONFORMITY ........................................................... 4
GENERALWARRANTYCONDITIONS ..................................................... 4
DESCRIPTIONOFTHEAPPLIANCE.......................................................... 5
PURPOSEOFTHEMACHINE............................................................ 5
AVAILABLE VERSIONS AND INSTALLATION METHODS . . . . . . . . . . . . . . . . . . . . . . . . . . . . . . . . . . . . . . 5
DIMENSIONALDATA...................................................................... 8
OVERALL DIMENSIONS OF MODEL THAT INTAKES FROM BELOW. . . . . . . . . . . . . . . . . . . . . . . . . . . . . 8
OVERALL DIMENSIONS OF MODEL THAT INTAKES FROM THE FRONT . . . . . . . . . . . . . . . . . . . . . . . . . 8
OVERALLDIMENSIONSOFDUCTEDMODEL .............................................. 9
OVERALLDIMENSIONSOFBRACKETING................................................. 9
INSTALLATION........................................................................... 10
MAINBANKWETCONNECTIONS........................................................ 10
SUPPLEMENTARY BANK WET CONNECTIONS . . . . . . . . . . . . . . . . . . . . . . . . . . . . . . . . . . . . . . . . . . . . . 10
PACKINGANDCONTENTS.............................................................. 11
SAFETYREGULATIONS................................................................ 11
RECOMMENDATIONS FOR CORRECT INSTALLATION . . . . . . . . . . . . . . . . . . . . . . . . . . . . . . . . . . . . . . . 12
OPERATIONSPRIORTOINSTALLATION................................................... 13
CHOICEOFTHEINSTALLATIONSITE..................................................... 13
TOOLSREQUIREDFORINSTALLATION................................................... 13
ACCESSORY PARTS NORMALLY AVAILABLE ON THE MARKET AND REQUIRED FOR INSTALLATION 14
HOWTOINSTALLTHEAPPLIANCE....................................................... 14
ELECTRICALCONNECTIONS............................................................... 15
GENERALITA’......................................................................... 15
MOTORWIRING-VERSIONVN.......................................................... 16
WIRINGDIAGRAMS ................................................................... 17
RECEIVERINSTALLATION.............................................................. 18
CONFIGURATIONUNIT................................................................. 19

4
The company hereby declares that the machine in question complies with the matters prescribed by the following
Directives:
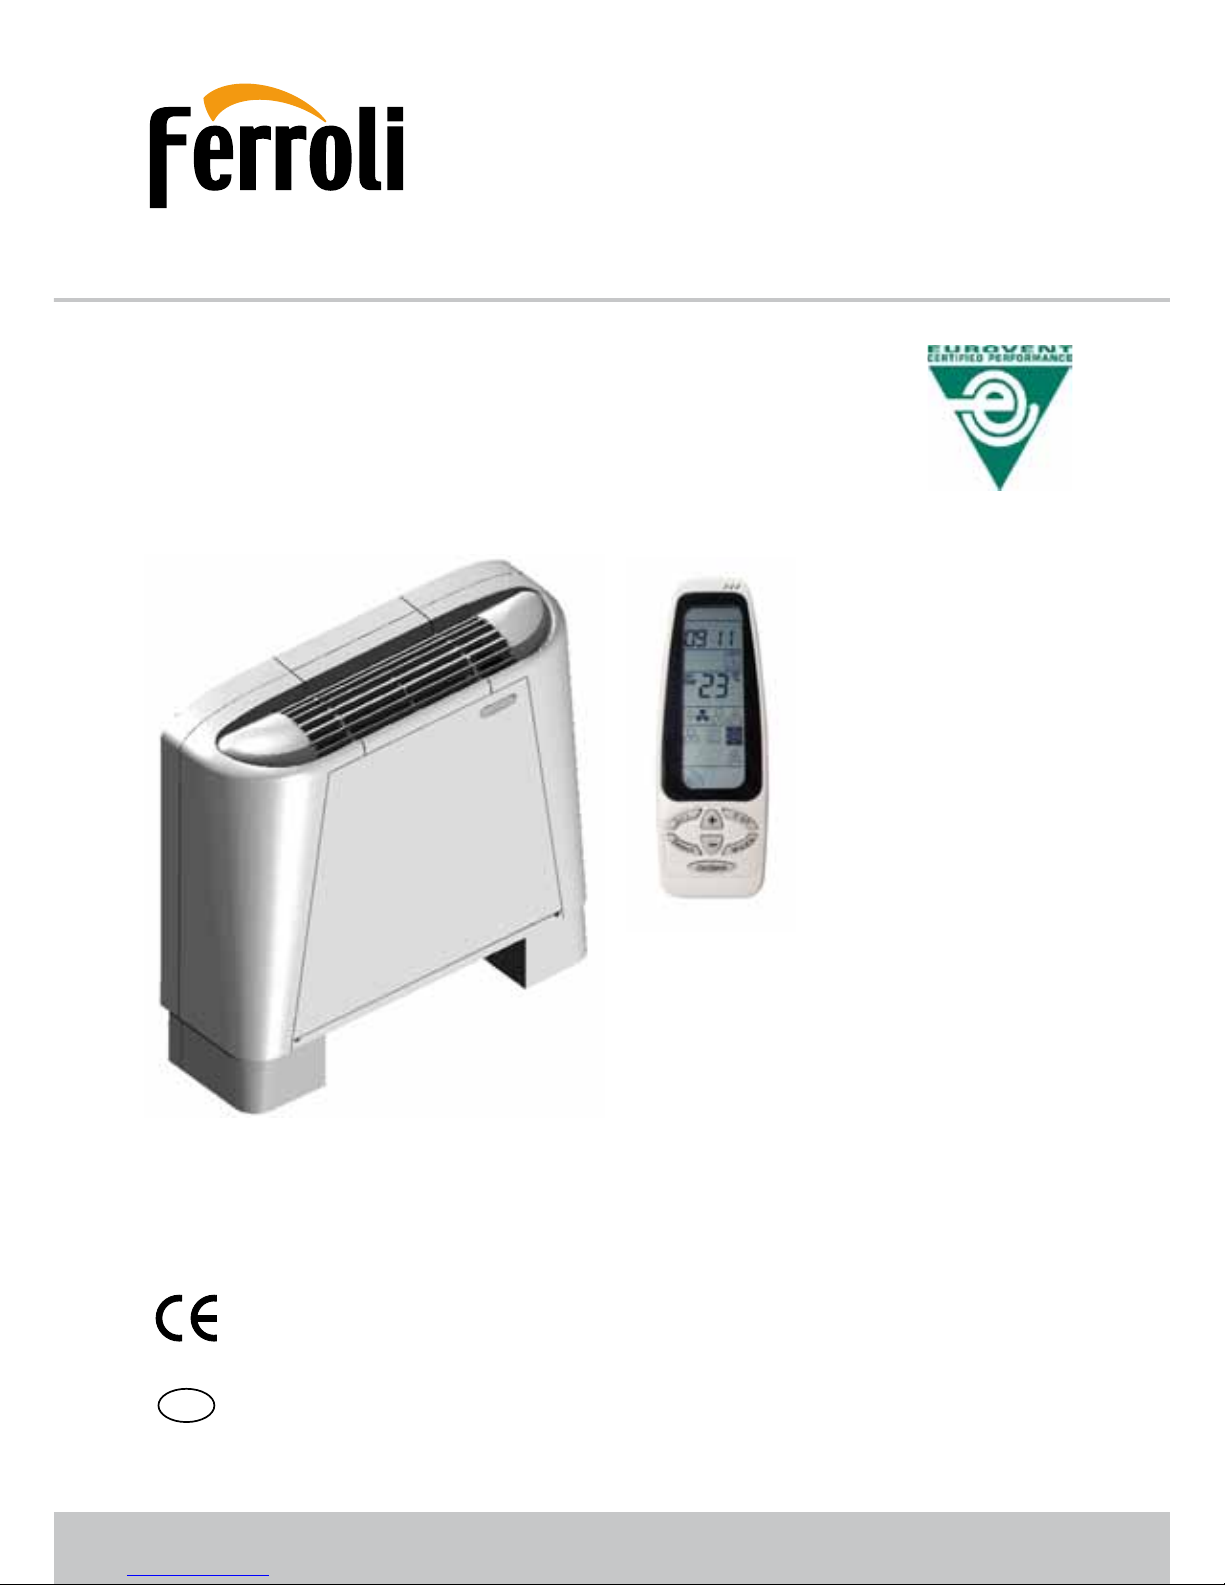
The manufacturer is associated with the EUROVENT certification program.
The products are listed in the certified products guide www.eurovent-certification.com
GENERAL WARRANTY CONDITIONS
The manufacturer guarantees the appliances sold.
The warranty runs from the date on which the appliance is delivered, as attested by the receipt or consign-
ment note, without prejudice to the better conditions printed in this manual.
The warranty terms only become valid and operative if the appliance is set at work within the maximum term
from the date of manufacture.
Interventions covered by the warranty shall not modify the duration of the warranty itself or the date from which it
runs.
Parts replaced under guarantee are the property of the manufacturer to which they must be returned at the user’s
care and expense.
Throughout the entire warranty period, the owner of the appliance shall be obliged to pay the call charge for each
intervention requested unless this latter takes place with a Technical Assistance Center authorized by the manu-
facturer, the appliance has been taken there at the owner’s charge and expense and has also been collected by the
same.
- WARRANTY ESCLUSIONS:
INSTALLATION, incorrect sizing, improper use or use in heavy-duty
-
- FAILURE TO COMPLY WITH THE FOLLOWING INSTRUCTIONS SHALL VOID THE WARRANTY:
which the appliance is installed.
- PERFORMANCES NOT COVERED BY THE WARRANTY:
replaced, all the labour, travel and travelling allowance expenses sustained by the personnel and for the materials,
according to the tariffs in force the moment the assistance is provided.
- LIABILITY:
remains solely responsible for installation which must comply with the technical instructions given in the installer’s
manual, and be carried out in conformity with national plant engineering regulations.
property.
DECLARATION OF CONFORMITY

5
DESCRIPTION OF THE APPLIANCE
PURPOSE OF THE MACHINE
AVAILABLE VERSIONS AND INSTALLATION METHODS
The range of centrifugal convector fans includes three versions. Different power ratings are available for each.
1: VM-B - Convector fan with cabinet and intake from below
Consists of a sheet metal cabinet, a delivery grille with doors to
plus an air filter that can be generated, installed on a metal
frame with covering profile in plastic material housed on guides
formed in the lower part of the frame.
- Installation mode
VERTICAL WALL-MOUNTED VERTICAL AND STANDING HORIZONTAL

6
2: VM-F - Convector fan with cabinet and frontal intake
Consisting of a sheet metal cabinet, a delivery grille
with doors to access a panel if installed in thermoplastic
material, plus an air filter that can be regenerated installed
in the front grille, made of plastic material and sheet metal
and closing at the bottom.
- Installation mode
VERTICAL WALL-MOUNTED HORIZONTAL ON CEILING
DESCRIPTION OF THE APPLIANCE

7
3: VN - Convector fan without cabinet for built-in installation
Without cabinet. Includes a filter which can be regenerated, mounted
on a metal frame with covering profile in plastic material. It can be fitted
Section of this manual.
- Installation mode
VERTICAL INSTALLATION HORIZONTAL ON CEILING
DESCRIPTION OF THE APPLIANCE

8
OVERALL DIMENSIONS OF MODEL THAT INTAKES FROM BELOW
DIMENSIONAL DATA
OVERALL DIMENSIONS OF MODEL THAT INTAKES FROM THE FRONT
455
A
022
001
A
455
022
MODEL 15 20 30 40 50 60 80 100 120
690 690 940 940 1190 1190 1190 1440 1440
14 14 20 20 27 27 27 34 34
MODEL 15 20 30 40 50 60 80 100 120
690 690 940 940 1190 1190 1190 1440 1440
15 15 21 21 28 28 28 36 36

9
DIMENSIONAL DATA
OVERALL DIMENSIONS OF DUCTED MODEL
OVERALL DIMENSIONS OF BRACKETING
MODEL 15 20 30 40 50 60 80 100 120
474 474 724 724 974 974 974 1224 1224
11 11 15 15 22 22 22 29 29
MODEL 15 20 30 40 50 60 80 100 120
415 415 665 665 915 915 915 1165 1165
494
A
612
61Ø
872
Ø 16
06494
137.5 137.5
A
Dimensioni di ingombro
involucro qualora presente
5.77
Overall dimensions
if applicable

10
INSTALLATION
MAIN BANK WET CONNECTIONS
SUPPLEMENTARY BANK WET CONNECTIONS (only for 3R version)
5.642
494
001
25
44
5.741
494
001
5.9
9
161
561
5.94

11
INSTALLATION
PACKING AND CONTENTS
The convector fans are shipped in standard packaging consisting of a cardboard box inside which angular pieces of
polystyrene are fitted to protect the appliance from damage during the handling phase.
The cardboard box contains:
SAFETY REGULATIONS
The manufacturer declines all liability for failure to comply with the safety regulations and recommendations
described below.
The manufacturer also declines all liability for damage caused by improper use of the convector fan and/or
by modifications made without authorization.
The convector fan must be installed by expert, authorized personnel.
- Wear adequate safety clothing when installing the machine, e.g. goggles, gloves, etc.
- Work in a safe, clean and uncluttered place when installing the appliance.
- Comply with the laws in force in the country where the convector fan is installed during use and when disposing
of the packaging materials and products used to clean and service the appliance. Also comply with the instructions
given by the manufacturer of such products.
- Comply with the pertinent anti-pollution standards if the convector fan is dismantled.
- It is absolutely forbidden to touch moving parts or to move between the same.
- Before starting the convector fan, make sure that its parts and the whole system are in a perfect condition.
- Spare parts must comply with the requirements established by the manufacturer. Only use genuine spare parts.
- It ois absolutely forbidden to remove or tamper with the safety devices.
- Only qualified personnel may be allowed to service or replace damaged or worn parts of the convector fan. Moreo-
ver, such work must be carried out in compliance with the instructions in this manual.
- Before proceeding with the servicing or cleaning operations, make sure that the unit is not connected to the elec-
tricity main and that is cannot be accidentally powered.
This installation manual must be read, memorized and kept ready to hand throughout the life of the convec-
tor fan.

12
INSTALLATION
RECOMMENDATIONS FOR CORRECT INSTALLATION
• Horizontal installation:
- The appliance must slant at least 2° to allow the condensation to flow away. See Fig.1.
- The appliance must slant slightly towards the downflow side to prevent water from stagnating in the tray. See Fig.2.
- Make sure that the drain pipe is perfectly straight. See 1-Fig.3.
Fig.1
Fig.2
Fig.3
Fig.4
Fig.1
Fig.2
Fig.3
Fig.4
Fig.1
Fig.2
Fig.3
Fig.4
Fig.1
Fig.2
Fig.3
Fig.4

13
INSTALLATION
OPERATIONS PRIOR TO INSTALLATION
Comply with the following instructions before beginning to install the appliance:
- Make sure that all parts of the convector fan are in a perfect condition.
- Make sure that the appliance has not sustained damage during transport. Immediately notify the haulage
contractor if damage is discovered. Check to make sure that the accessories required for installation and the relative
documentation are included in the pack.
- Convey the packed appliance as near to the installation site as possible.
- Do not stack weights or place tools on top of the packed appliance.
CHOICE OF THE INSTALLATION SITE
Bear the following points in mind before installing the appliance:
- Position the appliance on a solid surface unable to cause vibrations and able to bear the weight of the structure.
- Install the appliance well away from heat or vapour sources and where the air intake and delivery are not obstructed.
- Position the appliance in a place where the condensation can easily flow away.
- Position the appliance in a place where the air can circulate all round the room.
- Ceiling-mounted units with open port air deliveries must be installed on the opposite side to:
This allows the air flow to efficiently oppose re-entering summer heat and winter dispersions. Only when the rooms
are very long may the position be able to influence a flow of air on to a glazed surface. Ceiling-mounted units must
never be installed over doors that open outdoors since they would mainly take in outdoor air and this would notably
lower their efficiency.
- Do not install the appliance in places where there are inflammable gases or acid or alkaline substances which
would irreparably damage the copper, aluminium heat exchangers or the plastic components.
- Do not install the appliance in workshops or kitchens where oil vapours mixed with the treated air could deposit
on the heat exchange banks, thus reducing their performances, or on the internal parts of the unit which could be
damaged.
- For correct operation of the remote control the following general rules should be considered when choosing the
place of installation:
-The maximum operating range for the remote control is approx. 5 m.
-No obstructions such as curtains or plants should be between control and unit. Direct sun on the unit receiver
may interfere with good signal reception.
- The presence of Neon lights could disturb the reception capacity.
TOOLS REQUIRED FOR INSTALLATION
The following tools are required in order to install the convector fan:
- Pipe wrench for wet connections
- Flat cross-head screwdriver
- Drill
- Scissors
- Wire stripper
- Pipe cutters
- Pipe benders
- Measuring tape
- Level
- Goggles and protective gloves

14
INSTALLATION
ACCESSORY PARTS NORMALLY AVAILABLE ON THE MARKET AND REQUIRED FOR INSTALLATION
The following items are also required:
- Plumbing unions
- Anti-condensation tape
- Adhesive tape
- Copper pipe of flexible steel pipe with built-in unions
- Ø 8mm press-in plugs
HOW TO INSTALL THE APPLIANCE
The position chosen for the installation must allow the convector fan to be easily serviced. It must also ensure access
the appliance:
1. Disconnect the electricity main and make sure that no one is able to connect it again during the installation work.
2.
3.
Make sure to release the connection cable between the receiver card and control card.
4. If the appliance is to be wall-mounted, use the supplied template to center the holes. Maintain a distance of at
least 100 mm for the VM-B version. If the appliance is to be installed on the floor on feet, comply with the assembly
instructions supplied with the accessory.
5.
6. Make the wet connections. Refer to Fig. on page 10 for the positions of the plumbing connections. It is advisable to
insulate the water pipes or to install trays, available as accessories for both the horizontal and vertical configurations,
to prevent water from dripping when the appliance operates in cooling mode. The cindensation draining network must
sewers, it is advisable to make a trap to prevent unpleasant odours from rising back into the room.
7. Make the electric connections as describerd in the SAFETY REGULATIONS chapter and with reference to the
wiring diagrams in this manual.
8.
3V units, connect the receiver cable to the card of the remote receiver installed beforehand.
9. Restore the power to the fan coil unit.
10
11.
12. Hook up the electricity main again.
113,5
6,161
93R
1
2
Fig.1

15
ELECTRICAL CONNECTIONS
GENERALITA’
IMPORTANT:
• Disconnect the power supply before start with the wiring connection.
• Disconnect the power to all circuits before accessing the electrical parts.
• Before connecting the power cable, identify line L and neutral N, then make the connections according to
the wiring diagram.
• Make sure the connection to the mains occurs through an omnipolar switch with contact opening of at
least 3 mm.
• Use cable type H05 VVF cable with PVC isolation material in accordance with the standard EN 60335-2-40.
• Use minimum cable section 2,5 mm2.
• Ensure that the mains supply connection is made through a switch that disconnects all poles, with a
contact gap of at least 3 mm.
Proceed in the following way to make the electrical connections:
1. Disconnect the electricity main and make sure that no one can connect it again while the operations are being
carried out
2.
3.
Make sure to release the connection cable between the receiver card and control card.
4. Connect the protection wire coming from the supply line directly to the earth screw, suitable for guaranteeing the
5. Loosen the screws of the electric power source connections.
6. Loosen the wire clamp, insert the power cable and then lock it in place.
7. Electrically connect the supply cables to the terminal block .
8. Make sure the cables are correctly inserted and fixed in the seats, positioning them as described.
9.
3V units, connect the receiver cable to the card of the remote receiver installed beforehand.
10. Cover the terminals with a special lid that comes standard
11.
12.
13. Hook up the electricity main again.
Nota1: If a single-rank bank is mounted, the minimum temperature probe is positioned in the housing formed on it.
Nota2: In ducted versions with a multi-speed motor, three speeds of the six available can be enabled by selecting the
relative connections in the terminal board installed on the motor.
Fig. 2
cavo di alimentazione che
proviene dall’impianto
fissaggi per mezzo di fascette,
da utilizzare per fermare i fili nel
caso si utilizzino fili singoli
fixing by means of clamps, to be used to
secure the wires if single wires are used
power cable coming from
the system

16
ELECTRICAL CONNECTIONS
MOTOR WIRING - VERSION VN
Series VN convector fans have a six-speed motor. The most appropriate connection can be selected to suit the
working head. The appliances leave the production line with the electrical connections shown in the figure below.
enumoC
)ocnaiB(
atlA
)oreN(
aideM
)ulB(
assaB
)ossoR(
enumoC
)ocnaiB(
)oreN(atlA
aideM
)ulB(
assaB
)ossoR(
Mod. 15
Mod. 20
Mod. 30
Mod. 40
Mod. 100
Mod. 120
Mod. 60
Mod. 80
Mod. 50
enumoC
)ocnaiB(
atlA
)oreN(
aideM
)ulB(
assaB
)ossoR(
enumoC
)ocnaiB(
)oreN(atlA
aideM
)ulB(
assaB
)ossoR(
Mod. 15
Mod. 20
Mod. 30
Mod. 40
Mod. 100
Mod. 120
Mod. 60
Mod. 80
Mod. 50
Mod. 15-20-30-40
Mod. 50-60-80-100-120
Common
High
Medium
Low
Common
Medium
Low

17
ELECTRICAL CONNECTIONS
WIRING DIAGRAMS
LN C V1 V2 V3
CN
CN1
Room
Temp
Sensor
T1
T1 T1 T2 T2 T3 T3
Water
Temp
Sensor
T2
LOW
HEA
T
EF
HI
MED
J4
J3
J8
J7
J6
0
J5
0
J11
0
J12
~
J10
AUX
J9
AUX1
J15
COMP
J13
SCHEDA DI CONTROLLO
RICEVITORE
Panel
J1
CONTROL BOARD
RICEVITOR

18
ELECTRICAL CONNECTIONS
RECEIVER INSTALLATION
VM-B, VM-F Series
In these units the receiver is located directly on the case, and does
not require installation. Just make sure to correctly release and
board when installing the unit and for any work requiring removal
of the case.
VN, VN-3V Series
In these units the receiver, supplied separately from the unit, must
the infrared remote control. The receiver must be connected to
the electronic board by an 800 mm long cable supplied with the
units.
follows:
1. Disconnect the power at the mains and make sure it cannot be
restored during the operation.
support to be used.
4. Connect the cable coming from the electronic board to the
connector on the receiver card.
5. Close the receiver cover, checking the connection cable.
6. Reconnect the mains power.
TIMERON
ON/OFF
max 800mm

19
ELECTRICAL CONNECTIONS
CONFIGURATION UNIT
In the table also shows the standard configuration pre-engineered in the factory.
ATTENTION: the command must not be powered during the configuration operations.
To set the jumpers, proceed as follows:
1. Disconnect the power at the mains and make sure it cannot be restored during the operation.
3. Position the jumpers according to the table.
JP1
JP2
JP3
JUMPER Status Application
JP1
OPEN Unit with Valves
CLOSED
JP2
OPEN
CLOSED System 4 Tubes
JP3
OPEN
CLOSED Not used
Fig.1

20
Other manuals for TOP FAN Plus rem
1
Table of contents
Other Ferroli Fan manuals
Popular Fan manuals by other brands

Kichler Lighting
Kichler Lighting 300026 instruction manual

Helios
Helios B KLG Series Installation and operating instructions

Tru-lite
Tru-lite Ultra Low-Profile Solar Attic Fan installation instructions

cecotec
cecotec FORCESILENCE 790 FRESHESSENCE IONIC instruction manual

Goldair
Goldair GCTF360 operating instructions

Cumberland
Cumberland Mega-Flow External Damper Series owner's manual