Fervi C043/500 User manual

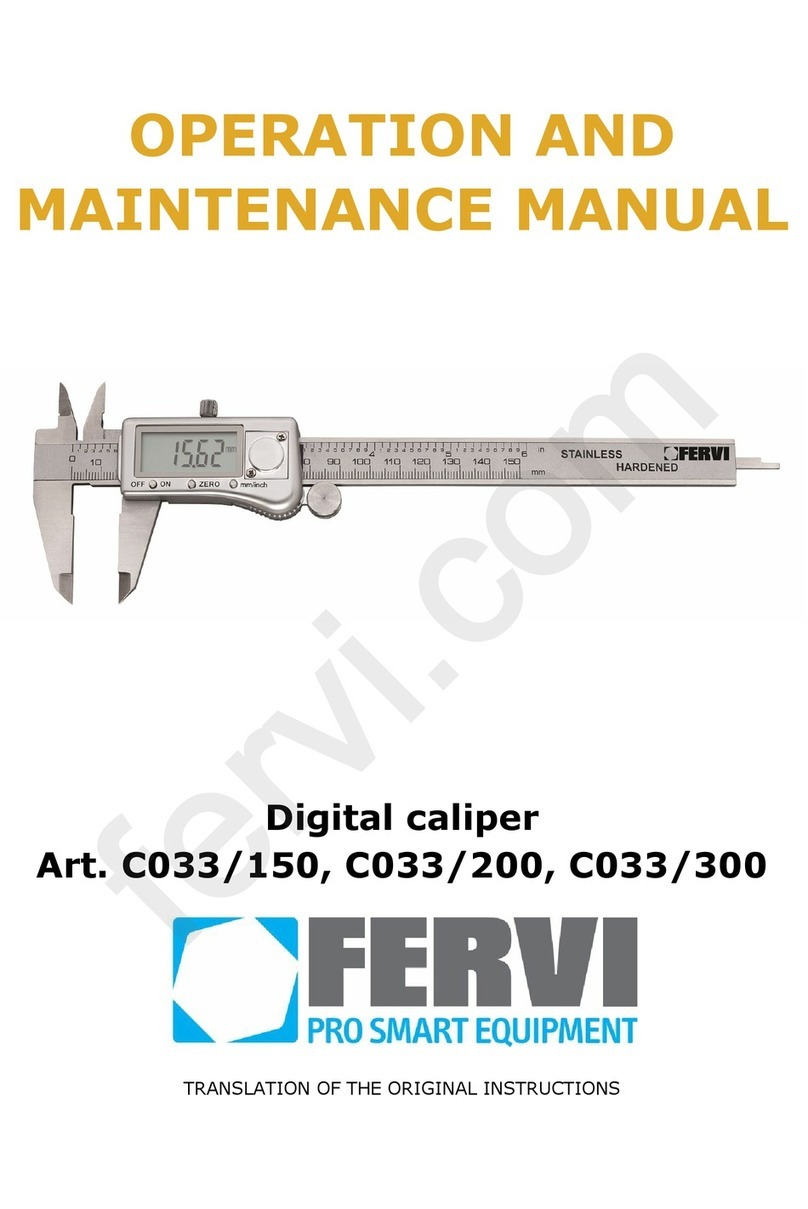
USE AND
MAINTENANCE MANUAL
STAINLESS STEEL ELECTRONIC DIGITAL
CALIPER
Art. C043/500, C043/1000, C047/500
TRANSLATION OF THE ORIGINAL INSTRUCTIONS
fervi.com

MEASURING
INSTRUMENTS
Page 2 of 6
All rights are reserved of reproduction and dissemination of this Technical Manual and documentation cited and/or attached. It is expressly forbidden to reproduce, publish or distribute any information from this Manual. Copyright by FERVI
Index
1. INSTRUCTIONS ...................................................................................... 4
1.1 Operation ......................................................................................................................4
1.1.1 Operation keys .......................................................................................................... 5
1.1.2 Data output............................................................................................................... 5
1.2 Technical specifications ................................................................................................6
1.3 Applications ..................................................................................................................6
1.4 Battery replacement .....................................................................................................6
fervi.com

MEASURING
INSTRUMENTS
Page 3 of 6
All rights are reserved of reproduction and dissemination of this Technical Manual and documentation cited and/or attached. It is expressly forbidden to reproduce, publish or distribute any information from this Manual. Copyright by FERVI
FOREWORD
Read this manual before any operation
ORIGINAL INSTRUCTIONS
Before starting any operation it is compulsory to read this instruction manual. The guarantee
that the instrument will function and perform properly is strictly dependent upon the
application of all the instructions contained in this manual.
Operator Qualification
The operators assigned to using this instrument must be supplied with all of the
necessary information and instruction and should be provided with adequate training
regarding safety in pertaining to:
a) The conditions of use of the equipment;
b) Foreseeable abnormal situations, pursuant to Article 73 of Legislative Decree
81/08.
We guarantee the Machine's conformity to the specifications and technical instructions
described in the Manual on the date of issuance and listed herein; On the other hand,
the machine may also be subject to important technical changes in the future, without
the manual being updated.
Therefore, see FERVI for information about modifications that could be implemented.
REV. 2 February 2014
fervi.com

MEASURING
INSTRUMENTS
Page 4 of 6
All rights are reserved of reproduction and dissemination of this Technical Manual and documentation cited and/or attached. It is expressly forbidden to reproduce, publish or distribute any information from this Manual. Copyright by FERVI
1. INSTRUCTIONS
1) Before using the caliper clean the surface of the protective adhesive using a clean, dry
cloth. To remove condensation dirt, use a cloth lightly dampened with ethyl alcohol.
2) Conditions of use: Temperature 5 – 40°C
Relative humidity: lower than 80%
Prevent the protective adhesive from coming into contact with liquids containing water
that can damage the circuit board.
3) Do not apply voltage (e.g. impact with an electric pen) to any part of the digital caliper
to prevent damage to the integrated circuits.
1.1 Operation
fervi.com

MEASURING
INSTRUMENTS
Page 5 of 6
All rights are reserved of reproduction and dissemination of this Technical Manual and documentation cited and/or attached. It is expressly forbidden to reproduce, publish or distribute any information from this Manual. Copyright by FERVI
1.1.1 Operation keys
ON/OFF: On and off switch
IN/mm: Inch / mm conversion key.
ABS/zero: Conversion key between absolute measurement / relative measurement.
Absolute measurement: This is performed when the characters "INC" are not displayed on the
screen. The closed measurement jaws, are usually taken as the starting point of the
measurement. For external measurements such as measuring the diameter of a tree, the
starting value must be zero. For internal measurements, such as a hole, the preset value
should be "K" mm/inch. The absolute value measured corresponds to the preset value, plus
the movement of the cursor from the starting point of relative measurement (positive
numbers to the right, negative numbers to the left.
Relative measurement: with the characters "INC" display on the screen. Set the zero point by
pressing the "ABS/zero" button. The measured value corresponds to the movement of the
cursor from the relative zero point (negative numbers to the left, positive numbers to the
right).
SET: Pre-adjustment button.
When pressing this button, the preset value will be displayed (The factory default value is
zero). Press the SET button and at the same time the ▲ ▼
or button, at the top of the screen
the letters "SET" will appear on the screen, the instrument is ready for the entry of the
absolute value. Press and hold down the ▲ ▼
or button, the numeric value will decrease or
increase when the desired value is displayed, release the button, press the "SET" button
again and the word "SET" will disappear from the screen. Presetting is performed.
1.1.2 Data output
The data can be transferred to a computer or compatible printer thanks to an optional
interface (ART I001)
Working method of the interface: synchronous series.
Data: binary code, 24 bit. Each datum will be sent twice
The transmitting cycle is 300ms (20ms in fast reading state)
Transmitting time: 0.5 ms.
The four contacts (L -> R): positive power supply (+); Data (D); Pulse frequency (CP);
negative power supply (-).
Pulse range of data: data level ≤ 0.2 V, level "1" ≥ 1.3 V.
Pulse frequency CP: 90KHz, effective for high electrical levels.
fervi.com

MEASURING
INSTRUMENTS
Page 6 of 6
All rights are reserved of reproduction and dissemination of this Technical Manual and documentation cited and/or attached. It is expressly forbidden to reproduce, publish or distribute any information from this Manual. Copyright by FERVI
1.2 Technical specifications
1) Resolution: 0.01 mm
2) Repeatability: 0.01 mm
3) Accuracy: ±(0.02+0.00005 x L). ”L” is the length measured in millimetres.
4) Maximum speed of measurement: 1m/s
5) Power: SR44 cell battery, 1.55 V.
1.3 Applications
1) Keep the measuring surface of the caliper clean, and all the contact parts.
2) Loosen the locking screw and move the cursor. Check if the screen and the buttons are
working properly.
3) Adjust the starting point of measurement:
The closed measurement jaws are usually taken as the absolute zero point for external
measurements (without the characters "INC" displayed on the screen, the displayed value
must be zero, otherwise repeat the adjustment. When measuring the diameter of a hole, the
value of "K" has to be inserted. If the preset value is zero, the measurement plus "K" is the
diameter of the hole. If you frequently measure the diameter of holes, insert the value "K" as
the preset value. See paragraph 3 Operation Keys under the heading SET
4) Relative measurement:
To check the accuracy of pieces in series, measure the sample, press the ABS/zero button
(the screen is cleared and the word INC appears in the upper right corner), measure the
pieces, the screen will display the deviation between the sample and the measured piece
(negative measurement if the measured piece is smaller than the sample, positive
measurement if the measured piece is larger than the sample piece). Pressing the ABS/zero
button again will return the device to absolute measurement.
1.4 Battery replacement
When the screen flashes, or does not even turn on, open the cover and replace the battery.
If the battery purchased does not work satisfactorily, contact the supplier.
NB
1) The positive pole of the battery needs to facing upwards.
2) After replacing the battery it is necessary to repeat the adjustment of the starting point.
fervi.com
This manual suits for next models
2
Table of contents
Other Fervi Measuring Instrument manuals