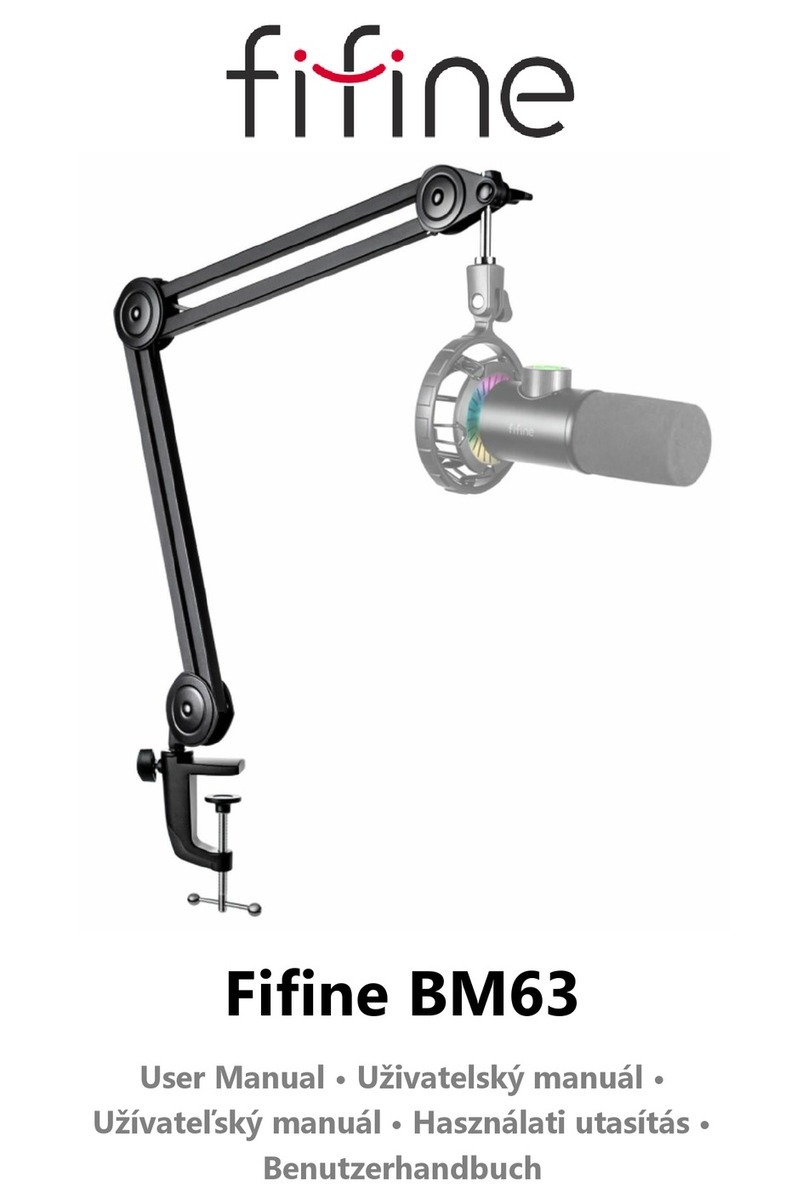
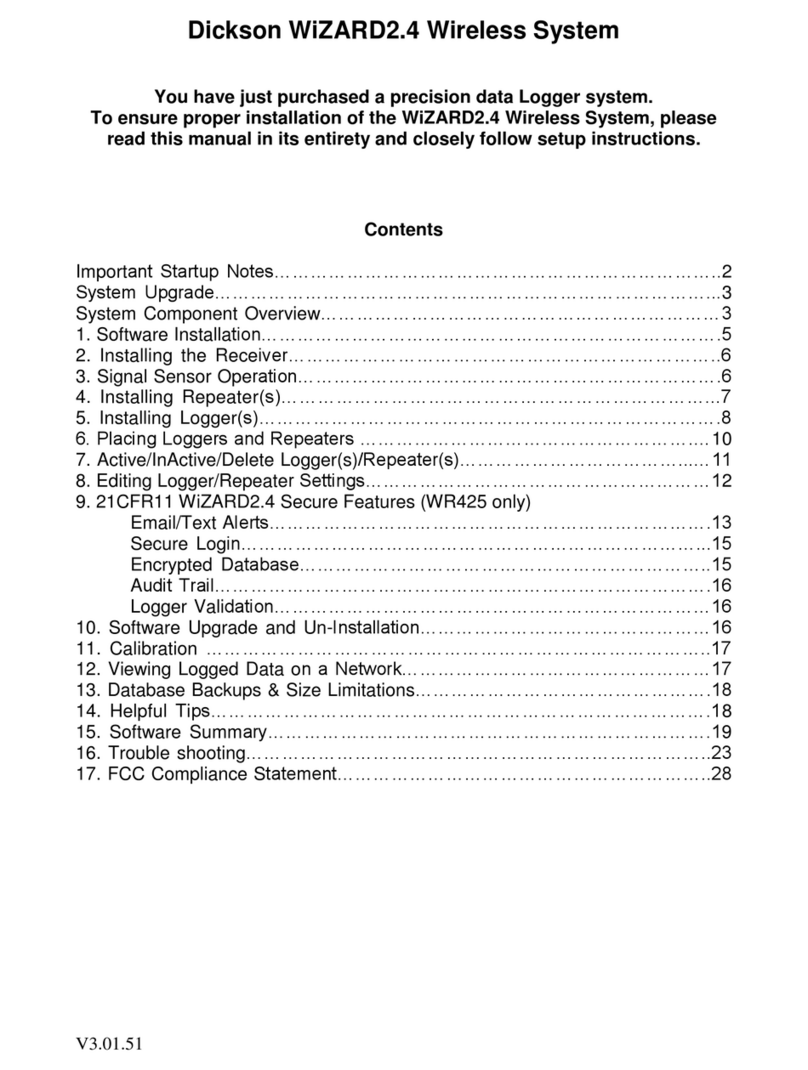
Fifine BM88 User manual

Fifine BM88
User Manual • Uživatelský manuál •
Užívateľský manuál • Használati utasítás •
Benutzerhandbuch

2
English
3 –14
Čeština
15 –25
Slovenčina
26 –37
Magyar
38 –49
Deutsch
50 –61

3
Dear customer,
Thank you for purchasing our product. Please read the following instructions carefully
before first use and keep this user manual for future reference. Pay particular attention
to the safety instructions. If you have any questions or comments about the device,
please contact the customer line.
www.alza.co.uk/kontakt
✆+44 (0)203 514 4411
Importer Alza.cz a.s., Jankovcova 1522/53, Holešovice, 170 00 Praha 7, www.alza.cz

4
Specifications
Material:
Metal
Weight Capacity:
≤ 1,5 kg
Type of Holder:
Universal 5/8
Packaging
1× Boom arm (Cable management
channels are inside)
1× Desk clamp
1× User’s manual
1× Allen wrench
1× Rotatable ball head
Adapter
Adapter
Tips:
The components are packaged together.
The two adapters are already attached to
the rotatable ball head. If needed, please
detach the adapters.

5
Stand Installation
1. To install the desk clamp, place it on the edge of your desk, loosen the ratchet by
rotating it counterclockwise, position the clamp securely, and then tighten the ratchet by
rotating it clockwise.
In situations where the desktop space is limited or obstructed, it is important to make
adjustments to the desk clamp accordingly. Begin by setting the clamp to a range close
to the thickness of the desktop edge. Once set, carefully position the clamp onto the
edge of the desktop. To secure it in place, pull down the ratchet lever towards the left,
and then tighten it by moving the lever to the right. This ensures a firm and stable
attachment.
First step
Second step
Tip: Do not overtight the desk
clamp

6
For optimal stability, it is crucial that both the top and underside of the desk clamp are
resting on flat surfaces. It is worth noting that overly rounded or overhanging desktop
edges may not provide suitable mounting surfaces. Therefore, when choosing a location
for the clamp, make sure the desktop edge is flat and suitable for secure attachment. By
following these guidelines, you can effectively adjust the desk clamp in limited space or
when faced with obstacles, ensuring a secure and stable setup.
2. To install a boom arm, use an allen wrench to loosen the screw on the desk clamp by
turning it counterclockwise. This will create enough space in the hole to insert the boom
arm. Once the boom arm is inserted, tighten the screw by turning the allen wrench
clockwise to firmly connect the boom arm and the desk clamp. This ensures a secure
installation and prevents any unwanted movement.
Loosen the screw to
insert boom arm
Tighten the screw to
install boom arm

7
3. To install rotatable ball head begin by loosening the knob in a counterclockwise
direction. This will provide enough room to fit the rotatable ball-head onto the boom
arm. Carefully align the ball-head with the designated attachment point on the boom
arm. Once properly positioned, tighten the knob by turning it clockwise. This action
ensures a firm and secure connection between the ball-head and the boom arm.
Confirm that the knob is securely tightened to prevent any unwanted movement.
4. To adjust boom arm use an allen wrench, turn the screw counterclockwise to loosen
it. This will allow you to adjust the boom arm to the desired angle. Carefully position the
boom arm to a suitable angle that meets your needs. Once you have set the desired
angle, turn the screw clockwise using the allen wrench to tighten it. This will secure the
boom arm in place at the adjusted angle. Ensure that the screw is firmly tightened to
maintain stability and prevent any unintended movement.
Allen wrench
Tip: Do not overtight the screw.

8
First step
First step
First step
First step
Second step
Second step

9
Boom Arm Stand Usage
1. Adapter Selection: The arm stand is equipped with a 1/4" screw nut, and the product
includes a 1/4" to 3/8" adapter and a 3/8" to 5/8" adapter. Choose the appropriate
adapter based on the size of your microphone, shock mount, mic holder, or camera.
(Note: To disassemble the adapters, unscrew them individually as needed.)
2. Installing the Microphone/Shock Mount/Camera: Place the appropriate adapter on the
arm stand joint, then insert the microphone, shock mount, or camera into the joint.
Securely fasten your mic, shock mount, or camera to the arm stand by tightening the
locking nut. (The accompanying guide pictures depict a FIFINE product as an example.)
Note: Microphone, shock mount, and camera are not included.
1/4 to 3/8
1/4
3/8 to 5/8
5/8“Adapter
3/8“Adapter

10
3. Angle Adjustment: Once you have completed the installation as described above, you
can proceed to adjust the angle (using the microphone as an example). Ensure that the
microphone is securely placed in the boom arm, and the locking nut is tightened to
prevent any accidental falling.
Hold the joint and loosen the knob to adjust the desired angle and height of your
microphone, and then tighten the knob to secure it in a stable position.
¼“ Adapter

11
Usage Of Cable Management Channels
To effectively manage microphone or camera cables, utilize the integrated cable
channels available. Follow these steps:
1. Slide the cover in the opposite direction of the arrow to open it, revealing the cable
channels.
2. Place the microphone or camera cables into the channels, ensuring they are neatly
arranged and organized within.

12
3. Slide the cover in the direction indicated by the arrow to close it, securely enclosing
the cables within the channels.
To open the cable channels, slide the
cover in the opposite of the arrow.
To close the cable channels, slide the
cover in direction of the arrow.
Tip: Avoid breaking the cover directly as it may prevent it from properly closing again.

13
Important Notice
• The desk clamp can accommodate desktop thicknesses of up to 60 mm.
• Avoid using the product to support items weighing more than 1,5 kg.
• Exercise caution and avoid placing hands between boom arm segments when
adjusting the boom arm stand.
• Be particularly careful when setting up the product near children.
• Keep the product away from dirt and dust. If cleaning is necessary, gently wipe it with a
soft cloth lightly moistened with mild, neutral detergent and water. Avoid using volatile
agents as they may cause damage to the product.

14
Warranty Conditions
A new product purchased in the Alza.cz sales network is guaranteed for 2 years. If you
need repair or other services during the warranty period, contact the product seller
directly, you must provide the original proof of purchase with the date of purchase.
The following are considered to be a conflict with the warranty conditions, for
which the claimed claim may not be recognized:
•Using the product for any purpose other than that for which the product is intended
or failing to follow the instructions for maintenance, operation, and service of the
product.
•Damage to the product by a natural disaster, the intervention of an unauthorized
person or mechanically through the fault of the buyer (e.g., during transport,
cleaning by inappropriate means, etc.).
•Natural wear and aging of consumables or components during use (such as
batteries, etc.).
•Exposure to adverse external influences, such as sunlight and other radiation or
electromagnetic fields, fluid intrusion, object intrusion, mains overvoltage,
electrostatic discharge voltage (including lightning), faulty supply or input voltage and
inappropriate polarity of this voltage, chemical processes such as used power
supplies, etc.
•If anyone has made modifications, modifications, alterations to the design or
adaptation to change or extend the functions of the product compared to the
purchased design or use of non-original components.

15
Vážený zákazníku,
Děkujeme vám za zakoupení našeho produktu. Před prvním použitím si prosím pečlivě
přečtěte následující pokyny a uschovejte si tento návod k použití pro budoucí použití.
Zvláštní pozornost věnujte bezpečnostním pokynům. Pokud máte k přístroji jakékoli
dotazy nebo připomínky, obraťte se na zákaznickou linku.
www.alza.cz/kontakt
✆+420 225 340 111
Dovozce Alza.cz a.s., Jankovcova 1522/53, Holešovice, 170 00 Praha 7, www.alza.cz

16
Specifikace
Materiál:
Kov
Hmotnostní kapacita:
≤1,5 kg
Typ držitele:
Univerzální 5/8
Balení
1× rameno (uvnitř jsou drážky pro vedení kabelů)
1× stolní svorka
1× uživatelská
příručka
1× imbusový klíč
1× otočná kulová hlava
Adaptér
Adaptér
Tipy:
Komponenty jsou zabaleny společně.
Oba adaptéry jsou již připevněny k otočné
kulové hlavě. V případě potřeby adaptéry
odpojte.

17
Instalace stojanu
1. Chcete-li stolní svorku nainstalovat, položte ji na okraj stolu, uvolněte západku
otáčením proti směru hodinových ručiček, svorku bezpečně umístěte a poté západku
utáhněte otáčením ve směru hodinových ručiček.
V situacích, kdy je prostor na pracovní ploše omezený nebo překáží, je důležité
odpovídajícím způsobem upravit stolní svorku. Začněte nastavením svorky na rozsah
blízký tloušťce okraje pracovní plochy. Po nastavení opatrně umístěte svorku na okraj
pracovní plochy. Chcete-li ji zajistit na místě, stáhněte páku ráčny směrem doleva a poté
ji dotáhněte posunutím páky doprava. Tím zajistíte pevné a stabilní upevnění.
První krok
Druhý krok
Tip: Stolní svorku příliš
neutahujte

18
Pro optimální stabilitu je důležité, aby horní i spodní strana stolní svorky spočívala na
rovném povrchu. Je třeba poznamenat, že příliš zaoblené nebo převislé hrany
pracovního stolu nemusí poskytovat vhodné montážní plochy. Proto se při výběru
umístění svorky ujistěte, že je okraj pracovní plochy rovný a vhodný pro bezpečné
upevnění. Dodržením těchto pokynů můžete efektivně nastavit stolní svorku v
omezeném prostoru nebo při překážkách a zajistit tak bezpečné a stabilní nastavení.
2. Chcete-li nainstalovat rameno, povolte pomocí imbusového klíče šroub na stolní
svorce otáčením proti směru hodinových ručiček. Tím se v otvoru vytvoří dostatečný
prostor pro vložení ramene. Po vložení ramene utáhněte šroub otáčením imbusového
klíče ve směru hodinových ručiček, abyste rameno a stolní svorku pevně spojili. Tím
zajistíte bezpečnou instalaci a zabráníte nežádoucímu pohybu.
Uvolněte šroub pro
vložení ramene
Utažení šroubu pro
instalaci ramene

19
3. Instalaci otočné kulové hlavy začněte povolením knoflíku proti směru hodinových
ručiček. Tím získáte dostatek prostoru pro nasazení otočné kulové hlavy na rameno.
Opatrně srovnejte kulovou hlavu s určeným upevňovacím bodem na rameni. Po
správném umístění utáhněte knoflík otáčením ve směru hodinových ručiček. Tento úkon
zajistí pevné a bezpečné spojení kulové hlavy s ramenem. Zkontrolujte, zda je knoflík
pevně utažen, aby se zabránilo nežádoucímu pohybu.
4. Pro nastavení ramene použijte imbusový klíč, otáčením šroubu proti směru
hodinových ručiček jej povolte. To vám umožní nastavit rameno do požadovaného úhlu.
Opatrně nastavte rameno do vhodného úhlu, který vyhovuje vašim potřebám. Jakmile
nastavíte požadovaný úhel, otočte šroubem ve směru hodinových ručiček a utáhněte jej
pomocí imbusového klíče. Tím zajistíte rameno na místě v nastaveném úhlu. Ujistěte se,
že je šroub pevně dotažen, aby byla zachována stabilita a nedošlo k nechtěnému
pohybu.
Imbusový klíč
Tip: Šroub příliš neutahujte.

20
První krok
První krok
První krok
První krok
Druhý krok
Druhý krok
Table of contents
Languages:
Other Fifine Microphone System manuals

