manuals.online logo
Brands
  1. Home
  2. •
  3. Brands
  4. •
  5. Filippi 1971
  6. •
  7. Indoor Furnishing
  8. •
  9. Filippi 1971 VITTER DESIGN SMART WORKING User manual

Filippi 1971 VITTER DESIGN SMART WORKING User manual

SMART WORKING
2
ENGLISH
Important information. Please read the instructions carefully before starting the installation. Keep this information for further reference.
WARNING
Check that the objects, in their final position, have a stable configuration and that there is no risk of overturning. If the object falls, it can cause serious injuries or even the death.
Do not allow children to approach during assembly, the components can be dangerous. Do not allow children to hang or climb on objects.
It is recommended to move the VittEr® tops at least in two. It is advisable to make sure that the floors have a consistency that is adequate to support the weight of the objects. It
is recommended to use oil to make the screws and bolts slide better when inserting.
ITALIANO
Informazioni importanti. Leggere attentamente le istruzioni prima di iniziare l’installazione. Conserva queste informazioni per ulteriori
consultazioni.
AVVERTENZA
Verificare che gli oggetti, nella loro posizione definitiva, abbiano una configurazione stabile e che non ci siano rischi di ribaltamento. Se
l’oggetto si ribalta può causare lesioni gravi o mortali.
Non permettere ai bambini di avvicinarsi durante la fase di montaggio, i componenti possono essere pericolosi. Evitare che i bambini si
appendano o si arrampichino sugli oggetti.
Si consiglia di eseguire le operazioni di spostamento dei piani in VittEr® almeno in due persone.
Si consiglia di accertarsi che i pavimenti abbiano una consistenza adeguata a sostenere il peso degli oggetti.
Si consiglia di utilizzare dell'olio per far scorrere meglio le viti ed i bulloni al momento dell’inserimento.
Verranno inserite delle bussole filettate M5/H8.5mm
LA TRADUZIONE IN ALTRE LINGUE È DISPONIBILE SU RICHIESTA.
Further languages are available upon request.
3
+39 035861611 www.vitterdesign.com
4
36X
VITI FLETTATE A CROCE
Screws
3X
M5
M5
4X
SPALLE VERTICALI
VittEr vertical supports
3X
RIPIANI ORIZZONTALI SENZA
AGGANCI
VittEr horizontal supports
without hooks
1X
RIPIANO ORIZZONTALE CON
AGGANCI
VittEr horizontal supports
with hooks
1X
PIANO TAVOLO
VittEr top
1X
RIPIANO PICCOLO
Small VittEr support
1X
LONGHERONE
Spar
42X
RONDELLE
Washers
2X
SPALLE TAVOLO
Table legs
1X
SPALLA TAVOLO
Table leg
1X
SPALLA TAVOLO
Table leg
1X
PIASTRA FISSAGGIO TAVOLO - LIBRERIA
Table-bookcase fixing plate
6X
PIASTRE FISSAGGIO LIBRERIA
Bookcase fixing plate
1X
PIASTRA FISSAGGIO SPALLE
TAVOLO
Table leg fixing plate
5
POSIZIONARE ORIZZONTALMENTE SUL PAVIMENTO LE QUATTRO SPALLE VERTICALI
Place the four VittEr vertical supports horizontally on the floor
SMART WORKING -
VITTER DESIGN
4X
SPALLE VERTICALI
VittEr vertical supports
6
INSERIRE IL RIPIANO ORIZZONTALE CON AGGANCI NELL’ULTIMO INCASTRO DELLA SPALLA VERTICALE E
FISSARE IL RIPIANO TRAMITE LE PIASTRE FISSAGGIO LIBRERIA NEI PUNTI INDICATI
Insert the VittEr horizontal support with hooks into the last recess of the VitteEr vertical supports and fix the VittEr horizontal support by means of the bookcase
fixing plates as shown
SMART WORKING -
VITTER DESIGN
PIASTRE FISSAGGIO
LIBRERIA
Bookcase fixing plate
INSERIRE IL RIPIANO PICCOLO NELL’INCASTRO INTERMEDIO DELLE SPALLE VERTICALI E FISSARLO TRAMITE
PIASTRE FISSAGIO LIBRERIA
Insert the small VittEr support into the middle recess of the VittEr vertical support and fix it through the bookcase fixing plates
7
SMART WORKING -
VITTER DESIGN
PIASTRE FISSAGGIO
LIBRERIA
Bookcase fixing plate
DISPORRE LA STRUTTURA FORMATASI IN VERTICALE
Place the structure vertically
8SMART WORKING -
VITTER DESIGN
A SEGUIRE, INSERIRE I TRE RIPIANI ORIZZONTALI SENZA AGGANCI NEGLI INCASTRI DELLE SPALLE IN
VITTER
Then, insert the three VittEr horizontal supports without hooks into the recess of the VittEr vertical supports
9
SMART WORKING -
VITTER DESIGN
LA STRUTTURA DELLA LIBRERIA È PRONTA. A QUESTO PUNTO INIZIARE A MONTARE LE SPALLE DEL TAVOLO.
POSIZIONARE PARALLELAMENTE LE DUE SPALLE TAVOLO COME IN FIGURA.
The structure of the bookcase is ready. Now start assembling the table legs. Position the two table legs as in the figure below.
10 SMART WORKING -
VITTER DESIGN
INSERIRE NEL LATO ESTERNO LA SPALLA TAVOLO IN FIGURA 1 MENTRE INTERNAMENTE LA SPALLA TAVOLO
IN FIGURA 2
Insert the table leg shown in figure 1 on the external side and the table leg shown in figure 2 on the internal side.
11
SMART WORKING -
VITTER DESIGN
Figura 1
Figure 1
Figura 2
Figure 2
12
PRENDERE IL PIANO TAVOLO E FISSARE LA PIASTRA FISSAGGIO SPALLE TAVOLO SOTTO IL PIANO
TAVOLO COME INDICATO IN FIGURA.
Take the VittEr top and fix the table leg fixing plate under the VittEr top as shown below.
SMART WORKING -
VITTER DESIGN
13
SMART WORKING -
VITTER DESIGN
A SEGUIRE, INSERIRE IL PIANO TAVOLO NEGLI
INCASTRI, FISSARLO ALLA PIASTRA SOTTOSTANTE
TRAMITE VITI E APPOGGIARLO SULLE SPALLE
TAVOLO.
Then, insert the VittEr top into the recess, fix it with screws to the fixing plate
and place it on the table legs.
FISSARE LA PIASTRA FISSAGGIO TAVOLO -
LIBRERIA NEGLI APPOSITI INCASTRI DELLA
LIBRERIA.
Fix the table-bookcase fixing plate into the bookcase recesses.
X4
LONGHERONE
Spar
14 SMART WORKING -
VITTER DESIGN
INSERIRE IL LONGHERONE SOPRA LE SPALLE TAVOLO E FISSARLO NELLA PIASTRA FISSAGGIO TAVOLO -
LIBRERIA E NELLA PIASTRA FISSAGGIO SPALLE TAVOLO TRAMITE APPOSITI BULLONI.
Insert the spar over the table legs and fix it in the table - bookcase fixing plate and in the table leg fixing plate with bolts.
X2
X4
ASSICURARSI DI AVER FISSATO TUTTE LE PIASTRE MONTATE. LA POSTAZIONE SMART WORKING È ORA
COMPLETA.
Ensure that all plates are fixed in place. The smart working station is ready.
15
SMART WORKING -
VITTER DESIGN
CONSIGLI UTILI
Useful tips
PROPRIETÀ DEL VITTER®
VittEr® properties
16
✓In caso le parti in VittEr® si sporchino, pulire con un comune sgrassatore.
✓Per ravvivare il colore delle parti in VittEr®, versare un leggero strato di olio di vaselina sul lato interessato e
strofinare con un panno.
✓In caso le parti in VittEr® si graffino leggermente, versare un leggero strato di olio di vaselina sul lato interessato e
strofinare con un panno.
➢In case VittEr® parts get dirty, clean with a common degreaser.
➢To revitalize the color of the VittEr® parts, pour a light layer of Vaseline oil on the affected side and rub with a cloth.
➢In case the VittEr® parts scratch slightly, pour a light layer of Vaseline oil on the affected side and rub with a cloth.

Other Filippi 1971 Indoor Furnishing manuals
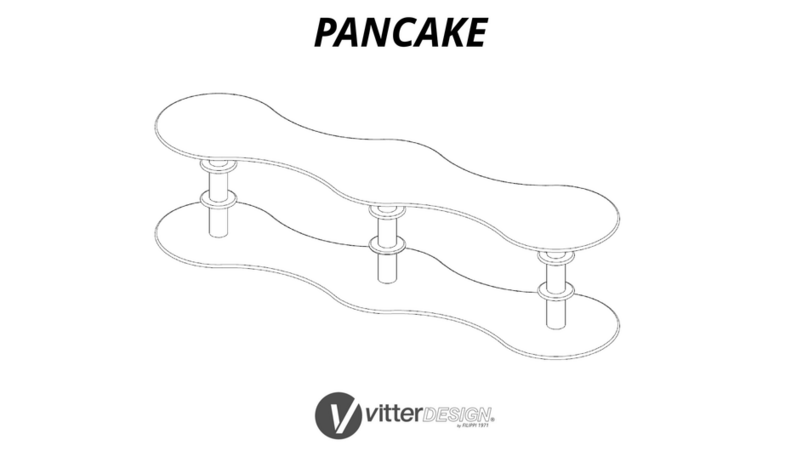
Filippi 1971 VittEr PANCAKE User manual
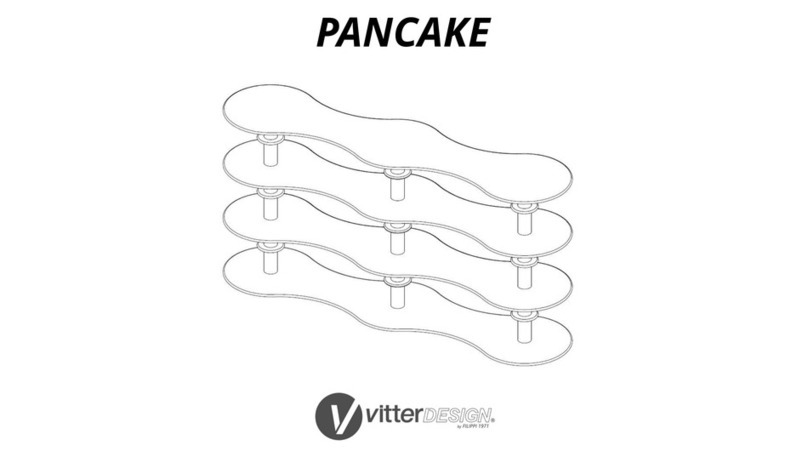
Filippi 1971

Filippi 1971 VittEr PANCAKE User manual

Filippi 1971 VittEr PANCAKE User manual

Filippi 1971

Filippi 1971 VittEr PANCAKE User manual

Filippi 1971 VittEr TOME User manual

Filippi 1971

Filippi 1971 VittEr TOME User manual

Filippi 1971 VittEr ALFA User manual

Filippi 1971

Filippi 1971 VittEr ALFA User manual

Filippi 1971 VittEr PANCAKE User manual

Filippi 1971

Filippi 1971 VittEr PANCAKE User manual

Filippi 1971 VittEr PANCAKE User manual
Filippi 1971

Filippi 1971 VittEr PANCAKE User manual

Filippi 1971 VittEr PANCAKE User manual

Filippi 1971

Filippi 1971 VittEr PANCAKE User manual

Filippi 1971 VittEr TOME User manual

Filippi 1971

Filippi 1971 VittEr TOME User manual

Filippi 1971 VittEr BETA User manual

Filippi 1971

Filippi 1971 VittEr BETA User manual

Filippi 1971 VittEr PANCAKE User manual

Filippi 1971

Filippi 1971 VittEr PANCAKE User manual

Filippi 1971 VittEr ALFA User manual

Filippi 1971

Filippi 1971 VittEr ALFA User manual

Filippi 1971 VittEr PERTUS User manual

Filippi 1971

Filippi 1971 VittEr PERTUS User manual

Filippi 1971 VittEr PANCAKE User manual

Filippi 1971

Filippi 1971 VittEr PANCAKE User manual

Popular Indoor Furnishing manuals by other brands
SAFAVIEH COUTURE SFV8200A-K quick start guide
SAFAVIEH COUTURE

SAFAVIEH COUTURE SFV8200A-K quick start guide

Mocka Brixton Accessories assembly

Mocka

Mocka Brixton Accessories assembly
Home Decorators Collection FZA71015R-2PKB Use and care guide

Home Decorators Collection

Home Decorators Collection FZA71015R-2PKB Use and care guide

Avenue Six EMERSON EMS26G quick start guide

Avenue Six

Avenue Six EMERSON EMS26G quick start guide

Rize Home Clarity II owner's manual

Rize Home

Rize Home Clarity II owner's manual
Argos Canterbury 3 DR Robe Assembly instructions
Argos

Argos Canterbury 3 DR Robe Assembly instructions

BFM Futureglass State Console Conference Room... Assembly instructions

BFM

BFM Futureglass State Console Conference Room... Assembly instructions

DREAMS FRANCIS OTTOMAN Assembly

DREAMS

DREAMS FRANCIS OTTOMAN Assembly

modway MOD-6234 manual

modway

modway MOD-6234 manual

World Market Cailen 589788 Assembly instructions

World Market

World Market Cailen 589788 Assembly instructions

BRW BAWARIA DKOM 2d3s/185 Assembly manual

BRW

BRW BAWARIA DKOM 2d3s/185 Assembly manual

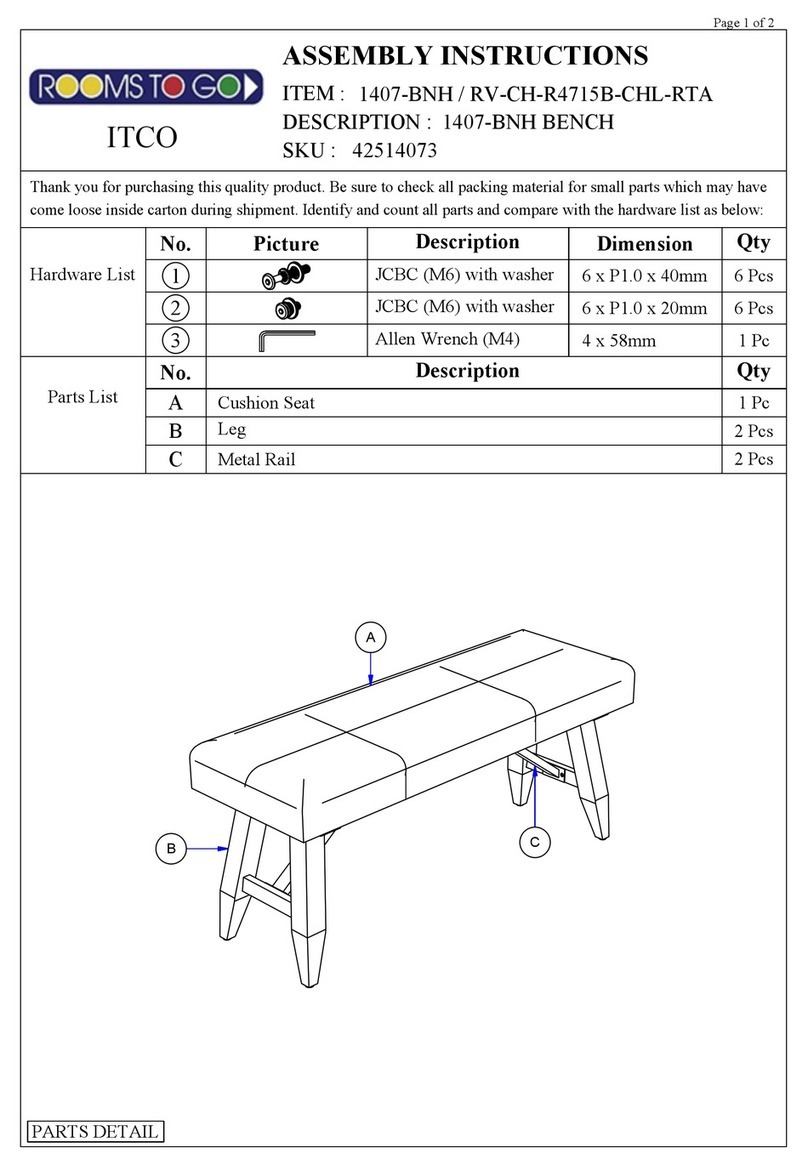
ROOMS TO GO 1407-BNH Assembly instructions

ROOMS TO GO

ROOMS TO GO 1407-BNH Assembly instructions

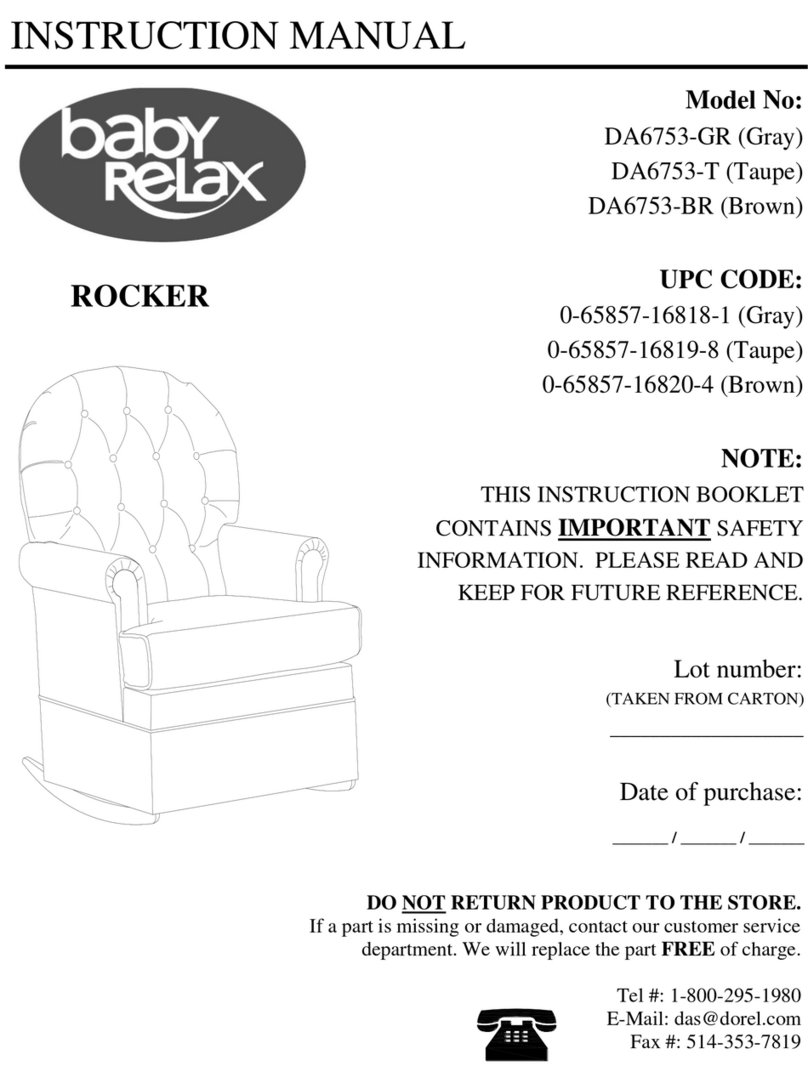
Dorel Asia DA6753-GR instruction manual

Dorel Asia

Dorel Asia DA6753-GR instruction manual

Canada Comfy Chair Plastic Comfy FCC200 Assembly instructions

Canada Comfy Chair

Canada Comfy Chair Plastic Comfy FCC200 Assembly instructions

AKANTE ALICIA ET061 Assembly instructions
AKANTE

AKANTE ALICIA ET061 Assembly instructions

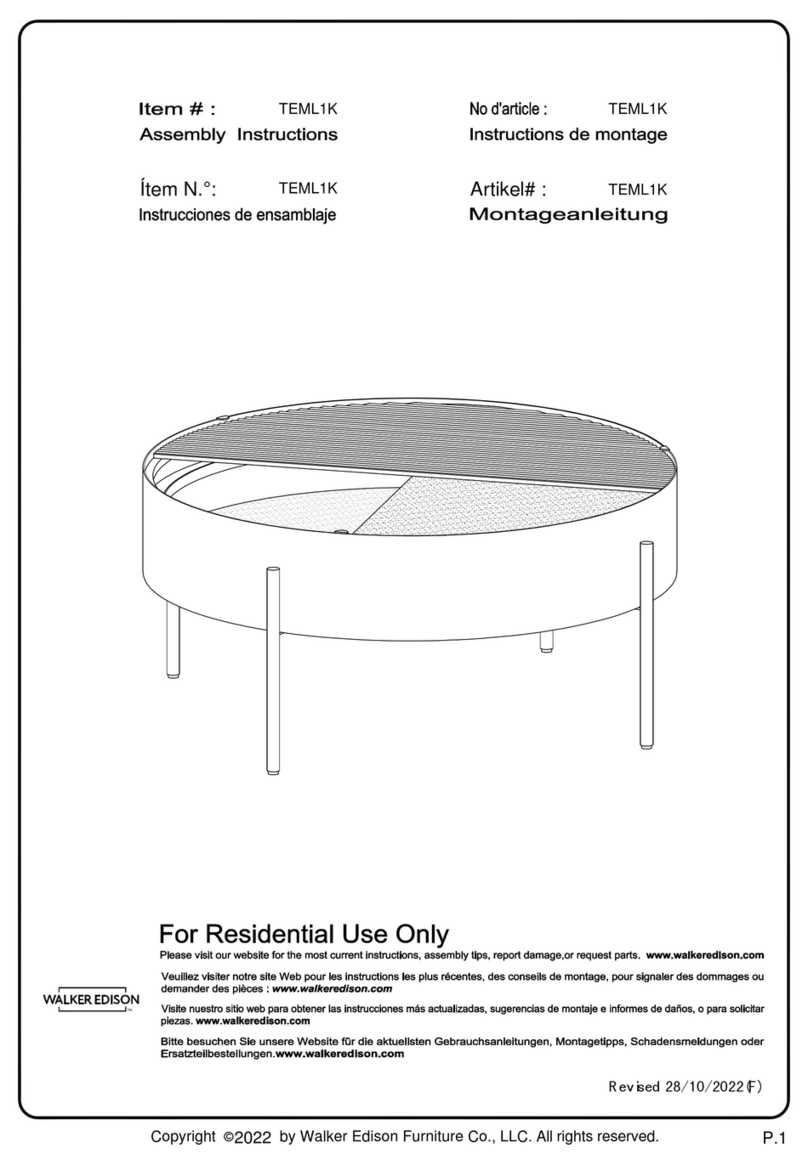
Walker Edison TEML1K Assembly instructions
Walker Edison

Walker Edison TEML1K Assembly instructions

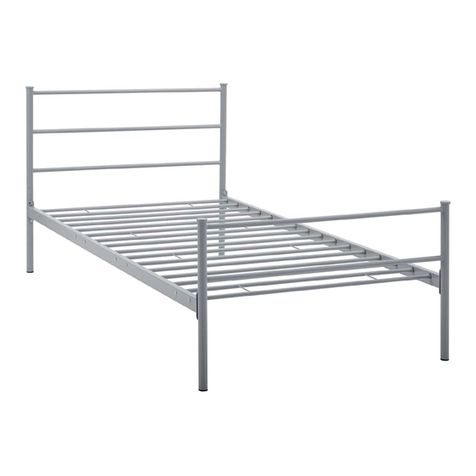
modway MOD-5551 quick start guide

modway

modway MOD-5551 quick start guide
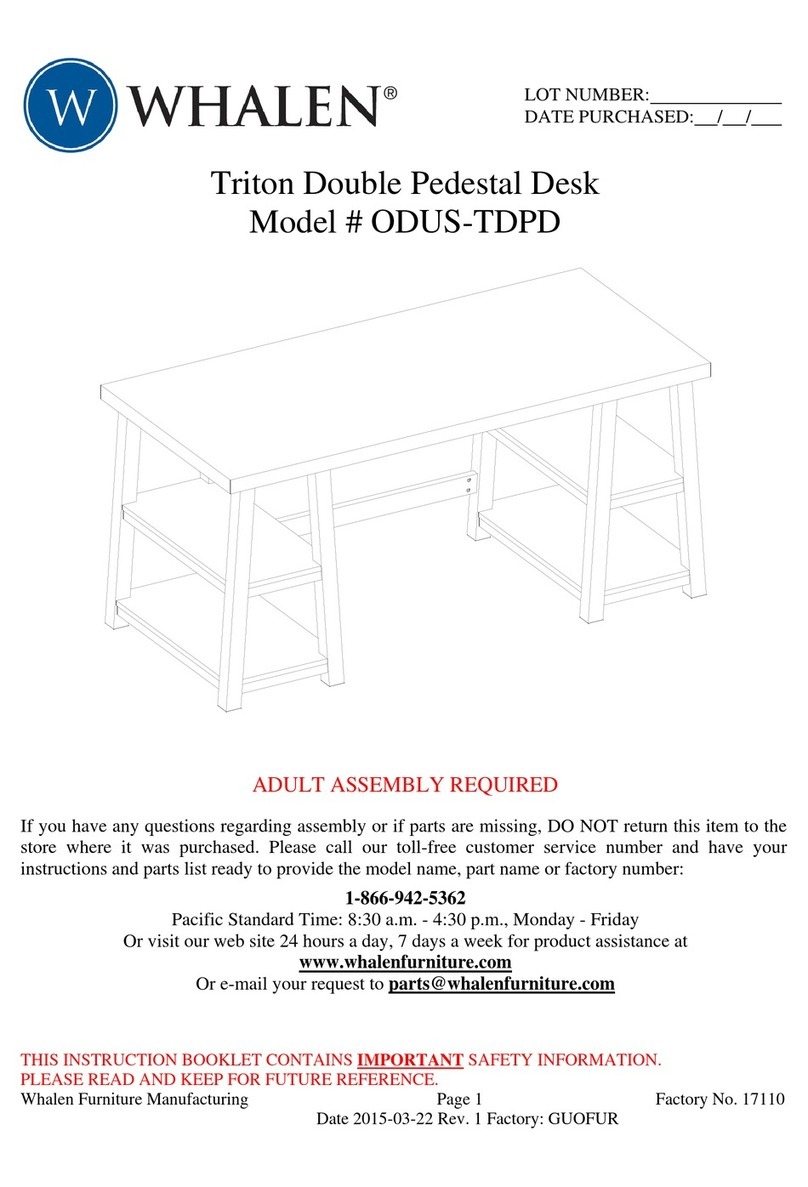
Whalen odus-tdpd Assembly instruction

Whalen

Whalen odus-tdpd Assembly instruction

manuals.online logo
manuals.online logoBrands
  • About & Mission
  • Contact us
  • Privacy Policy
  • Terms and Conditions

Copyright 2025 Manuals.Online. All Rights Reserved.