manuals.online logo
Brands
  1. Home
  2. •
  3. Brands
  4. •
  5. Fimco
  6. •
  7. Lawn And Garden Equipment
  8. •
  9. Fimco 530302 User manual

Fimco 530302 User manual

This manual suits for next models

1

Other Fimco Lawn And Garden Equipment manuals

Fimco BK-120 User manual

Fimco

Fimco BK-120 User manual

Fimco 3PT-45-12V-4 User manual

Fimco

Fimco 3PT-45-12V-4 User manual

Fimco LRP-1824B User manual

Fimco

Fimco LRP-1824B User manual

Fimco UTV-HR-50 User manual

Fimco

Fimco UTV-HR-50 User manual

Fimco LRP-2436B User manual

Fimco

Fimco LRP-2436B User manual

Fimco LG-3025 User manual

Fimco

Fimco LG-3025 User manual

Fimco LG-45-SS User manual

Fimco

Fimco LG-45-SS User manual

Fimco PLG-42 User manual

Fimco

Fimco PLG-42 User manual

Fimco LG-30-EC User manual

Fimco

Fimco LG-30-EC User manual

Fimco LRS-2448 User manual

Fimco

Fimco LRS-2448 User manual

Fimco LRS-2436B User manual

Fimco

Fimco LRS-2436B User manual

Fimco LRP-1836B User manual

Fimco

Fimco LRP-1836B User manual

Fimco LG-65-HP User manual

Fimco

Fimco LG-65-HP User manual

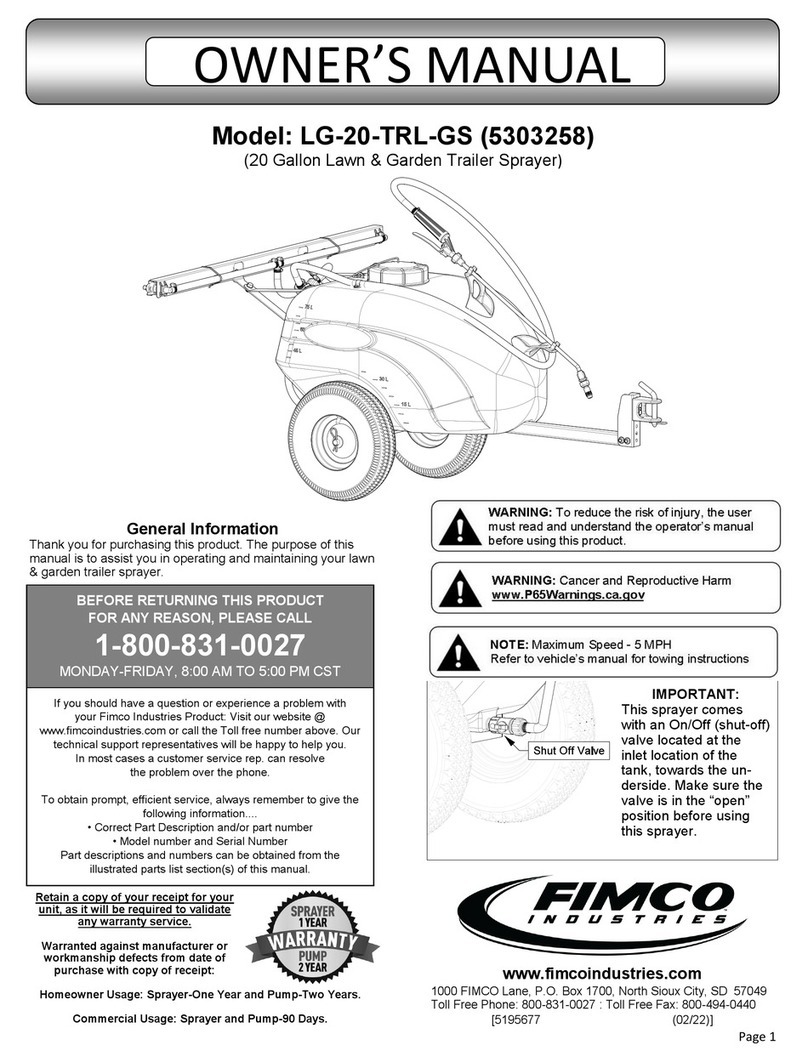
Fimco LG-20-TRL-GS User manual

Fimco

Fimco LG-20-TRL-GS User manual

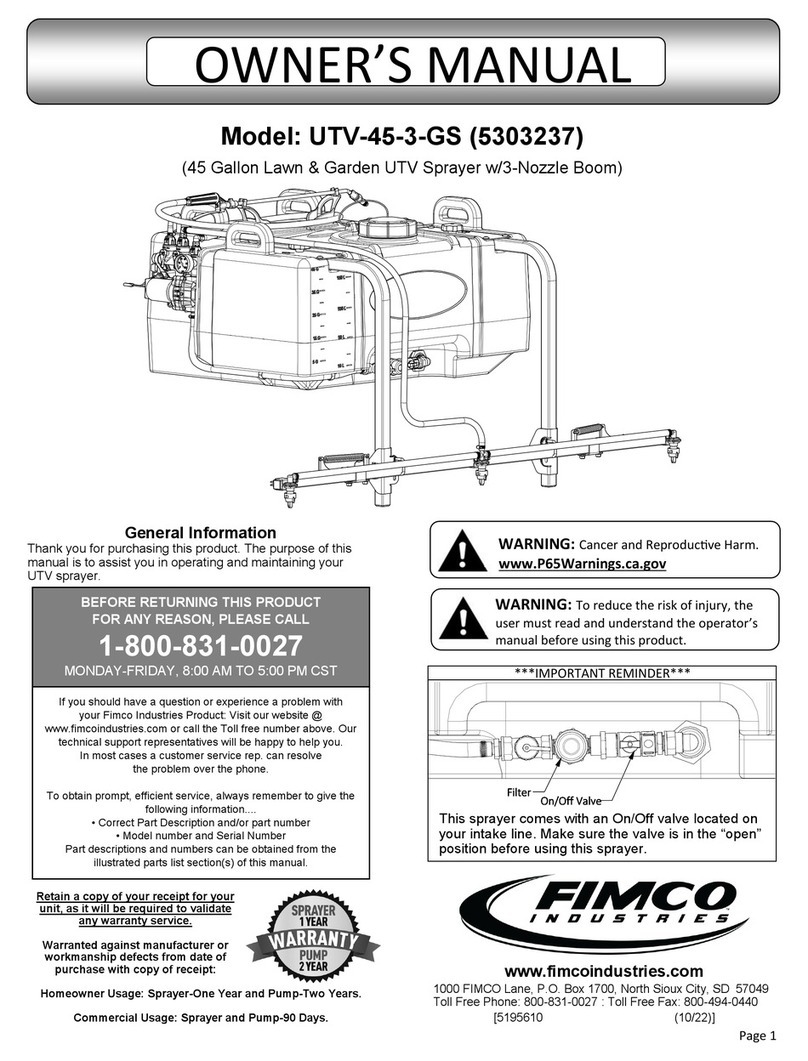
Fimco UTV-45-3-GS User manual

Fimco

Fimco UTV-45-3-GS User manual

Fimco TC-12-P User manual

Fimco

Fimco TC-12-P User manual

Fimco SPK-42 User manual

Fimco

Fimco SPK-42 User manual

Fimco LG-2500-304 User manual

Fimco

Fimco LG-2500-304 User manual

Fimco UTV-65-7 User manual

Fimco

Fimco UTV-65-7 User manual

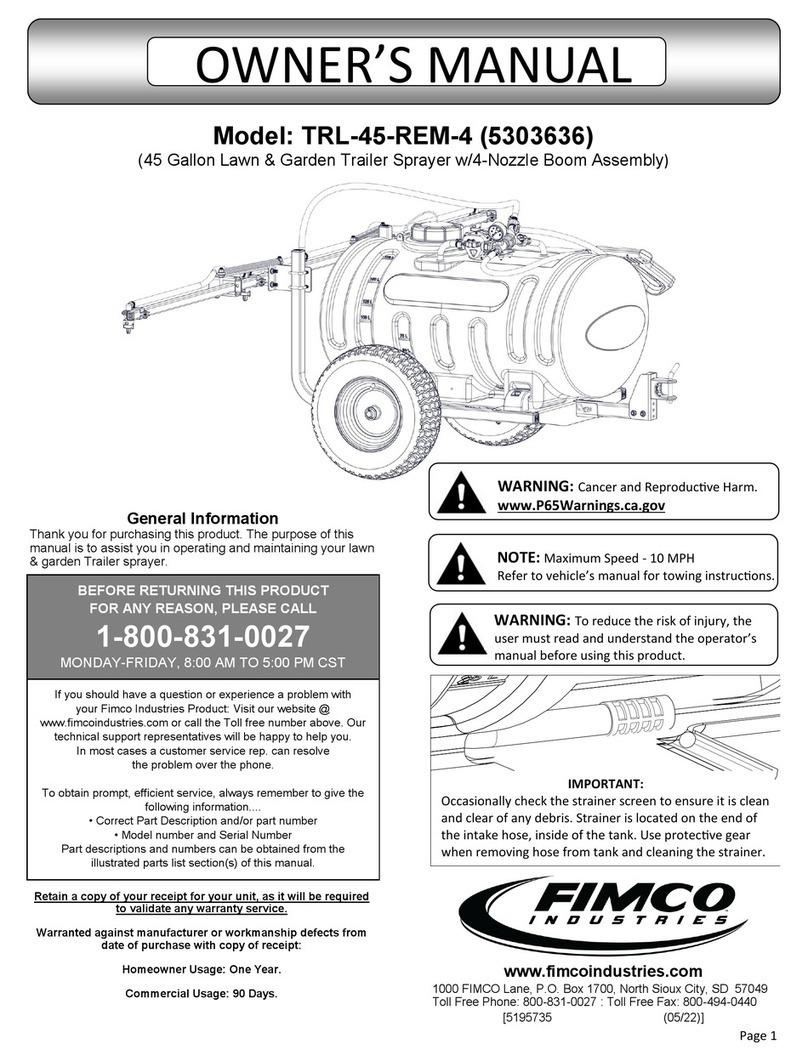
Fimco TRL-45-REM-4 User manual

Fimco

Fimco TRL-45-REM-4 User manual

Fimco LG-30-TRL User manual

Fimco

Fimco LG-30-TRL User manual

Fimco PRO Series User manual

Fimco

Fimco PRO Series User manual

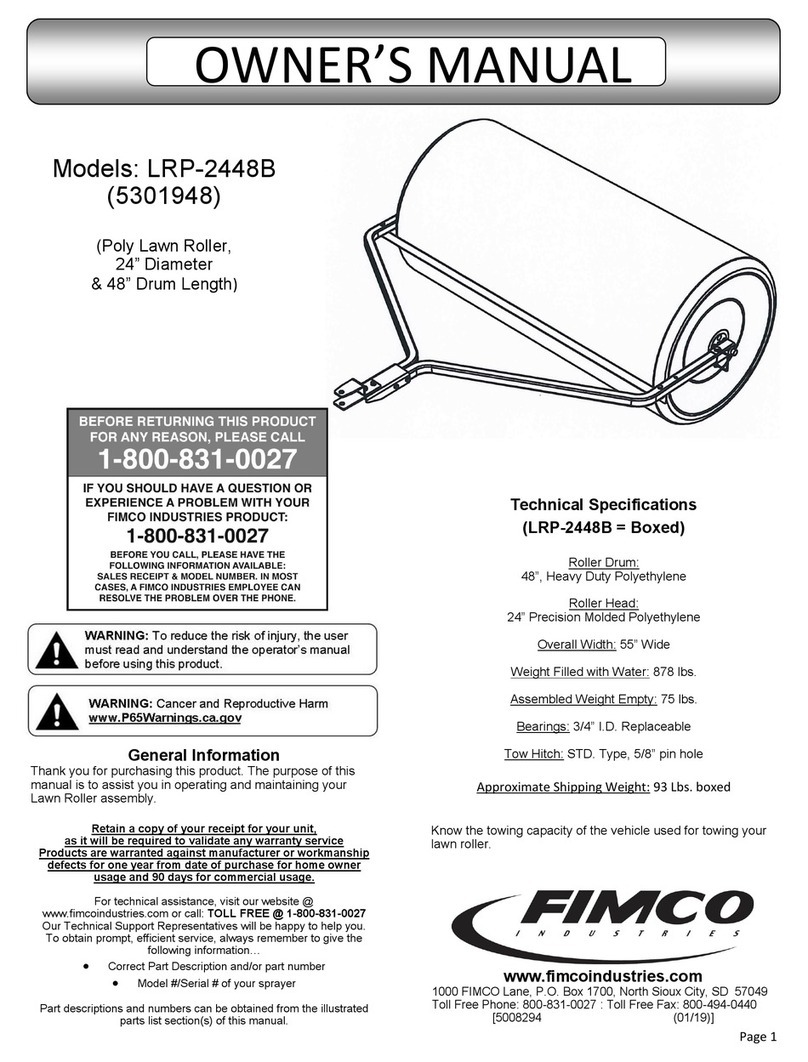
Fimco LRP-2448B User manual

Fimco

Fimco LRP-2448B User manual

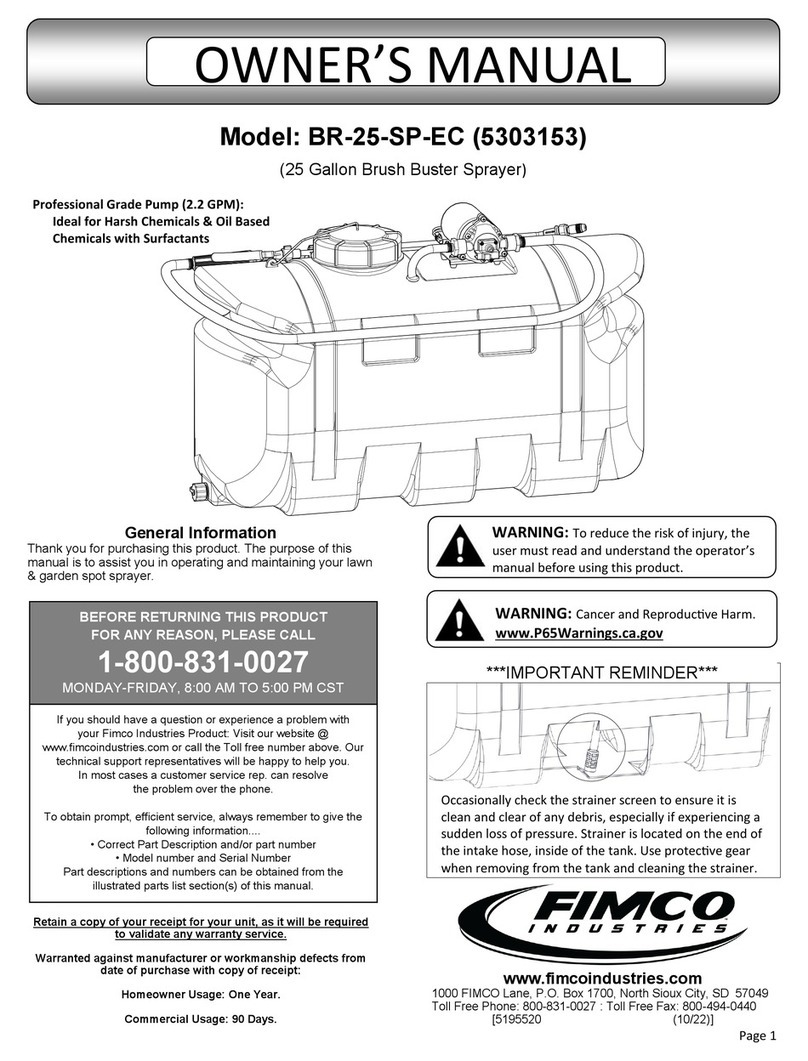
Fimco BR-25-SP-EC User manual

Fimco

Fimco BR-25-SP-EC User manual

Popular Lawn And Garden Equipment manuals by other brands

Sunforce SOLAR user manual

Sunforce

Sunforce SOLAR user manual

GARDEN OF EDEN 55627 user manual

GARDEN OF EDEN

GARDEN OF EDEN 55627 user manual

Goizper Group MATABI POLMINOR instruction manual

Goizper Group

Goizper Group MATABI POLMINOR instruction manual

Rain Bird 11000 Series Operation & maintenance manual

Rain Bird

Rain Bird 11000 Series Operation & maintenance manual

Cub Cadet BB 230 brochure

Cub Cadet

Cub Cadet BB 230 brochure

EXTOL PREMIUM 8891590 Translation of the original user manual

EXTOL PREMIUM

EXTOL PREMIUM 8891590 Translation of the original user manual

Snapper 690179 installation instructions

Snapper

Snapper 690179 installation instructions

Exmark SAR481KA30 Operator's manual

Exmark

Exmark SAR481KA30 Operator's manual

Yazoo/Kees Z12 Operator's manual

Yazoo/Kees

Yazoo/Kees Z12 Operator's manual

Makita EM408MP Original instruction manual

Makita

Makita EM408MP Original instruction manual

Exmark Quest Bagger Setup instructions

Exmark

Exmark Quest Bagger Setup instructions

Manitou Systems AS960 Operator's manual

Manitou Systems

Manitou Systems AS960 Operator's manual

Vertex 1/3 HP Maintenance instructions

Vertex

Vertex 1/3 HP Maintenance instructions

GHE AeroFlo 80 manual

GHE

GHE AeroFlo 80 manual

Land Pride Post Hole Diggers HD25 Operator's manual

Land Pride

Land Pride Post Hole Diggers HD25 Operator's manual

Yazoo/Kees Z9 Commercial Collection System Z9A Operator's & parts manual

Yazoo/Kees

Yazoo/Kees Z9 Commercial Collection System Z9A Operator's & parts manual

Premier designs WindGarden 26829 Assembly instructions

Premier designs

Premier designs WindGarden 26829 Assembly instructions

Snapper 1691351 installation instructions

Snapper

Snapper 1691351 installation instructions

manuals.online logo
manuals.online logoBrands
  • About & Mission
  • Contact us
  • Privacy Policy
  • Terms and Conditions

Copyright 2025 Manuals.Online. All Rights Reserved.

Page 1
OWNER’S MANUAL
Model: LG-15-EC (5301302)
(15 Gallon Lawn & Garden Spot Sprayer)
Technical Specifications
 15 Gallon Corrosion-Resistant Polyethylene Tank
 12 Volt Diaphragm Pump, 1.0 g.p.m.—35 psi
 Lever Handgun with 15 Ft. Handgun Hose (3/8” I.D.)
 12 Ft. max. vertical throw, 25 Ft. horizontal throw
Assembly Instructions
Your sprayer has been mostly assembled at the factory. The
only requirement will be for you to attach the wand clips and
hook up your battery leads to a fully charged 12 Volt battery.
 After assembly is complete and before testing your
sprayer, make sure you connect the electrical hook-up to
the end of your pump and clip the clips to a fully charged
battery. The red wire must be connected to the positive
(+) and the black wire should be connected to the nega-
tive (-).
 The drain plug assembly should already be attached to
the tank
NOTE:
It is VERY important for you to test your sprayer with
plain water before actually spraying is attempted. This
will enable you to check the sprayer for leaks, without
the possibility of losing any expensive chemicals.
www.fimcoindustries.com
1000 FIMCO Lane, P.O. Box 1700, North Sioux City, SD 57049
Toll Free Phone: 800-831-0027 : Toll Free Fax: 800-494-0440
[5004778 (06/15)]
General Information
Thank you for purchasing this product. The purpose of this
manual is to assist you in operating and maintaining your lawn
& garden spot sprayer. Please read it carefully, as it furnishes
information which will help you achieve years of trouble-free
operation.
Warranty
Products are warranted for one year from date of purchase
against manufacturer or workmanship defects for home owner
usage and 90 days for commercial usage.
For technical assistance, visit our website @
www.fimcoindustries.com or call: TOLL FREE @ 1-800-831-0027
Our Technical Support Representatives will be happy to help you.
To obtain prompt, efficient service, always remember to give the
following information…
 Correct Part Description and/or part number
 Model #/Serial # of your sprayer
Part descriptions and numbers can be obtained from the illustrated
parts list section(s) of this manual.
Page 2
Troubleshoong the Pump:
Motor does not run:
 Check for loose wiring connecon(s).
 Make sure the 'ON/OFF' switch in the lead wire assembly is in the
'ON' posion. “I" is the 'ON' posion and 'O' is the 'OFF' posion.
 Check for defecve pressure switch. Make sure you are connected to
a good 12 volt power source. Make sure any on/o switches are in
the 'on' posion. Remove the cap to the pressure switch. Pull both
red wires o of their terminals, and touch the two ends together. If
your pump runs when you do this, your pressure switch will need to
be replaced.
 Check the fuse.
 Check for low voltage at the power supply.
Pump does not prime:
 Check for air leaks in supply line.
 Check for clogged strainer/lter.
 Check for cracks in the pump housing.
 Check for empty product supply.
DO
 Clean and rinse your pump after each use with Fimco Tank
Neutralizer
 Winterize your pump or sprayer by rinsing, draining and
running RV Antifreeze through it before storing for the winter.
 Use clean water for your spray mixture
 Store inside a building when not in use.
DON’T
 Use to pump bleach.
 Use to pump petroleum products such as diesel fuel,
gasoline or kerosene
 Leave your pump sit with spray mixture in it for extended
periods
 Use dirty or
Pulsang ow (surging):
 Check for defecve pressure switch.
 Check for leaks in the discharge line.
 Check for restricon in the discharge line.
 Check for debris in nozzle orice.
 Discharge hose may be too long.
 Check for clogged strainer.
Motor connues to run aer discharge is shut o:
 Check for empty product supply.
 Check for open bypass valve. (if equipped)
 Check for low voltage.
 Check for leak in discharge line.
 Check for defecve pressure switch.
Pump Specifications
Current: 2.2 Amps @ 30 PSI
Check Valve: Viton
Wetted Parts Housing: Polypropylene
Diaphragm: Santoprene
Liquid Temperature: 110° F max.
GPM=Gallons Per Minute
PSI=Pounds per Square Inch
DC=Direct Current
Pump Model: 5277980
Available Replacement Parts
Page 3
Testing the Sprayer
NOTE:
It is VERY important for you to test your sprayer with plain
water before actual spraying is attempted. This will enable
you to check the sprayer for leaks without the possibility of
losing any expensive chemicals.
Read the operating instructions. When everything tests all right (no
leaks and good pressure,), add the desired chemicals to the mixture
and water combination and start your spraying operation.
Conditions of weather and terrain must be considered when setting the
sprayer. Do not spray on windy days. Protective clothing must be worn
in some cases
Be sure to read the chemical label(s) before application!
Operation
Your sprayer is equipped with (1) ON/OFF switch in the wire assembly
that you hook up to your battery. The “-” is the “ON” position and the “o”
is the “OFF” position for the switch. Make sure the switch is depressed
in the “-” position for operation.
The pump is equipped with a pressure switch that is factory pre-set for
it to shut off at 35 p.s.i. This switch assembly is the ‘square box’ on the
head portion of the pump.
Always fill the tank 1/2 full with water first and then add the chemical
slowly, mixing as you pour the chemical into the tank and then fill the
rest of the way. You may use the handgun to spray into the solution in
order to mix the chemical and water.
Initially begin spraying by opening the handgun. This will enable the air
in the line to be purged through the handgun tip, while building
pressure.
The pumping system draws solution from the tank, through the strainer/
filter and to the pump. The pump forces the solution under pressure to
the handgun and/or boom nozzles.
 Activate the handgun by squeezing the handle lever
 Rotating the adjustable nozzle tip on the handgun will change the
tip pattern from a straight stream to a cone pattern (fine mist)
After Spraying
After use, fill the sprayer tank part way with water. Start the sprayer and
allow the clear water to be pumped through the plumbing system and out
through the spray nozzle. Refill the tank about half full with plain water
and use FIMCO Tank Neutralizer and Cleaner and repeat cleaning
instructions above. Flush the entire sprayer with the neutralizing/cleaning
agent, then flush out one more time with plain water. Follow the chemical
manufacturer’s disposal instructions of all wash or rinsing water.
WARNING: Some chemicals will damage the pump valves if
allowed to soak untreated for a length of time! ALWAYS flush the
pump as instructed after each use. DO NOT allow chemicals to sit in
the pump for extended times of idleness. Follow the chemical
manufacturer’s instructions on disposal of all waste water from the
sprayer.
Winter Storage
Drain all water out of your sprayer, paying special aenon to
the pump and handgun. These items are especially prone to
damage from chemicals and freezing weather.
The sprayer should be winterized before storage by pumping a
soluon of RV anfreeze through the enre plumbing system.
This anfreeze soluon should remain in the plumbing system
during the winter months. When spring me comes and you are
preparing your sprayer for the spray season, rinse the enre
plumbing system out, clearing the lines of the anfreeze
soluon. Proper care and maintenance will prolong the life of
your sprayer.
Checking/Cleaning the sprayer’s filter/screen:
 Empty the tank
 Unscrew the knurled nut from the tank.
 Swing (swivel) the intake assembly towards you. Look in the nut
you JUST unscrewed. There is a screen/washer there.
 Remove the screen and clean as necessary. Replace when
done and reassemble the entire assembly.
Motor runs, but no pressure:
CHECK:
Both the counterweight and the bearing need to spin freely and both
need to spin INDEPENDENTLY of each other. If these 2 pieces are
‘stuck’ together, you will need to break them free and whether or not
they are sticking, spray some good quality lubricant or something
similar on them and let it soak in and this should restore most of you
prime.

Page 4
Exploded View/Parts List: LG-15-EC (5301302)