manuals.online logo
Brands
  1. Home
  2. •
  3. Brands
  4. •
  5. fine fixtures
  6. •
  7. Toilet
  8. •
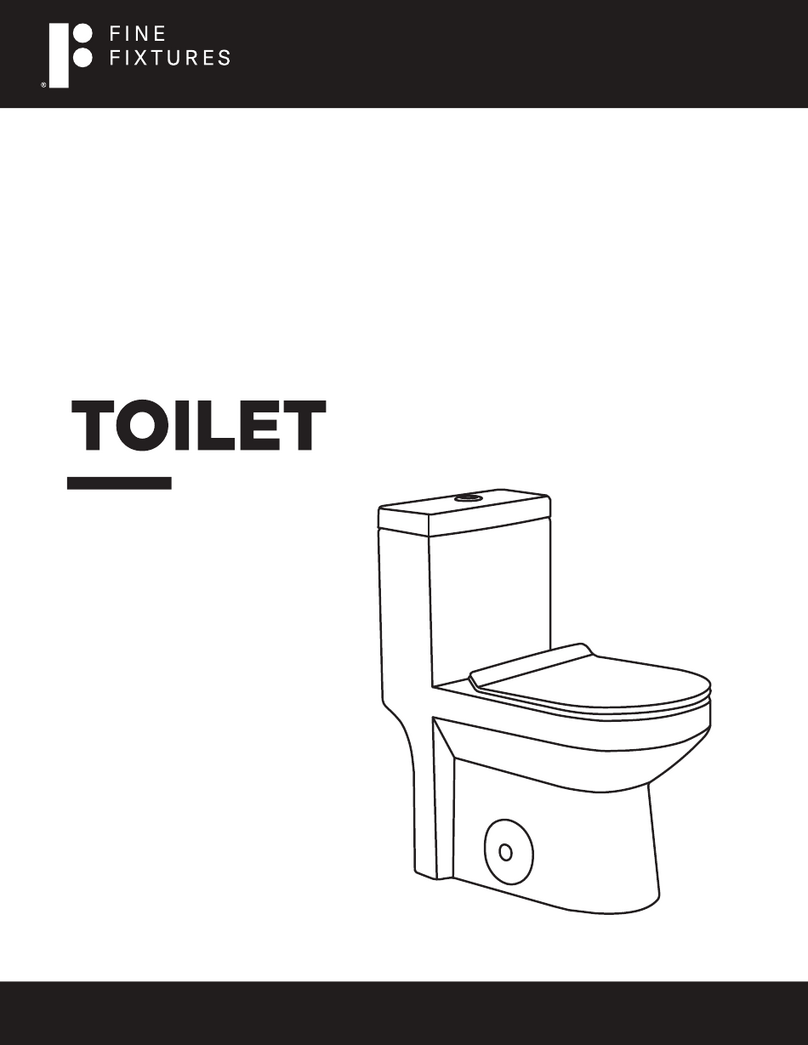
  9. fine fixtures MOTB9W User manual

fine fixtures MOTB9W User manual

INSTALLATION
INSTRUCTIONS
F O R ALIFE OF S T YLETM
206 wembly Road.
New Windsor, NY 12553
Phone: 718.602.6060
Fax: 718.963.2082
info@nextures.com
www.nextures.com
One-Piece
High Efficiency Toilet
#MOTB9W
F O R ALIFE OF S T YLETM
206 wembly Road.
New Windsor, NY 12553
Phone: 718.602.6060
Fax: 718.963.2082
info@nextures.com
www.nextures.com
TOOLS REQUIRED FOR INSTALLATION
TOILET COMPONENTS
One piece toilet
with soft-close
toilet seat x1
2x Washers
2x Nuts
Closet
Bolts x2
OTHER TOOLS MAY BE REQUIRED
READ ALL INSTRUCTIONS BEFORE UNPACKING THE PRODUCT
2 PEOPLE ARE REQUIRED TO LIFT AND DURING
ENTIRE INSTALLATION OF THIS PRODUCT
INSTALLATION OF THIS PRODUCTS BY AN
INEXPERIENCED INSTALLER MAY RESULT
PERSONAL INJURY OR DEATH!
INSTRUCTIONS THAT, IF IGNORED COULD RESULT IN DEATH OR SERIOUS INJURY CAUSED BY INCORRECT HANDLING
OR INSTALLATION OF THE PRODUCT. THESE INSTRUCTIONS MUST BE OBSERVED FOR SAFE INSTALLATION.
We reserves the right to change, update, modify, alter, redesign this manual/product or its policies without prior notice!
It is your responsibility to visit website to download or contact customer service for the most updated version of the installation instructions.
We shall not be liable for any injuries or property damages in connection with this product during installation or use of this product!
Soft Cloth
or Blanket
Silicone Silicone/
Caulk Gun
Tape
Measure
Pencil/MarkerSafety Glass Knife
During unpacking the product and prior to installation
inspect your new product for any damages or missing parts.
Do not attempt to install or operate the product if the
product is damaged.
Philips
Screwdriver
Level Putty Knife
Adjustable
Wrench
Channel
Lock Pliers
Adjustable
Socket Extension
Hand
Wrench
Wax Ring x1
This products must be installed by a fully insured and licensed plumber only. Installation of any our product by anyone other than fully insured and
licensed plumber shall void limited warranty. We recommends that such licensed plumber have experience in the installation of products.
Limited warranty is void on any commercial installation.
We are not responsible for local code compliance for this product. Building and plumbing codes may vary from state-to-state in accordance to your
location. We are not resonsible for providing any compliance certifications.
We are not responsible to provide any type of certifications for this product.
Under no circumstances we are shall not be liable for any and all incidental damages sustained in connection with this product Neither manufacture,
nor distributor, nor retailer is responsible for water damage or flood caused due to use of this product.
Under no circumstances We shall not be liable for any and all fees, cost of installation/reinstallation/removal, subsequent damage or transportation in
case of the product defect.
1
F O R ALIFE OF S T YLETM
206 wembly Road.
New Windsor, NY 12553
Phone: 718.602.6060
Fax: 718.963.2082
info@nextures.com
www.nextures.com
DIMENSIONS/TECHNICAL DATA
TECHNICAL DATA
• Dual ush: 1/1.6 GPF
ATTENTION! Dimensions may vary by up to 3/8". It is highly recommended to pull
all dimensions of actual model for installation and measuring purposes.
2
F O R ALIFE OF S T YLETM
206 wembly Road.
New Windsor, NY 12553
Phone: 718.602.6060
Fax: 718.963.2082
info@nextures.com
www.nextures.com
INSTALLATION INSTRUCTIONS
3
INSTALL CLOSET BOLTS
Install closet bolts in ange channel, turn 90°, and slide into place 6" (152 mm) apart
and parallel to wall.
INSTALL WAX SEAL
Invert toilet on oor (cushion to prevent damage), and install wax ring evenly around
waste ange (horn), with tapered end of ring facing toilet. Apply a thin bead of
sealant around toilet base.
POSITION TOILET ON FLANGE
A. Unplug oor waste opening and install toilet on closet ange so bolts project through mounting holes.
B. Loosely install retainer washers and nuts.
POSITION TOILET ON FLANGE
A. Position toilet squarely to wall and, with a rocking motion, press bowl down fully on wax ring and
ange. Alternately tighten nuts until toilet is rmly seated on oor.
B. Adhere bolt covers to toilet.
C. Smooth o the bead of sealant around base. Remove excess sealant.
Do not overtighten nut on the tank connec-
tion. It may and will cause water leakage.

Other fine fixtures Toilet manuals

fine fixtures MOTB10W User manual

fine fixtures

fine fixtures MOTB10W User manual

fine fixtures MOTB17 User manual

fine fixtures

fine fixtures MOTB17 User manual

fine fixtures TOILET SEAT User manual

fine fixtures

fine fixtures TOILET SEAT User manual

fine fixtures ST4W User manual

fine fixtures

fine fixtures ST4W User manual

fine fixtures ST3W User manual

fine fixtures

fine fixtures ST3W User manual

Popular Toilet manuals by other brands

Porcelanosa noken ACRO COMPACT 100228733 N380000043 quick start guide

Porcelanosa

Porcelanosa noken ACRO COMPACT 100228733 N380000043 quick start guide

Toto WASHLET SW3074T40 instruction manual

Toto

Toto WASHLET SW3074T40 instruction manual

Stimex Handy-Potti Gold Line manual

Stimex

Stimex Handy-Potti Gold Line manual

clivus multrum HIGH PROFILE Installation & operation manual

clivus multrum

clivus multrum HIGH PROFILE Installation & operation manual

Rejuvenation Navi Toilet owner's manual

Rejuvenation

Rejuvenation Navi Toilet owner's manual

BATHCO Oropesa 4565 manual

BATHCO

BATHCO Oropesa 4565 manual

JABSCO 37010 Seriers manual

JABSCO

JABSCO 37010 Seriers manual

Kohler Portrait K-4317 manual

Kohler

Kohler Portrait K-4317 manual

Bano 5885EC Care & maintenance instructions

Bano

Bano 5885EC Care & maintenance instructions

Kohler PORTRAIT LITE K-4217 Installation

Kohler

Kohler PORTRAIT LITE K-4217 Installation

Xylem JABSCO Twist'N'Lock COMPACT 29090-3000 manual

Xylem

Xylem JABSCO Twist'N'Lock COMPACT 29090-3000 manual

Kohler K-22106T-S2 installation instructions

Kohler

Kohler K-22106T-S2 installation instructions

Swiss Madison Cache SM-2T220 installation instructions

Swiss Madison

Swiss Madison Cache SM-2T220 installation instructions

Toto Giovannoni TCF892G installation guide

Toto

Toto Giovannoni TCF892G installation guide

Signature Hardware Rear Outlet Toilet installation instructions

Signature Hardware

Signature Hardware Rear Outlet Toilet installation instructions

verotti IN.200X user manual

verotti

verotti IN.200X user manual

Armal Cube Assembly instructions

Armal

Armal Cube Assembly instructions

brondell Swash LES512 owner's manual

brondell

brondell Swash LES512 owner's manual

manuals.online logo
manuals.online logoBrands
  • About & Mission
  • Contact us
  • Privacy Policy
  • Terms and Conditions

Copyright 2025 Manuals.Online. All Rights Reserved.