manuals.online logo
Brands
  1. Home
  2. •
  3. Brands
  4. •
  5. Finelite
  6. •
  7. Light Fixture
  8. •
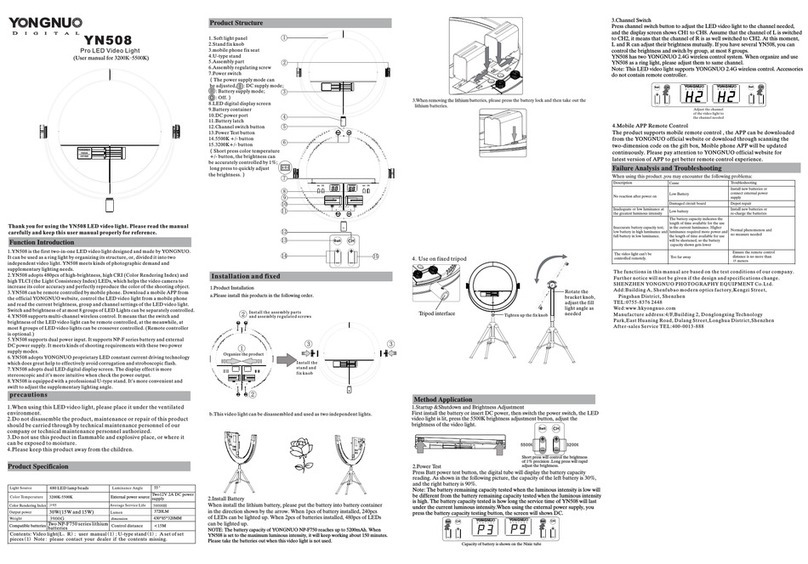
  9. Finelite S12 User manual

Finelite S12 User manual

Point A
Flat Endcap Fixture
S12 LED Wall Mount 2E Starter/Independent Installation Instructions
Note: All power connections to be installed to
local/national codes by a Certified Electrician.
Step 1
Position fixture on wall in desired location. Mark on wall the point
where the end cap and the fixture body meet. Both ends of the fix-
ture need to be marked on wall. This is Point A.
Wall Stud
Hook Bracket
Mounting Bracket
Drywall
Screw
Fixture
Step 4
Holding fixture parallel to wall and slightly above bracket, slide
fixture straight down to engage hooks on top and bottom of
mounting bracket. Align end of fixture with end of bracket.
Wall Stud
Top of Hook Bracket
Bottom of Hook Bracket
Drywall
Fixture
Step 5
Check to ensure top and bottom of hook bracket are engaged in
wall mounting bracket.
Point A 2.50"
4.50"
1.125"
0.0625"
Feed LocationJ-Box Location
Step 2
Determine feed location by measuring a horizonal line 4.5" from point A toward
center of fixture, then 1.125" downward. Mark this spot for the feed. Centering
J-box and install over feed location. Leave 8-10" of power wire exposed.
Wall Stud
Mounting BracketPower Wire
J-Box
Screw
(by others)
Screw
(by others)
Step 3
Position mounting bracket so feed holes is aligned with J-box feed and pull wire leads through. Secure one
side of mounting bracket to the wall. Using a level, secure opposite side of mounting bracket to wall. Secure
mounting bracket to each wall stud. Use molly style fastener at ends if stud is not available.
Step 6
Insert rack adjustment screw (provided) at each hook bracket location and thread into mounting bracket. tighten/release to
raise of lower fixture. Place bracket cap on each exposed and of mounting bracket and ends of run.
Rack Adjustment
Screw
Bracket Cap
Finelite, Inc. • 30500 Whipple oad • Union City, CA 94587-1530 • 510 / 441-1100 • Fax: 510 / 441-1510 • www.finelite.com
© 2018 FINELITE, INC. ALL IGHTS ESE VED. Form 98270. EFFECTIVE DATE: 12/07/18
Point A
Flat Endcap Starter
S12 LED Wall Mount 2E Joiner Installation Instructions
Note: All power connections to be installed to
local/national codes by a Certified Electrician.
Step 1
osition fixture on wall in desired location. Mark on wall the point
where the end cap and the fixture body meet. Both ends of the fix-
ture need to be marked on wall. This is oint A.
Wall Stud
Hook Bracket
Mounting Bracket
Drywall
Screw
Starter
Step 4
Holding fixture parallel to wall and slightly above bracket, slide
fixture straight down to engage hooks on top and bottom of
mounting bracket. Align end of fixture with end of bracket.
Wall Stud
Top of Hook Bracket
Bottom of Hook Bracket
Drywall
Starter
Step 5
Check to ensure top and bottom of hook bracket are engaged in
wall mounting bracket.
Point A 2.50"
4.50"
1.125"
0.0625"
Feed LocationJ-Box Location
Step 2
Determine feed location by measuring a horizonal line 4.5" from point A toward
center of fixture, then 1.125" downward. Mark this spot for the feed. Centering
J-box and install over feed location. Leave 8-10" of power wire exposed.
Wall Stud
Mounting BracketPower Wire
J-Box
Screw
(by others)
Screw
(by others)
Step 3
osition mounting bracket so feed holes is aligned with J-box feed and pull wire leads through. Secure one
side of mounting bracket to the wall. Using a level, secure opposite side of mounting bracket to wall. Secure
mounting bracket to each wall stud. Use molly style fastener at ends if stud is not available.
Starter
Step 6
Insert rack adjustment screw (provided) at each hook bracket location and thread into mounting bracket. tighten/release to
raise of lower fixture. lace bracket cap on each exposed and of mounting bracket and ends of run.
Rack Adjustment
Screw
Finelite, Inc. • 30500 Whipple Road • Union City, CA 94587-1530 • 510 / 441-1100 • Fax: 510 / 441-1510 • www.finelite.com
© 2018 FINELITE, INC. ALL RIGHTS RESERVED. Form 98271. EFFECTIVE DATE: 12/07/18
S12 LED Wall Mount 2E Joiner Installation Instructions
Note: All power connections to be installed to
local/national codes by a Certified Electrician.
Starter
Joiner/ender
Mounting Bracket
Plug Together Wiring
Step 7
Hold joiner/ender fixture up to wall. Connect plug together wiring
Joiner/Ender
Starter
Step 10
Insert one #8-32 rack adjustment screw (provided) on each side of joint/ender into mounting bracket.
Tighten/loosen to level fixture. Turn power on to fixture.
Starter
Joiner/Ender
Step 8
Slide joiner/ender to starter.
Joiner/Ender
Starter
#10-32 Screw (provided)
Lock Nut
#10-32 Screw (provided)
Lock Nut
Step 9
Secure fixtures together with 2 joiner #10-32 screws and lock nuts (provided) to
complete connection.
Joiner/Ender
Rack Adjustment Screw
Starter
© 2018 FINELITE, INC. ALL RIGHTS RESERVED. Form 98271. EFFECTIVE DATE: 12/07/18
Finelite, Inc. • 30500 Whipple Road • Union City, CA 94587-1530 • 510 / 441-1100 • Fax: 510 / 441-1510 • www.finelite.com

This manual suits for next models

1

Other Finelite Light Fixture manuals

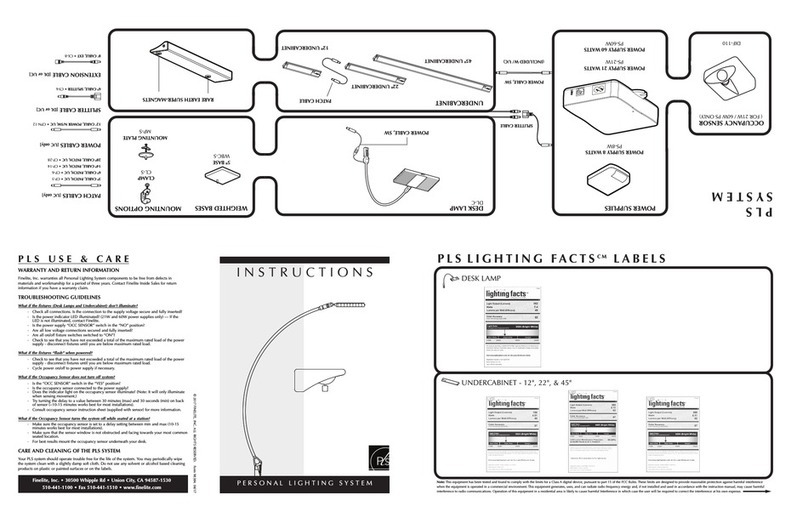
Finelite DL-C User manual

Finelite

Finelite DL-C User manual

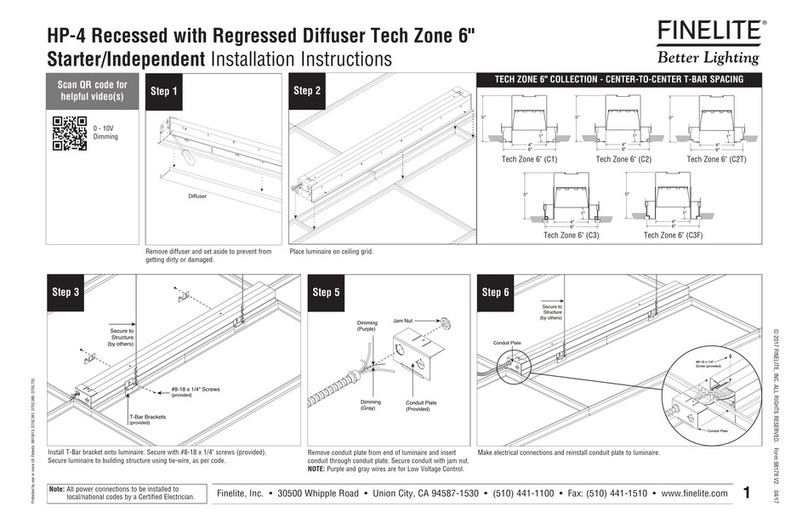
Finelite HP-4 Recessed User manual

Finelite

Finelite HP-4 Recessed User manual

Finelite HP-WG User manual

Finelite

Finelite HP-WG User manual

Popular Light Fixture manuals by other brands

Philips Lytespan 23F39T6 specification

Philips

Philips Lytespan 23F39T6 specification

Artika V3 instruction manual

Artika

Artika V3 instruction manual

Lightolier Lytecaster 385X specification

Lightolier

Lightolier Lytecaster 385X specification

Lumatek VF 90W manual

Lumatek

Lumatek VF 90W manual

L&S LUGANO IP44 EMOTION Dual Color Installation

L&S

L&S LUGANO IP44 EMOTION Dual Color Installation

Commercial Electric SKU 445-997 instruction manual

Commercial Electric

Commercial Electric SKU 445-997 instruction manual

Philips Lytecaster 1004ICV specification

Philips

Philips Lytecaster 1004ICV specification

Chamberlain 14100 quick start guide

Chamberlain

Chamberlain 14100 quick start guide

Xstatic Alcon X-PARQUAD user manual

Xstatic

Xstatic Alcon X-PARQUAD user manual

Lightolier Brisa FB5114LEC specification

Lightolier

Lightolier Brisa FB5114LEC specification

DOMUS LINE VEGA installation manual

DOMUS LINE

DOMUS LINE VEGA installation manual

Lightolier IS-CTS3_FLNGLSS Assembly and installation

Lightolier

Lightolier IS-CTS3_FLNGLSS Assembly and installation

Tupex Electric Warm White STRIP (2700K) quick start guide

Tupex Electric

Tupex Electric Warm White STRIP (2700K) quick start guide

Martin MAC Aura XB user manual

Martin

Martin MAC Aura XB user manual

Emos ZD1121 manual

Emos

Emos ZD1121 manual

Maximus MDO0265027MPWC2 instruction manual

Maximus

Maximus MDO0265027MPWC2 instruction manual

Gavita Pro 900e LED manual

Gavita

Gavita Pro 900e LED manual

DS Produkte YA-HS004 instructions

DS Produkte

DS Produkte YA-HS004 instructions

manuals.online logo
manuals.online logoBrands
  • About & Mission
  • Contact us
  • Privacy Policy
  • Terms and Conditions

Copyright 2025 Manuals.Online. All Rights Reserved.