manuals.online logo
Brands
  1. Home
  2. •
  3. Brands
  4. •
  5. Finnleo
  6. •
  7. Plumbing Product
  8. •
  9. Finnleo Hallmark V3 Series User manual

Finnleo Hallmark V3 Series User manual

710-0148 HM 44 Page 1 of 11 08/06/19
Rev. 01
Hallmark V3 Series Owner’s Manual
HM with SL2 Control
and Bluetooth Sound System
Read Before Installation
2
Precautions Before Use
2
Room Assembly
3
Electrical / Heater Assembly
6
Bench / Interior Assembly
8
SL2 Control Operations
10
Bluetooth Sound System Operation
11
User Maintenance Instructions
11
710-0148 HM 44 Page 2 of 11 08/06/19
Rev. 01
Read all instruction carefully before installation including instructions packaged
separately with the sauna heater. Please leave all instructions and warranty with
the owner.
WARNING: When using electrical sauna heaters and associated sauna products, basic
precautions must be followed, including the following:
1. Grounding is required.
NOTE: A GFCI (Ground Fault Interrupt Circuit) device is not required by NEC. A
GFCI may be installed if required by local codes but will nuisance trip during use of
the product. - CAUTION: Loose wire connections can cause heat damage to wires,
terminal blocks and other components and may void the warranty.
2. No electrical receptacle shall be installed in the sauna room.
3. Do not tamper with the door or install a latching or locking system. Malfunction of which
may cause entrapment inside the heated room.
4. Do not block ventilation openings. Vents must be kept free of obstruction so proper airflow
is maintained in the sauna room. Do not stack anything in front of the vents or push the
back of the room up tight to a wall surface.
WARNING: Prolonged exposure to elevated temperatures is capable of inducing hyperthermia.
Hyperthermia occurs when the internal temperature of the body reaches several degrees above the
normal body temperature of 98.6°F. The symptoms of hyperthermia include an increase in the
normal temperature of the body, dizziness, lethargy, drowsiness, and fainting. The effects of the
hyperthermia include failure to perceive heat, failure to recognize the need to exit the room,
unawareness of impending hazard, fetal damage in pregnant women, physical inability to exit the
room and unconsciousness.
WARNING: The use of alcohol, drugs, or medication is capable of greatly increasing the risk of
fatal hyperthermia.
CAUTION FIRE HAZARD: Do not use the sauna room for drying clothes, bathing suits, etc.
Do not hang towels above the heater or place any object, other than the rocks supplied, in the heater.
If any darkening of the wall around the heater is noticed, discontinue sauna use immediately.
HARDWARE INCLUDED
HM 44 Description
Location
Quantity
Phillips Screw (M3x30mm)
Heater Guard
8
Back Rest
6
Wood Caps
Visual Locations
10
Torq Screw
Door Handle
2
710-0148 HM 44 Page 3 of 11 08/06/19
Rev. 01
Read Before Installation
The portable sauna unit comes with an option of two heater sizes; 1.7kW or 2.2kW.
The 1.7kw can be used on all 15 amp or 20 amp household outlets (the standard 120 volt outlet
found in all homes). A dedicated circuit is advisable to avoid unnecessary tripping of the
breaker.
The 2.2kW unit can only be used on dedicated 120 volt, 20 amp circuit. A
dedicated circuit is required to avoid unnecessary tripping of the
breaker.
The Sauna should be plugged into a NEMA (5-15R or 5-20R)
Amp electrical outlet.
•Each panel is heavy. Be careful to avoid injury when installing, especially the top panel.
•Two adults are required for the installation of sauna room.
•There is a pin or a slot on the sides of each panel, which will be installed correspondently
with one pin to one slot in the following way when installing:
oThe panel with pin should be lifted about 1 inch (2 cm) higher than the panel with
the slot (Refer to Picture 1).
oPlace the panel with the pin against the panel with the slot (Refer to Picture 2), and
then slide the panel with the pin down until the two panels are equal in height (Refer
to Picture 3).
oIf they are not equal in height or there is an obvious gap between the two panels, that
means they are not properly attached, and you should try again.
Note: The vents must be kept free from any obstruction so proper airflow is maintained in the
sauna room. Do not stack anything in front of the vents or push the back of the room up tight to a
wall surface.
5-15R 5-20R
710-0148 HM 44 Page 4 of 11 08/06/19
Rev. 01
Room Assembly
INSTALLATION OF SAUNA ROOM
1. Place the floor panel in the desired
location on a level surface (Note: The
floor panel must be level before
installing wall and ceiling panels. If
the surface is not level you may need
to shim the bottom panel to get it
level.)
2. Place the back panel in the slot of the floor
panel
3. Place the right wall in slot of the floor panel and
latch to the back wall.
710-0148 HM 44 Page 5 of 11 08/06/19
Rev. 01
4. Place the left wall in slot of the floor panel and latch to the back
wall.
5. Place the front panel in the slot of floor panel.
6. Place the ceiling panel on the four wall panels.
*Make sure trim of the top panel fits completely
around the four side panels.
*Make sure the connection wires from the
front panel, right wall panel, and back wall
panel protrude through the hole of the ceiling
panel.
7. Connect the wires in the ceiling panels accessed via flip-up panel as shown above. There are three access
doors. Back Right, Right Wall and Front Right.
Note: Match each wire connection to the similar corresponding connector type.
710-0148 HM 44 Page 6 of 11 08/06/19
Rev. 01
ELECTRICAL / HEATER ASSEMBLY
8. Place CB Box on the floor for easy
access. Remove the cover to access the
electrical connections.
9. Connect all the quick connections
according to the picture and installation manual
into the CB Box.
Note: All the low voltage connections have
unique connectors.
1- Bluetooth Power (3 pin from wall)
2- Room Temp Sensor (4 pin from wall)
3- High Limit (2 pin from heater)
4- Control (RJ 11 from wall)
5- Lights (RJ 45 from wall)
NOTE: A GFCI (Ground Fault Interrupt Circuit) device is not required by NEC. A GFCI may be
installed if required by local codes but will nuisance trip during use of the product.
CAUTION: Loose wire connections can cause heat damage to wires, terminal blocks and other
components and may void the warranty.
10. Connect wires from the back wall to the lower terminal block labeled L1, N, and Gnd.
11. Connect wires from the heater to upper terminal block labeled T1, T2, and Gnd to the sauna
heater.
1
2
3
4
5
710-0148 HM 44 Page 7 of 11 08/06/19
Rev. 01
12. Mount the CB Box to the right wall with 4 screws provided by
locating the lower left corner of the box to wood corner trim on
wall.
13. Place cover on CB Box with the four screws provided.
14. Hang heater on front wall. The wall is labeled and
predrilled for the top lag screws from the sauna heater
hardware.
15. Remove the rock grill from the heater. Remove the two screws on the top back of heater.
16. After removing the screws for the rock grill, the
mounting bracket will be loose from the heater.
17. Secure the sauna heater-mounting bracket to wall
brackets using the in-predrilled holes.
18. Hang the heater on the mounting bracket tabs.
19. Install the wood heater guard around the sauna heater using the 1 1/8” screws provided. The
heater guard location is marked on both walls with a label. Place the bottom of the heater guard
to cover the label on the walls and secure into location
Heater Screws
Location
Bottom of heater
guard location
710-0148 HM 44 Page 8 of 11 08/06/19
Rev. 01
20. Rinse the rocks of dirt and
dust. Install the rocks into the heater. Place small or flat rocks around the outer perimeter of heat
chamber, including the ends. Place larger rocks loosely in middle of heater. Fill the heater until
flush with the top of the outer shroud. Add 3 to 4 large rocks to top of heater.
*Note: There will be extra rocks provided. The concept of rock placement is to promote good
airflow through the heater.
*Note: Use only the “olivine” sauna rocks provided with
the heater. If other rocks are used, the warranty is void.
Never operate the heater without rocks.
21. Install the rock grill to the top of the heater with the two
screws.
22. Verify all connections are completed before applying power to room to test the lights.
23. Install lower bench on the lower wall supports.
24. Install upper bench and secure to the back wall.
25. Place back rest on top bench and connect the lighting from the right
edge of the back to the back rest.
Note: Test lights before mounting the back rest.
710-0148 HM 44 Page 9 of 11 08/06/19
Rev. 01
26. Install the backrests above the upper benches according to
the predrilled holes, using the 1 1/8” Philips screws provided.
Note: Be sure to install at the same level to ensure a well-balanced
look.
710-0148 HM 44 Page 10 of 11 08/06/19
Rev. 01
SL2 (SaunaLogic 2) Control Operation
Operating Instructions for Heater
Default settings for temperature are preset to 194°F, the bath time is
set to 60 minutes and 0-minute delay to start to heat. These settings
are adjustable (as described below) from 119°F to 194°F. Length of
sauna can be set from 0 to 60 minutes. The time delay before start
can be up to 24 hours. Any changes are remembered by the heater
for your next bath. Should the heater power be lost then restored,
the settings will return to their default values.
STARTING SAUNA HEATER IMMEDIATELY
Press the control POWER icon to turn on the sauna control and
heater. The room temperature will be displayed on the control. The
heater will turn on and begin heating the room to current set points.
Once the set temperature is reached inside the room, the control will
turn the heater on and off again as needed to maintain the desired
temperature. At the end of the selected time (60 minutes maximum),
the control will turn itself off and the control display will turn off.
SETTING THE TIME AND TEMPERATURE
To set the sauna length time, press the icon and then press the
“"+" or "-" icons to increase or decrease time for desired setting. The
maximum of time is 60 minutes.
To set the temperature, press the and next "+" or "-" icons to increase or decrease temperature for desired
setting. The maximum temperature is 194°F (90°C).
Note: Typical sauna bathing set-point temperature is 150°F to 165°F on the control.
PRE-SET DELAYED START
Press the icon and delay time will appear in the display and will toggle between “dlay” the amount of
time remaining. The maximum of time is 24 hours. If no delay is desired, press icon to toggle off the
function.
Operating Instructions for Lighting
Press icon to cycle through lighting options. Press and hold the icon for 3 seconds to turn off the
lights. Lights will turn off automatically 10 minutes after sauna cycle is completed.
-Color sequence –White –Red –Green –Blue –Yellow –Aqua –Purple –Rotation of Colors –Off
Choose the color of choice and then set lighting brightness. The brightness will be on display for 3 seconds.
Press the “+” or “-“ icon to increase or decrease the light setting. Setting options are 25, 50, 75, and 100%
light output.
710-0148 HM 44 Page 11 of 11 08/06/19
Rev. 01
AUDIO OPERATION
Audio Power On
•Press icon to toggle On or Off the Bluetooth System.
Note: The control does not have to be active for Sound System to operate.
Pairing
•Refer to your mobile device to pair to the unit.
•The Room device name is TyloHelo Audio
Operation
•All operations are controlled by the mobile device
•Volume is controlled by the mobile device
WARNING
Apple will not warranty your Apple product if used at operating temperatures of 32oF or below and 95oF and
above. The recommended operating temperature is 32oF to 95oF to fall into the warranty. Check with any
other device manufactures for operation temperatures before using the device in the Sauna/IR Room.
USER MAINTENANCE INSTRUCTIONS
Room Instructions for Cleaning:
Perspiration and dirt may absorb into the wood, so periodic cleaning is needed. Scrubbing the benches and
floorboards with a stiff brush and mild detergent is normally sufficient. Light sanding is another option.
TROUBLESHOOTING
Error Codes on controls
Sn = Means the sensor is not connected to the CB box. Check the connections between sensor and box
HL = Means the Hight Limit switch in sauna heater is not connected to the CB box. Check the connections
between heater and box.
JP = Means a jumper CN 7 is missing from the Main PCA in CB box.
For troubleshooting or service questions call 1-888-780-4427 and ask to speak with the Technical Support
Department.
Prior to calling, please have the Model, Type Number, and Serial Number from room available. You may
also email us at techsupport@tyloheloinc.com.

This manual suits for next models

1

Other Finnleo Plumbing Product manuals

Finnleo NorthStar Series User manual

Finnleo

Finnleo NorthStar Series User manual

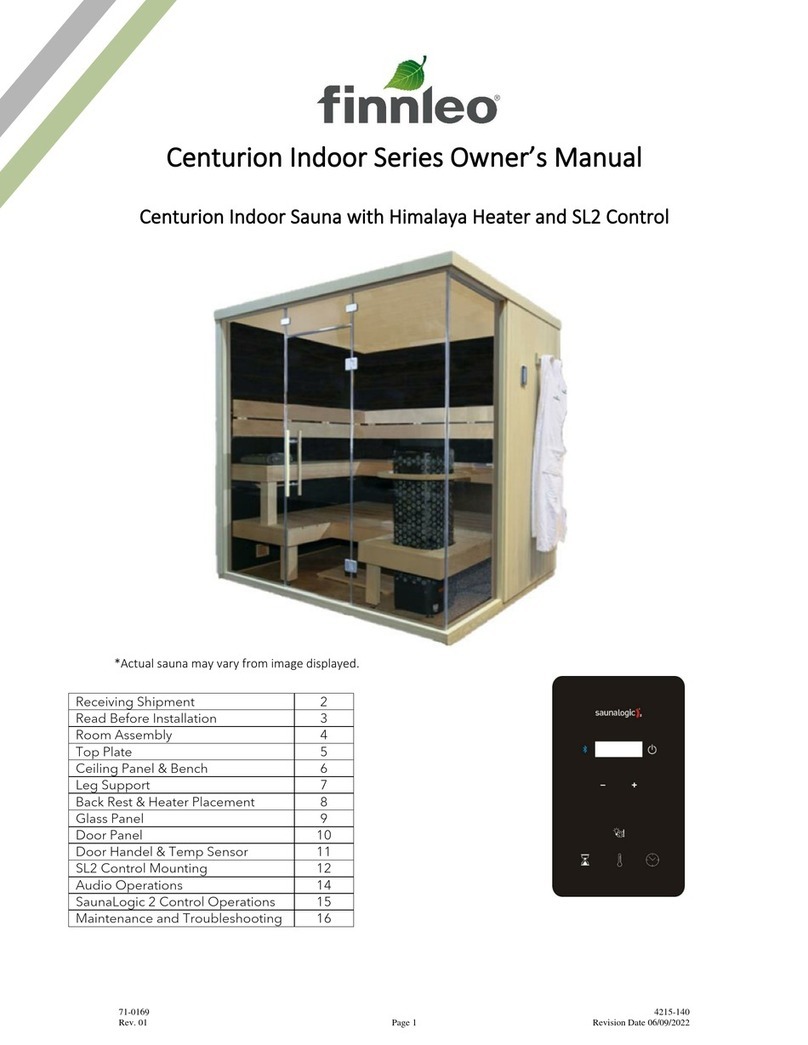
Finnleo Centurion Indoor Series User manual

Finnleo

Finnleo Centurion Indoor Series User manual

Finnleo Euro Outdoor Series User manual

Finnleo

Finnleo Euro Outdoor Series User manual

Finnleo Vita II User manual

Finnleo

Finnleo Vita II User manual

Finnleo Hallmark V4H Series User manual

Finnleo

Finnleo Hallmark V4H Series User manual

Finnleo NorthStar Series User manual

Finnleo

Finnleo NorthStar Series User manual

Finnleo NorthStar Series User manual

Finnleo

Finnleo NorthStar Series User manual

Popular Plumbing Product manuals by other brands

Voda Plumbingware VSU035 manual

Voda Plumbingware

Voda Plumbingware VSU035 manual

Moen BRANTFORD T933BN Illustrated parts list

Moen

Moen BRANTFORD T933BN Illustrated parts list

Omnires Hudson HS4110 Installation and Maintenance

Omnires

Omnires Hudson HS4110 Installation and Maintenance

Hans Grohe Focus S 31742000 Instructions for use/assembly instructions

Hans Grohe

Hans Grohe Focus S 31742000 Instructions for use/assembly instructions

Globo LA002.BI Assembly instructions

Globo

Globo LA002.BI Assembly instructions

American Standard Ova 2154 Installation and operation instruction

American Standard

American Standard Ova 2154 Installation and operation instruction

Axor 40836000 Specification sheet

Axor

Axor 40836000 Specification sheet

Sloan Optima ETF-810 Repair Parts and Maintenance Guide

Sloan

Sloan Optima ETF-810 Repair Parts and Maintenance Guide

Watts 800M4 Series Installation, maintenance & repair

Watts

Watts 800M4 Series Installation, maintenance & repair

Galvin Engineering GalvinSafe 190.82.11.90 Product installation guideline

Galvin Engineering

Galvin Engineering GalvinSafe 190.82.11.90 Product installation guideline

Moen 9793 installation guide

Moen

Moen 9793 installation guide

Hansgrohe Axor Starck 10410 Series Assembly instructions

Hansgrohe Axor

Hansgrohe Axor Starck 10410 Series Assembly instructions

Viega ProPress XL instructions

Viega

Viega ProPress XL instructions

resideo Braukmann BA295STN installation instructions

resideo

resideo Braukmann BA295STN installation instructions

Hansgrohe Axor Starck 10882 Series Instructions for use/assembly instructions

Hansgrohe Axor

Hansgrohe Axor Starck 10882 Series Instructions for use/assembly instructions

Phyn Plus Homeowner's guide

Phyn

Phyn Plus Homeowner's guide

KWC F5LT2020 Installation and operating instructions
KWC

KWC F5LT2020 Installation and operating instructions

Kohler K-960 Installation and care guide

Kohler

Kohler K-960 Installation and care guide

manuals.online logo
manuals.online logoBrands
  • About & Mission
  • Contact us
  • Privacy Policy
  • Terms and Conditions

Copyright 2025 Manuals.Online. All Rights Reserved.