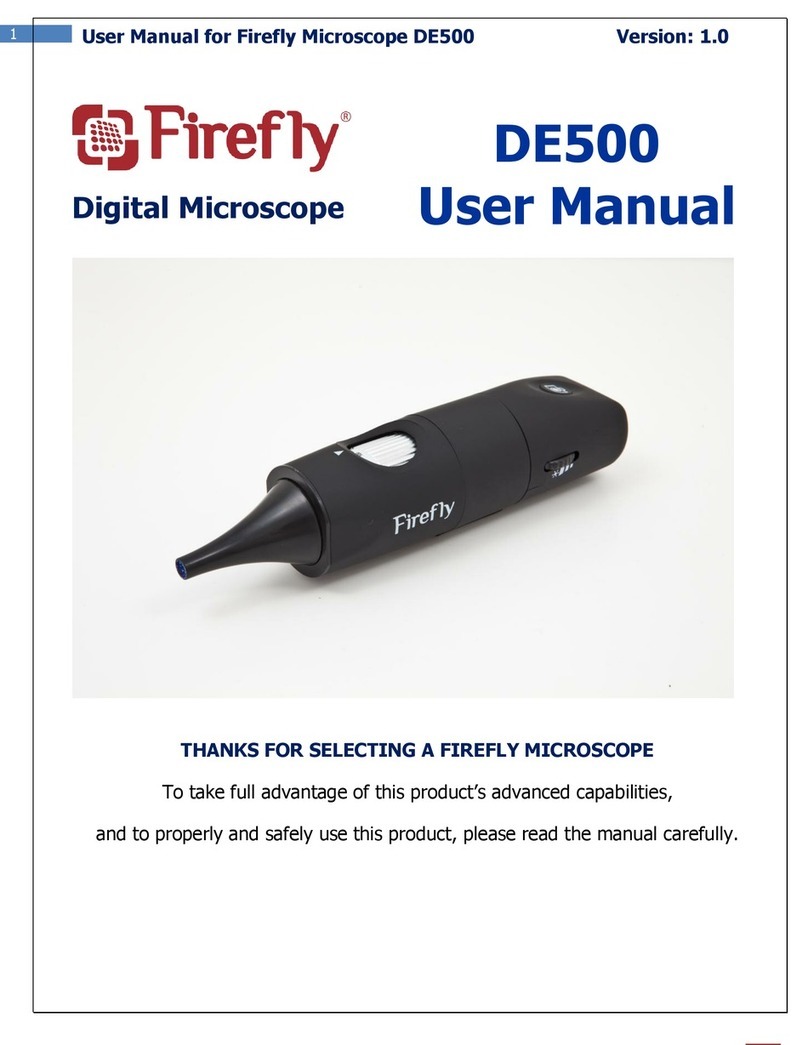
Firefly DE500 User manual

1 UserManualforFireflyMicroscopeDE500 Version:1.2
DIGITAL MICROSCOPE
THANKS FOR SELECTING A FIREFLY MICROSCOPE
To take full advantage of this product’s advanced capabilities,
and to properly and safely use this product, please read the manual carefully.
DE500
User Manual

2 UserManualforFireflyMicroscopeDE500 Version:1.2
Copyright 2011 by Firefly Global.
All
rights are
reserved.
No one is
permitted to
reproduce
or
duplicate,
in any form, this manual or any part
thereof
with
out
permission
from Firefly
Global (www.fireflyglobal.com).
Firefly
Global
assumes
no
responsibility
for any injury, or for any
illega
l
or
impr
oper
use of
the
product,
that may result from failure to use this
product
in
accordance
with the
instructions, cautions, warnings,
or
ind
i
cati
ons
for use
published
i
n
this
manual.
Software
in this
product
is copyright of
Firefly
Global and its
vendors.
All
rights
are
reserved.
The
software
is
protected
by U.S. and international copyright
l
a
ws
and
international
treaty
provisions
applicable
worldwide.
Under such laws,
the
licensee
is
entitled
to
use
the copy
of the
software incorporated
w
i
t
h
this
instrument
as
intended
in the
operation
of the
product
in which it is
embe
dded
.
The
software
may not be
cop
i
ed
,
decompiled,
reverse-engineered, d
i
sass
e
m
ble
d
or
otherwise reduced
to
human-perceivable
form.
This
i
s
not a sale of
the
software
or any copy of the
software;
all
rights, title, and
ownership
of
the
software
remain with Firefly and/or its v
e
n
dors.
Caution:
Changes
or
mod
i
fication
s
not
expressly approved
by Firefly Global
will
void the
pu
rc
haser
’
s
autho
r
i
t
y to
operate
the
e
qui
pment and its warranty.

3 UserManualforFireflyMicroscopeDE500 Version:1.2
TABLE OF CONTENTS
Table of Contents.......................................................................................................3
Introduction ..............................................................................................................4
Warnings & Cautions.................................................................................................5
Warning .................................................................................................................................... 5
Caution......................................................................................................................................5
Check List ..................................................................................................................7
Nomenclature............................................................................................................8
Operation...................................................................................................................9
Setting up the microscope with specula:....................................................................................9
Setting up the F.O.V extender and specula:............................................................................... 10
Setting up the software application:........................................................................................ 11
Connect to PC:....................................................................................................................... 11
Power the Device On:............................................................................................................ 11
Recommended holding position: ............................................................................................... 12
Brightness Adjustment: ............................................................................................................ 12
Using the image capture control: .............................................................................................. 12
Using Focus:............................................................................................................................ 13
Function as a laryngoscope....................................................................................................... 13
Standby and Remove device:.................................................................................................... 14
Launch the Software Application:.............................................................................................. 15
Viewing the Images: ................................................................................................................ 15
Tool bars................................................................................................................................. 16
Control tool bars:..................................................................................................................... 16
Image tool bars: ...................................................................................................................... 16
Device Tool bars:..................................................................................................................... 17
Maintenance and service.........................................................................................18
Cleaning recommendation......................................................................................................... 18
Recycling
the system
components
............................................................................................. 18
Accessories.............................................................................................................................. 18
Service policy........................................................................................................................... 19
Specifications ..........................................................................................................20
Limited
Warranty
...................................................................................................21
Troubleshooting.......................................................................................................23
Frequently Asked Questions (FAQs): ......................................................................................... 23
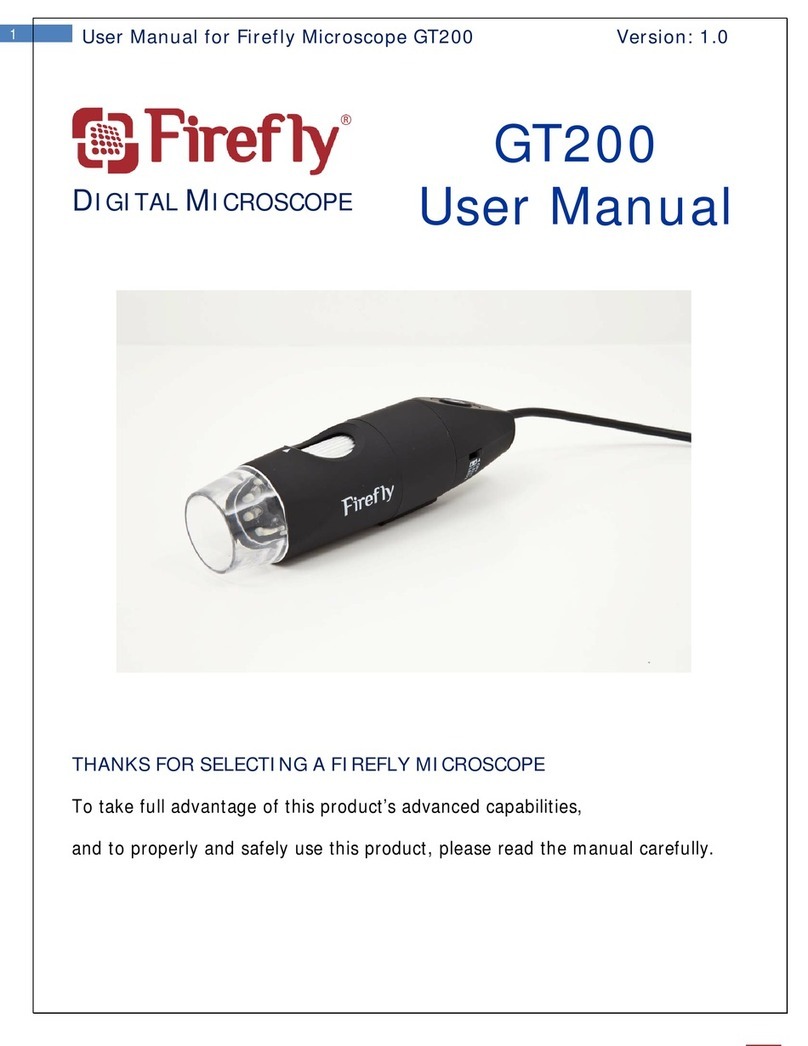
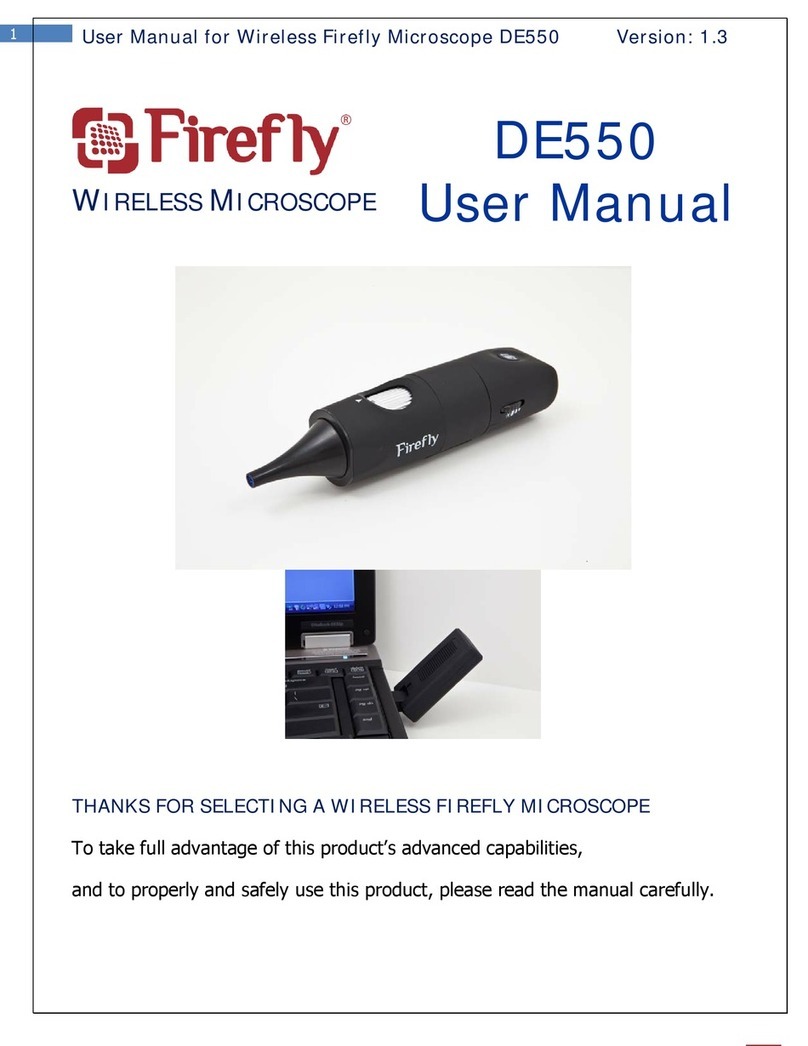
4 UserManualforFireflyMicroscopeDE500 Version:1.2
INTRODUCTION
The Firefly Microscope System consists of a digital Microscope, software application and a USB cable. Only
a computer equipped with a free USB port is needed to use the system.
The Firefly Microscope System is designed for effective operation under a variety of conditions and typical
video parameters are set at the factory. The software allows users to adjust most parameters including
Saturation, Hue, Brightness, Contrast and Sharpness for desired applications.
System Requirements
The Firefly Microscope System requires a user PC system running Windows XP Service Pack 2 or later
operating system, a viewing screen, and a PC with an available USB 1.1 or 2.0 port.
Intended use
The Firefly Microscope System is intended to allow inspection of the external ear, ear canal, and tympanic
membrane under magnification. A secondary use of may be for general illumination of the throat and/or
nasal cavities or assessing flexibility of the tympanic membrane.
User Profile
The Firefly Microscope System is intended for applications such as:
Science Education
Medical examinations
Veterinarian use
Self health monitoring

5 UserManualforFireflyMicroscopeDE500 Version:1.2
WARNINGS &CAUTIONS
Please familiarize all
operating personnel
with the
general
saf
et
y
information in this
summary.
Specific
warnings
and
cautions
a
r
e
also found
throughout
this manual.
Warning A warning statement in this manual
iden
tif
i
es
a condition
or pr
act
i
ce
which if
not
corrected or discontinued immediately
,
could lead to injury, illness, or
death.
Do not use in the presence
of
f
l
amma
ble anesthetics.
This
product
has no user
se
rv
iceable
/
replaceable
parts.
Please
refer all
service
to
authorized service personnel.
This
instrument
is not
intended to be used in the eye.
This
product generates
and
r
e
cor
d
s
reference images
from
inputs
obtained
from the
software application FireflyPro
.
These
reference images
are
not intended
for medical or other
diagnostic purposes.
Caution
A caution
statement
in this manual identifies condition
or
practice,
which
if
not
corrected
or
discontinued
immediate
l
y
, could lead to
equipment
failure,
e
quipment damage,
or data
loss.
In
order to obtain
optimum performance and
ensure patient safety,
thoroughly read this manual
.
Do not use the Firefly Microscope if
y
ou
notice any
signs
of
damage
to the
components
of
th
e
system. Contact customer
service
f
o
r immediate
assistance
.
Do not attempt to
disinfect
the Firefly Microscope System
using
glutaraldehyde
pro
du
c
t
s
,
ethylene
oxide gas, steam or any other liquid or
gas disinfectant.
The signal
output
(USB
P
o
r
t
)
connector
is
intended
for
con
nect
i
on
of only
devices
complying
wit
h
IEC
60601
-
1,
or other IEC
standards
(for
example,
IEC 60950), as
app
r
opriate to
the device.
Conn
ecting
additional
devices
to the Firefly Microscope System
is not allowed. You
are

6 UserManualforFireflyMicroscopeDE500 Version:1.2
responsible for verifying that the system
complies
with
th
e
requirements
of
the
system standard
IEC
60601
-
1
-
1.
This
product complies
w
i
th
current
re
qu
ire
d
standards
for
electromagnetic interference
and should not present
p
r
oblems
to other
equipment
or be affected by other
devices. As
a
precaution,
avoid
using
th
is
device
in close proximity to other
e
quip
ment.
Do not apply alcohol,
c
h
e
m
icals,
or
water to
the lens. Any liquids
entering
the
optical
assembly
will
damage
internal
comp
onents.

7 UserManualforFireflyMicroscopeDE500 Version:1.2
CHECK LIST
Before starting, check that all the following items have been included with your product. If anything is
missing, contact your dealer.
Microscope x 1pc Clip (attached to scope) x 1 pc USB cable x 1 pc
Software Application CD
Specula (S/M/L) x 5 sets

8 UserManualforFireflyMicroscopeDE500 Version:1.2
NOMENCLATURE

9 UserManualforFireflyMicroscopeDE500 Version:1.2
OPERATION
Setting up the microscope with specula:
Only
a
ccepts
original specula
qualified for use with Firefly microscopes
Plug
the
spe
c
u
l
a into the round concave guide in front.
To remove: Simply pull to unplug
the
sp
ecu
l
a.
Ensure a tight fit for proper operation.

10 UserManualforFireflyMicroscopeDE500 Version:1.2
Setting up the F.O.V extender and specula:
To obtain a deeper view of the subject under examination, the optional Field of View (F.O.V) extender may be
attached. The F.O.V extender can be ordered separately.
Plug
the
F.O.V Extender
into the round concave guide in
front of the microscope.
Plug
the
spe
c
u
l
a into the round concave guide in front of
the F.O.V. Extender.
To remove: Simply pull to unplug
the
sp
ecu
l
a.
Ensureatightfitforproperoperation.

11 UserManualforFireflyMicroscopeDE500 Version:1.2
Setting up the software application:
Prior to using the Firefly Microscope for the
f
i
rst
t
i
me,
install
t
he
FireflyPro software application following
the
instructions
pro
v
ided
with the installation CD
.
Connect to PC:
Connect the Firefly Microscope to the
PC’s
USB port
Power the Device On:
Towards the rear of the device, a switch allows the user to power the device ON and to activate the LEDs.
OFF: Switch off the devic
LED1: Switch the device ON and enable 4 LEDs
LED2: Enable 8 LEDs for maximum illumination

12 UserManualforFireflyMicroscopeDE500 Version:1.2
Using the Firefly Microscope
System:
Recommended holding position:
It is suggested to hold the microscope, transparent cover forward, with the thumb held on
the equipment. This holding position offers relative stability and allows lens control. The index finger is
still free to rotate and adjust the focus wheel (as shown).
Brightness Adjustment:
On left rear side of the microscope, a knob allows the user to control the
brightness of the LEDs:
Backward Turn: Decrease Brightness
Forward Turn: Increase Brightness
Using the image capture control:
Press and release
the Capture
button
to
capture image frames. The
system will generate a shutter sound from the PC speaker as
confirmation.
Captur
e

13 UserManualforFireflyMicroscopeDE500 Version:1.2
Using Focus:
Based on the relative distance of the observed object, the focus wheel can be turned for a clear image.
When a higher magnification is required, the focus wheel can be turned to the left (see below). If a larger
field of view is required, the microscope can be moved farther away and the wheel turned to the right.
Default Position: Match the scale 50 to arrow mark.
Function as a laryngoscope
The
Firefly Microscope can be
transformed into
a
laryngoscope by removing the specula and attaching a
spatula on the clip.
Free Focus:
Rotate wheel to fine
tune the ima
g
e.

14 UserManualforFireflyMicroscopeDE500 Version:1.2
Standby and Remove device: e
p, click My
the USB
Video Device (Wireless Digital Microscope in
Windows Vista and Windows 7).
After turning off the device through Windows above, the m can be unplugged from
the PC’s USB port. Using this sequence will avoid transient voltages from potentially
causing hardware damage.
To temporarily turn off or remove the device, slide the power button to the “OFF” position. Th
device must also be turned off through the Windows operating system:
•On your Microsoft Windows Deskto
Computer in the left pane. Double-click

15 UserManualforFireflyMicroscopeDE500 Version:1.2
Launch the Software Application:
Double-click the FireflyPro.exe icon on your
comp
ut
er
de
skto
p:
Viewing th
Firefly Microscope. The Microscope communicates with the
PC thr the USB compact receiver. The user can configure the video properties, review live
images, capture images, record video clips and perform a variety of powerful measurement
on functions.
features of FireflyPro are shown below:
e Images:
Pro software controls your Firefly
ough
and documentati
The main

16 UserManualforFireflyMicroscopeDE500 Version:1.2
Tool bars
The Tools bars enable quick access to the functions of FireflyPro software. The tool bars can be
grou
Control tool bars:
ped into Control, Images and Device tool bar sets.
Icon Icon Name Function Description
Play Start the video stream preview
Pause Freeze live video image frame
Video Setting Configure video properities
Video Recording Video recording and settings (frame, period, quality, codec etc...)
Undo Undo the previous Rotation, Text Comment and Zoom
Redo Redo the previous Rotation, Text Comment and Zoom
ROI Select region of interest (ROI) on live video stream
Undo ROI Revoke ROI selection
Rotation Rotate live video 0°, 90°, 180°, 270°
Mirror Mirror live video horizontally
Flip Flip live video vertically
Text Comment Add text layer on image
Image Measure Launch image measurement application
Zoom + Zoom-in live video up to 300%
Zoom - Zoom-out live video down to 10%
Zoom Ratio Set Zoom ratio from 10-300
Image tool bars:
Icon Icon Name Function Description
Save Image Store frozen image
Image Capture Capture and store instant image from live video
Image Browsing Browse images in working directory
Working
Directory Pop-up to select working directory path
Edit working directory path

17 UserManualforFireflyMicroscopeDE500 Version:1.2
Device Tool bars:
Icon Icon Name Function Description
Device Connect Refresh image device connection
Select available image devices, such as Microscope
Select a video format (default 640x4
80 YUY2)

18 UserManualforFireflyMicroscopeDE500 Version:1.2
MAINTENANCE AND SERVICE
C ing r nda
CAUTION o not
liquids entering the op s.
Use a dry cloth to
c
l
ea
n
the
D
i
git
a
l
Firefly Microscope
System
on a weekly basis
.
Recycling
the system
components
Within the EU
Do not
dispose of
this
product
as
unsorted
mun
i
cipal
refuse. Submit for
separate
collection as
specified
b
y
Directive 2002/96/EC of the
European
Parliament
and
th
e
Council of the
European
Union on Waste
E
l
ectr
on
ic
and
Ele
c
t
r
i
cal
Equ
i
pmen
t
(
W
EEE
).
If
this
product
is
contaminated,
this
d
i
re
ct
iv
e
does
not
ap
ply
.
For more
specific
disposal information
contact
C
ust
omer
Se
rvic
e.
Outside
the EU
When the
product
and
its components
reach end of life, recycle the product
according
to national, state, and
loca
l
regulations
.
Accessories
REF Description
FY-MU-180 USB
Cable, 180cm length
FY-MU-300 USB
Cable, 300cm length
FY-DE-3U Replacement poly Speculum 3mm
FY-DE-4U Replacement poly Speculum 4mm
FY-DE-5U Replacement poly Speculum 5mm
lean ecomme tion
D apply alcohol, chemicals, or water to the lens. Any
tical assembly will damage internal component

19 UserManualforFireflyMicroscopeDE500 Version:1.2
Service policy
All repairs on products under warranty must
be
performed or approved by Firefly or its authorized resellers.
ty. In addition, whether or not covered
under
warranty, any
product repair shall exclusively
be
performed by Firefly-
cer
t
i
f
i
ed
service
personnel.
If
the
ontact
your
Before
are
not causing
the
problem. When calling, please
be
prepared
to
provide:
scription of
the problem.
Serial number of your product (if
ap
pli
c
ab
le
).
Co s and phone number of your
fac
ility
.
For
For
If your product requires warranty t
your F e problem
and w nnecessary returns. In case
a retu ill record all necessary information and will provide a
Return Au r, as well as the appropriate shipping address. The Return Authorization
numb
If you ha
nded packing
instructions:
hoses, cables, sensors, power cords, and ancillary products
(
as
appropriate) before
packing, unless you suspect they are associated with
the problem.
Where ible
use the
arton and packing
materials.
I
n
ber.
It
is
recommended
that
all
s or damage
to the
product
are the responsibility of
the
Unauthorized repairs will void
the
warran
product fails
to
function properly
—
or if you need assistance, service, or
spare
parts
—
c
Firefly reseller.
contacting your reseller
, try to duplicate
the
problem and check all accessories
to
ensure
that
they
Product name and model number and complete de
mplete name, addres
out-of-warranty repairs or spare parts orders,
a
purchase order (or credit
car
d
)
nu
mbe
r
.
parts orders,
the
required spare or replacement part
nu
mbe
r
s
.
, extended warranty, or non-warranty repair service, please contac
irefly reseller. A customer service representative will assist you in troubleshooting th
ill make every effort to solve it over the phone, avoiding potential u
rn cannot be avoided, the representative w
thorization numbe
er must be obtained prior to any return.
ve
to
return your product for service, follow
these
recomme
Disconnect all
ver poss
original shipping c
c
lu
de
a
packing list and
the Return Authorization
num
returned goods
be
insured. Claims for los
sen
d
e
r
.

20 UserManualforFireflyMicroscopeDE500 Version:1.2
SPEC
Item Specification
IFICATIONS
Wei 22 lb)ght Approximately 100 g (0.
Length: 13.0 cm (5.2 inches)
Height: 3.6 cm (1.5 inches)
ensions (approximate)
Dim (1.6 inches)
Pow
Width: 4.0 cm
er USB 5VDC, 150mA
Prot
water
ection against ingress of IPXØ
Operating conditions
Tem
Rela
Altit
Ship
perature +10°C to +40° C (+50°F to +104°F)
tive humidity 30% to 75% noncondensing
ude 700 to 1060 hPa
ping and storage conditions
Tem °C to +49°C (-4°F to +120°F)
Rela
Safe
perature -20
tive humidity 95% noncondensing max.
ty Compliance FCC, CE and RoHS compliant
Patent Patent Pending
Other manuals for DE500
2
Table of contents
Other Firefly Microscope manuals

Firefly
Firefly GT600 User manual

Firefly
Firefly DE500 User manual

Firefly
Firefly GT620 User manual

Firefly
Firefly GT700 User manual

Firefly
Firefly GT630 User manual

Firefly
Firefly DE550 User manual

Firefly
Firefly RW180 User manual

Firefly
Firefly GT200 User manual

Firefly
Firefly GT820 User manual

Firefly
Firefly GT830 User manual