Before you permanently install
Before you install a HotPort 5020-LNK solution in a permanent location, you
need to make sure you have the correct components and make sure the
components are operational.
Preparing what you need to install
To get what you need to set up the solution:
1.
Open the box.
2.
Removethecontents.
3.
Check the contents for damage. See “Box contents for a HotPort 5020-LNK
solution.”
If a part is missing or damaged, call your Firetide reseller.
4.
If the contents are good and correct, keep the box for future use.
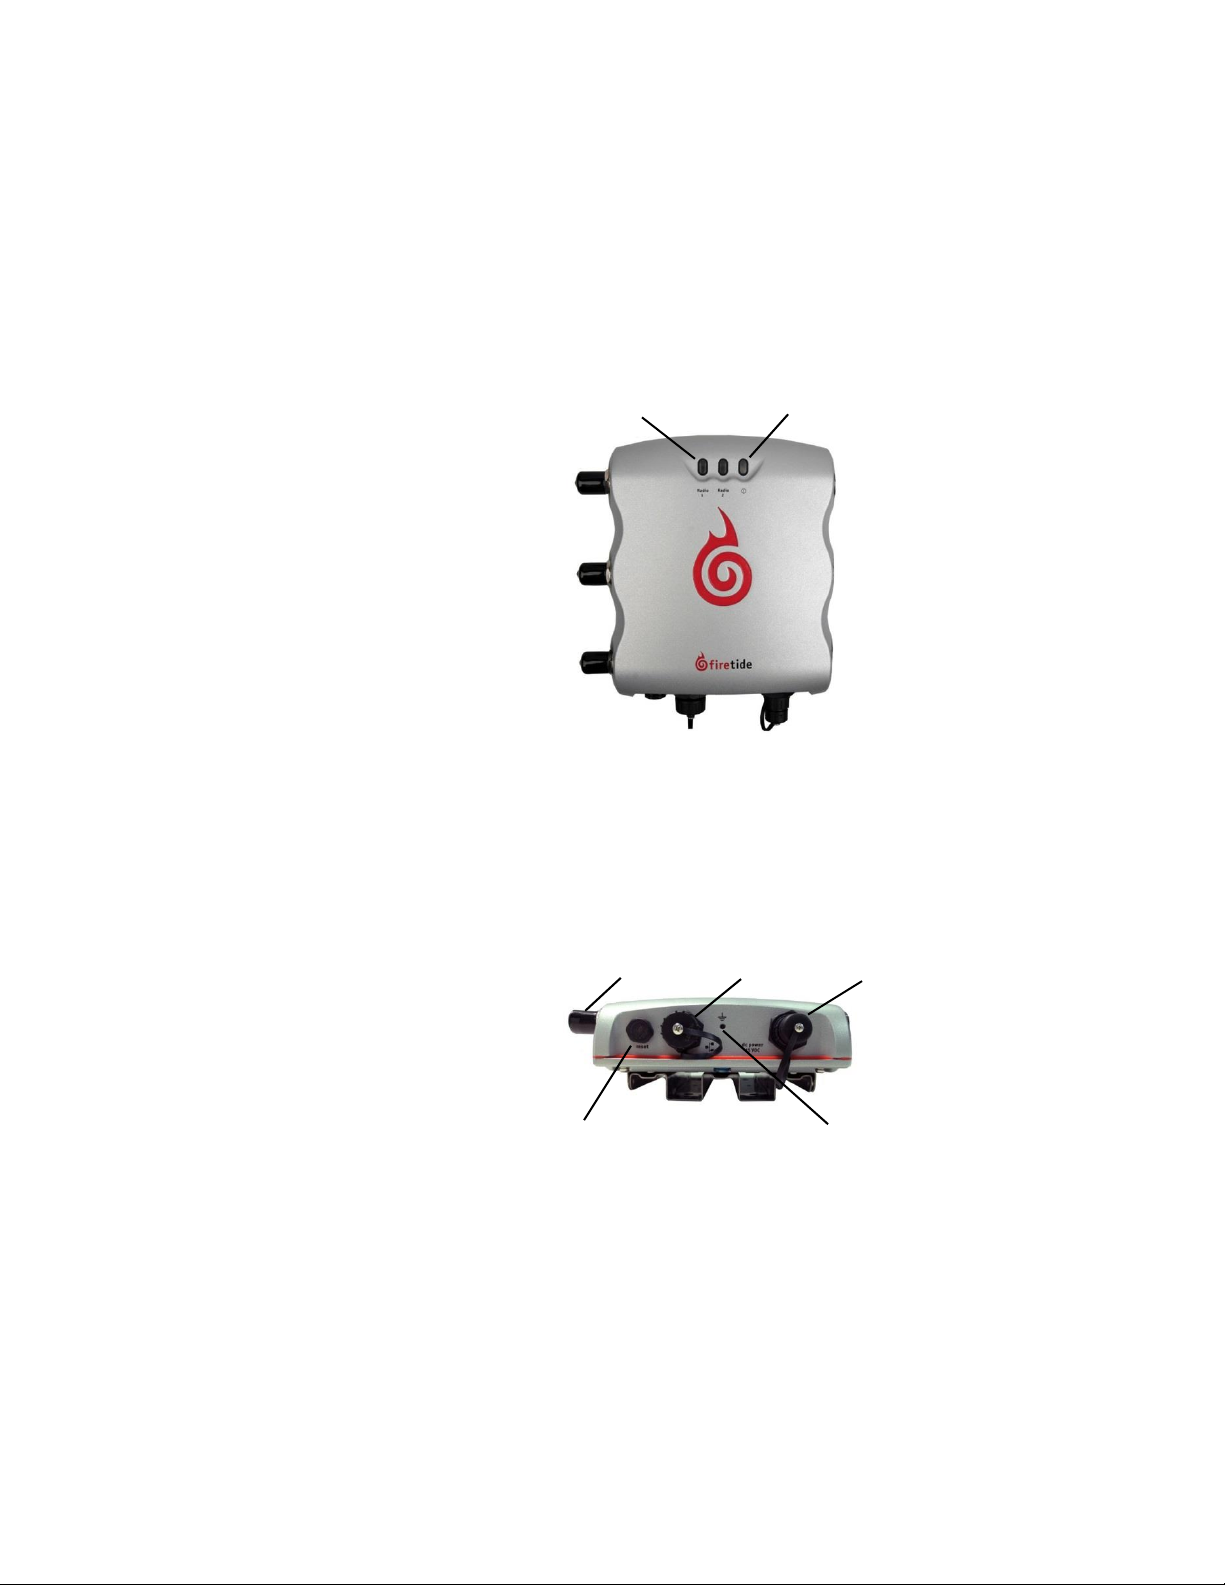
Box contents for a HotPort 5020-LNK solution
TheHotPort5020-LNKsolutionboxcontainstheseitems:
•
Two HotPort 5020-LNK nodes with assembled mount brackets
•
Two AP20-050-MIMO-19 antennas with mount hardware
•
Two integrated 3x3 antenna cables
•
Two staging antennas
•
TwoRP-SMA to type N adapters
•
Two mount brackets for 3.7 to 5.0 cm (1.5 to 2.0 inch) diameter poles or a
wall
•
Two mount kits
-
U-bolts,M6x1.0-80mm,withflatwashers,splitwashers,nuts
-
Claw-tooth pole grippers
-
M6x1.0-40mm hex bolt
-
M6x1.0-20mm hex bolt
-
Hex-head socket wrench
•
Two 802.3at Power over Ethernet (PoE) injectors
•
TwoDCpowerconnectors(fieldinstallable)
•
Two weatherized Ethernet RJ-45 connectors (field installable)
•
Two Cat 6 Ethernet cables, 1 meter (3 feet)
Note.
Other IEC cords are available separately.