manuals.online logo
Brands
  1. Home
  2. •
  3. Brands
  4. •
  5. Fisher & Paykel
  6. •
  7. Range
  8. •
  9. Fisher & Paykel RA535 Series Owner's manual

Fisher & Paykel RA535 Series Owner's manual

Other manuals for RA535 Series

1

Other Fisher & Paykel Range manuals

Fisher & Paykel RIV3-365 User manual

Fisher & Paykel

Fisher & Paykel RIV3-365 User manual
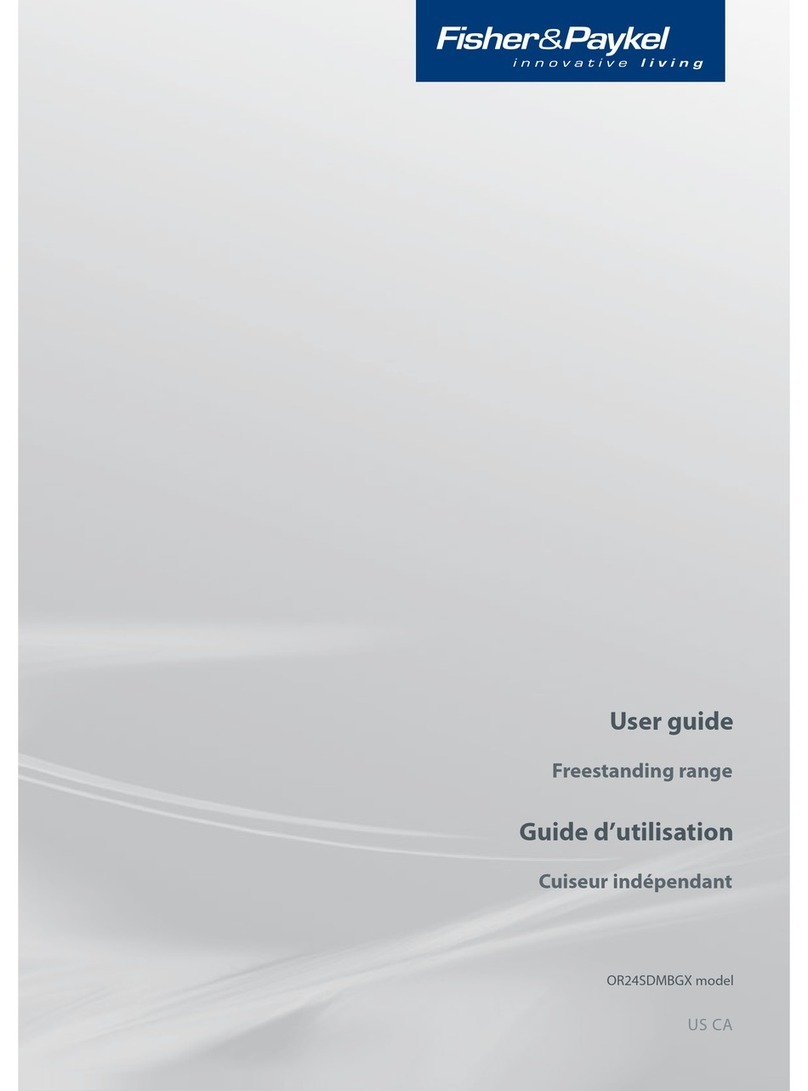
Fisher & Paykel RDV3-485GD User manual

Fisher & Paykel

Fisher & Paykel RDV3-485GD User manual

Fisher & Paykel RGV2-366NN User manual

Fisher & Paykel

Fisher & Paykel RGV2-366NN User manual

Fisher & Paykel RGT-305 User manual

Fisher & Paykel

Fisher & Paykel RGT-305 User manual

Fisher & Paykel OR90SCG6B1 User manual

Fisher & Paykel

Fisher & Paykel OR90SCG6B1 User manual

Fisher & Paykel OR36SDG User manual

Fisher & Paykel

Fisher & Paykel OR36SDG User manual

Fisher & Paykel OR30SDPWIX1 User manual

Fisher & Paykel

Fisher & Paykel OR30SDPWIX1 User manual

Fisher & Paykel OR90SDBGFX3 User manual

Fisher & Paykel

Fisher & Paykel OR90SDBGFX3 User manual

Fisher & Paykel OR36SDBMX1 User manual

Fisher & Paykel

Fisher & Paykel OR36SDBMX1 User manual

Fisher & Paykel OR36SDPWGX1 User manual

Fisher & Paykel

Fisher & Paykel OR36SDPWGX1 User manual

Fisher & Paykel OR60SDBGFX2 User manual

Fisher & Paykel

Fisher & Paykel OR60SDBGFX2 User manual

Fisher & Paykel OR30SDE6 Series User manual

Fisher & Paykel

Fisher & Paykel OR30SDE6 Series User manual

Fisher & Paykel OR36LDBGX1 User manual

Fisher & Paykel

Fisher & Paykel OR36LDBGX1 User manual

Fisher & Paykel OR36S User manual

Fisher & Paykel

Fisher & Paykel OR36S User manual

Fisher & Paykel RGV2-488-N_N User manual

Fisher & Paykel

Fisher & Paykel RGV2-488-N_N User manual

Fisher & Paykel OR24SDMBGX2 User manual

Fisher & Paykel

Fisher & Paykel OR24SDMBGX2 User manual

Fisher & Paykel 9 Series User manual

Fisher & Paykel

Fisher & Paykel 9 Series User manual

Fisher & Paykel RDV2366NN User manual

Fisher & Paykel

Fisher & Paykel RDV2366NN User manual

Fisher & Paykel OR30SLDGX User manual

Fisher & Paykel

Fisher & Paykel OR30SLDGX User manual

Fisher & Paykel OR36SDG4X1 User manual

Fisher & Paykel

Fisher & Paykel OR36SDG4X1 User manual

Fisher & Paykel OR30SDG6 User manual

Fisher & Paykel

Fisher & Paykel OR30SDG6 User manual

Fisher & Paykel Freestanding range User manual

Fisher & Paykel

Fisher & Paykel Freestanding range User manual

Fisher & Paykel OR30SDG4X1 User manual

Fisher & Paykel

Fisher & Paykel OR30SDG4X1 User manual

Fisher & Paykel OR30SDPWIX2 User manual

Fisher & Paykel

Fisher & Paykel OR30SDPWIX2 User manual

Popular Range manuals by other brands

Maytag MGR5875QDW - 30 Inch Gas Range Use and care guide

Maytag

Maytag MGR5875QDW - 30 Inch Gas Range Use and care guide

Frigidaire FFGF3024SS use & care

Frigidaire

Frigidaire FFGF3024SS use & care

Capital Precision Series GCR484W Specifications

Capital

Capital Precision Series GCR484W Specifications

Officine Gullo GGS8P Installation and use instruction

Officine Gullo

Officine Gullo GGS8P Installation and use instruction

LG LSD4913 Series owner's manual

LG

LG LSD4913 Series owner's manual

Kenmore 4101 - Elite 30 in. Slide-In Electric Range installation instructions

Kenmore

Kenmore 4101 - Elite 30 in. Slide-In Electric Range installation instructions

Moffat Blue Seal Evolution G576 Technical data sheet

Moffat

Moffat Blue Seal Evolution G576 Technical data sheet

CornuFé C1NF user guide

CornuFé

CornuFé C1NF user guide

GE JGS650SEFSS Dimensions and installation information

GE

GE JGS650SEFSS Dimensions and installation information

LG LDG3015ST Manual De Propietario

LG

LG LDG3015ST Manual De Propietario

Whirlpool RF350PXP Use and care guide

Whirlpool

Whirlpool RF350PXP Use and care guide

Samsung FCQ321HTUW Service manual

Samsung

Samsung FCQ321HTUW Service manual

Kenmore 790.45712 Use & care guide

Kenmore

Kenmore 790.45712 Use & care guide

Wolf CHR CHSSR owner's manual

Wolf

Wolf CHR CHSSR owner's manual

Smeg Built-in Microwave Oven Instructions for the user

Smeg

Smeg Built-in Microwave Oven Instructions for the user

Zanussi ZCG054G user manual

Zanussi

Zanussi ZCG054G user manual

GE JCSS630 quick start guide

GE

GE JCSS630 quick start guide

Samsung NX58M9960P series installation manual

Samsung

Samsung NX58M9960P series installation manual

manuals.online logo
manuals.online logoBrands
  • About & Mission
  • Contact us
  • Privacy Policy
  • Terms and Conditions

Copyright 2025 Manuals.Online. All Rights Reserved.

Freestander Ranges
RA535 Series
1
Introduction Safety Instructions 2
Accessories 2
Anti Tip Brackets 2
Side Mounted Power Outlets 3
First Use 3
Setting Clocks & Timers Ringer Timer Model 4
Analogue Clock Model 4
Electronic Clock Model 5
Automatic Cooking Automatic Cooking with
Analogue Clock Models 6
Automatic Cooking with
Electronic Clock Models 7
How to Use Your Oven Controls 8
Main Features 8
Cooking Functions 8
How to Use Your Cooktop Radiant Cooktop 11
Baking Guide Baking Suggestions & Chart 12
Grilling Guide Grilling Suggestions & Chart 14
Roasting Guide Roasting Suggestions & Chart 15
Cleaning Cleaning 16
Customer Care Manufacturer's Warranty 17
CONTENTS
2INTRODUCTION
Congratulations on the purchase of your new
Range. We strongly recommend that you read the
Use & Care Instructions carefully to take full
advantage of the features offered by this product.
1. Household appliances are not intended to be
played with by children.
2. Children or persons with a disability that may
limit their ability to use the appliance, should
have a competent person instruct them in its
use. This person should be satisfied that they
can then use the appliance without danger to
themselves or their surroundings.
3. This appliance should be connected to a
circuit which incorporates an isolating switch
providing full disconnection from the power
supply.
4. If your Range is placed on a base to align it
with the bench, take measures to prevent the
base of the Range from slipping.
5. Take care when opening the oven door. Let
hot air and steam escape before removing or
replacing food.
During use this appliance becomes hot. Care
should be taken to avoid touching elements inside
the oven.
Depending on what model you have purchased
your range is supplied with:
1 Grill Plate
1 Roast Dish
1or 2 Bake Trays
1 or 2 Bake Racks
1 or no Guard Rack
1 or no Element Guard
Anti tip brackets are
supplied with the
accessories, so that
the product can be
secured to the wall
to prevent it from
tipping over.
Congratulations
Safety Instructions
Warning
Accessories
Anti Tip Brackets
3
Side Mounted Power
Outlets
(New Zealand Only)
First Use
Warning
INTRODUCTION
The two side mounted power outlets are internally
fused with one 10 amp fuse. Care should be taken
not to overload them.
If required the fuse can be repaired by following
these steps:
1. Turn the power to the oven off. Extra care
should be taken to make sure there is no power
to the oven before repairing the fuse.
2. Pull the oven out from the wall os the back is
accessible and locate the fuse cover on the
right-hand side.
3. Using a Phillips style screwdriver, remove the
screw holding the fuse cover in place and
remove the fuse cover.
4. Remove the fuse carrier from its base and
replace the blown fuse wire with a new 10 amp
fuse wire. 10 amp is the maximum allowable
fuse wire that can be used in this fuse.
5. Refit the fuse and the fuse cover.
First ensure the product is switched on at the wall.
To enable the Range to work, you must first set
the clock. Depending on what model you have
purchased, your range will have one of the clocks
illustrated below. Follow the instructions to set.
Remove accessories and condition the oven by
running at Bake 200°C for one hour before using.
There will be a distinctive smell, this is normal but
make sure your kitchen is well ventilated during
the normal conditioning period.
We do not advise placing aluminium foil or dishes
with reflective qualities on the oven bottom. This
will cause a heat buildup which will result in
irreversible damage to the enamel.
Analogue Clock Electronic Clock
4SETTING CLOCKS & TIMERS
Ringer Timer Model
Setting the Ringer
Timer
Analogue Clock Model
Setting The Analogue
Clock
Setting the Minute
Timer
This has a manual timer which can be set for up to
55 minutes.
The timer can be used at any time even if the
oven is not in use. The timer can be set for up to
55 minutes.
If the oven is in use, the timer does not turn the
oven off.
1. To use the timer, turn the timer control knob
clockwise to the 55 minute mark, then turn
back to show the number of minutes you want.
2. The timer will count down and will ring when
the set time is reached.
This clock has an analogue display and an
automatic function.
To set the clock push the Cook Time knob in and
turn anti clockwise until the clock shows the
correct time. Make sure the shows. Press and
turn the Start Time knob anti clockwise until the
red triangle clicks into alignment with the hour
hand.
The Timer can be used at any time even if the
oven is not in use, however if the oven is in use it
will turn the oven off when the set time has
elapsed.
To set the Timer, turn the Cook Time knob anti
clockwise until you have the number of minutes
you want in the centre of the display window.
When the time you have set is finished, the Timer
will ring and the oven will turn off, if it is on.
To turn the timer bell off, turn the left hand knob
to . The Timer will continue to ring until
turned off. Make sure the oven is returned to
manual mode by turning the Cook Time knob until
the shows.
5
Electronic Clock
Setting the Clock
This clock has a 24-hour display and a minute
timer function. It will flash 0.00 alternatively
with Auto when it has been turned on at the
wall. To enable the range to work you must first
set the clock.
1. Press and hold the and buttons.
2. Set the correct time using -/+ buttons.
3. If you make a mistake, press and
buttons and start again.
The Minute Timer may be used at any time even
when the oven is not in use or when it is set
automatically.
1. Press button briefly.
2. Set the required time using -/+ buttons. The
display will show the time of day with the
symbol indicating that the Timer is set.
3. To check the remaining time press the
button and the remaining time will be
displayed for four seconds before showing
time of day. When the set time elapses, the
Timer will beep.
4. To turn beeps off, press any function button.
The Timer does not turn the oven off.
Clock showing Minute Timer in use
SETTING CLOCKS & TIMERS
6AUTOMATIC COOKING
Automatic Cooking
with the Analogue
Clock Models
When Automatic
Cooking Finishes
To Turn the Oven Off,
and/or Cancel
Automatic Cooking
1. Check that the clock shows the correct time.
2. Choose the Function and Temperature that you
want. The oven indicator light will glow and
the elements will come on.
3. Decide when you want the oven to come on.
This is the time you want the oven to turn off,
minus the cooking time you have set.
4. Turn Cook Time knob anti clockwise until you
have the number of minutes you want to cook
for in the centre of the display window.
5. Press and turn the Start Time knob anti
clockwise until the red triangle is pointing to
the time you want to start cooking. The
indicator light will go out.
The oven is now set for automatic cooking.
When the time you have set is finished the timer
will rung until it is turned to the symbol and the
oven will then turn off.
Turn the cooktime knob until the symbol shows
in the display window, turn the oven to manual
mode. Press and turn the start time knob until the
triangle clicks into alignment with the hour hand.
turn temperature and function to off.
7
AUTOMATIC COOKING
Automatic Cooking
with Electronic Clock
Models
To Start Automatic
Cooking with
Electronic Clock
Auto Stop Cooking
To Cancel Automatic
Cooking
To Check Automatic
Cooking
You do not have to set a start time for electronic
clocks. The clock will automatically deduct the
cook time from the stop time to start.
1. Check that the clock shows the correct time of
day.
2. Select Function and Temperature that you
need. The oven indicator light will glow and
the element will come on.
3. Decide how long the food will take to cook
allowing time for preheating if needed.
4. Press COOK TIME button, 0.00 will show,
then using - / + buttons, select time.
5. To set oven to turn off press STOP TIME. Enter
the time at which you would like food to
finish cooking using - / + buttons.
6. If there is time to wait before the Cook Time
starts, the time of day and "Auto" are shown
and the clock display dims. The oven
element turns off when the setting is
complete.
7. During automatic cooking, the and "Auto"
are shown in the clock display.
8. When the cook time is finished the oven will
beep, the goes out and the oven turns off,
"Auto" flashes.
9. Turn Temperature and function to OFF and
press MANUAL button to return tomanual.
Use Auto Stop Cooking if you are at home to start
cooking but want the oven to turn off
automatically. To set for Auto Stop Cooking,
follow the first four steps for automatic cooking.
1. Press button and press -/+ button to 0.00.
"Auto" will flash. Press the button, turn
Function and Temperature off.
2. Press button and set Cook Time
will show. Press STOP TIME button and set
Stop Time will show.
3. Turn temperature and function off.
Press the button and the set Cook Time will
show. Press the STOP TIME button and the set
Stop Time will show.
AUTOMATIC COOKING
8HOW TO USE YOUR OVEN
Select required function using Function knob then
select the temperature you want with the
Temperature knob. The oven light will come on
automatically when a function is selected. The
oven indicator light will glow until the oven has
reached the set temperature. When you have
finished cooking turn the oven off.
Your oven will offer you the choice of Bake and
Grill functions. Some models may have Fan Bake,
Fan Grill and Defrost. The heat is thermostatically
controlled.
Turn the oven on by selecting the required
temperature. The oven light will come on
automatically. The oven indicator light will glow
until it has reached the set temperature. For
grilling turn the temperature to grill. When you
have finished cooking, turn the oven off.
Warmer Drawers have a low powered element and
will keep food and plates warm. Rotate the knob
to turn the warmer drawer on and off.
Storage drawers do not have an element so cannot
keep food warm.
Shelf positions are numbered from the top down.
The cooking tables supplied give you suggested
shelf positions. You may wish to change these to
suit yourself.
Depending on the model of your Range the oven
light can be turned on with a switch or will
automatically turn on when the oven function is
selected. The oven elements will not turn on until
the oven temperature is selected.
There are a variety of cooking functions depending
on the model of oven you have purchased. These
include;
§Bake §Fan Bake
§Grill §Fan Grill
§Defrost
Controls
Main Features
Main Oven
Using Your Oven
Warmer Drawer
Storage Drawer
Shelf Position
Oven Light
Cooking
Functions