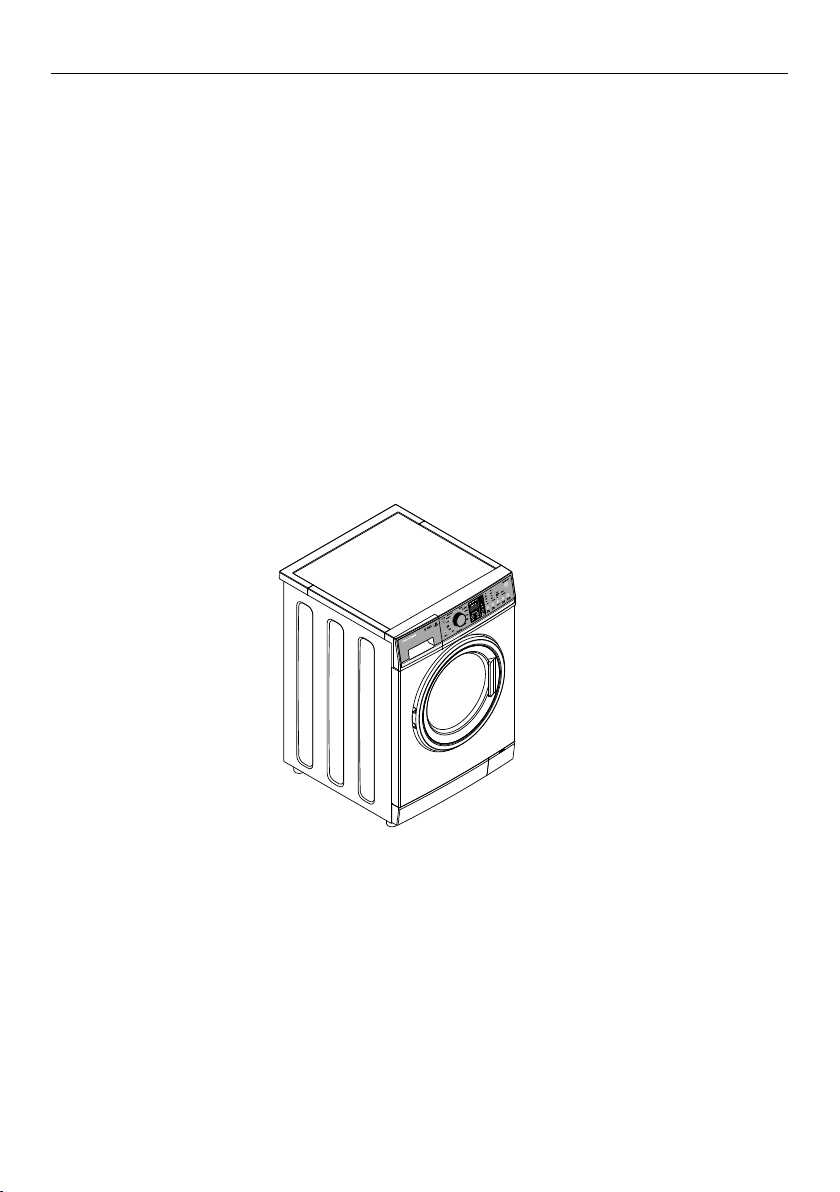
Fisher & Paykel WM1490P User manual
Other Fisher & Paykel Washer manuals

Fisher & Paykel
Fisher & Paykel WH9060P3 User manual

Fisher & Paykel
Fisher & Paykel WM1480P User manual

Fisher & Paykel
Fisher & Paykel WA37T26GW2 Mounting instructions

Fisher & Paykel
Fisher & Paykel WM1490F1 Operating instructions

Fisher & Paykel
Fisher & Paykel WH2424P1 Operating instructions

Fisher & Paykel
Fisher & Paykel WL4027P1 Instruction sheet

Fisher & Paykel
Fisher & Paykel DE60FA2-96983 Installation guide

Fisher & Paykel
Fisher & Paykel WA70T60GW1 User manual

Fisher & Paykel
Fisher & Paykel WH1260F User manual

Fisher & Paykel
Fisher & Paykel WL4227J1 User manual

Fisher & Paykel
Fisher & Paykel WASHSMART MW60 User manual

Fisher & Paykel
Fisher & Paykel 424983B User manual

Fisher & Paykel
Fisher & Paykel WASHSMART WA1060E User manual

Fisher & Paykel
Fisher & Paykel AWF70MD User manual

Fisher & Paykel
Fisher & Paykel WM1490F1 User manual

Fisher & Paykel
Fisher & Paykel WM1490F User manual

Fisher & Paykel
Fisher & Paykel Ecosmart GWL15-US-96200 User manual

Fisher & Paykel
Fisher & Paykel WH8060P Mounting instructions

Fisher & Paykel
Fisher & Paykel WA1068G1 User manual

Fisher & Paykel
Fisher & Paykel WH60F60W Series Mounting instructions