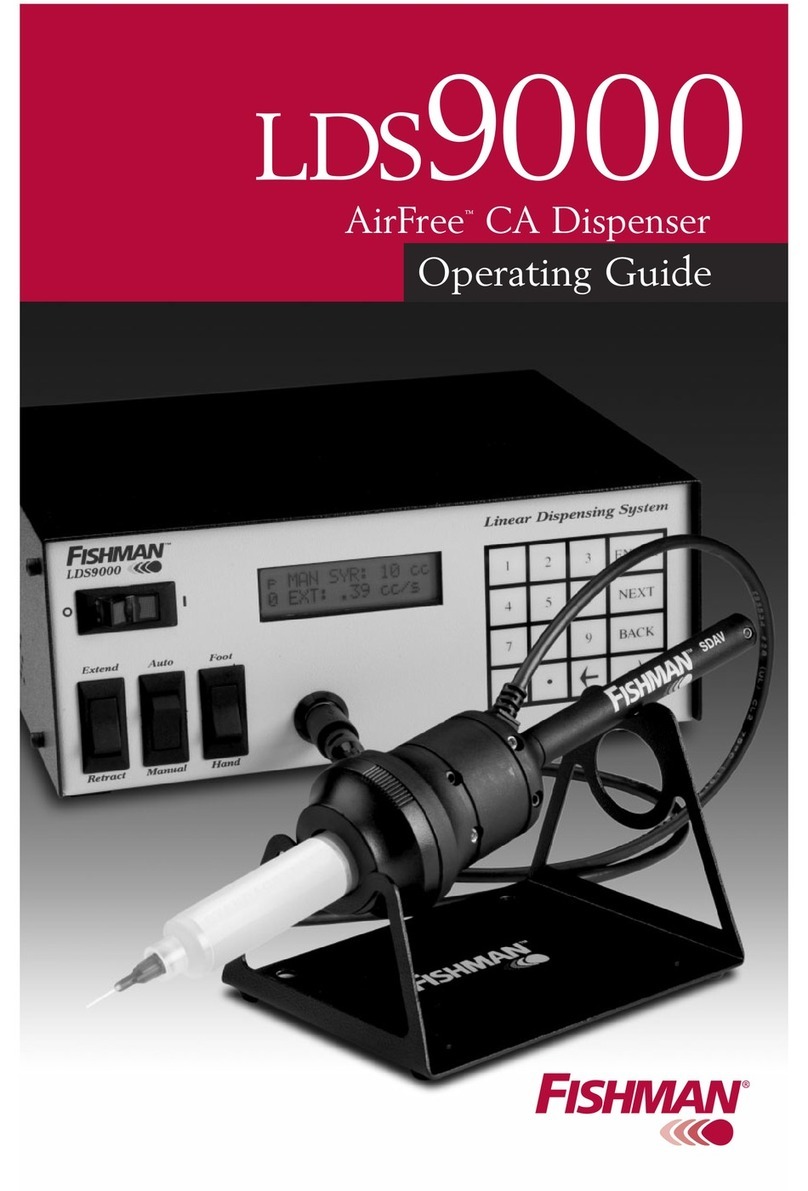
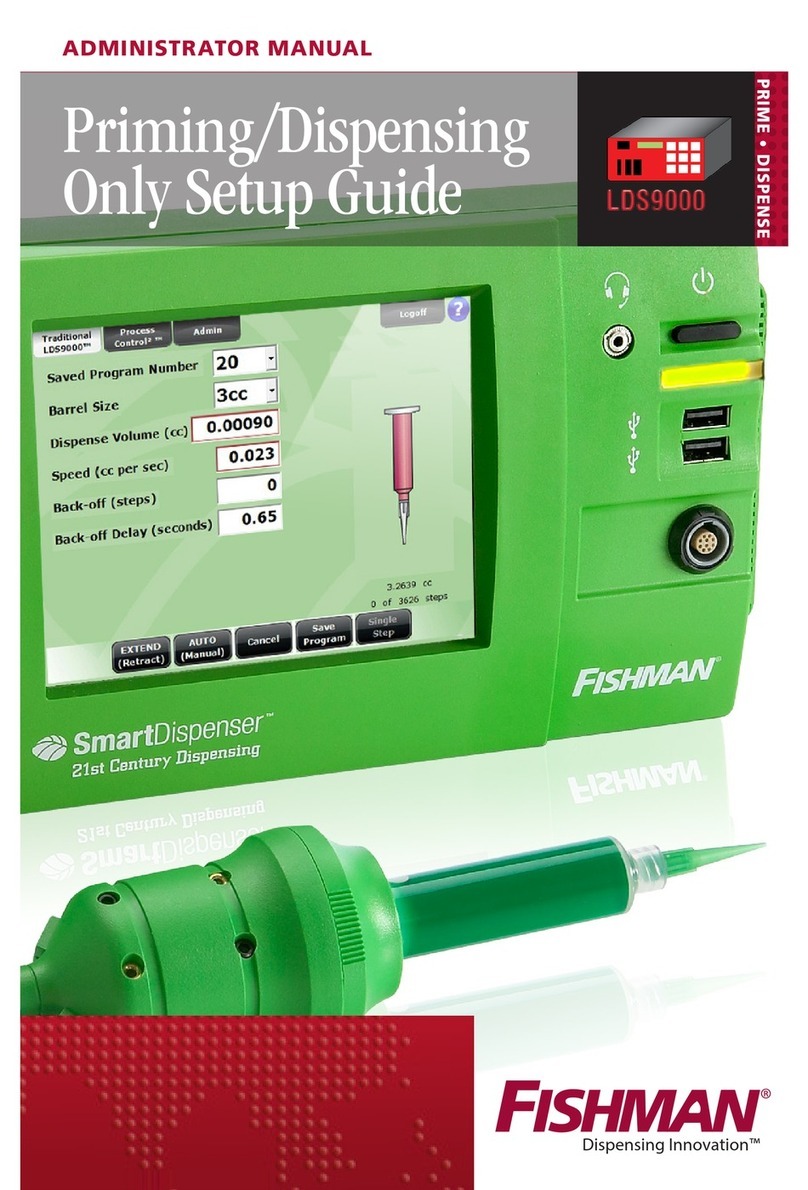
Fishman SmartDispenser LDS9000 Use and care manual

ADMINISTRATOR AND SUPERVISOR MANUAL
Dispensing Innovation™
LDS9000®
Programming the
SmartDispenser®
Traditional LDS9000®Mode

3Fishman Corporation USA Toll Free 1-800-433-2115
Fishman Corporation USA Toll Free 1-800-433-2115

International +00 1 508-435-2115 www.fishmancorp.com 4
International +00 1 508-435-2115 www.fishmancorp.com 3
Thank you for
purchasing the
SmartDispenser®
THE FUTURE OF FLUID DISPENSING.
This setup guide is designed to help
Administrators and Supervisors quickly and
easily get the SmartDispenser®system running
and logon to Traditional LDS9000®Mode.
If you are unsure of any step or have questions,
consult your SmartDispenser®Setup Guide,
contact your Fishman distributer, or call us at
one of the numbers below.
US & Canada: 800-433-2115
Worldwide: 1-508-435-2115
®

4Fishman Corporation USA Toll Free 1-800-433-2115
Table of Contents
1.0 Prepare your workspace for 5
the SmartDispenser®
2.0 Unpack your SmartDispenser®6
System
3.0 Hook up your SmartDispenser®7
components
4.0 Startup and Logon the 10
LDS9000®Traditional Mode
of SmartDispenser®
5.0 Assembly of all SmartDispenser® 12
LDS Dispense Guns
6.0 Attach the Genius®Barrel 13
Reservoir to LDS Dispense Gun
7.0 Prime the Genius®FreeFlow™ 16
Dispense Tip
8.0 Setup a LDS9000®Traditional 18
Mode Program
9.0 Activate your SmartDispenser®25
Warranty Online

International +00 1 508-435-2115 www.fishmancorp.com 6
1.0 Prepare your workspace
for the SmartDispenser®
1.1 Be sure your work area has access to electrical
power. You will not need compressed air.
The SmartDispenser®works without air.
International +00 1 508-435-2115 www.fishmancorp.com 5

6Fishman Corporation USA Toll Free 1-800-433-2115
2.0 Unpack your
SmartDispenser®
System
2.1 Remove all items from the box.
2.2 Use the checklist provided to confirm that all
components are present.

International +00 1 508-435-2115 www.fishmancorp.com 8
International +00 1 508-435-2115 www.fishmancorp.com
International +00 1 508-435-2115 www.fishmancorp.com 7
3. Hook up your
SmartDispenser®
components
3.1 Refer to the diagram to connect all components and
peripheral devices to the SmartDispenser®.
Q
A
B
R N
E
J
F
G
P
O

C
I
D
G
M
H
LK
J
Secure
Internal
Server
SmartDispenser™ Components
A. Dispense Gun
B. Gun Connector
C. Foot Pedal
D. Foot Pedal
Connector
E. Keyboard
F. Mouse
G. USB connectors
H. Ethernet Port
I. Cisco Wireless
Connectivity
Device
J. Video Camera
K. Power Cord
L. Universal Power
Supply
M. Power Supply
Connector
N. On/Off Button
O. Power Light
P. Touch Screen
Q. Earphone
R. Earphone Port
8Fishman Corporation USA Toll Free 1-800-433-2115

International +00 1 508-435-2115 www.fishmancorp.com 9
3.2 Plug SmartDispenser®dispense gun Ainto
gun connector Blocated on the front of the
SmartDispenser®.
3.3 Place the foot pedal Con the floor and plug it
into the foot pedal input connector Dlocated
on the back of the SmartDispenser®.
3.4 Connect the system keyboard Eand mouse F
using one of the four USB connectors Glocated
on the front and back of the SmartDispenser®.
3.5 Connect your SmartDispenser®to an Ethernet
network using the Ethernet port Hfound on the
back of the unit. If you have a wireless network,
install the supplied wireless connectivity device I
in one of the USB connectors Glocated on the
front and back of the unit.
3.6 Plug the supplied video camera Jinto one of the
four USB connectors Glocated on the front and
back of the SmartDispenser®.
3.7 Connect the power cord Kto the universal
power supply L.
3.8 Connect the universal power supply Lto the
power supply connector Mon the back of the
SmartDispenser®. Plug the power cord Kinto a
power outlet.
3.9 Connect the 2.5mm earphone Qto earphone
port R.

10 Fishman Corporation USA Toll Free 1-800-433-2115
4.0 Startup and Logon the
LDS9000®Traditional Mode
of SmartDispenser®
4.1 Press the black startup button Non the front of
the SmartDispenser®. The green power light will
illuminate O.
4.2 On home screen Tap/click on the
LDS9000 Traditional mode icon.

International +00 1 508-435-2115 www.fishmancorp.com 11
4.3 On SmartDispenser®Logon screen select
Administrator or Supervisor from drop down
menu. Tap/click password 1234, tap/click “OK”,
tap/click Logon button.

12 Fishman Corporation USA Toll Free 1-800-433-2115
5.0 Assembly
of all
SmartDispenser®
LDS Dispense
Guns
5.1 The SmartDispenser®
dispense guns are
available in many
configurations.
The gun connectors are
similar for easy hook-up
to the SmartDispenser®.
SurLok™
Retaining
Ring Cover
Genius®
Tip Cap
Genius®
Barre
Reservoir
Genius®
Posilok™ Piston
Piston Hub
Lead Screw
LDAV, MDAV
or SDAV Gun

International +00 1 508-435-2115 www.fishmancorp.com 13
6.0 Attach the Genius®
Barrel Reservoir to
LDS Dispense Gun
6.1 Verify the AUTO(Manual) button is
set to MANUAL(Auto). Verify the
EXTEND(Retract) button is set to
EXTEND(Retract). EXTEND
(Retract)
MANUAL
(Auto)

14 Fishman Corporation USA Toll Free 1-800-433-2115
6.2 Remove the seal from the
Genius®barrel reservoir
pre-filled with your assembly
fluid.
6.3 Holding the dispensing gun
with the piston hub pointed
upward, place the barrel
reservoir over the piston hub
of the dispensing gun.
6.4 Holding both barrel reservoir
and dispense gun loosely,
step on the foot pedal until
the barrel reservoir ears are
raised at least 1/4” (6.35 mm)
above the plate.
6.5 Manually twist the barrel
reservoir in a clockwise
direction until the luer lock
connector is finger tight
and the ears of the barrel
reservoir are flush against
the retaining plate.
1/4”

International +00 1 508-435-2115 www.fishmancorp.com 15
CAUTION:
Do not over-tighten the barrel reservoir. It is only
necessary to make a loose connection to bring the
barrel reservoir flush. The retaining ring holds the
barrel reservoir in place.
TIP: It may be necessary to tap/click the
EXTEND(Retract) button to RETRACT(Extend)
and step on the foot pedal to bring the ears
completely flush to the retaining plate. If
you set the switch to RETRACT(Extend), be
sure it is set back to EXTEND(Retract) before
proceeding.
6.6 Slide the retaining ring cover
over the Genius®barrel
reservoir and align the legs with
the open slots of the adapter
plate.
For threaded retaining rings
simply engage threads and
tighten as you would any
beverage bottle.
6.7 Rotate the retaining ring
cover in a clockwise direction
until it locks in place. The
barrel reservoir is now firmly
connected to the dispenser
gun.
EXTEND
(Retract)
RETRACT
(Extend)

16 Fishman Corporation USA Toll Free 1-800-433-2115
7.0 Prime the
Genius®FreeFlow™
Dispense Tip
7.1 Remove tip cap from the barrel by twisting
counter-clockwise and pulling. Attach the 18G
green Genius®FreeFlow™ Tapered Tip provided
in the Dispense Tip kit.
7.2 Hold the dispense tip over the provided dot chart
as shown, press the foot pedal intermittently
until the fluid begins to flow towards the end of
the Genius®FreeFlow™ tip.
Goal: To stop the fluid when flush with the end of the Genius®
FreeFlow™ tip with no air pockets.
Tip: Genius®all plastic FreeFlow™ tips work best. There are
multiple size tips indicated by color. To find the tip that
works best increase or decrease gauge
size. If a stainless steel dispense tip
is necessary always use .25” length tip.
7.3 If too little fluid: Continue to press
on the foot pedal intermittently
causing the fluid to flow to the tip.

7.4 If too much fluid: On the control
panel, tap/click the EXTEND(Retract)
button to RETRACT(Extend).
7.5 Step on the foot pedal in small
short pulses until the fluid stops
flowing from the tip.
Goal: To stop the forward motion of the fluid
by retracting the piston and sucking the
fluid back.
7.6 Clean the tip so it appears as
pictured.
Note: If the material continues to ooze, repeat step
7.4 to 7.5.
7.7 On the control panel, tap/click
the RETRACT(Extend) button to
EXTEND(Retract).
7.8 Tap/click MANUAL(Auto) button to
AUTO(Manual).
7.9 Tap/click the arrow next to Barrel Size to drop
down menu and select the size of the syringe
barrel you are using.
7.10 Tap/click “OK” on the pop-up message.
EXTEND
(Retract)
RETRACT
(Extend)
MANUAL
(Auto)
AUTO
(Manual)
International +00 1 508-435-2115 www.fishmancorp.com 17
EXTEND
(Retract)
RETRACT
(Extend)

18 Fishman Corporation USA Toll Free 1-800-433-2115
8.0 Setup a LDS9000®
Traditional Mode Program
8.1 Tap/click the arrow next to the barrel size to drop
down menu and select size of syringe.
8.2 Tap/click “OK” to the pop-up message.
8.3 If dispensing a bead, proceed to 8.5.
8.4 If dispensing a dot proceed to 8.6.
8.5 Select the length/width closest to your target
dispense size on the 8A Bead Chart below. Review
information on pages 19-20 and then proceed to 8.7.
8A Bead Chart
LENGTH WIDTH
1/64(0.396MM) 1/32(0.795MM) 1/16(1.59MM) 3/32(2.38MM)
0.1” 0.00030 CC 0.00126 CC 0.00500 CC 0.01130 CC
1” 0.00310 CC 0.01261 CC 0.05030 CC 0.11300 CC
2” 0.00630 CC 0.02522 CC 0.10050 CC 0.22600 CC
3” 0.00940 CC 0.03783 CC 0.15080 CC 0.33899 CC
4” 0.01250 CC 0.05044 CC 0.20110 CC 0.45199 CC
5” 0.01570 CC 0.06304 CC 0.25140 CC 0.56499 CC
6” 0.01880 CC 0.07565 CC 0.30160 CC 0.67799 CC
7” 0.02190 CC 0.08826 CC 0.35190 CC 0.79099 CC
8” 0.02510 CC 0.10087 CC 0.40220 CC 0.90398 CC
9” 0.02820 CC 0.11348 CC 0.45250 CC 1.01698 CC
10” 0.03130 CC 0.12609 CC 0.50270 CC 1.12998 CC
11” 0.03450 CC 0.13870 CC 0.55300 CC 1.24298 CC
12” 0.03760 CC 0.15131 CC 0.60330 CC 1.35598 CC

International +00 1 508-435-2115 www.fishmancorp.com 19
8B Dot Chart
VOLUME DIAMETER SIZE
CC INCH MM DOT
0.00003 0.02 0.51 l
0.00011 0.03 0.76 l
0.00028 0.04 1.02 l
0.00054 0.05 1.27 l
0.00148 0.07 1.78 l
0.00314 0.09 2.29 l
0.00569 0.11 2.79 l
0.00941 0.13 3.30 l
0.01448 0.15 3.81 l
0.02096 0.17 4.31 l
0.02950 0.19 4.83 l
0.04573 0.22 5.59 l
0.05913 0.24 6.09 l
0.07527 0.26 6.60 l
0.11583 0.30 7.62 l
0.18394 0.35 8.89 l
0.27457 0.40 10.16
l
0.39094 0.45 11.43
l
0.53627 0.50 12.70
l
1.80990 0.75 19.05
l
8.6 Select the
dot size
closest to
your target
dispense
size on
the 9B Dot
Chart to
the right.
Review
information
on pages
19-20
and then
proceed to
8.7.

20 Fishman Corporation USA Toll Free 1-800-433-2115
Note: There are three methods of programming numbers in
SmartDispenser®, using either using your finger to tap the
touch screen and/or the mouse to use the arrow to click on
program parameter input boxes.
1) Tap/click the input box, left/right arrows will appear.
Tap/click either arrow to increase or decrease the number.
2) Tap/click a second time to get the arrows to separate
revealing a slide bar. Tap/click either arrow to increase/
decrease the number or tap/click and hold grey slider
rectangle sliding in either direction for rapid number
change.
8D Dot Anatomy8C Anatomy
Length
Width
D
Volume = D3D x 0.5236 / 2*
(*1/2 the volume of a sphere)
Table of contents
Other Fishman Dispenser manuals
Popular Dispenser manuals by other brands

Thermo Scientific
Thermo Scientific Multidrop Combi nL user manual

Vermes
Vermes MDS 3000 Series user manual

Cornelius
Cornelius ED22 Series installation instructions

Hanskamp
Hanskamp Black V anti-spill Installation and operating instructions

Air Wolf
Air Wolf Omikron II Series manual

Vitlab
Vitlab TA2 operating manual