manuals.online logo
Brands
  1. Home
  2. •
  3. Brands
  4. •
  5. Fishman
  6. •
  7. Music Equipment
  8. •
  9. Fishman NATIONAL STYLE RESOPHONIC GUITAR PICKUP User manual

Fishman NATIONAL STYLE RESOPHONIC GUITAR PICKUP User manual

This manual suits for next models

1

Other Fishman Music Equipment manuals

Fishman RARE EARTH - User manual

Fishman

Fishman RARE EARTH - User manual

Fishman NASHVILLE SERIES PICKUP User manual

Fishman

Fishman NASHVILLE SERIES PICKUP User manual

Fishman BP-100 User manual

Fishman

Fishman BP-100 User manual

Fishman TSV POWERBRIDGE - ROUTING User manual

Fishman

Fishman TSV POWERBRIDGE - ROUTING User manual

Fishman VS-50P POWERBRIDGE - ROUTING User manual

Fishman

Fishman VS-50P POWERBRIDGE - ROUTING User manual

Fishman RARE EARTH - User manual

Fishman

Fishman RARE EARTH - User manual

Fishman M-300 - INSTALLATION GUIDE REV C User manual

Fishman

Fishman M-300 - INSTALLATION GUIDE REV C User manual

Fishman RARE EARTH - User manual

Fishman

Fishman RARE EARTH - User manual

Fishman RARE EARTH BLEND User manual

Fishman

Fishman RARE EARTH BLEND User manual

Fishman ELLIPSE VT - Dimensions

Fishman

Fishman ELLIPSE VT - Dimensions

Fishman NEO-D User manual

Fishman

Fishman NEO-D User manual

Fishman NEO-D - ANNEXE 282 User manual

Fishman

Fishman NEO-D - ANNEXE 282 User manual

Fishman ONBOARD AURA - CUTOUT User manual

Fishman

Fishman ONBOARD AURA - CUTOUT User manual

Fishman FULL CIRCLE User manual

Fishman

Fishman FULL CIRCLE User manual

Fishman MATRIX INFINITY - User manual

Fishman

Fishman MATRIX INFINITY - User manual

Fishman ELLIPSE BLEND - Dimensions

Fishman

Fishman ELLIPSE BLEND - Dimensions

Fishman ELLIPSE VT - User manual

Fishman

Fishman ELLIPSE VT - User manual

Fishman TriplePlay Setup guide

Fishman

Fishman TriplePlay Setup guide

Fishman POWERBRIDGE User manual

Fishman

Fishman POWERBRIDGE User manual

Fishman M-200 PROFESSIONAL MANDOLIN PICKUP User manual

Fishman

Fishman M-200 PROFESSIONAL MANDOLIN PICKUP User manual

Fishman VTB User manual

Fishman

Fishman VTB User manual

Fishman ELLIPSE BLEND - User manual

Fishman

Fishman ELLIPSE BLEND - User manual

Fishman CLÁSICA II User manual

Fishman

Fishman CLÁSICA II User manual

Fishman ELLIPSE BLEND - User manual

Fishman

Fishman ELLIPSE BLEND - User manual

Popular Music Equipment manuals by other brands

Aguilar CHORUSAURUS user guide

Aguilar

Aguilar CHORUSAURUS user guide

HEXDEVICES Tama 12 user manual

HEXDEVICES

HEXDEVICES Tama 12 user manual

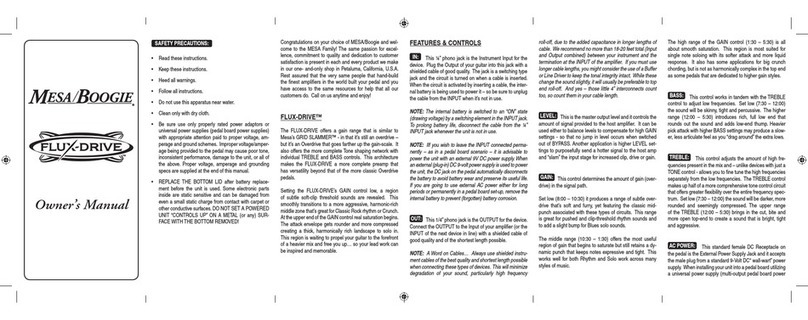
Mesa/Boogie Flux-drive owner's manual

Mesa/Boogie

Mesa/Boogie Flux-drive owner's manual

DOLFINOS The CARBON Edition user manual

DOLFINOS

DOLFINOS The CARBON Edition user manual

DAPAudio IPS-PT user guide

DAPAudio

DAPAudio IPS-PT user guide

Dynacord DPM 8016 owner's manual

Dynacord

Dynacord DPM 8016 owner's manual

Moen GEC8 Live owner's manual

Moen

Moen GEC8 Live owner's manual

Fender 1 brochure

Fender

Fender 1 brochure

Yamaha MLC-16 operating manual

Yamaha

Yamaha MLC-16 operating manual

Sonuscore TIME TEXTURES manual

Sonuscore

Sonuscore TIME TEXTURES manual

flight of harmony V'Amp user guide

flight of harmony

flight of harmony V'Amp user guide

NANO PERFORMANCE MIXER quick guide

NANO

NANO PERFORMANCE MIXER quick guide

BHI NEIM 1031 MKII user guide

BHI

BHI NEIM 1031 MKII user guide

Befaco KICKALL user manual

Befaco

Befaco KICKALL user manual

Paia 9720 Assembly and using manual

Paia

Paia 9720 Assembly and using manual

limex ALPIN MASTER 128 user manual

limex

limex ALPIN MASTER 128 user manual

nord Electro 3 user manual

nord

nord Electro 3 user manual

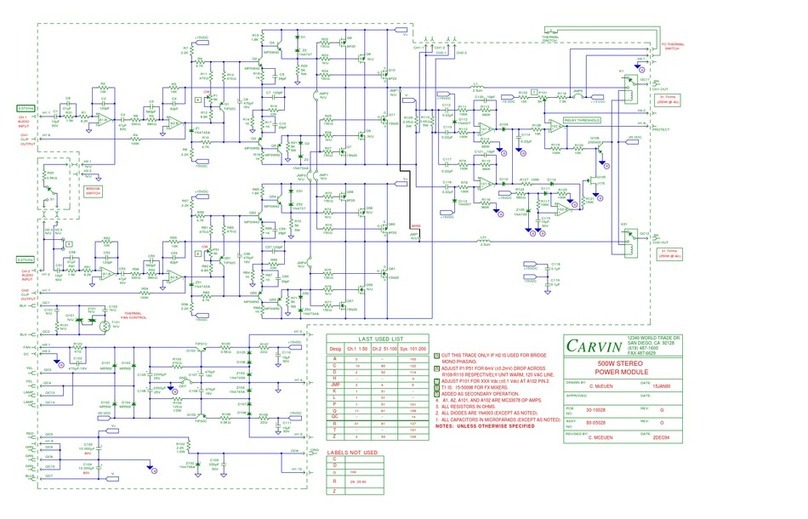
CARVIN 500W STEREO POWER MODULE - SCHEMA REV G manual

CARVIN

CARVIN 500W STEREO POWER MODULE - SCHEMA REV G manual

manuals.online logo
manuals.online logoBrands
  • About & Mission
  • Contact us
  • Privacy Policy
  • Terms and Conditions

Copyright 2025 Manuals.Online. All Rights Reserved.

National® Style
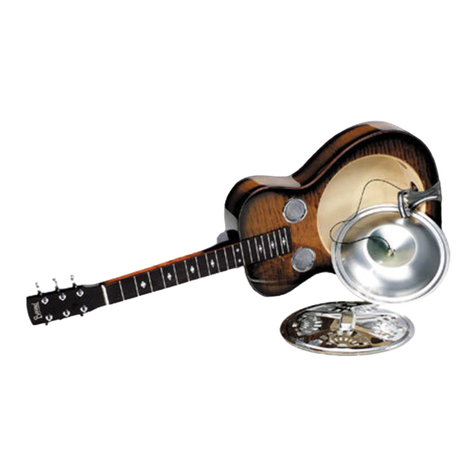
Resophonic Guitar Pickup
• For single cone instruments with National® biscuit-style
bridge assemblies
• Installation instructions for Passive and Active Models
Installation Guide
Thank you for choosing the Fishman National® Style Resophonic Guitar
Pickup. It is our wish that you are completely satisfied with this product. If
you have any questions or comments, we would like to hear from you. Please
contact our customer service department at www.fishman.com
This pickup fits single cone instruments with National® biscuit-style bridge
assemblies. Not for Dobro® style biscuit bridges.
Wiring Options: visit www.fishman.com for updates to this manual.
Warning!
Installing the National Style pickup in a guitar is a simple procedure,
but we recommend this job only if you are an experienced guitar repair
technician. Please read and understand all these instructions before you
install the pickup.
Fishman Transducers, Inc. will not be responsible for damage to the guitar
or personal injury due to installation, improper installation, use or misuse
of the product.
Plugging In
Passive Pickup
For clean, noiseless sound, use a high quality low capacitance instrument
cable with metal plugs. For consistent sound into a variety of audio inputs,
we recommend an outboard acoustic instrument preamp between the pickup
and your amplifier or mixing console.
Active Pickup
With the active pickup, you won’t need an outboard buffering preamp, so you
can get great sound when you, plug directly into any available audio input
(instrument amplifier, DI, mixing console, soundcard, etc.).
Active Preamp Specifications
Power: 9V alkaline battery
Battery Life: 11,000 hours
Maximum Output Voltage: 4 Volts peak to peak
Input Impedance: 2.5 Meg Ohm
Output Impedance: Less than 5k Ohm
System Gain: 3dB
Signal-to-noise Ratio: 94 dB
Discrete Component Design: FET low noise class A input stage,
bipolar class AB output stage
Because we continually improve our products, the specifications and information in this
manual are subject to change without notice.
Pickup Installation
1. Remove the strings and the cover plate. Unscrew the biscuit from the
cone.
2. Drill a .094” (2.4mm) hole in the cupped side of the cone, about 3/8”
(9.5mm) below the rim. Remove any burrs from the hole.
3. Examine the bottom surface of the biscuit with a straightedge. If the biscuit
is warped sand it flat.
4. Clean off any dust or debris from the bottom of the biscuit and apply a thin
bead of woodworking glue around the edge.
5. Line up the ends of the saddle with the notches in the brass disc, on the
side of the disc opposite the pickup element
6. Affix the biscuit to the disc and wipe off any excess glue. Double-check the
alignment between the notches in the disc and the ends of the saddle. Clamp
for several minutes. (over —> )

Pickup Installation, Cont’d.
7. Thread the pickup wire through the hole you drilled earlier.
8. Fasten the biscuit/pickup assembly to the cone. Tighten this screw just
enough to prevent the biscuit assembly from freely rotating on top of the
cone. Do not over tighten the screw or you may short out the pickup!
9. Remove the barrel from the jack and thread the pickup wire through it.
Passive Pickup
Solder the center wire to the tip terminal and the shield wire to the
sleeve terminal.
Active Pickup
Thread the pickup wire through the strain relief hole at the end of the
circuit board. Solder the signal wire to the “IN” pad and the shield wire
to the “G” pad. Be careful not to burn the solder pads! If the pads are
overheated, they may lift off the circuit board.
10. Fasten the shielding cap to the jack.
Jack Installation Where to Locate Jack?
Metal Body Instrument
For a metal instrument with a stick that runs the length of the body into the
tailblock, we recommend that you place the jack on the treble side lower
bout. Use a center punch at the chosen location and use a sharp 3/8” (9.5
mm) brad-point drill. For best results, use a drill press and clamp the
instrument securely to prevent the drill from wandering or distorting the
shape of the hole.
Wooden Body Instrument
For most wooden instruments, locate the jack at the endblock, centered
below the tailpiece. Drill a 3/16” (4.8mm) hole and enlarge it to 15/32”
(12mm) with a 15/32” tapered reamer. Note that if the instrument has a ring
(“soundwell”) inside the sound chamber, you may have to drill through it to
accommodate the jack.
Battery Installation
for the Active Pickup
You may locate the included battery clip on any flat surface inside the
instrument. Clean the area where you plan to mount the battery clip with
denatured alcohol, remove the release film from the sticky-back adhesive
and firmly fasten the battery clip inside the instrument. Battery life is approx.
11,000 hours. Under normal conditions the battery will last several years
between changes.
A set of adhesive backed clips has been provided to secure the pickup wire
and battery leads inside the guitar. Remove the plastic film from the back
of each clip to expose the adhesive and fasten to the sides or back of the
instrument.
514-000-015 Rev A 3-05
Pickup Signal
to Tip
Shield to
Sleeve
2 3 4 5 6
1
2 3 4 5
1
Metal Body Instrument Jack Location
Wooden Body Instrument Jack Location
1 - 3/8” Nut
2 - 3/8” Star Washer
3 - Guitar Body
4 - 3/8” Dress Washer
5 - 3/8” Nut
1 - 15/32” Nut
2 - 15/32” Washer
3 - 15/32” Star Washer
4 - Guitar Endblock
5 - 3/8” Dress Washer
6 - 3/8” Nut
Fishman Transducers, Inc.
340 Fordham Road Wilmington, MA 01887
www.fishman.com
REV . 2.3
PJ FISHMAN +G
IN R
-
Pickup Signal
to "IN"
Pickup Shield
to Ground ("G")