manuals.online logo
Brands
  1. Home
  2. •
  3. Brands
  4. •
  5. Fleurco
  6. •
  7. Bathroom Fixture
  8. •
  9. Fleurco Capri FAX363-11-40 User manual

Fleurco Capri FAX363-11-40 User manual

INSTRUCTION MANUAL - GUIDE D’INSTALLATION
S017
12 / 2015
Product specications are subject to change without notice • Des changements peuvent être apportés au produit sans préavis.
Please keep this manual and product code number for future reference
and for ordering replacement parts if necessary.
Veuillez conserver ce manuel et le code de produit pour des références futures,
et au besoin, la commande de pièces de rechange.
INSTRUCTIONS GÉNÉRALES
• Lire attentivement et complètement le manuel
d’installation avant de procéder.
• Il est recommandé de porter des lunettes de sécurité en
tout temps lors de l’installation.
INSTALLATION SUR LES TUILES EN CÉRAMIQUE
• Si votre porte de douche doit être installée sur une bordure
en céramique, le jambage doit reposer complètement sur
cette dernière.
• Le calfeutrage doit être appliqué sur le côté extérieur
de la douche où le panneau xe rencontre la bordure
en céramique.
NOTE
• Calfeutrage: aucun scellant n’est nécessaire à l’intérieur
de la douche.
• Certains modèles sont dotés de joints d’étanchéité clairs.
L’ENTRETIEN DE VOTRE DOUCHE
• Ne jamais utiliser de poudre ou de tampon à récurer, ni
d’instrument tranchant sur les parties en métal ou en verre.
De temps à autre, il suft de nettoyer la porte avec une
solution d’eau et un détergent doux pour conserver l’aspect
neuf des panneaux de verre et du cadre en aluminium.
• Nous recommandons de passer une raclette de douche
sur les panneaux de verre après chaque utilisation.
En Fr
GENERAL INSTRUCTIONS
• Read this manual carefully and completely
before proceeding.
• It is recommended that you wear safety
glasses at all times during the installation.
INSTALLATION OVER CERAMIC TILES
• If your shower door is to be installed over
ceramic tiles, the tiles should lay com-
pletely under the wall jamb.
• Silicone should be used to seal the gap
where the ceramic tiles meet the xed panel.
NOTICE
• Caulking: no sealant is required inside the
shower, unless otherwise stated.
• Some models are equipped with clear
sealing gaskets.
CARE FOR YOUR SHOWER DOOR
• Never use scouring powder pads or sharp
instruments on metal pieces or glass pan-
els. An occasional wiping down with a mild
soap diluted in water is all that is needed
to keep the panels and aluminum parts
looking new.
• We recommend wiping the glass panels
with a squeegee after each use.
*Use a ¼"drill bit when drilling into ceramic tiles
*Utiliser une mèche de ¼" pour percer des tuiles en céramique.
TOOLS REQUIRED / OUTILS REQUIS
TAPE MEASURE
RUBAN À MESURER
DRILL
PERCEUSE
1/4"& 1/8"DRILL BITS
MÈCHES 1/4" & 1/8"
*
MALLET
MAILLET
PENCIL
CRAYON
BLOCK
BLOC
SCREWDRIVER
TOURNEVIS
LEVEL
NIVEAU
SILICONE
SCELLANT
POSSIBLE PANEL CONFIGURATIONS / CONFIGURATIONS POSSIBLES DES PANNEAUX
* This conguration illustrated in this manual.
* Cette conguration est illustrée dans ce manuel.
4
PARTS AND HARDWARE LISTING / LISTE DES PIÈCES ET QUINCAILLERIE
2B
5
1
1
5
6
3
2A
4
7
8
5
ITEMIPARTS AND HARDWARE / PIÈCES ET QUINCAILLERIE QTY
1WALL JAMB / JAMBAGE 2
2A NARROW FIXED PANEL / Panneau xe étroit 1
2B LARGE FIXED PANEL / Panneau xe large 1
3GASKET WITH SMALL FLANGE / JOINT AVEC PETITE BRIDE 1
4GASKET WITH LONG FLANGE / JOINT AVEC LONG BRIDE 1
5RAIL / RAIL 2
6DOOR PANEL SIDE GASKET / JOINT LATÉRAL POUR LE PANNEAU DE PORTE 1
7DOOR PANEL / PANNEAU DE PORTE 1
8HANDLE / POIGNÉE 2
9GLASS SUPPORT / SUPPORT DE VERRE 4
10 SCREW CAP / CAPUCHON COUVRE-VIS 12
11 BACK SCREW CAP / L’ARRIÉRE DU CAPUCHON COUVRE-VIS 12
12 WALL PLUG / CHEVILLE 6
13 PAN HEAD SCREW / VIS À TÊTE PAN 14
14 SCREW / VIS 4
15 PAN SELF DRILLING SCREW #8 - 3/8″ / VIS PAN AUTO-PERÇANTE #8 - 3/8″ 6
12 13
9 1410 11 15
PARTS AND HARDWARE LISTING / LISTE DES PIÈCES ET QUINCAILLERIE
6
INSERT THE GLASS SUPPORTS INTO THE TOP AND BOTTOM TRACKS
INSÉRER LES SUPPORTS DE VERRE DANS LES RAILS SUPÉRIEUR ET INFÉRIEUR
95
2
1
Large Fixed panel
Panneau xe large
Narrow xed panel
Panneau xe étroit Large xed panel
Panneau xe large
Narrow Fixed panel
Panneau xe étroit
LEFT SIDE INSTALLATION
INSTALLATION DU CÔTÉ GAUCHE RIGHT SIDE INSTALLATION
INSTALLATION DU CÔTÉ DROIT
CHOOOSE A CONFIGURATION /
CHOISIR UNE CONFIGURATION
* This conguration illustrated in this manual.
* Cette conguration est illustrée dans ce manuel.
7
ASSEMBLE THE FIXED PANELS TO THE TOP AND BOTTOM TRACKS
ASSEMBLER LES PANNEAUX FIXES AUX RAILS SUPÉRIEUR ET INFÉRIEUR
2A
2B
13 13
13 13
13
5
INTERIOR
SHOWER SIDE
INTÉRIEUR
DE LA DOUCHE
5
INTERIOR
SHOWER SIDE
INTÉRIEUR
DE LA DOUCHE
3
SECURE THE GLASS SUPPORTS ON TOP AND BOTTOM TRACKS
SÉCURISER LES SUPPORTS DE VERRE DANS LES RAILS SUPÉRIEUR ET INFÉRIEUR
13
9
4
8
INSERT WALL JAMBS INTO EXPANDERS / INSÉRER LES JAMBAGES DANS LES EXTENSEURS
1
1
INTERIOR
SHOWER SIDE
INTÉRIEUR
DE LA DOUCHE
INTERIOR
SHOWER SIDE
INTÉRIEUR
DE LA DOUCHE
5
PLACE UNIT ON THE BASE / PLACER L’UNITÉ SUR LA BASE
MAKE SURE TO PLACE THE UNIT IN THE RIGHT POSITION
ON THE BASE ACCORDING TO STOPPER ON RAILS
S’ASSURER DE PLACER L’UNITÉ DANS LA BONNE POSITION SUR
LA BASE SELON LES BUTOIRS SUR LES RAILS
6
INTERIOR
SHOWER SIDE
INTÉRIEUR
DE LA DOUCHE
RIGHT SIDE INSTALLATION
INSTALLATION DU CÔTÉ DROIT
Large Fixed panel
Panneau xe large
Large Fixed panel
Panneau xe large
Narrow xed panel
Panneau xe étroit
Narrow xed panel
Panneau xe étroit
*
9
CENTER, LEVEL AND MARK THE WALL JAMBS / CENTRER,NIVELER ET MARQUER LES JAMBAGES
7
INTERIOR
SHOWER SIDE
INTÉRIEUR
DE LA DOUCHE
SLIDE THE WALL JAMBS AGAINST THE WALL
GLISSER LES JAMBAGES CONTRE LES MURS
REMOVE UNIT FROM THE BASE / RETIRER L’UNITÉ DE LA BASE
8
TOP VIEW
VUE DU HAUT
10
MARK THE HOLES OF THE WALL JAMBS / MARQUER LES TROUS DES JAMBAGES
1
1
9
10
( )
DRILL , SILICONE AND INSTALL WALL PLUGS ON THE WALL
PERCER, CALFEUTRER ET INSTALLER LES CHEVILLES SUR LE MUR
12
11
SILICONE AND SECURE THE WALL JAMBS / CALFEUTRER ET SÉCURISER LES JAMBAGES
1
1
13
11
1
11
PLACE UNIT ON THE BASE / PLACER L’UNITÉ SUR LA BASE
12
AB
INTERIOR
SHOWER SIDE
INTÉRIEUR
DE LA DOUCHE
12
LEVEL, CENTER UNIT ON THE BASE / CENTRER, NIVELER L’UNITÉ SUR LA BASE
SECURE THE EXPANDERS TO THE WALL JAMBS / SÉCURISER LES EXTENSEURS AUX JAMBAGES
15
13
INTERIOR
SHOWER SIDE
INTÉRIEUR
DE LA DOUCHE
INTERIOR
SHOWER SIDE
INTÉRIEUR
DE LA DOUCHE
10
11
14
13
INSTALL GASKET ON FIXED PANELS / INSTALLER LES JOINTS SUR LES PANNEAUX FIXES
INSTALL THE GASKET ON THE DOOR PANEL / INSTALLER LE JOINT SUR LE PANNEAU DE PORTE
6
INTERIOR
SHOWER SIDE
INTÉRIEUR
DE LA DOUCHE
16
3
4
INTERIOR
SHOWER SIDE
INTÉRIEUR
DE LA DOUCHE
INTERIOR
SHOWER SIDE
INTÉRIEUR
DE LA DOUCHE
15
14
INSTALL THE DOOR PANEL / INSTALLER LE PANNEAU DE PORTE
5
5
17
18
INTERIOR
SHOWER SIDE
INTÉRIEUR
DE LA DOUCHE
ADJUST DOOR PANEL / AJUSTER LE PANNEAU DE PORTE
COUNTERCLOCKWISE = LOWER DOOR PANEL
SENS ANTI-HORAIRE = BAISSER LE PANNEAU DE PORTE
CLOCKWISE = RAISE DOOR PANEL
SENS HORAIRE = ÉLEVER LE PANNEAU DE PORTE
15
INTERIOR
SHOWER SIDE
INTÉRIEUR
DE LA DOUCHE
HOURS
HEURES
INSTALL THE HANDLE / INSTALLER LA POIGNÉE
8
SEAL THE SHOWER UNIT / CALFEUTRER LA DOUCHE
19
20

This manual suits for next models

14

Other Fleurco Bathroom Fixture manuals
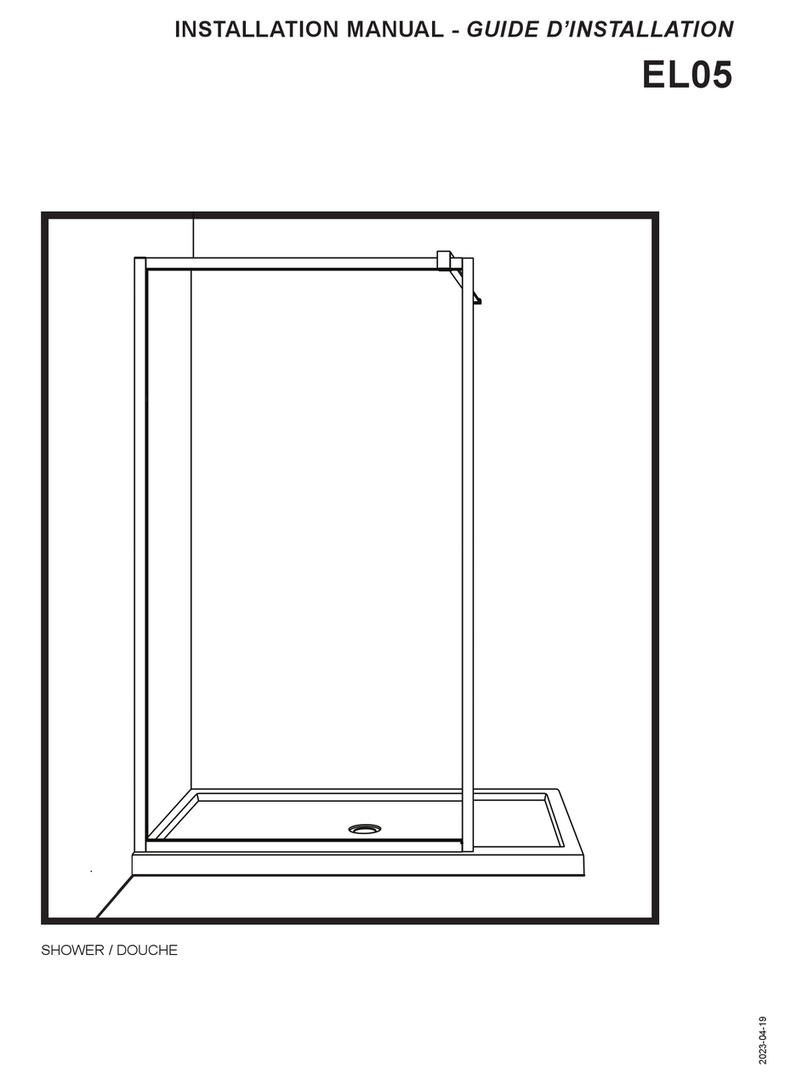
Fleurco ELERA EL05 User manual

Fleurco

Fleurco ELERA EL05 User manual
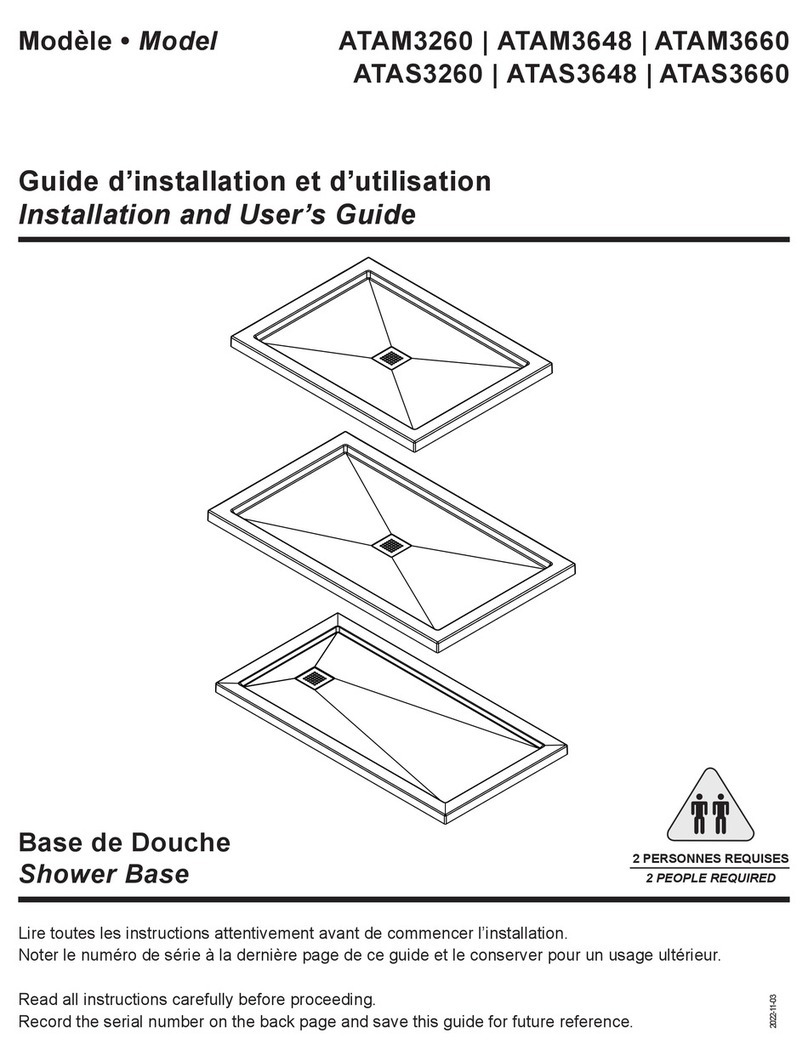
Fleurco ATAM3260 User manual

Fleurco

Fleurco ATAM3260 User manual
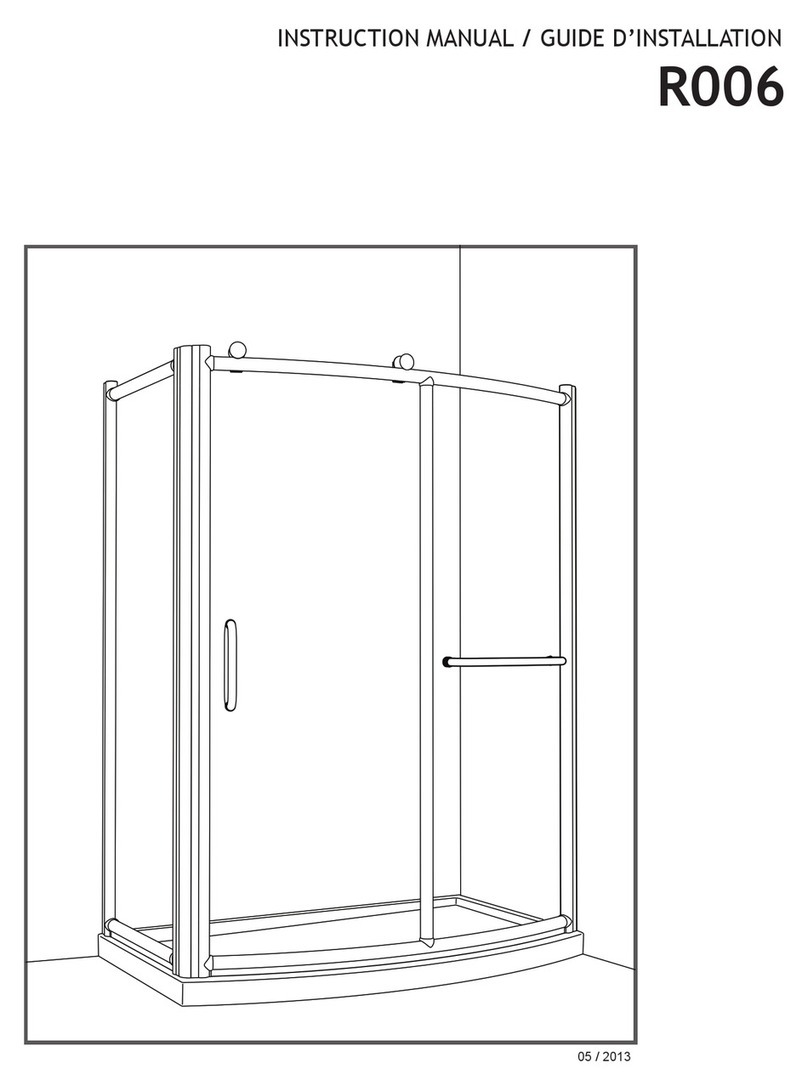
Fleurco R006 User manual

Fleurco

Fleurco R006 User manual

Fleurco STAK DUO LVSTB24-AP-RD Series User manual
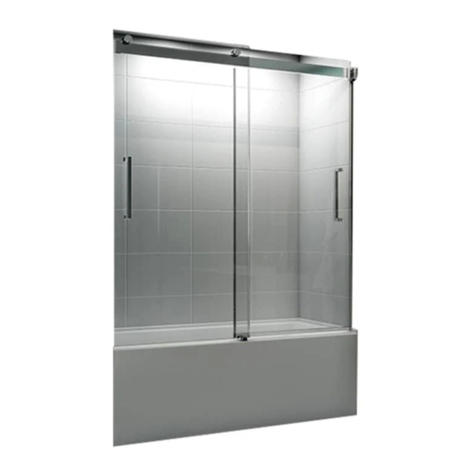
Fleurco

Fleurco STAK DUO LVSTB24-AP-RD Series User manual

Fleurco Kinetik KN057-35-40L-C User manual
Fleurco

Fleurco Kinetik KN057-35-40L-C User manual

Fleurco FW04 User manual

Fleurco

Fleurco FW04 User manual
Fleurco FW01 User manual

Fleurco

Fleurco FW01 User manual
Fleurco ABT4836-L2 User manual

Fleurco

Fleurco ABT4836-L2 User manual

Fleurco ABAL3660 User manual

Fleurco

Fleurco ABAL3660 User manual

Fleurco NM272-40-79 User manual

Fleurco

Fleurco NM272-40-79 User manual
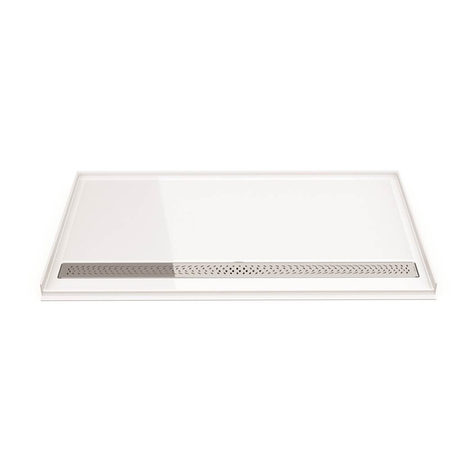
Fleurco ABF3739AD User manual

Fleurco

Fleurco ABF3739AD User manual
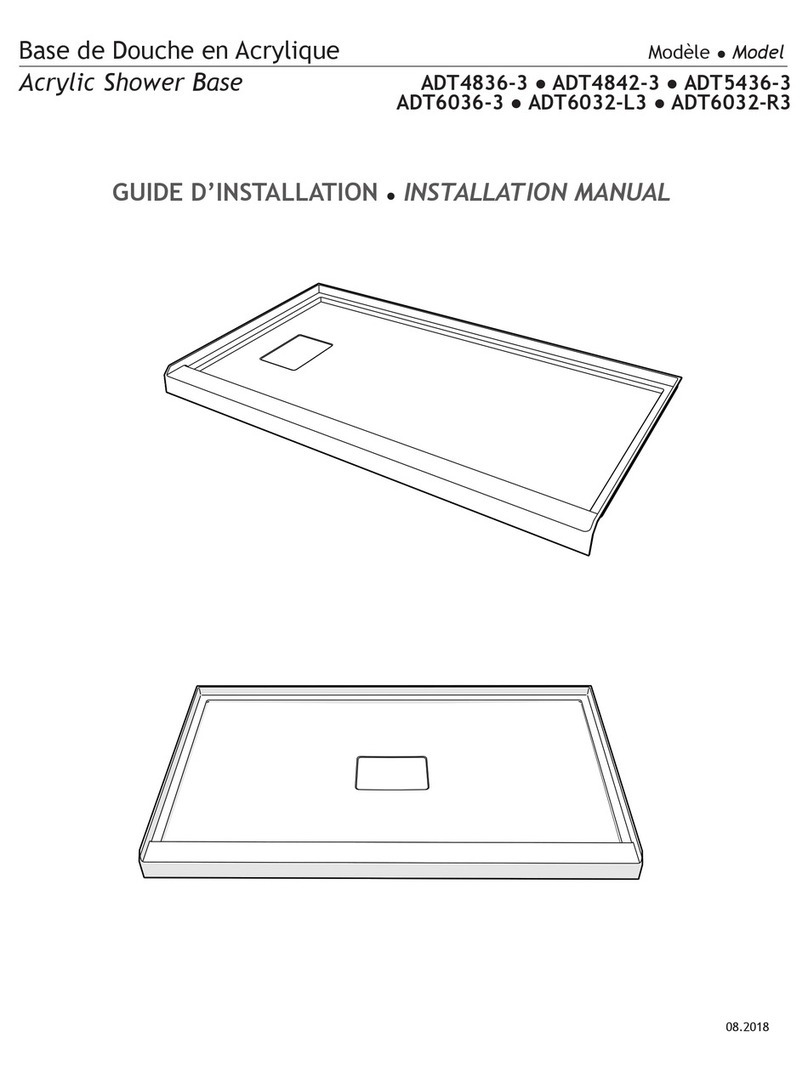
Fleurco ADT4836-3 User manual

Fleurco

Fleurco ADT4836-3 User manual
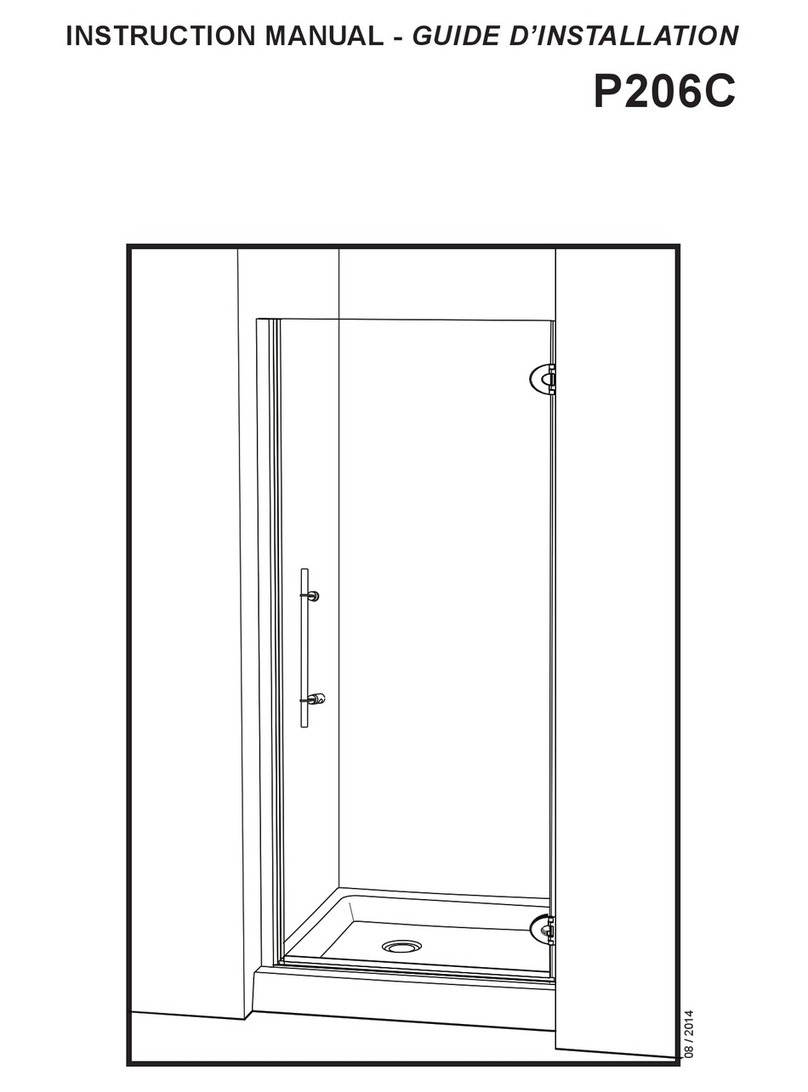
Fleurco Kara PKS30-25-40-70 User manual

Fleurco

Fleurco Kara PKS30-25-40-70 User manual

Fleurco ABV3248 User manual

Fleurco

Fleurco ABV3248 User manual
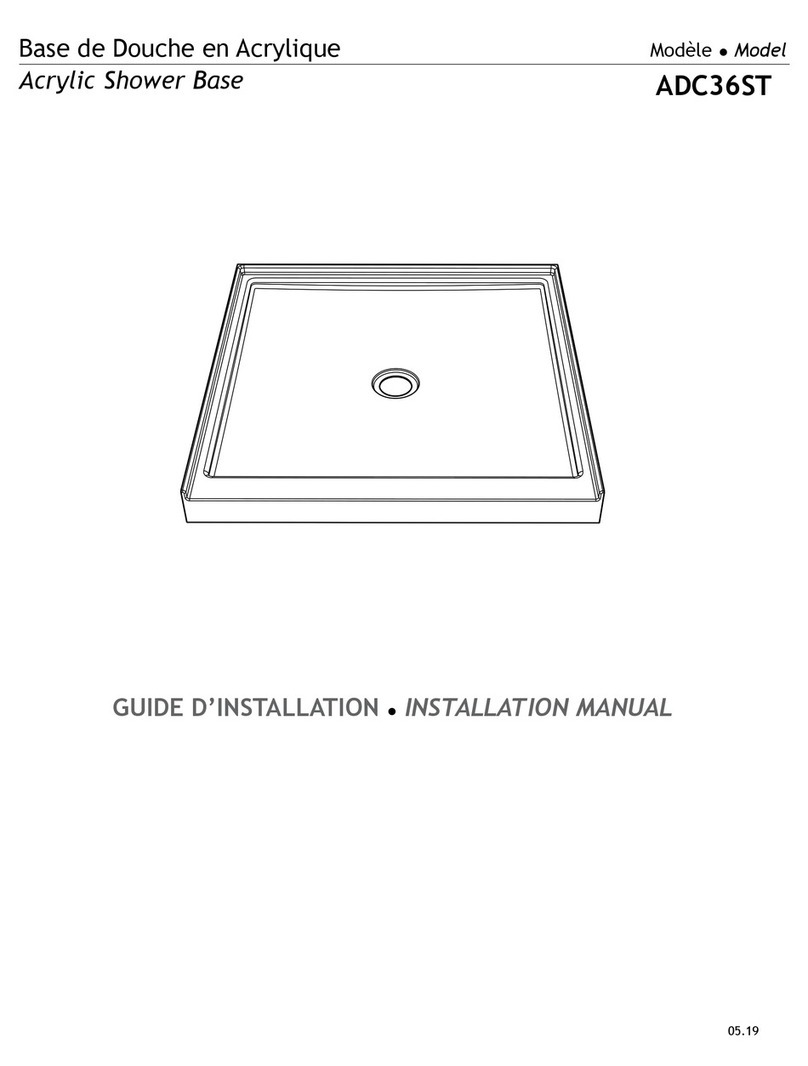
Fleurco ADC36ST User manual

Fleurco

Fleurco ADC36ST User manual
Fleurco ABN36 User manual

Fleurco

Fleurco ABN36 User manual
Fleurco Lexus PWJLR5836-11-40L-MC-65 User manual
Fleurco

Fleurco Lexus PWJLR5836-11-40L-MC-65 User manual

Fleurco B017 User manual

Fleurco

Fleurco B017 User manual
Fleurco Select Kara PMKP46-25-40-79 User manual
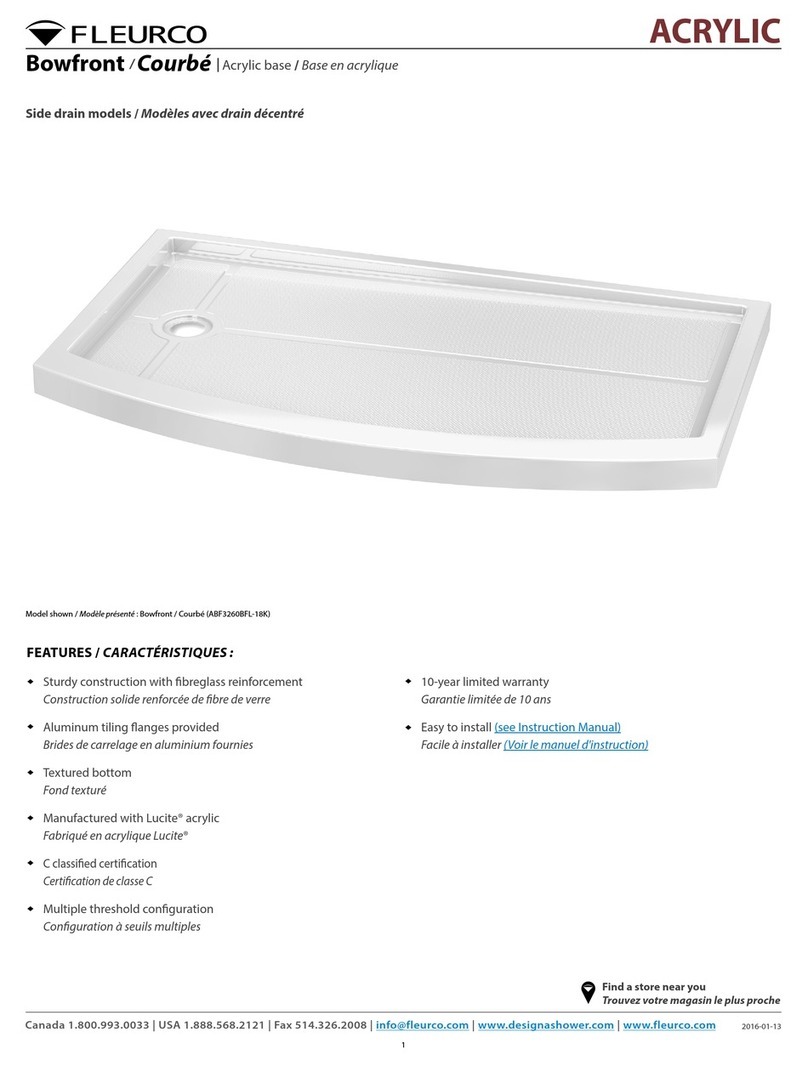
Fleurco

Fleurco Select Kara PMKP46-25-40-79 User manual

Fleurco ACRYLIC User manual

Fleurco

Fleurco ACRYLIC User manual

Fleurco AULV3260 User manual

Fleurco

Fleurco AULV3260 User manual

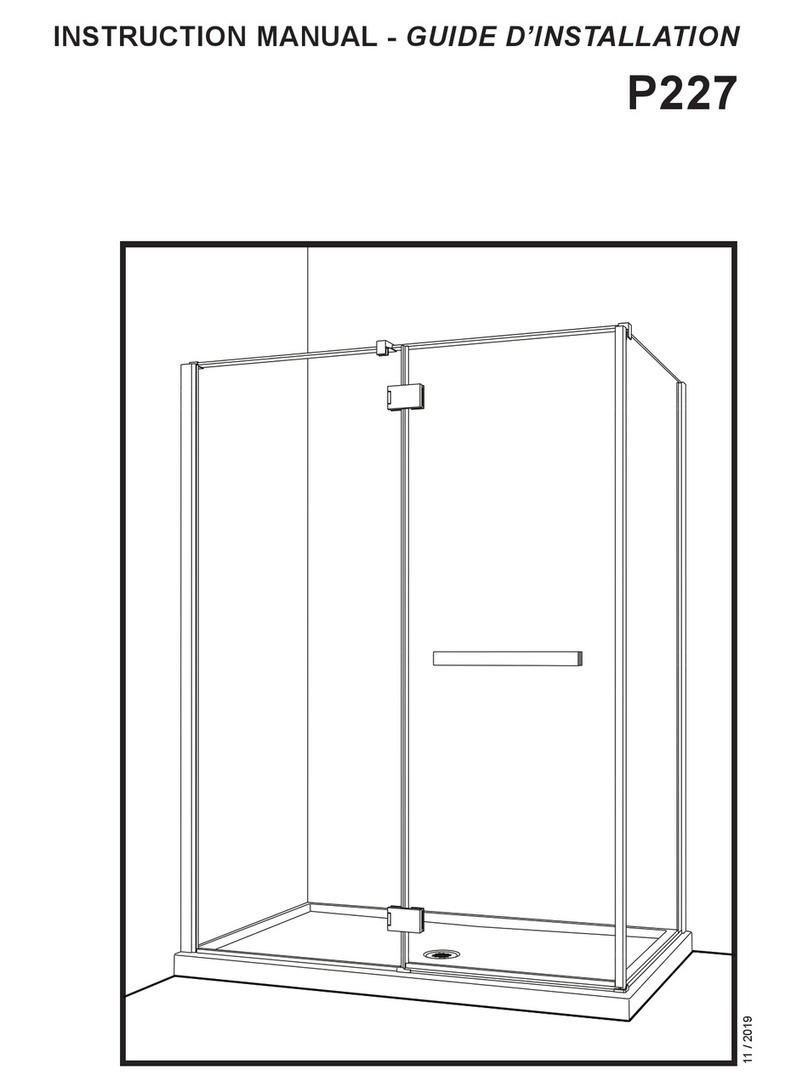
Fleurco Microtek PURA P227 User manual

Fleurco

Fleurco Microtek PURA P227 User manual

Fleurco Kinetik KNPR4532-35-40L User manual

Fleurco

Fleurco Kinetik KNPR4532-35-40L User manual

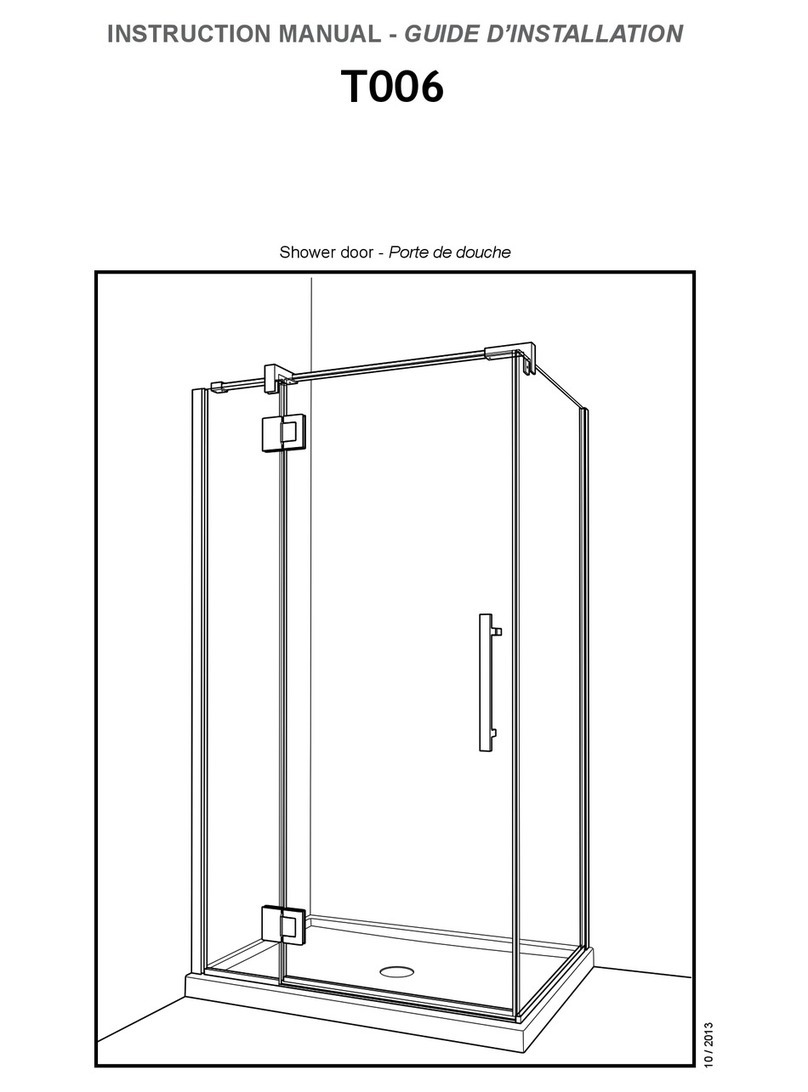
Fleurco T006 User manual

Fleurco

Fleurco T006 User manual

Popular Bathroom Fixture manuals by other brands
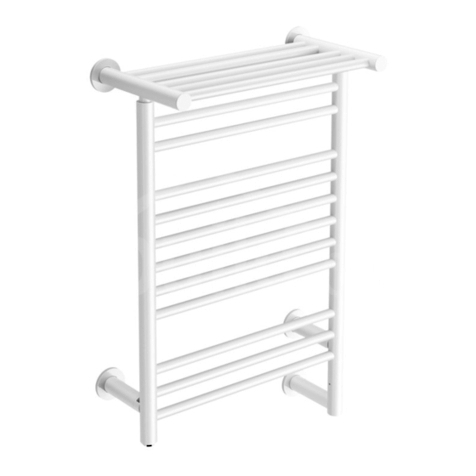
Frederick York Cabots Wall-mounted towel warmer installation guide

Frederick York

Frederick York Cabots Wall-mounted towel warmer installation guide

Sanela SLZN 70 Mounting instructions

Sanela

Sanela SLZN 70 Mounting instructions
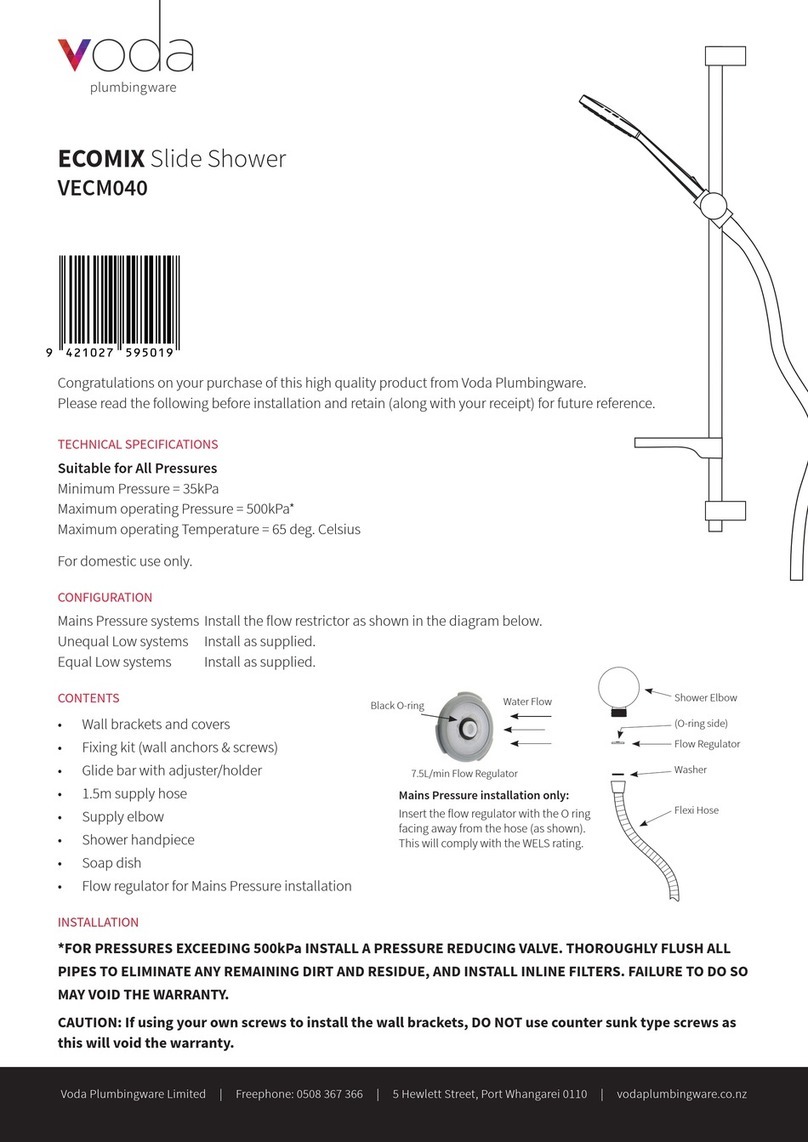
Voda Plumbingware ECOMIX VECM040 quick start guide

Voda Plumbingware

Voda Plumbingware ECOMIX VECM040 quick start guide

Outsunny A20-238 instructions

Outsunny

Outsunny A20-238 instructions

Hansa Mix Mounting and operating instructions
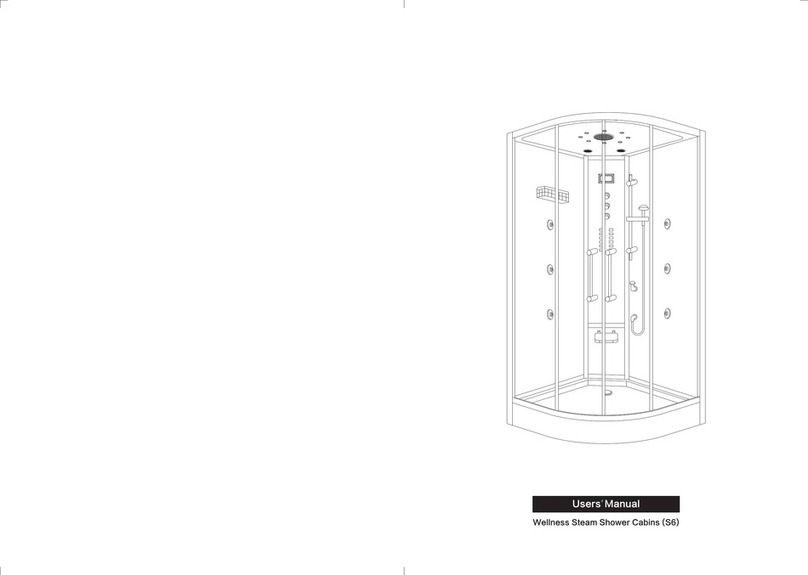
Hansa

Hansa Mix Mounting and operating instructions

Aquapeutics S6 user manual

Aquapeutics

Aquapeutics S6 user manual
Hans Grohe Crometta S 240 1jet Showerpipe Reno EcoSmart... Instructions for use/assembly instructions

Hans Grohe

Hans Grohe Crometta S 240 1jet Showerpipe Reno EcoSmart... Instructions for use/assembly instructions

Triton Aspirante ASP09GSBLK Installation and operating instructions
Triton

Triton Aspirante ASP09GSBLK Installation and operating instructions

Hans Grohe Rainmaker Select 460 1jet24003400 Instructions for use/assembly instructions

Hans Grohe

Hans Grohe Rainmaker Select 460 1jet24003400 Instructions for use/assembly instructions

Brizo ROOK 695061 Series quick start guide
Brizo

Brizo ROOK 695061 Series quick start guide

Aquadart Venturi 8 installation instructions

Aquadart

Aquadart Venturi 8 installation instructions

Moen Nebia Setup guide

Moen

Moen Nebia Setup guide

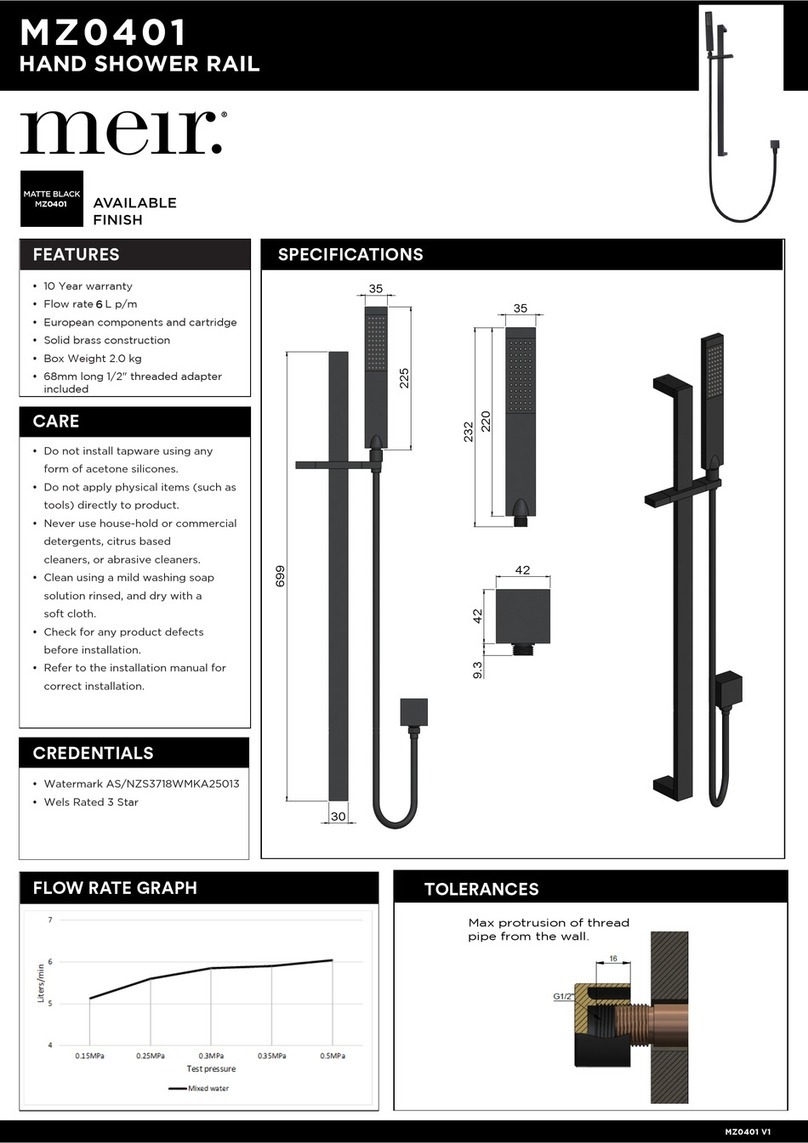
meir MZ0401 quick start guide

meir

meir MZ0401 quick start guide

Brizo LITZE 696335 Series manual

Brizo

Brizo LITZE 696335 Series manual

Toto T114 installation manual

Toto

Toto T114 installation manual

Gessi Mimi 24977 manual

Gessi

Gessi Mimi 24977 manual

Fackelmann KARA 80980 Instructions for mounting and use

Fackelmann

Fackelmann KARA 80980 Instructions for mounting and use

Hewi 805.35.35092 Installation and operating instructions

Hewi

Hewi 805.35.35092 Installation and operating instructions

manuals.online logo
manuals.online logoBrands
  • About & Mission
  • Contact us
  • Privacy Policy
  • Terms and Conditions

Copyright 2025 Manuals.Online. All Rights Reserved.