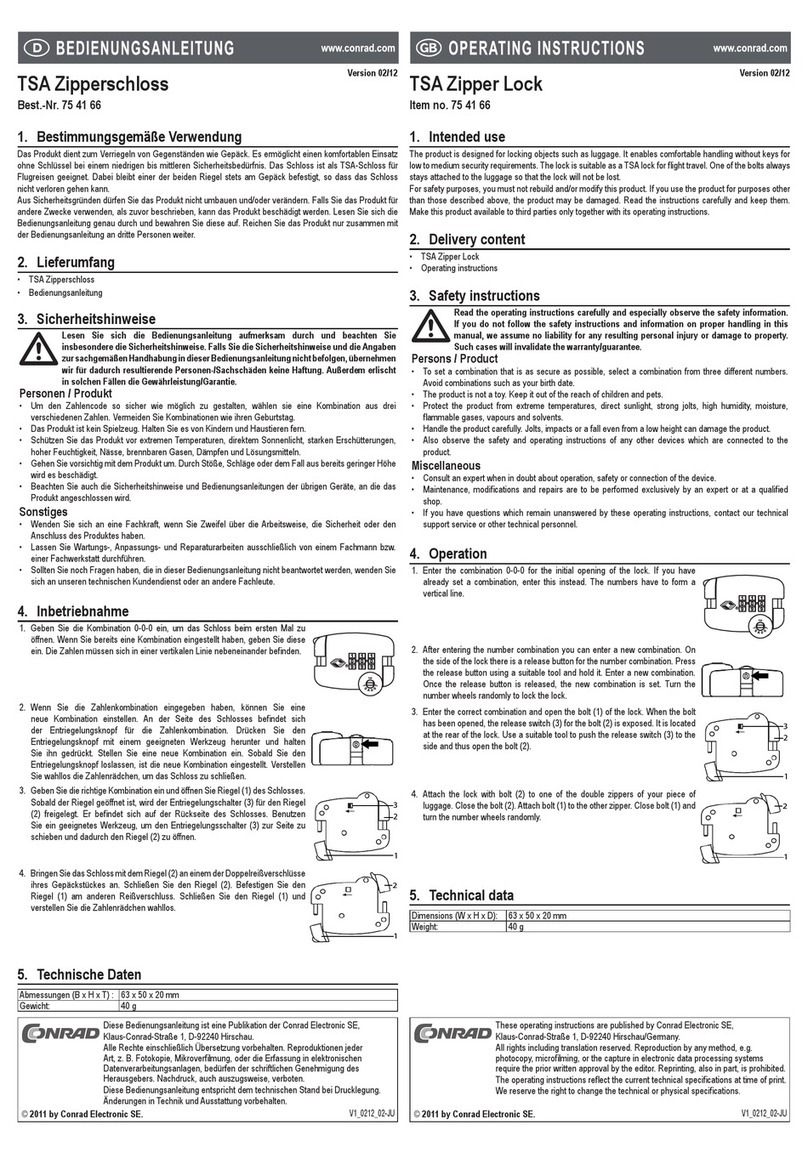
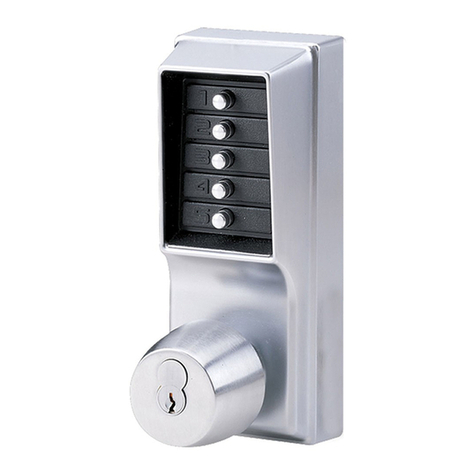
Flexlock M1018 User manual

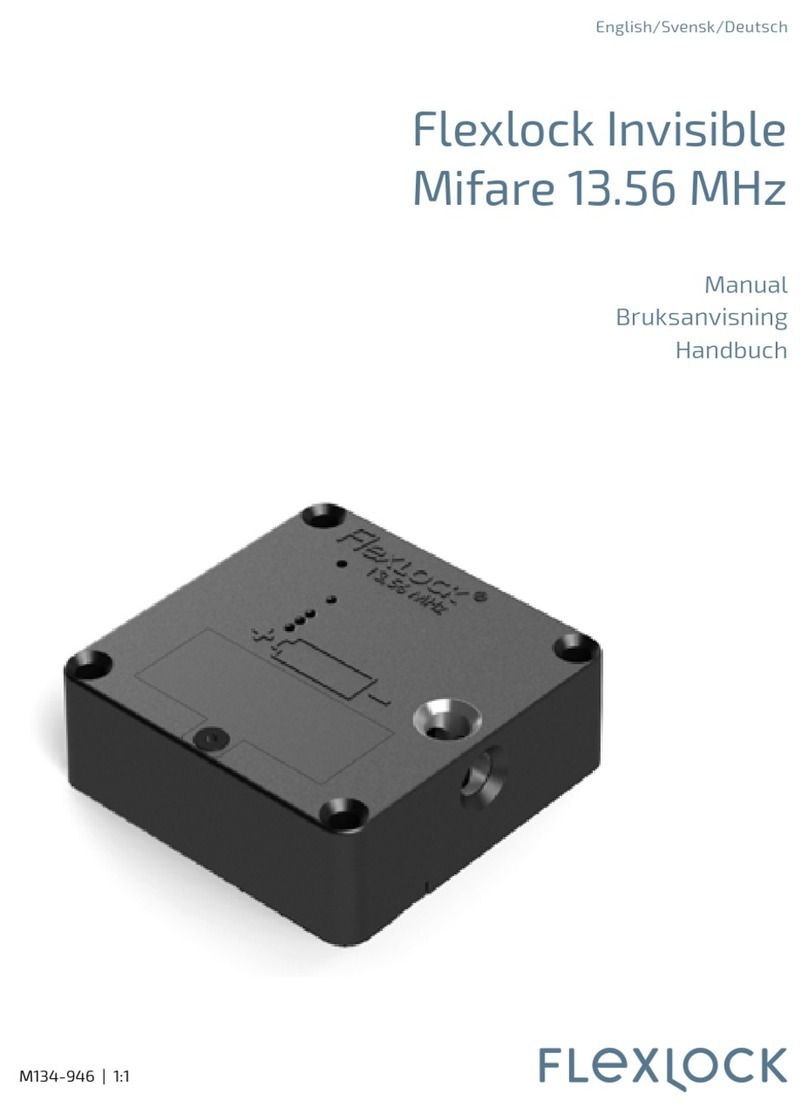
Flexlock Visible 2.0
Mifare 13.56 MHz
Manual
Bruksanvisning
Handbuch
M1018 | 1:1
English/Svensk/Deutsch

Content
Innehåll
Inhalt
English........................................................3
Svensk....................................................... 17
Deutsch....................................................31

English 3
Warranty
Swedstyle has a limited two year warranty starting from the date of the delivery month. The warranty
overs any defects in material or workmanship under normal use during the warranty period. If the
problem can be corrected by a replacement product the seller has fulfilled the guarantee responsibility.
Any costs incurred in connection with the replacement are the buyer’s responsibility. The replacement
product will be charged and the defective product must immediately be returned to the seller who then
will credit the buyer after approval. Deliveries are made according to NL 09.
The warranty applies provided that: the product has been installed in accordance with the prescribed
instructions, that the correct type of battery, as specified, is used and that the product has not been
opened or in any other way been handled without care.
This limited warranty covers replacement at no charge during the warranty period or alternatively,
reparation. Swedstyle will not cover any costs or risks due to transporting, installing or dismantling/
moving of the product. Any other possible costs incurred that can be attributed to replacement/
repair is not covered by the product warranty. Any costs incurred in the company dependent on product
defects are also not covered by the product warranty.
NOTE! When using your own existing cards or tags, always ensure in advance that they are
compatible with Flexlock and that their reading capacity is adequate. If the cards or tags are
faulty or inadequate, we cannot guarantee a correct functionality.
Our recommendation is that a suitable test is performed, with the cards or tags in question
and also with the same type of furniture with the material and thickness that will be used, to
ensure a correct functionality.
NOTE! To ensure a correct functionality with Flexlock and its RFID technique together with our cards
or tags, it is important to only mount the lock on doors made from wood, plastic or other
non-conductive materials and with a thickness of no more than 25 mm. With other types of
cards or tags, materials and/or dimensions, there is no guarantee for a correct functionality.
CAUTION! Risk of explosion if battery is replaced by an incorrect type.
NOTE! When the battery is changed, the storage must not be closed until the function of the battery
is verified. If the battery is missing or broken, you might not be able to open the lock again.
Test the lock with the front open! If your Flexlock Visible should work properly, the battery
must be a Flexlock branded battery available through Swedstyle or your Flexlock dealer.
See www.flexlock.se for more instructions on how to change the battery.
Congratulations on your purchase of Flexlock Visible. Mifare 13,56 Mhz.
Flexlock is developed and manufactured in Sweden. The software is especially
developed to suit office furniture and storages in all types of environments.
The lock is maintenance-free, dependable and durable with a long life span.

4 English
Recycling is to be done in accordance with national laws and regulations concerning the
separation of electronics from other recyclable materials. Replaced batteries are to be left at
designated recycling stations or be returned to the place of purchase.
Detailed instructions and films are available at www.flexlock.se refer to these if there are any
uncertainties when reading this manual.
Content:
1 Components .........................................................................................................................................................5
1.2 Cards......................................................................................................................................................................................5
2 Functions............................................................................................................................................................... 5
3 Handling.................................................................................................................................................................5
3.1 General..................................................................................................................................................................................6
3.1.1 Locks in Mode 1 and 2......................................................................................................................................................6
3.1.2 Locks in Mode 3, 4 and 5 ................................................................................................................................................6
4 Startup ...................................................................................................................................................................6
4.1 Preprogrammed lock.......................................................................................................................................................6
4.2 Unprogrammed lock........................................................................................................................................................6
5 Handling during transportation and storage.............................................................................................. 7
6 Templates and assembly instructions.......................................................................................................... 7
7 Programming........................................................................................................................................................8
7.1 Programming from Mode 1 (default setting) to Mode 2, 3, 4 or 5..................................................................8
7.2 Reset the lock to Mode 1 (and erase all users in Mode 1 and 2)......................................................................8
7.3 Programming Ready to use (for locks in Mode 1 or 2) ........................................................................................8
7.4 Add users (Mode 1 and 2)...............................................................................................................................................9
7.5 Remove users (Mode 1 and 2) ......................................................................................................................................9
7.6 Sound on or off ..................................................................................................................................................................9
7.7 Reset the lock with a pin (add a new programming card)...............................................................................10
8 Battery changing............................................................................................................................................... 10
9 Technical specification.....................................................................................................................................11
10 Declaration of Conformity.............................................................................................................................. 12
11 Flexlock Troubleshooting ............................................................................................................................... 13
11.1 Basic Troubleshooting...................................................................................................................................................13
11.2 Advanced troubleshooting – Service staff/Other responsible personnel................................................13
11.3 Troubleshooting mode 1 & 2.......................................................................................................................................14
11.4 Troubleshooting mode 3, 4 & 5..................................................................................................................................15

English 5
1.2 Cards
Programming cards, service cards, Mode cards and user cards can be ordered.
2 Functions
Mode 1 Default setting. Open as default. Can have 1-200 unique users. Programmed user cards/
tags are needed for opening and locking. Flexlock is delivered in Mode 1
if nothing else is requested.
Mode 2 Auto Lock. Locked as default. Can have 1-200 unique users. Programmed user cards/
tags are needed for opening and locking. Locks itself 4 seconds after opening.
Mode 3 Any User. Open as default. For temporary use by one user with any compatible
RFID-card/tag. The exact same card/tag has to be used to open the lock again.
The lock is then ready for a new user.
Mode 4 Any User. Same as Mode 3, with the addition of a time limit. If the user doesn’t open
the lock within 12 hours, the lock will then automatically open.
Mode 5 Any User. Same as Mode 3, with the addition of a time limit. If the user doesn’t open
the lock within 2 hours, the lock will then automatically open.
Any Timer Special feature. Must be ordered separately via Swedstyle. Same function as Mode 3,
but with a specific time for opening. Time is set throughout hours from 1-166 hours. If the
user doesn’t open the lock within this time limit,the lock will then automatically open.
Ready to use is used in Mode 1 or 2. The lock is prepared so that the first user to present a
card is added as a unique user in the lock. This function is added after installation.
Sound on/off Add or remove sound on the lock when it is locked or unlocked.
3 Handling
More instructions are available at www.flexlock.se
1 Components
Any Timer
Ready to use
Sound on/off
Guest
User
Programming
Service
Auto lock
Any User
Any User. Timer 12 h
Any User. Timer 2 h

6 English
3.1 General
3.1.1 Locks in Mode 1 and 2
A lock in Mode 1 or 2 has to have user cards programmed to the lock: Open the lock by placing the correct
user card straight onto the lock. To lock in Mode 1, place the card on the lock. In Mode 2 the lock automati-
cally locks after 4 seconds.
3.1.2 Locks in Mode 3, 4 and 5
When a lock is in Mode 3, 4 or 5, any compatible RFID-card (or tag) may be used (Examples of uses are
lockers at health clubs and leisure centers etc): The lock is locked by placing a compatible RFID-card
(or tag) onto the lock. To open again, the exact same RFID-card (or tag) has to be placed onto the lock
again. Once the lock has been opened again it is then ready for a new user.
4 Startup
4.1 Preprogrammed lock
To activate the lock, remove the plastic strip. The lock is
now ready for installation. Note that the service card and the
programming card is also added in advance (In Mode 1 and 2,
can a User card or Ready to use be added, see 7.3 or 7.4.)
4.2 Unprogrammed lock
1. Insert a Flexlock branded battery available through
Swedstyle or your Flexlock dealer. Make sure that the
battery poles are the right way around.
2. Fasten the battery lid.
If you have programming cards and service cards with
the following numbers: 371750-000, 371760-000,
proceed to 4.2.7.
3. Turn the lock over and insert the activation pin in the
socket on the back, hold down for about 3 seconds.
The programming signal will sound for about
7 seconds.
4. Place the programming card onto the lock before the
7 seconds are up. A confirmation signal will sound
and the programming card is registered to the lock.
The lock is now in Mode 1 (factory mode).
7 SEC
4.1
4.2-1
A41:1
Skala:
4.2-3
Programming
4.2-4
!

English 7
6 Templates and assembly instructions:
See www.flexlock.se
OK!OK!
Programming
Service
5. Place the programming card on the lock again for
about 3 seconds, then remove the card. Repeated
signals will sound.
6. Place the service card on the lock within 7 seconds,
a confirmation signal is heard. The lock is now open
(in Mode 2 locked) and ready to be used according to
the programmed mode.
7. Add users, see point 7.4 or change Mode, see point 7.1.
5 Handling during transportation and storage
With the battery mounted, we recommend the following:
7 SEC
4.2-5/6
A shorter distances affects battery life
as well as function and reading distance.
OK!
25,5
22
18
19
16
67
4,5
67
4,5
101
Max 24mm
34
36,9
30,8
A41:1
Skala:
M22 M19
25,5
22
18
19
16
67
4,5
67
4,5
101
Max 24mm
34
36,9
30,8
A41:1
Skala:
M22 M19
Min
60 mm
25,5
22
18
19
16
67
4,5
67
4,5
101
Max 24mm
34
36,9
30,8
A41:1
Skala:
M22 M19
25,5
22
18
19
16
67
4,5
67
4,5
101
Max 24mm
34
36,9
30,8
A41:1
Skala:
M22 M19

8 English
Programming
Ready to use
7 Programming
When programming, you need a programming card, service card and Mode-card or user card
depending on what function you desire.
When changing between modes you always have to change via Mode 1. Reset the lock
to default mode according to 7.2. (E.g. Mode 3 -> Mode 2 needs to be:
Mode 3 -> Mode 1 -> Mode 2.)
7.1 Programming from Mode 1 (default setting) to Mode 2, 3, 4 or 5
1. Place the programming card on the lock for about 3 seconds,
then remove it. You will now hear the programming signal.
2. Place the selected Mode card on the lock within 7 seconds
until you hear a double confirmation signal.
In Mode 1 and 2 you also have to add user cards to
the lock. See under 7.4.
7.2 Reset the lock to Mode 1 (and erase all users in Mode 1 and 2)
1. Hold the programming card on the lock for about
10 seconds. A reset signal is heard.
All users have been erased and the lock is now in Mode 1.
7.3 Programming Ready to use (for locks in Mode 1 or 2)
1. Place the programming card on the lock for about 3 seconds,
then remove it. You will now hear the programming signal.
2. Place the Ready to use card on the lock within 7 seconds until
you hear a double confirmation signal. The lock is
ready for a new unique user that will be added to the lock.
!
!
Programming
Mode
Programming
7 SEC
7 SEC
7 SEC
7.1
7.2
7.3

English 9
7.4 Add users (Mode 1 and 2)
1. Place the programming card on the lock for about 3 seconds,
then remove it. You will now hear the programming signal.
2. Place the user card on the lock within 7 seconds,
a confirmation signal is heard.
3. Continue adding users by repeating the above
(maximum 200 users).
7.5 Remove users (Mode 1 and 2)
1. Place the programming card on the lock for about 3 seconds,
then remove it. You will now hear the programming signal.
2. Place the user card to be removed on the lock
until an erase signal sounds.
3. To check, wait for 5 seconds, place the user card on the lock.
If everything is correct, an error signal will sound.
7.6 Sound on or off
By default, the confirmation sound for opening and closing is on.
To turn the sound off, do the following:
1. Place the programming card on the lock for about 3 seconds,
then remove it. You will now hear the programming signal.
2. Place the sound on/off card on the lock within 7 seconds.
Programming signal is cut off (only when programming to
sound off. When programming to sound on, a double
confirmation signal is heard ).
To turn the sound on, repeat the above procedure.
Programming
User
Programming
User
7 SEC
7 SEC
Programming
Sound on/off
7 SEC
7.4
7.6
7.5

10 English
7.7 Reprogram the lock with a pin (add a new unique programming card)
(See 11.2 Advanced troubleshooting.) After resetting the lock
with a pin, it will go back to mode 1 .The old programming card
is erased. Any user or service cards will also be erased.
1. Turn the lock over and insert the activation pin in the
socket on the back, hold down for about 3 seconds.
The programming signal will sound for about 7 seconds.
2. Place the new programming card onto the lock before the
7 seconds are up. A confirmation signal will sound
and the new programming card is now registered to the lock.
3. Program the Service Card. See point 4.2.5-4.2.6.
NOTE! The same unique ID cannot be reprogrammed.
8 Battery changing
When the battery is low, a warning signal will sound, there will also be a warning signal when the
lock is opened or closed. This battery warning signal will sound each 6 hours until the battery is changed.
If the battery isn’t changed, the lock will automatically open and stay open.
NOTE! If your Flexlock Visible should work properly, the battery must be a Flexlock branded battery
available through Swedstyle or your Flexlock dealer. See www.flexlock.se for more instructions on how
to change the battery.
1. Detach the battery cover.
2. Change the battery – make sure the battery poles are
the right way around.
NOTE! Do not close the storage until the function of the battery is verified.
If the battery is missing or broken, you might not be able to open the lock again.
Test the lock with the front open!
We recommend a scheduled battery change, for every third year or maximum after
30 000 openings. Do not wait for the battery warning as a routine procedure.
A41:1
Skala:
Programming
7 SEC
!
!

English 11
9 Technical specification
Flexlock is CE marked and meets the requirements
Size 101x52x25 mm without knob (34 knob included)
Door thickness (max) 24 mm
Hole pattern Ø22x18 mm, Ø19x16 mm
Lock cams See standard lock cams.
Options can be optimized to specific cabinets
Weight (including battery) 225 g
Temperature, surrounding +17° C to +30° C
Humidity 20% to 75% relative humidity, non condensing
IP-code IP 52
Number of users max 200 users
Battery If your Flexlock Visible should work properly, the battery
must be a Flexlock branded battery available through Swedstyle
or your Flexlock dealer.
Battery lifespan 3 years or 30 000 openings
RFID 13,56 MHz, ISO/IEC 14443 A &B, ISO/IEC 180092, ISO/IEC 15693
Compatible with 13,56 MHz: Mifare Classic 1k, Mifare Classic 4k,
Mifare DESFire EV1 & EV2, ISO 14443A, Legic Advant 15693,
Mifare Plus, Mini, Ultra Light HID iClass 2k, iClass 4k, iClass SE 2k,
32k, prepared for NFC*.
Reading distance 0-15 mm with Flexlock-cards, <5 mm with tag
Lock standard SS-EN 16014:2011, Dimensioned for DIN 4547 Class B
Electrical safety IEC/EN/UL 62368, CSA 22.2
EMC and EMR radio test ETSI 300 330-1/-2 and 301 489-1/-3, FCC Part 15B, ICES-003
* Requires upgrading of locks when future feature is implemented.

12 English
10 Declaration of conformity

English 13
11 Flexlock Troubleshooting
11.1 Basic Troubleshooting. Check the following:
11.2 Advanced troubleshooting – Service staff/Other responsible personnel
1. Are you standing by the correct storage? (Error signal = most likely wrong storage)
2. Are you using the correct user card? Are you handling it correctly? See heading 3!
3. Don’t ”Stress” the lock, wait for 7 seconds before trying again, then present
the card centered on the lock!
4. If you hear a buzzing sound from the motor or there is a confirmation signal when
presenting the user card, but the storage still won’t open, try the following:
• Something could push the door outwards. Push the door inwards and then turn the knob.
5. If you hear a buzzing sound from the motor or there is a confirmation signal when
presenting the user card, but the storage still won’t lock, try the following:
• There might be items preventing the door to close.
Remove items and try to close the door again.
6. If you hear a buzzing sound from the motor or there is a confirmation signal when
presenting the user card, but the storage still won’t lock, try the following:
• The lock cam might be mounted incorrectly. Check the lock cam and adjust if nessessary.
7. If the lock is not responding – The lock is quiet. Try the following:
• Check that the battery is installed.
• Make sure the battery poles are the right way around.
• Check for a battery insulator tab and remove it.
8. If nothing of the above works, check the following and then go on to:
· If the storage is for unique users, Mode 1 or 2: 11.3 Troubleshooting mode 1 & 2
· If the storage is for any user, Mode 3, 4 or 5: 11.4 Troubleshooting mode 3, 4 & 5

14 English
11.3 Troubleshooting in mode 1 & 2 (unique users)
If nothing of the above works, contact your retailer!
1. USER CARD
Wait for 7 sec and present the user card
straight and centered! Listen for sound.
2. SERVICE CARD
Wait for 7 sec and present the service card
straight and centered! Listen for sound.
3. PROGRAMMING CARD
Wait for 7 sec and present the programming
card straight and centered! Listen for sound.
Motorbuzz/confirmation signal = Lock OK
Motorbuzz/confirmation signal = Lock OK
Programming signal = Lock OK
Error signal = Wrong user
Error signal = Wrong service card
Motorbuzz/confirmation signal =
Programming card is added as a service
card or user card.
No sound = Card might be defect
No sound = Card or lock might be defect
Error signal = Wrong programming card
No sound = Card or lock might be defect
1. Is it the correct storage?
2. Use the correct user card!
3. Add the user! See heading 7.4.
Add a new user! See heading 7.4.
Add new service card & user!
See the manual.
Reset the lock with a pin!
See heading 7.7.
1. Use the correct service card!
1. Use the correct programming card!
2. Reset with pin! See heading 7.7.
Change the lock!
2. Add the service card!
See the manual.
UserServiceProgramming

English 15
11.4 Troubleshooting in mode 3, 4 & 5 (any user)
If nothing of the above works, contact your retailer!
1. USER CARD
Wait for 7 sec and present the user card
straight and centered! Listen for sound.
2. SERVICE CARD
Wait for 7 sec and present the service card
straight and centered! Listen for sound.
3. PROGRAMMING CARD
Wait for 7 sec and present the programming
card straight and centered! Listen for sound.
Motorbuzz/confirmation signal = Lock OK
Motorbuzz/confirmation signal = Lock OK
Programming signal = Lock OK
Error signal = Wrong user
Error signal = Wrong service card
Motorbuzz/confirmation signal =
Programming card is added as a service
card or user card.
No sound = Card might be defect
No sound = Card or lock might be defect
Error signal = Wrong programming card
No sound = Card or lock might be defect
1. Is it the correct storage?
2. Use the correct user card!
Provide a new user card!
Add new service card & user!
See the manual.
Reset the lock with a pin!
See heading 7.7.
Open lock = OK
1. Use the correct programming card!
1. Use the correct
service card!
2. Add the
service card!
See the manual.
2. Reset with pin! See heading 7.7.
Change the lock!
Locked lock!
UserServiceProgramming


Svenska 17
Garanti
Swedstyle lämnar två års garanti räknat från leveransmånad. Garantin gäller mot normalt brukande.
Kan felet avhjälpas genom att produkten byts mot ersättningsprodukt så fullgör säljaren garantiansva-
ret. Alla kostnader som uppkommer i samband med utbyte sker uteslutande genom köparens försorg.
Utbytesvaran debiteras och den felaktiga varan skall omgående returneras till säljaren som krediterar
köparen efter godkännande. Leveranser sker enligt NL 09.
Garantin gäller förutsatt att: Produkten monteras enligt föreskrivna anvisningar, att en korrekt batterityp
enligt specifikation används samt att produkten ej öppnats eller på annat sätt hanterats ovarsamt.
Garantivillkoren för denna produkt är begränsade till kostnadsfritt utbyte alternativt reparation.
Swedstyle täcker ej kostnader och risker som uppkommer beroende av transport, montering och eller
demontering av produkten. Övriga eventuella uppkomna kostnader som kan härledas till utbyte/
reparation täcks ej av produktens garanti. Uppkomna kostnader i verksamheter beroende av produktfel
täcks ej heller av produktgarantin.
VIKTIGT! Vid användning av egna kort/taggar, kontrollera i förväg att de är kompatibla med Flexlock
och att de har en tillräckligt bra läsförmåga. Vid felaktiga eller svaga/dåliga kort/taggar
garanteras inte att en korrekt funktion uppnås. Vi rekommenderar att ett test utförs med
önskade kort/taggar och även med den typ av möbel med rätt material och tjocklek som ska
användas för att säkerställa funktionen.
VIKTIGT! För att Flexlock med dess RFID teknik skall fungera optimalt med kort/taggar, får låset
endast monteras på förvaringar av trä, plast eller annat ickekonduktivt material med en
maximal skivtjocklek av 25 mm. Vid andra typer av användarkort/taggar, materialval och/
eller dimensioner garanteras inte att en korrekt funktion uppnås.
VARNING! Risk för explosion om batteriet byts ut mot felaktig typ.
VIKTIGT! Vid batteribyte får inte förvaringen stängas innan du har verifierat att batteriet fungerar.
Ett lås utan batteri eller med ett icke-fungerande batteri kan gå i baklås. Provkör låset med
öppen förvaring! Om ditt Flexlock Visible ska fungera ordentligt måste batteriet vara ett
Flexlock-märkt batteri som tillhandahålls av Swedstyle eller din Flexlock återförsäljare.
Se www.flexlock.se för mer instruktioner om hur du byter batteri.
Gratulerar till köpet av Flexlock Visible. Mifare 13,56 Mhz.
Flexlock är utvecklat och tillverkat i Sverige. Programvaran är
specialutvecklad för att passa kontorsmöbler och förvaringar i alla miljöer.
Låset är underhållsfritt, driftsäkert och har lång livslängd

18 Svenska
Återvinning av produkten skall ske enligt nationella lagar och bestämmelser
gällande separering av elektronik från övriga återvinningsbara material.
Exempelvis ska utbytta batterier deponeras i avsedda återvinningsstationer
alternativt återlämnas till inköpsstället.
Utförliga beskrivningar och instruktionsfilmer finns på www.flexlock.se
läs dessa vid minsta tveksamhet.
Innehåll:
1 Komponenter.................................................................................................................................................. 19
1.2 Kort...................................................................................................................................................................................19
2 Funktioner....................................................................................................................................................... 19
3 Handhavande ................................................................................................................................................. 19
3.1 Allmänt..........................................................................................................................................................................20
3.1.1 Lås i Mode 1 och 2......................................................................................................................................................20
3.1.2 Lås i Mode 3, 4 och 5 ................................................................................................................................................20
4 Uppstart.......................................................................................................................................................... 20
4.1 Förprogrammerat lås enligt specifikation.......................................................................................................20
4.2 Ej förprogrammerat lås...........................................................................................................................................20
5 Hantering vid transport och lagerhållning ............................................................................................ 21
6 Mallar och monteringsanvisningar.......................................................................................................... 21
7 Programmering..............................................................................................................................................22
7.1 Programmering från grundläge Mode 1 till Mode 2, 3, 4 eller 5............................................................... 22
7.2 Återställ låset till Mode 1 (och radera alla användare i Mode 1 och 2).................................................. 22
7.3 Programmering av Ready to use (för lås som är i Mode 1 eller 2)........................................................... 23
7.4 Lägg till användare (Mode 1 och 2) ..................................................................................................................... 23
7.5 Ta bort användare (Mode 1 och 2)....................................................................................................................... 23
7.6 Ljud på/av..................................................................................................................................................................... 23
7.7 Pigga om låset (programmera in nytt programmeringskort)...................................................................24
8 Batteribyte..................................................................................................................................................... 24
9 Teknisk produktspecifikation ....................................................................................................................25
10 Declaration of Conformity..........................................................................................................................26
11 Problemlösning Flexlock ............................................................................................................................27
11.1 Enkel problemlösning ...............................................................................................................................................27
11.2 Avancerad problemlösning – Servicepersonal/Ansvarig personal........................................................27
11.3 Problemlösning Mode 1 och 2...............................................................................................................................28
11.4 Problemlösning Mode 3, 4 och 5 ......................................................................................................................... 29

Svenska 19
1 Komponenter
1.2 Kort
Som tillbehör finns programmeringskort, servicekort, Mode-kort och användarkort.
2 Funktioner
Mode 1 Grundläge. Lås i öppet läge. För 1-200 unika användare. Inprogrammerat användarkort/
tagg behövs för att öppna/stänga låset. Flexlock levereras som standard i Mode 1
Mode 2 Auto Lock. Lås i låst läge. För 1-200 unika användare. Inprogrammerat användarkort/
tagg behövs för att öppna/stänga låset. Låser sig själv 4 sekunder efter öppning.
Mode 3 Any User. Lås i öppet läge. För tillfällig nyttjande av en användare med valfritt RFID-
användarkort/tagg. Samma användarkort/tagg måste öppna låset igen. Låset är sedan
återigen redo för en ny användare.
Mode 4 Any User. Samma som Mode 3, men om ingen användare har öppnat låset inom 12 tim-
mar öppnas det automatiskt.
Mode 5 Any User. Samma som Mode 3, men om ingen användare har öppnat låset inom 2 tim-
mar öppnas det automatiskt.
Any Timer Specialfunktion. Måste beställas separat via Swedstyle. Samma funktion som Mode 3,
men med en specifik tid för öppning. Tiden sätts i hela timmar från 1-166 timmar. Om
ingen användare har öppnat låset inom denna tid öppnas det automatiskt.
Ready to use Används i Mode 1 eller 2. Låset förbereds så att det första användarkort som
presenteras registreras som unik användare. Denna funktion läggs till efter installation.
Sound on/off Aktivera eller avaktivera ljudet som ljuder då man låser eller låser upp låset.
3 Handhavande
På www.flexlock.se finner du fler instruktioner.
Any Timer
Ready to use
Sound on/off
Guest
User
Programming
Service
Auto lock
Any User
Any User. Timer 12 h
Any User. Timer 2 h

20 Svenska
3.1 Allmänt
3.1.1 Lås i Mode 1 och 2
För lås i Mode 1 och 2 krävs användarkort som är programmerade till låset: Öppna genom att hålla
ditt användarkort/tagg rakt över låset. För att låsa håller man kortet över låset igen.
I Mode 2 låser sig låset automatiskt efter 4 sekunder.
3.1.2 Lås i Mode 3, 4 och 5
För lås i Mode 3, 4 och 5 kan valfritt, kompatibelt RFID-kort/tagg användas (t ex allmän förvaring):
Lås genom att hålla valfritt, kompatibelt RFID-kort/tagg över låset. För att öppna igen måste samma
RFID-kort/tagg föras över låset igen. Efter öppning är låset redo för en ny användare.
4 Uppstart
4.1 Förprogrammerat lås enligt specifikation
Dra bort plastflärpen för att aktivera låset. Låset är nu
klart för montering. Notera att även servicekortet och
programmeringskortet är inlagt i låset vid leverans.
(Vid Mode 1 och 2 kan nu användarkort eller Ready to use
läggas till, se avsnitt 7.3 eller 7.4.)
4.2 Ej förprogrammerat lås
1 Sätt i ett Flexlock-märkt batteri som tillhandahålls av
Swedstyle eller din Flexlock återförsäljare.
Se www.flexlock.se för mer instruktioner om hur du
byter batteri. Var noga med polvändningen.
2. Sätt dit batterilocket.
Om ni har programmeringskort och servicekort med
följande nummer: 371750-000, 371760-000,
gå vidare till punkt 4.2.7.
3. Vänd på låset och tryck ner aktiveringspinnen i hålet på
baksida, håll nedtryckt i 3 sekunder. Låset ger nu ifrån
sig upprepade pipsignaler under 7 sekunder.
4. Inom de 7 sekunder som låset piper ska
programmeringskortet föras över låset. En bekräftelseton
ljuder och programmeringskortet är nu inläst.
Låset är nu i grundläge Mode 1.
4.1
4.2-1
A41:1
Skala:
4.2-3
7 SEK
Programming
4.2-4
!
Table of contents
Languages:
Other Flexlock Lock manuals
