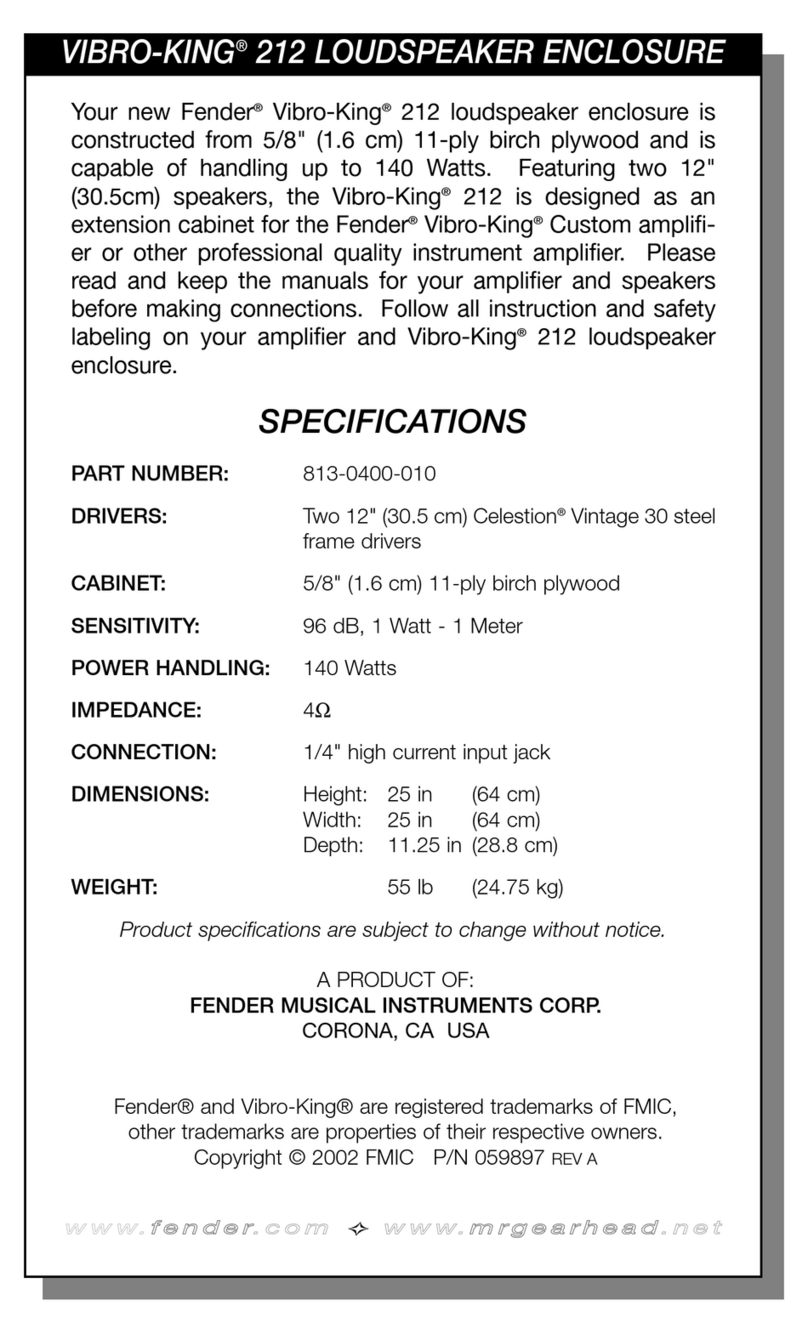
FLI ACTIVE Parts list manual


Thank you for purchasing this FLI active enclosure. It will provide you with a
trouble free usage providing you follow a few simple guidelines.
Mounting Guidelines
Your FLI enclosure is designed with a swift installation routine in mind. Please mount it in a dry
location on a solid surface. NEVER mount the enclosure at such an angle that the amplifier is
upside down, this will cause the amplifier to over heat and will eventually damage the entire unit.
Connections
For optimum performance use a 10 gauge FLI wiring kit. It can be purchased from the FLI
audio website with next day delivery www.fliaudio.co.uk
1. Low Level Input
For connection to any source with a low level output. Connect this to the RCA outputs on your
head unit.
2. Gain Control
Used to match the input signal of the headunit to the amplifier. See the setup section for more
details.
3. Frequency Control
This will allow you to set the frequency at which the amplifiers filter will take affect.
This is variable from 40 – 250 Hz.
40 Hz will produce only low frequencies (deep bass). 250 Hz will produce low and higher, more
punchy bass response.

4. Power On Indicator
WhentheamplifieriswiredandinstalledcorrectlytheLEDonthefrontoftheamplifierwill
illuminatetoindicatetheamplifierisoperatingcorrectly.
5. Fuse
Pleaseensurea20ampfuseisfitted.
6. Power Connections
Power Cable
●Atleastan10gaugecableshouldbeusedforboththepowerandthegroundconnectionsto
theamplifier.
●Thepowercableshouldbetakendirectlyfromthebattery.Rubbergrommetsshouldbeused
whenpassingthroughanybulkheadstopreventthecablefrombecomingchaffedorcut.
●Itisvitalthatafuse/circuitbreaker(ofatleastequalvaluetotheonefittedontheamplifier)
isplacedinlinewiththepowercableandisnofurtherthaneighteeninchesawayfromthe
battery.
●Pleaseensurethatthefuseisn’tfitteduntiltheentireinstallationprocedureiscomplete.
Ground Cable
●Thegroundcableneedstocarrythesamecurrentasthepowercable.Againatleastan10
gaugecableshouldbeused.
●Theamplifiergroundshouldbeconnecteddirectlytothechassisofthevehicle,tobare
metal.(notpaintedsurface)
●Thecablelengthshouldbekepttoanabsoluteminimum.
●Itisnotrecommendedthatyouconnectthegroundcabletothevehiclesseatbelts.
Remote Turn On
●A minimumof18gaugecableshouldbeusedforthisconnection.
●Thecableshouldberunwithexactlythesamecareandattentionasthepowercableand
takenbacktothesourceandjoinedtotheremotecableprovidedontheheadunit.
●Iftheheadunitdoesnothavearemoteturnoncablethena12vsupplyshouldbeused.This
willrequireaswitchtobefittedinlinetoenabletheamplifiertobeturnedonandoff.
NOTE:Rememberthatifthisswitchisleftonyouwillflattenthecarbattery.
RCA Cables
●A pairofRCA cablesshouldberunfromtheheadunittotheFLIamplifier.
●Pleasetakeextracarewhenrunningthesecablesfromthesourcetotheamplifier.Ensure
thattheyareplacedawayfromallitemsthatcangenerateanyinterference,wiringharnesses
etc.
●ItisrecommendedthattheRCA cablesshouldberunontheoppositesiteofthecartothe
previouslyinstalledpowercables.

Set Up Section
Gain Control Setting
Tocorrectlysetthegaincontroloftheamplifiertomatchthatofthesource(headunit)usethe
followingsetuproutine:
●Turnthegaincontroltominimumontheamplifier.
●Ontheheadunitsetallcrossoverstoflatandbothbassandtrebletozero.
●Turnupthesource(headunit)toapprox3/4volume.
●Veryslowlyturnupthegainontheamplifieruntildistortioncanbeheardinanyofthe
speakersoruntilthevolumereachesanuncomfortablelisteninglevelwhenthisisreached
turndownthegaincontrolslightly.
Thegaincontrolisnowset.
Crossover Setting
AllFLIactiveenclosurescomewithabuiltinFrequencyControl.Thiswillallowyoutosetthe
frequencyatwhichtheamplifierfilterwilltakeaffect.Itisvariablefrom40Hz-250Hz.40Hzwill
produceonlylowfrequencies,verydeepbass.Whilst250Hzwillproducelowandhigherpunchy
bassfrequencies.Inthecorrectsetupthebassshouldnotbeoverlyprominent,althoughsome
usersmaywishtohaveabiggerbasspresence.
Tosetthiscorrectlyfollowthefollowingroutine:
●Firstlysetthegaincontrolcorrectlyasdescribedabove.
●Playaknownpieceofdynamicmusicthroughtheentiresystem.
●UsetheFrequencyControltoblendthefrequenciesfromthesubwooferintotherestofthe
vehiclesothatthebasscomingfromtheenclosuredisappears'orblendsinwiththerestof
thecarspeakers.
Thecrossoverisnowset.
Troubleshooting
●Beforeremovingtheamplifier,refertothelistbelowandfollowthesuggestedprocedures.
●Ifinanydoubtgethelpfromacaraudioinstallationexpertorqualifiedautoelectrician.
Amplifier Will Not Power Up. Power On Indicator Not Illuminated
✓Checkforgoodgroundconnections.Ensureitsconnecteddirectlytobaremetalandnota
paintedsurface.
✓Usingamultimetercheckthatremoteterminalhasatleast7VDC.
✓Usingamultimetercheckthatthereisbatteryvoltageonthepositiveterminal.
Checkallfuses.
Fuse Blown
✓Checkbothpositivesupplyandgroundforshorts.
✓Checkthatthepositivewireisconnectedtothepositiveterminalontheamplifier.
✓Checkthatthenegativewireisconnectedtothegroundterminalontheamplifier.
✓Ensurethatthea20ampfuseisfitted:

Features
VariableGainControl
40–250Hzvariable12dBcrossover
Specification
Inputsensitivity40mV
ContinuousPower10V–14.4V
Signal/NoiseRatio >100dB
Inordertoprotectyourpurchaseandaidyour
warranteepleasefillinthefollowingformand
keepitsafeforyourfuturereference:
ModelNumber:
SerialNumber:
PurchasedFrom:
DateofPurchase:
KEEP ITSAFE
Stapleyourreceipthere:


shop stop
Accessoriescanbeordered
separatelyfromtheFLIwebsite
www.fliaudio.co.uk
LineLevelConvertor
Convertyourspeakerwireintoan
RCA connection.Canbeusedoff
yourrearspeakersordirectlyfrom
headunit
10GaugeFLIwiringkit
featuresallyouneedtowireyour
FLILOADEDamplifiers
FLI1Faraddigitalpowecapacitor
TheFLIpowercapwilldeliveryits
largecurrentreservequickerthan
anybattery,meaningsolidbass
responseonanyFLIsystem
FLIbaseballcap
highqualitycoolgreybaseballcap
FLIT-shirt
Coolgreytshirtwithlogoonfront
andbiglogoonbackcomesin
medium,large&xlarge
£14.99
£19.99
£79.99
£9.99
£9.99
Orderonlineorcallsaleson08707658423.
Allitemsabovecomewithfreenextdaydelivery.
OnlyavailableintheUKIfoutsideukpleasecontactyourdealerordistributorfromtheFLIwebsite
FLIIndashRemotecontrol
Allows24dBgainadjustmentofthe
bassboostfeaturewhichispresent
onallFLILoadedamplifers
£14.99

We reserve the right to make needed changes or improvements to the products
contained in this document, without informing the consumer advance.
copyright 2006
Copyright
All content included in this manual such as text, graphics, logos, icons, images data, the selection and arrangement
thereof, are the property of FLI Audio (herein referred to as "FLI", "us" or "we") and its affiliate or their content and
technology providers, and are protected by United Kingdom and International copyright laws. All rights reserved.
Trademarks
FLI FrequencyTM, FLI IntegratorTM , FLI LoadedTM , FLI Trap PassiveTM, FLI Trap ActiveTM , and FLI Trap TwinTM and all
stylised representations of product names, or the abbreviations of product names, as logos are all trademarks of FLI.
Graphics and logos are trademarks or trade dress of FLI Audio or its subsidiaries.
FLI's trademarks and trade dress may not be used in connection with any product or service that is not FLI's, in any
manner that is likely to cause confusion among customers or in any manner that disparages or discredits FLI. All other
trademarks not owned by FLI or its subsidiaries that appear in this manual are the property of their respective owners,
who may or may not be affiliated with, connected to, or sponsored by FLI or its subsidiaries.
Limited Warranty
All FLI goods are covered by a full twelve months warranty. Valid from
the date of the original receipt and proof of purchase. In order to
validate this warranty, the warranty card should be returned to FLI
within seven days of the original purchase date. The original receipt
and packaging should also be kept for this twelve month period.
If at any stage during the warranty period you have a problem with the
product then it should be returned to the point of purchase in its
original packaging, complete and with no items missing.
If the store is unable to fix the product it may have to be returned to
FLI this process takes around 7 working days.
A full description of FLI's warranty information can be found on our
website:
www.fliaudio.co.uk/warranty
A written version can also be obtained from
FLI warranty department
PO Box 11000
B75 7WG
Table of contents
Other FLI Enclosure manuals
Popular Enclosure manuals by other brands

Bartec
Bartec GWR Series Instructions for use

Altelix
Altelix NP12VE1-YLK1 installation guide
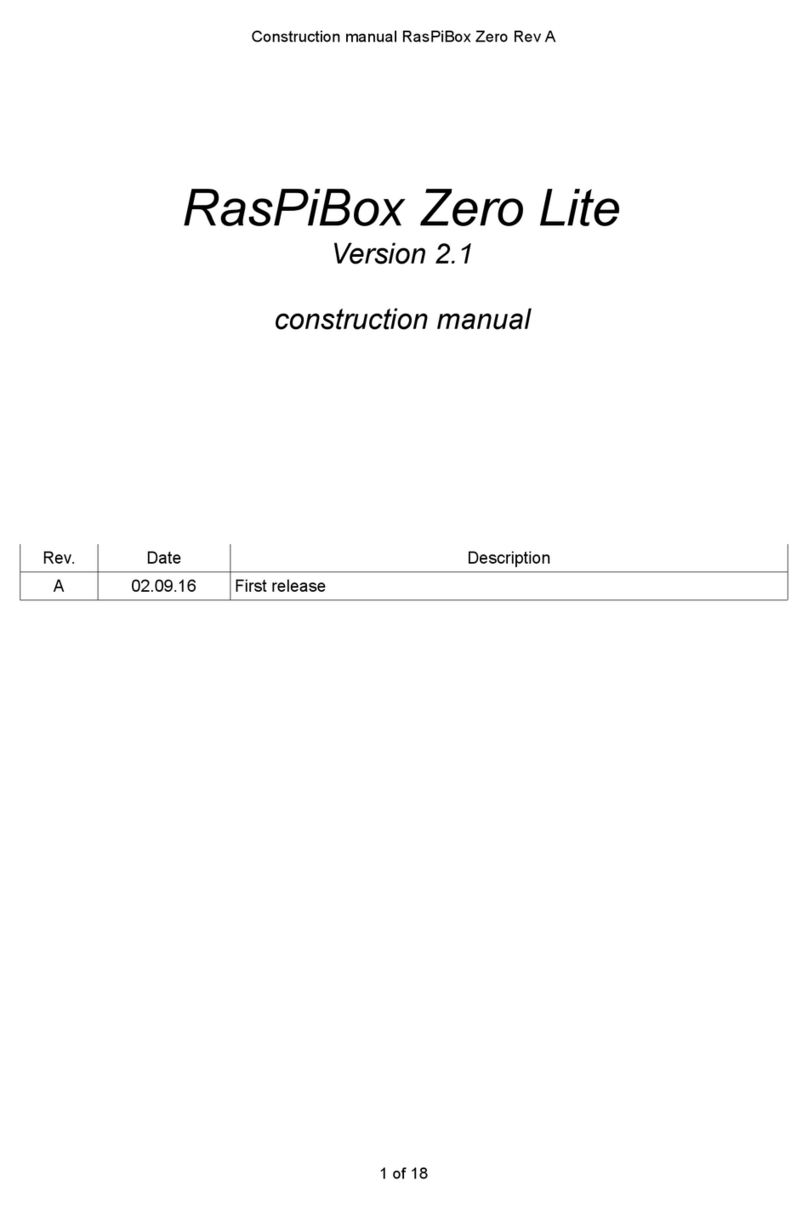
zihatec
zihatec RasPiBox Zero Lite Construction manual
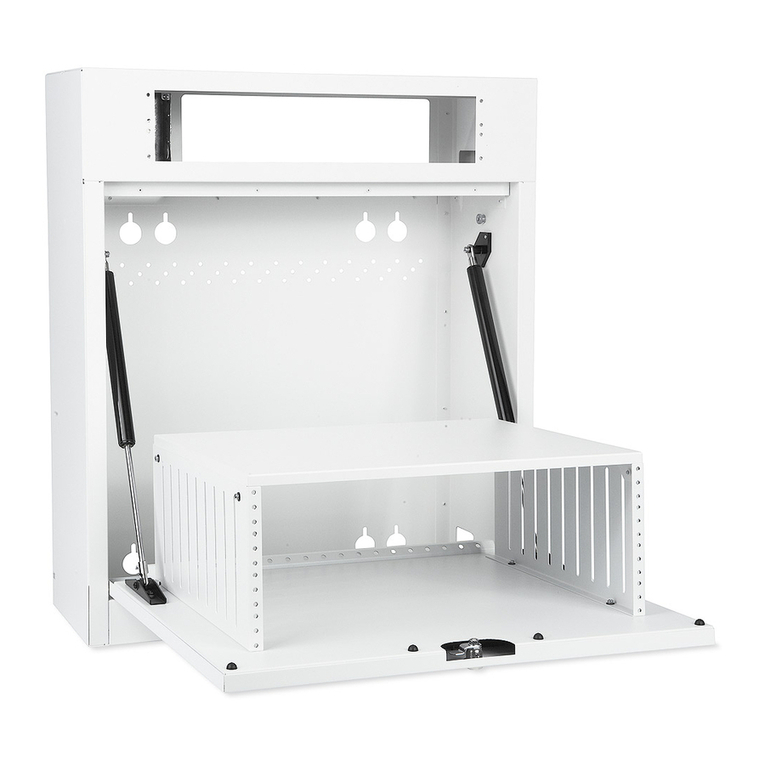
Extron electronics
Extron electronics MediaLink MLM-WB+ user manual
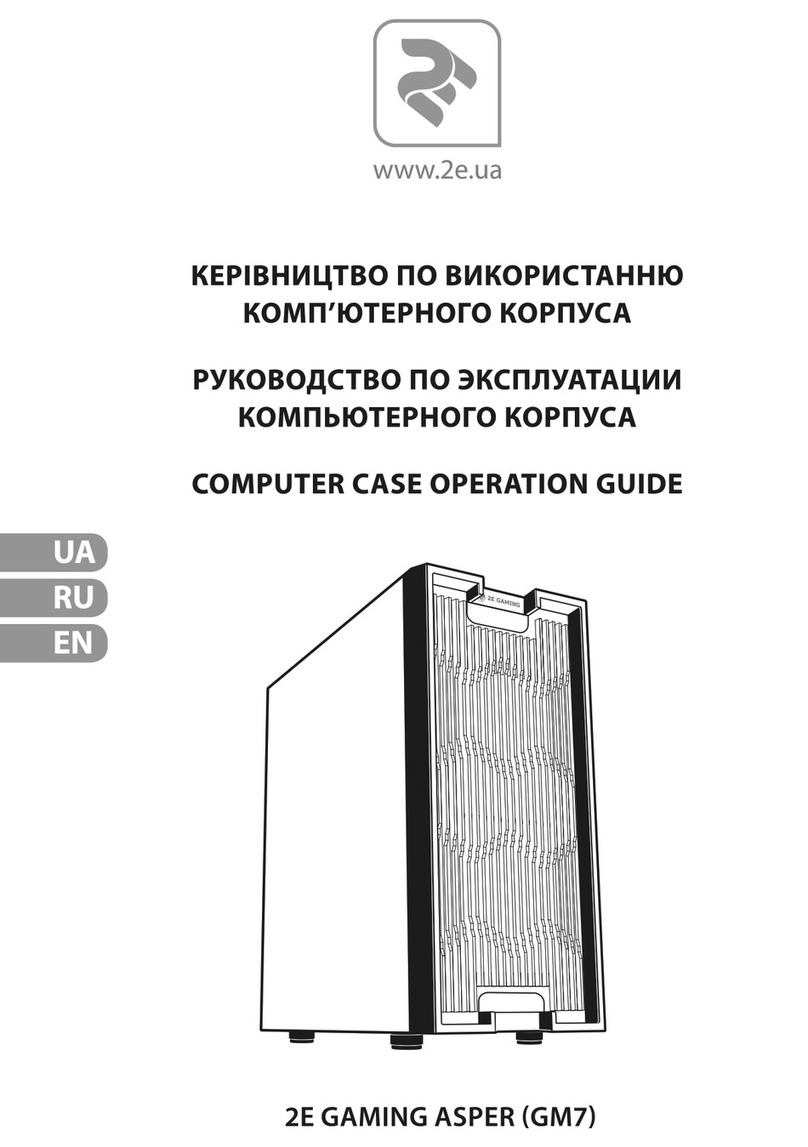
2E
2E GAMING ASPER Operation guide

SIIG
SIIG USB 3.0 to SATA Hard Drive with SD reader Enclosure -... User reference guide
