manuals.online logo
Brands
  1. Home
  2. •
  3. Brands
  4. •
  5. FLIR
  6. •
  7. Security Camera
  8. •
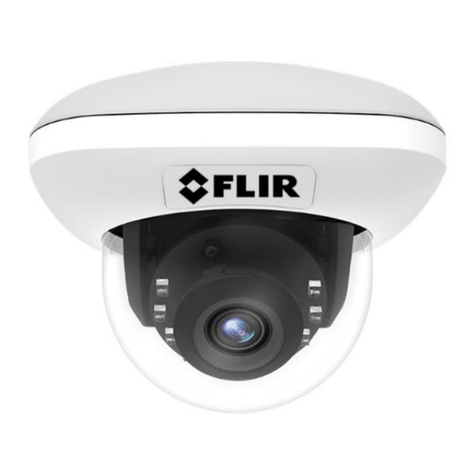
  9. FLIR Ariel Gen III CM-3304 User manual

FLIR Ariel Gen III CM-3304 User manual

This manual suits for next models

1

Other FLIR Security Camera manuals

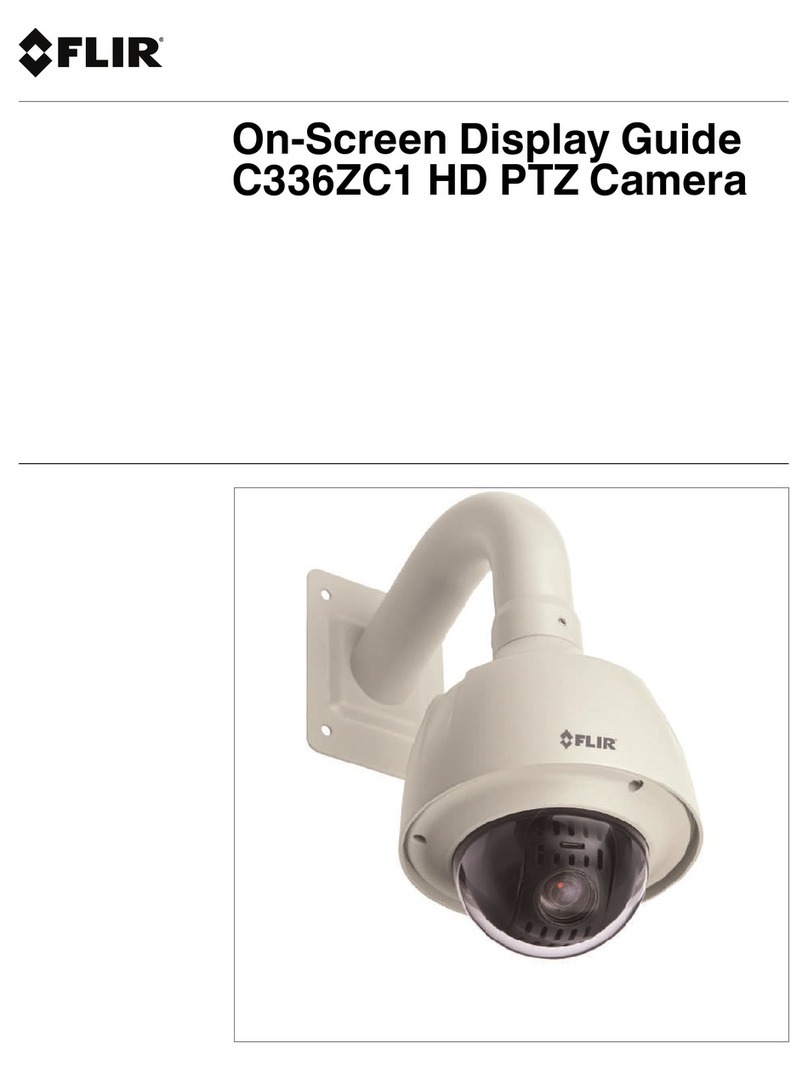
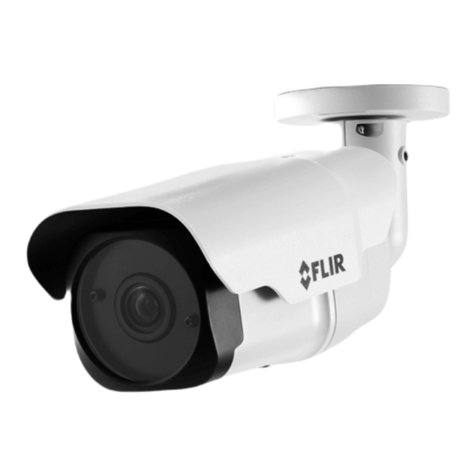
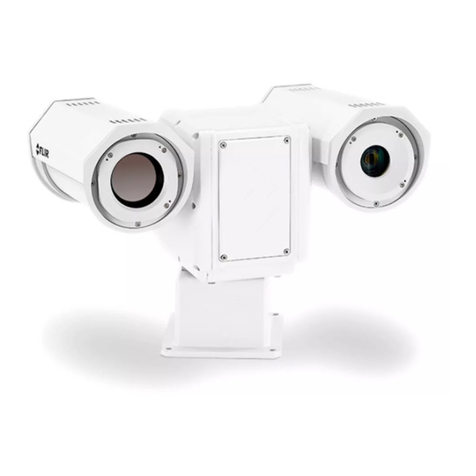
FLIR PT-602CZ HD User manual

FLIR

FLIR PT-602CZ HD User manual

FLIR N357B8 SERIES User manual

FLIR

FLIR N357B8 SERIES User manual

FLIR SR-100 User manual

FLIR

FLIR SR-100 User manual

FLIR Quasar CP-6408-21-I User manual

FLIR

FLIR Quasar CP-6408-21-I User manual

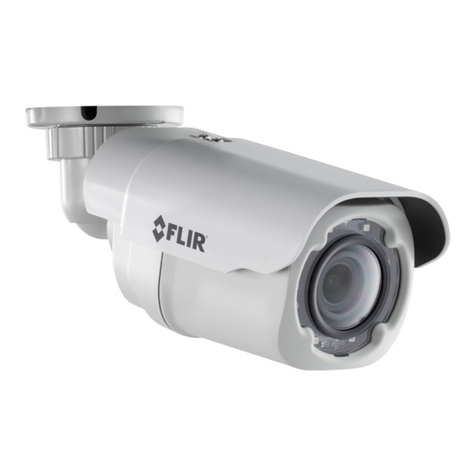
FLIR Ariel Gen IIICB-3308 Manual

FLIR

FLIR Ariel Gen IIICB-3308 Manual

FLIR FX User manual

FLIR

FLIR FX User manual

FLIR Ariel CM-3202-11-I User manual

FLIR

FLIR Ariel CM-3202-11-I User manual

FLIR CB-3102 Manual

FLIR

FLIR CB-3102 Manual

FLIR A3 F series User manual

FLIR

FLIR A3 F series User manual

FLIR MD-Series User manual

FLIR

FLIR MD-Series User manual

FLIR T4 Series User manual

FLIR

FLIR T4 Series User manual

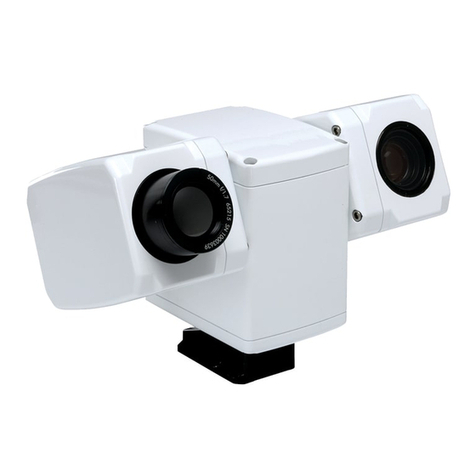
FLIR PTZ-35x140MS User manual

FLIR

FLIR PTZ-35x140MS User manual

FLIR SR-100 User manual

FLIR

FLIR SR-100 User manual

FLIR Quasar CM-6405 User manual

FLIR

FLIR Quasar CM-6405 User manual

FLIR FXV101-W User manual

FLIR

FLIR FXV101-W User manual

FLIR Quasar Gen III Manual

FLIR

FLIR Quasar Gen III Manual

FLIR PTZ-35 MS User manual

FLIR

FLIR PTZ-35 MS User manual

FLIR Quasar Gen III CP-6302-31-I User manual

FLIR

FLIR Quasar Gen III CP-6302-31-I User manual

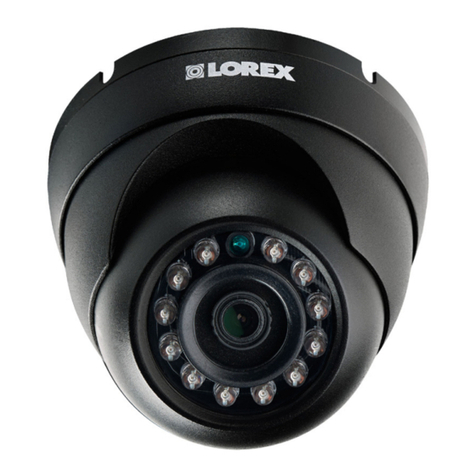
FLIR Lorex LNB3163B User manual

FLIR

FLIR Lorex LNB3163B User manual

FLIR MPX C133BD Series User manual

FLIR

FLIR MPX C133BD Series User manual

FLIR Lorex LBV2711 Series User manual

FLIR

FLIR Lorex LBV2711 Series User manual

FLIR CP-6302-30-R User manual

FLIR

FLIR CP-6302-30-R User manual

FLIR SV87-KIT User manual

FLIR

FLIR SV87-KIT User manual

FLIR MPX C237VC User manual

FLIR

FLIR MPX C237VC User manual

Popular Security Camera manuals by other brands

ADEMCO RapidDome Owners Operating & Installation Guide

ADEMCO

ADEMCO RapidDome Owners Operating & Installation Guide

EverFocus EBA2880 user manual

EverFocus

EverFocus EBA2880 user manual

Honeywell OptiCAM-IR Installation and setup guide

Honeywell

Honeywell OptiCAM-IR Installation and setup guide

Uniq UC-600 user manual

Uniq

Uniq UC-600 user manual

OPTICOM NVD-120-S datasheet

OPTICOM

OPTICOM NVD-120-S datasheet

Steren CCTV-221 instruction manual

Steren

Steren CCTV-221 instruction manual

Arm Electronics C420BCDNVFIR Features

Arm Electronics

Arm Electronics C420BCDNVFIR Features

Eneo PLD-2036PTZ installation guide

Eneo

Eneo PLD-2036PTZ installation guide

Axis AXIS M20 Series installation guide

Axis

Axis AXIS M20 Series installation guide

Panasonic KX-HCM230 operating instructions

Panasonic

Panasonic KX-HCM230 operating instructions

COP-USA CC15NV-SL Specifications

COP-USA

COP-USA CC15NV-SL Specifications

Active Silicon HARRIER H.264 quick start guide

Active Silicon

Active Silicon HARRIER H.264 quick start guide

Motorola Avigilon 1.3C-H5SL-BO1-IR installation guide

Motorola

Motorola Avigilon 1.3C-H5SL-BO1-IR installation guide

INSTEON 2864-232 user manual

INSTEON

INSTEON 2864-232 user manual

Wisenet XNB-6002 quick start guide

Wisenet

Wisenet XNB-6002 quick start guide

Axis M5525-E user manual

Axis

Axis M5525-E user manual

Vitek VTC-IR62NZ922 user guide

Vitek

Vitek VTC-IR62NZ922 user guide

Panasonic WV-SF342 Specifications

Panasonic

Panasonic WV-SF342 Specifications

manuals.online logo
manuals.online logoBrands
  • About & Mission
  • Contact us
  • Privacy Policy
  • Terms and Conditions

Copyright 2025 Manuals.Online. All Rights Reserved.

Quick Install Guide
Ariel Gen III
CM-3304/CM-3308
4MP/8MP Minidome IP Camera
A. Use this QR Code
to access the FLIR Website
What's in the Box
Item
CM-3304
CM-3308
CM-330x Minidome Camera
1pc
1pc
Tapping Screw s (TP4 25mm)
2pcs
2pcs
Tapping Screw s (TP4 32mm)
2pcs
2pcs
M4 Screw (25mm)
2pcs
2pcs
Plastic anchors
2pcs
2pcs
T20 Torx w rench
1pc
1pc
Drill template
1pc
1pc
Water proof cap
1pc
1pc
Desiccants
1pc
1pc
Desiccants QIG
1pc
1pc
X type bracket
1pc
1pc
Quick Installation Guide
1pc
1pc
Example - CM-3308-11
B. Download Camera Documentation
and Utility Software from the Web
C. Install the SD Card if required
The camera is shipped without a microSDXC card. A card must be inserted in the camera in order to locally store a snapshot or recording triggered by an event.
To install a microSDXC card:
1. Lift the rubber tab on each side of the dome cover and, using a Torx
screwdriver, remove the dome cover from the camera body.
2. Insert a microSDXC card (Min 4GB, up to 128GB, Class 10) in the card
drive on the camera’s printed circuit board.
3. Discard the Desiccant pack that was in the camera, and replace with a
new pack that was separately supplied. (See 'What's in the Box'.)
4. Replace the dome cover.
After the camera is connected,
1. Verify that the card status is displayed as mounted in the System >
Events Handler > SD Card screen.
2. Format the card. The card must be formatted as a single partition.
3. Configure the camera to store snapshots and recordings from the
System > Events Source screens.
D. Mount and Position the Camera
Be sure to have the required accessories and tools available.
Refer to the User Guide as necessary.
1. Verify that the operating temperature range is
between -40°C ~ 50°C (-40° ~ 122°F),
0-90% relative humidity (non-condensing).
2. Mount the camera at the site according to your surveillance
requirements.
3. Refer to the User Installation Guide for detailed instructions how to
install the camera and attach it to the site surface.
After connecting the camera:
1. Set the camera angle and height based on the required Field of View
depth and topology.
2. Click the Lens Control button on the Live screen.
3. Set the zoom and focus on the Lens Control screen.
E. Connect the camera
1. Use the RJ-45 socket to attach the camera to the VMS via a PoE
10/100 Mbps network switch
(or use a PoE injector if connecting to a regular switch.)
2. Connect Inputs and Outputs if required (see table below)
No.
Function
Identify
No.
Function
Identify
1
RJ-45
Network
(/PoE+)
2
Audio IN
White
4
Com
Blue
Gnd
Gray
Alarm OUT
Green
3
Audio OUT
Purple
5
Gnd
Light Blue
Gnd
Yellow
Alarm IN
Light Green
F. Discover the Camera
Use DNA to access the camera default parameters
1. Download and install the DNA Utility, following the
DNA Application User Guide/Help screens.
2. Attach the unit to the same LAN segment as the computer that is managing the unit.
DNA automatically discovers the unit on the network and displays the device’s
current IP address in the Discover List.
3. Select the unit from the Discover List.
Set the Camera's IP address and Video Format
4. If using a Static IP address (as on a Latitude System), follow the DNA instructions to
set the desired IP address.
5. On a system using DHCP, select the DHCP option in DNA.
6. To select PAL or NTSC, select the device in the Discover list, right-click to open the
context menu and click Change Video Format.
5. Click Update.
The camera’s web interface can
be accessed by Internet Explorer 10
and higher (32-bit) with the ActiveX
plug-in and by browsers that do not
require ActiveX, such as Microsoft
Edge, Chrome or Firefox, on PCs
running 64-bit Windows 7, 8, 8.1, or
10.
Camera Web Interface
G. Basic Video Analytics License
If Basic Video Analytics is to be used on this camera, then a camera
license must be generated and loaded to the camera. See Basic
Video Analytics Camera License in the User and Installation Guide.
H. Attach to VMS
1. Use your VMS Discovery procedures to discover and attach the
camera to your VMS.
2. Use VMS camera setup or camera Web Page access to verify
camera orientation, video settings, and focus.
If required, use camera web page to format SD card and set up
SoE parameters
CM-3304/CM-3308 QIGv 2a
FLIR Systems, Inc.
Tel: +1-800-254-0632
6769 Hollister Ave.
product.enterprise.support@flir.com
Goleta, CA 93117
www.flir.com/security