FLJ T113 User manual
Dual Motor Electric Scooter User’s Manual
For Model : T113

2
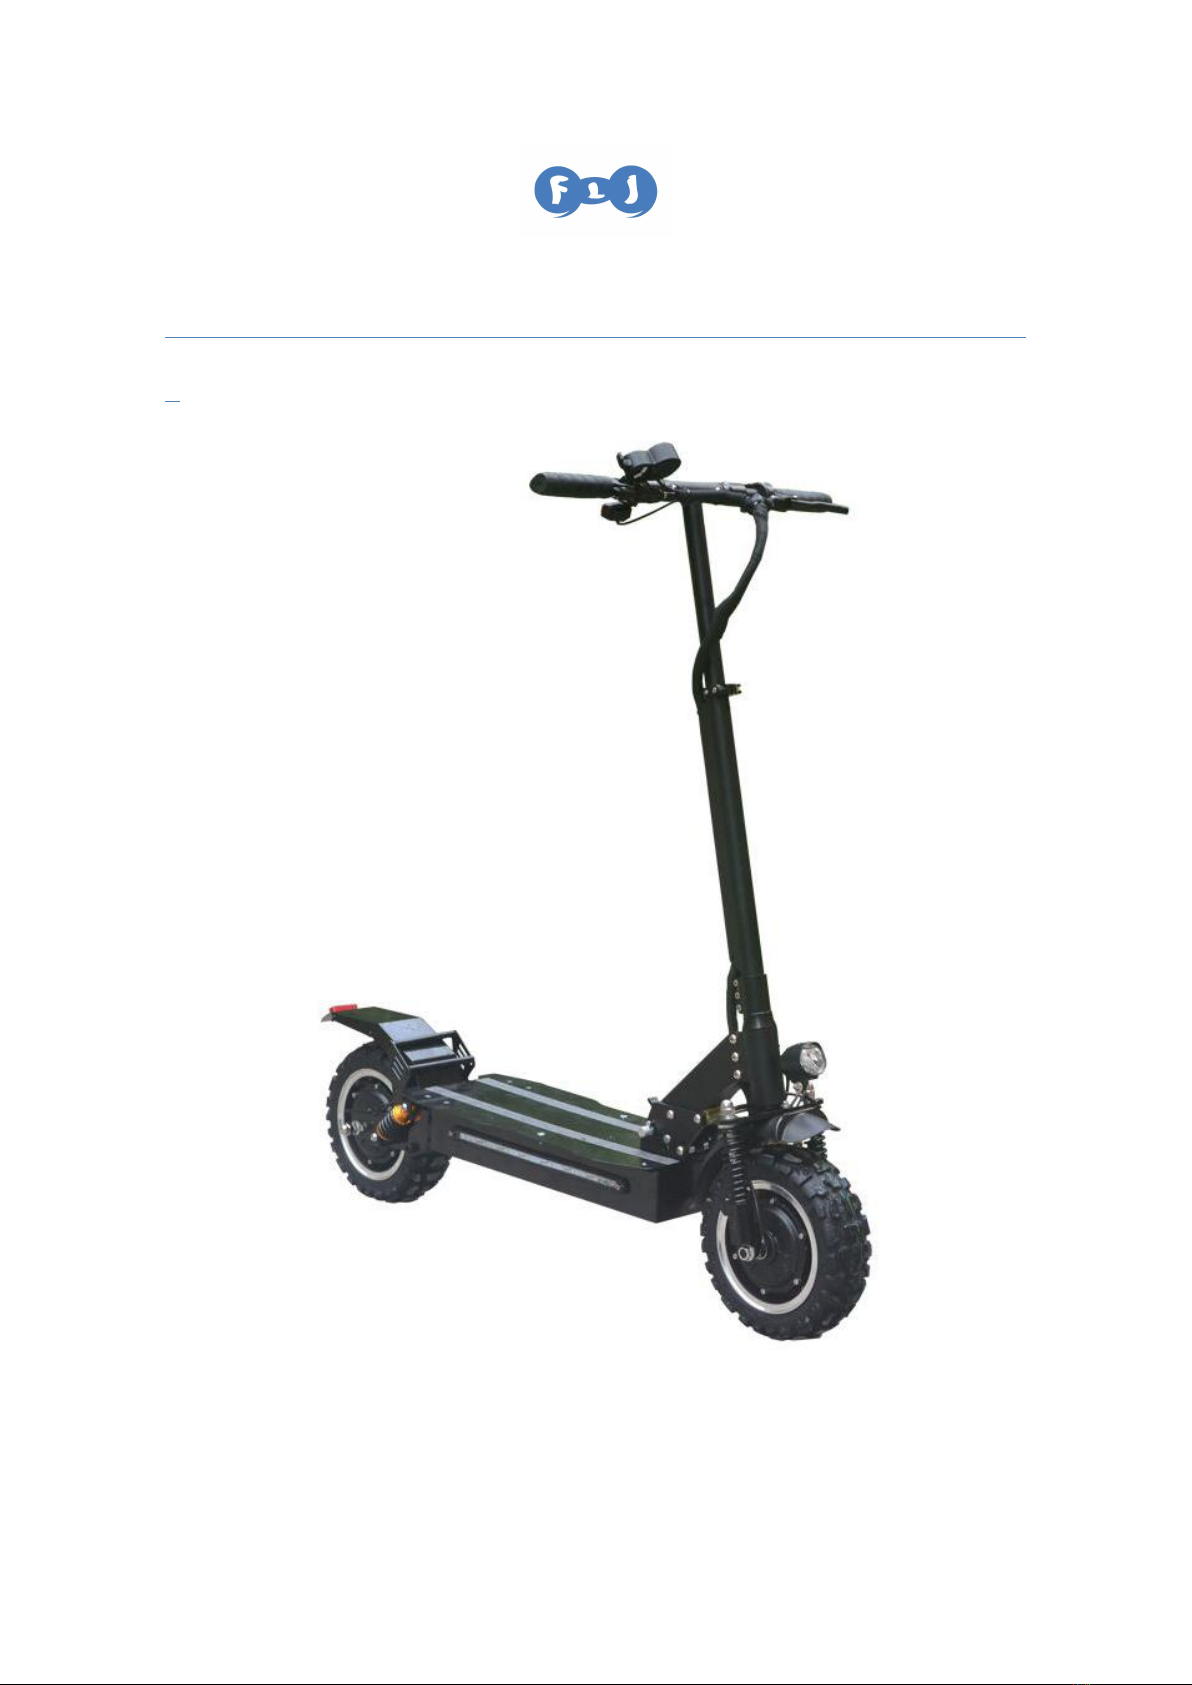
1. The Main Components:

3
2. The main technical parameters:
Parameters
Perform
ance and
specifica
tions
Maximum speed
About 65km/h
Maximum mileage
60-120km(depend on Battery Capacity)
Maximum Load
About 150kg
Scooter weight
depend on model and battery
size
depend on model and Optional
Start form
Factory default zero start
assembly
unit
Motor (brushless motor)
60v/1600Wx 2pcs
Battery Voltage
60v
Instrument
Multifunctional LCD instrument
Headlight
LED Headlights (with Horn)
Breaker
Front and rear Hydraulic brake
Break
Hydraulic brake
Front and rear wheels
Inflatable ( 11inch )/ On Road or Off Road
Plastic parts
Environmentally friendly high-strength plastic parts
Disclaimer:
Please abide by the relevant laws and regulations of the local bike ride ,
The Company are not responsible to all the consequences of speeding up
for personal reasons.

4
3. Remote Key or Key Lock (Optional;Only can choose one)
If with Remote Key, Before riding Please unlock it first;
Unlock Steps : Press "Lock" Button one time + Press "Unlock"
button one time + Press "Lighting" button two times;
4. Equipped with double driving with instructions

5
5. The operating instructions for folding
First : Retract the handlebar
Step 1 Pull the handlebar out of the puller
Step 2 Turn and fold the handlebar
Step 3 Adjust the handlebar to the lowest position
1
1
2
2
3

6
Second. Fold / open the frame
3
1
4
4
2
7
Folding operation:
Step 1:Turn the safety lock outwardly, then gently pull out it and put
it on the screw on the edge(Figure. ○
1).
Step 2: Press down the fold button that in the locked position(Figure.
○
2). At the same time pull down the Scooter Pole(Figure. ○
3).
Step 3: Fold the Pole(Figure. ○
4).
Opening operation:
First, Turn the safety lock outwardly, then gently pull out it and put it
on the screw on the edge.
Then, press the fold button down by hand. Push the lever upwards
when press the fold button and. Hear the sound of click then the
security lock locked, completing the operation.
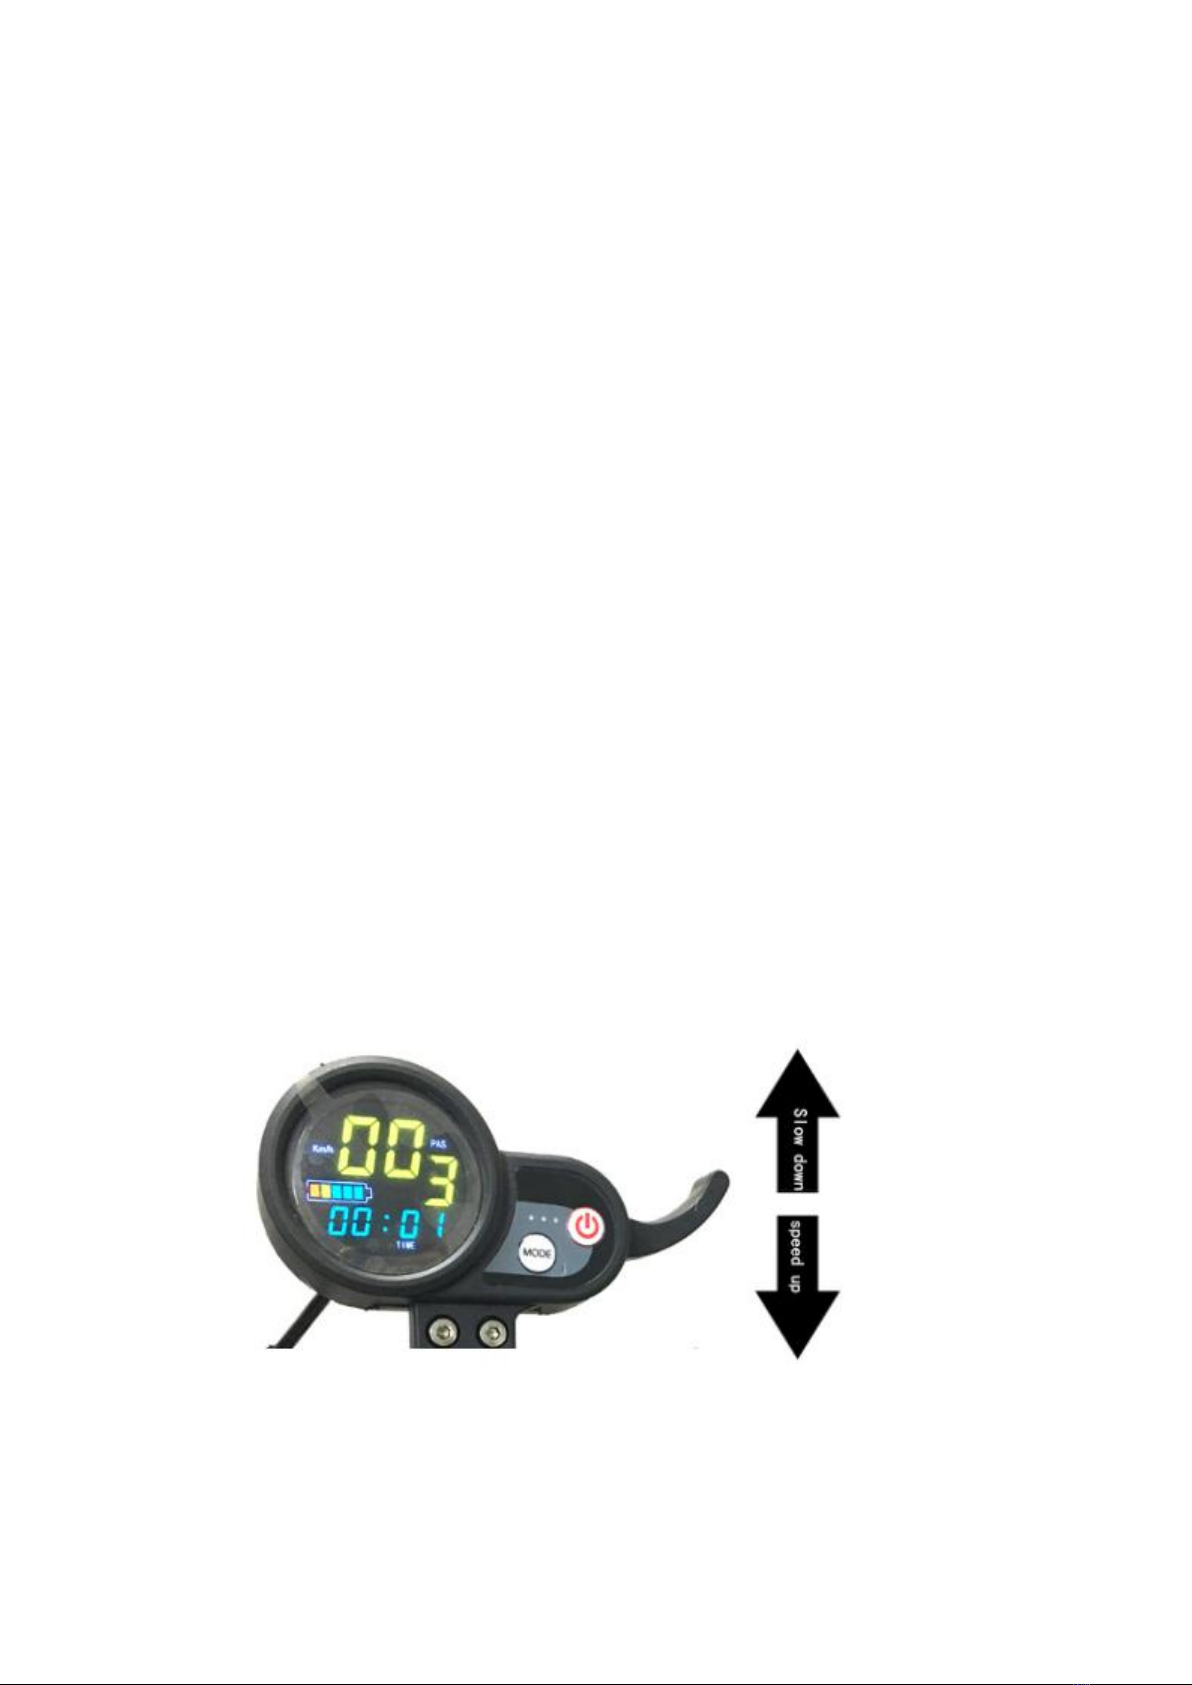
6. Operation of multi-function high-definition instrument

8
Display User’s Manual
---Buttons
Total 2 buttons : One is Power button;
Another one is Mode button.
---Instructions
Press Power button to Turn on or Turn off Display; Show battery
level ; Speed show real-time speed for the scooter. Range for Single mileage,
accumulated mileage can showed by Mode button to choose.
After turn on the display, if long time (about 3mins) no operation it will shut
down automatic; When Display show: CA 2 :00 , it means that the display will
shut down after 2 hours.
Press Mode button for short time, it will show different content; It have :
TIME,TRIP,ODO,DST,VOL,CH 2:00... ;
TIME: Means Time from Turn on;
TRIP: Means Single mileage;
ODO: Means accumulated mileage;
DST: Means how long range the scooter can run with real-time battery capacity.
But only for reference;
VOL: Means Battery rear-time Voltage
CH 2:00 : Means after 2hours it will shut down,and time will Countdown ;(some
scooter have no this function)
When show TRIP ,Press Mode button for long time, the TRIP single mileage
will become 0;
Press Power button for short time, the Gear(Speed Gear; 1, 2, 3) Position will
flicker, At this time press the Mode button to change the Gears; Gear 1 is
Lowest; Gear 2 is middle speed; Gear 3 is Fastest.
---Parameter settings
When Press Mode Button and Power button at the same time. It will
Enter Parameter Setting :
When showed P0, Press Mode Button for short time , it will change to show
P1; Press Mode Button again, It will show P2、P3、P4、P5、P6、P7、P8、
P9;

9
P0: Means Motor Diameter Setting;(set with 11)
P1: Means Undervoltage setting;(set with 530 )
P2: Means Magnetic pole logarithmic setting;(16)
P3: Means Speed signal selection setting; (choose 0)
P4: Means Speed Km/mile selection setting;(0 is km/h ; 1 is mp/h;)
P5: Means 0(no speed) Star or Slide Start Setting;
0 means 0(no speed) Star ; 1 means Slide Start;
P6: Automatic cruise setting;(0 is no Automatic cruise ; 1 is have;)
P7: Soft start and hard start selection settings;
Generally choose 0 (it’s not too fast when start);
With 1 means it’s Strong speed when start.
P8: Speed limited , Motor Working Power % Setting;
100 means 100% power/speed;
30 means 30% power/speed.
P9: Electric Brake strength setting;
0 means no electric brake; 1 mean normal ;
3 means strong electric brake.
When Showed P0, Press Power button, it will Enter to setting Motor
Diameter, Press to add 1, or press to reduce 1; Wait minutes it will end
and go back.
When Showed P1, Press Power button, it will Enter to Undervoltage setting,
If with 315, it means Undervoltage is 31.5V; Press to add 0.5, Press to
Reduce 0.5;
When Showed P2, Press Power button, it will Enter to
Magnetic pole logarithmic setting; Press to add 1, or press to reduce 1;
Fault display
Display will show some fault when scooter have faults;
Showed : Means Electric Brake Faults;
Showed : Means Motor Faults;
Showed : Means accelerator Faults;
Showed : Means Controller Faults.

10
Announcements
(1) Safe driving
In the acceleration or deceleration time, be aware to avoid the body's gravity in
the hand, to avoid the body forward. The standing posture should be keeping
your feet one after the other, thus lead to more secure and stable riding.
A. When turning, the body is parallel to the handle. Please pay attention to the
road condition before turning. Be sure it is safe and then turn.
B. When the brakes, the gravity center of body backwards. It is better to learn to
control the center of gravity when braking. Otherwise it will cause two situations:
the car tilted forward, as well as brake and steering system damage.
(2) Charging
Charge Steps:
Step 1 : When charging the scooter, please connect the scooter first.
then connect the plug with the electricity.
Step 2 : When stop charging, please remove the Plug from electricity ,
then remove charger from charge port.
1. When charging, please put safe place where children can not touch.
2. The red light indicates charging and the green light indicates charging is
complete.
3. If you do not use it for a long time, charge it every 2 months.
4. Do not charge in a damp place.
5. Do not run the motor while charging.
6. Avoid contact with the material leak out of the battery accidentally.
7. Failure to store or recharge in accordance with the correct method may result
in damage to the battery and no charge.

11
After-sales maintenance
The company's products related to the implementation of three-pack policy.
When the product meet the warranty conditions, we provide free maintenance,
replacement parts services. Warranty is provided free, except for delivery and
shipping.
Please refer to the warranty form for other specific warranty
Note: The following conditions are not a quality issue and do not apply to
warranty terms. Agents can provide maintenance services at a cost and
maintenance fee.
1. Failure to follow the instructions and precautions
2. Improperly assembled or malfunctioning by improper maintenance by the
user
3. Breakdown occur after repair in none Company's network, or the replacement
of the original parts of the Company product.
4. Due to wear and tear of the consumables, while the none appropriate
replacement maintenance in time, other parts failure and damage occurred.
5. Due to foreign objects puncture or impact, tire leakage or puncture occurred.
6. Damaged due to overload, or through obstructions and extreme movement.
7. Damage due to force majeure (eg, fire house, earthquake, lightning, water
damage)
8. Belong to normal use / natural wear parts, do not provide free warranty
service

12
9.The warranty reference for Electric Scooter
Product name
Warranty year
Warranty coverage
Pole
A year
/
Footboard
A year
/
Folding Handgrip
A year
/
Battery
Half year
/
Motor
A year
/
Multifunction instrument
A year
/
Others
none
none
Note: Damage caused by human factors is not covered by the
warranty. In the free warranty period, we do not charge maintenance
fees. (Note: not include material costs) But the resulting transport
costs borne by both parties. The company has the final interpretation.
User warranty card .
User name
Purchasing date
Tel
Address
Product name
Model
Purchasing store
Breakdown description
Note: Due to the company's product upgrades, may part of the
display of the product content you get will be different from the
instructions, but will not affect your normal use.
Table of contents


