Florence MyPackageConcierge User manual

INSTALLATION GUIDE

Page 2 of 8 MyPackageConcierge® Installation Guide—206562—Rev F www.florencemailboxes.com
TABLE OF CONTENTS
Supporting Technical Documents. . . . . . . . . . . . . . . . . . . . . . . . . . . . . . . . . . . . . . . . . . . . . 2
Getting To Know Your MyPackageConcierge® . . . . . . . . . . . . . . . . . . . . . . . . . . . . . . . . . . . . . 3
What’s Inside? . . . . . . . . . . . . . . . . . . . . . . . . . . . . . . . . . . . . . . . . . . . . . . . . . . . 3
Tools Required . . . . . . . . . . . . . . . . . . . . . . . . . . . . . . . . . . . . . . . . . . . . . . . . . . . 3
Prepare your MyPackageConcierge® for Installation . . . . . . . . . . . . . . . . . . . . . . . . . . . . . 3
Preparing For and Installing Your MyPackageConcierge® . . . . . . . . . . . . . . . . . . . . . . . . . . . . . . . 4
Rough Opening Verification . . . . . . . . . . . . . . . . . . . . . . . . . . . . . . . . . . . . . . . . . . . 4
Prepare The Opening . . . . . . . . . . . . . . . . . . . . . . . . . . . . . . . . . . . . . . . . . . . . . . . 4
Setting And Fastening Your MypackageConcierge® . . . . . . . . . . . . . . . . . . . . . . . . . . . . . 4
Install Interior Sealant . . . . . . . . . . . . . . . . . . . . . . . . . . . . . . . . . . . . . . . . . . . . . . 6
Install Exterior Sealant . . . . . . . . . . . . . . . . . . . . . . . . . . . . . . . . . . . . . . . . . . . . . . 6
Important Product Information . . . . . . . . . . . . . . . . . . . . . . . . . . . . . . . . . . . . . . . . . . . . . . 7
Care & Maintenance . . . . . . . . . . . . . . . . . . . . . . . . . . . . . . . . . . . . . . . . . . . . . . . 7
Important Notice . . . . . . . . . . . . . . . . . . . . . . . . . . . . . . . . . . . . . . . . . . . . . . . . . 7
© 2019 Florence Corporation. All rights reserved.
Supporting Technical Documents
Architectural details and other product related drawings in PDF and DWG formats are available for
download from www.MyPackageConcierge.com.
`206563—MyPackageConcierge® Owner’s Guide
`MPC1CS—MyPackageConcierge® Cut Sheet
`MyPackageConcierge® Architectural Installation Detail Drawings
»MPC1BLCS - 8” CMU, LAP SIDING
»MPC1BMCS - 8” CMU, MASONRY
»MPC1BSCS - 8” CMU, STUCCO
»MPCWLCS - WOOD FRAMED, LAP SIDING
»MPCWMCS - WOOD FRAMED, MASONRY
»MPC1WSCS - WOOD FRAMED, STUCCO

www.florencemailboxes.com MyPackageConcierge® Installation Guide—206562—Rev F Page 3 of 8
Getting To Know Your MyPackageConcierge®
What’s Inside?
The following items are included with your MyPackageConcierge® package box:
`Installation Guide
`Owner’s Guide—please retain this guide for the new Homeowner
`Mounting Hardware
Tools Required
Tools necessary to install the MyPackageConcierge® include:
`Cordless driver/drill
`T20 Torx bit & bit tip holder
`Caulking gun
Tools required for preparing the exterior of the home to accept the package box will vary, based on
the type of construction, and are not covered in this installation guide.
Prepare your MyPackageConcierge® for Installation
A. Remove plastic wrap and cardboard packaging from MyPackageConcierge®.
B. Inspect the product for any damage such as cracks, dents or scratches. DO NOT install
damaged package boxes.
C. Read the entire installation instruction before proceeding.
K64225 - #8 x 2” pan-head T20 Torx wood screw (qty 23)

Page 4 of 8 MyPackageConcierge® Installation Guide—206562—Rev F www.florencemailboxes.com
Preparing For and Installing Your MyPackageConcierge®
Rough Opening Verification
A. Confirm the opening is plumb and level.
• NOTE: It is critical the bottom is level and it does not slope to the interior.
B. Remove dirt, oil, and debris from the opening and surrounding wall surfaces.
C. Confirm the MyPackageConcierge® will fit the opening.
• NOTE: 1-1/2”, or more, of solid wood blocking is required around the perimeter of the
opening.
1). Measure all four sides of the rough opening to make sure it is 36-1/2” in height and
16-1/2” in width.
2). Fix any problems with the rough opening before proceeding.
Prepare The Opening
A. Install a Water Resistive Barrier (WRB) prior to installation of the MyPackageConcierge® and
seal around the rough opening using standard practices.
• Under extreme wind/water exposure, incidental water that migrates behind the WRB due
to penetrations, fasteners, or cladding attachment may migrate into the package box
rough opening. Take steps to mitigate this potential by creating a water seal between
the WRB and sheathing at the rough opening.
Setting And Fastening Your MypackageConcierge®
A. Unlock the door on MyPackageConcierge®
1). Input the access code into the combination lock
• The initial access code, when shipped from the factory, is 12345.
2). Turn the knob clockwise and pull to open the door.
B. Inspect and clean the back side (interior surface) of the exterior MyPackageConcierge®
integrated trim.
COMBINATION
ACCESS LOCK

www.florencemailboxes.com MyPackageConcierge® Installation Guide—206562—Rev F Page 5 of 8
C. After cleaning the integrated trim, carefully run a continuous 3/8” diameter bead of sealant
on the back surface (interior face) of the trim at the head, sill, and both jambs.
• Connect that bead of sealant across any joinery on the integrated trim at all four corners.
• As an option, the sealant can be applied to the wall surface, as opposed to the back of
the integrated trim.
D. Immediately place MyPackageConcierge® in the wall opening until the integrated trim is flush
against the wall board.
• Ensure the cabinet is square; it may be tilted slightly forward so the bottom slopes toward
the exterior, allowing incidental water to flow outward.
E. With the door fully open...
1). Install six (6) #8 x 2” pan-head T20 Torx wood screws (K64225) along both the left- and
right-hand outer frame.
2). Install two (2) #8 x 2” pan-head T20 Torx wood screws (K64225) along the top frame.
CAUTION: DO NOT drill through, or place fasteners through the bottom of the
MyPackageConcierge®. The bottom has an integrated pan system to
direct any incidental water, that may get into the box, to the outside.
F. Close the door and turn the knob on the lock counter-clockwise to lock the
MyPackageConcierge®.
NOTE: The #8 x 2” pan-head T20 Torx wood screws should be
tightened to ensure a snug fit.
• Overtightening beyond initial contact with the frame could
hinder functionality.
• If overtightening occurs, simply back out each overtightened
mounting screw.
MOUNTING SCREW
LOCATIONS

Page 6 of 8 MyPackageConcierge® Installation Guide—206562—Rev F www.florencemailboxes.com
Install Interior Sealant
NOTE: Use a low odor, paintable sealant. Re-check MyPackageConcierge® operation after
foam installation. Excess foam may be removed with a serrated knife after it cures.
A. Insert the nozzle or straw between the rough opening and package box frame from the
interior.
• Use pliers (if necessary) to compress the end of a straw tube to allow it to fit into tight
openings.
B. Place a 1” deep bead of foam approximately 1” from the interior of the frame to allow for
expansion. DO NOT fill the entire depth of the rough opening cavity.
Install Exterior Sealant
NOTE: When applying siding, brick veneer, flashing, or other exterior finish materials, leave
adequate space between the MyPackageConcierge® frame and the material for
sealant application.
A. Apply a continuous bead of sealant to the exterior trim perimeter at the head, sill and both
jambs of the package box.
B. Shape, tool, and remove excess sealant. When finished, the sealant should be the shape of
an hourglass.
Refer to the “MyPackageConcierge® Architectural Installation Detail Drawings” listed on
page 2 of this manual, which are available for download, for placement of interior and
exterior sealants.
CAUTION: Use low pressure polyurethane window and door insulating
foams. Follow the directions on the can. Do not use high pressure or
latex foams.
• Backer rod (as necessary) and sealant can be used in place of the
low expansion foam to create the interior seal.
• Fiberglass batt or similar insulation is not recommended as it can
absorb water and does not act as an air seal.
CAUTION: Use a high quality, multi-purpose exterior
sealant. Follow the directions on the cartridge.

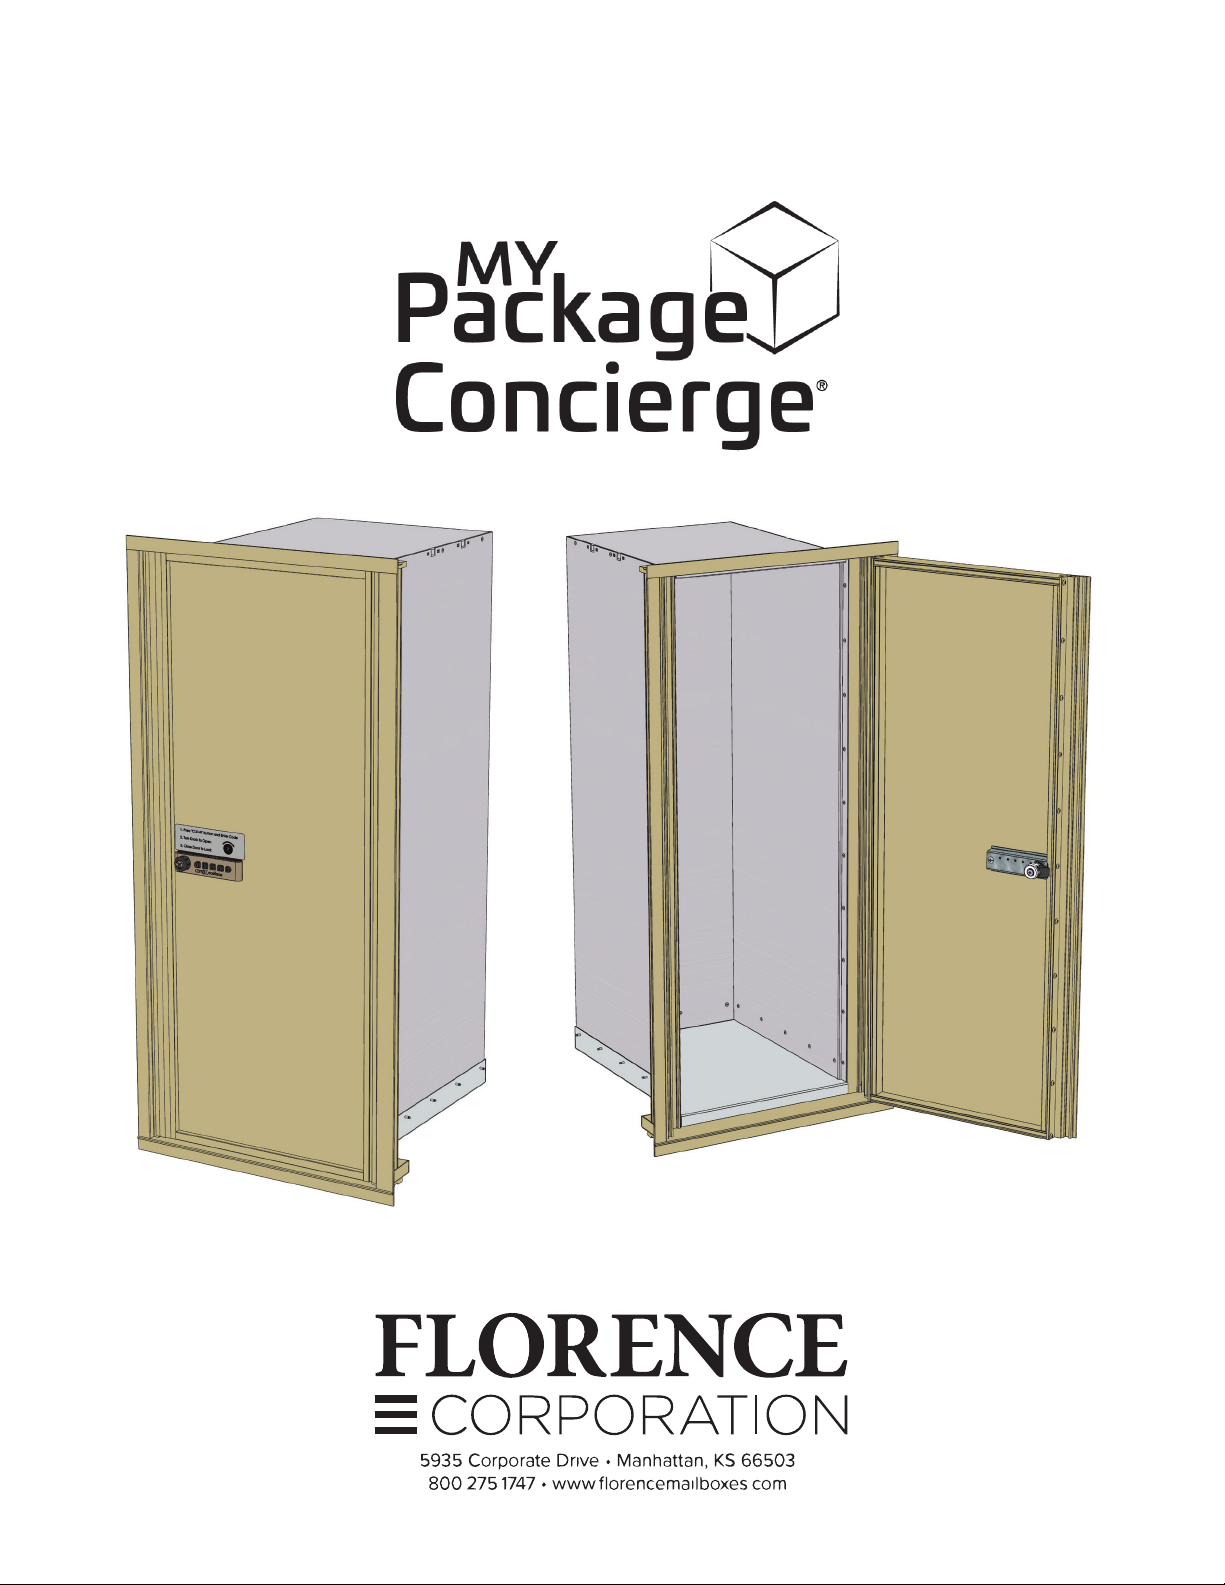
www.florencemailboxes.com MyPackageConcierge® Installation Guide—206562—Rev F Page 7 of 8
Important Product Information
Care & Maintenance
`Exterior Finish of Existing Frame (Pocket Replacement):
• It is the responsibility of the homeowner, contractor or installer to ensure any exposed
unfinished wood is covered or finished.
`Factory Finished Product:
• Florence product that has been prefinished from the factory requires no additional
finishing.
• Clean the surface with a soft cloth dampened with any mild detergent or properly diluted
biodegradable, water-based cleaner.
• For stubborn stains, a mild petroleum-based solvent, such as mineral spirits may be used.
DO NOT use abrasives.
• DO NOT scrape or use tools that might damage the surface.
`Cleaning Instructions:
• The use of unapproved finishes, solvents or cleaning chemicals may cause adverse
reactions with the product.
• Florence Corporation will not be responsible for problems caused by the use of
unapproved materials or any product that is not factory-applied by Florence Corporation.
`Warranty and Care & Cleaning information is included in the Owner’s Guide and also
available from Florence Corporation at: www.florencemailboxes.com.
Important Notice
`Because all construction must anticipate some water infiltration, it is important that the wall
system be designed and constructed to properly manage moisture. Florence Corporation
(Florence) is not responsible for claims or damages caused by anticipated and unanticipated
water infiltration; deficiencies in building design, construction and maintenance; failure to
install Florence products in accordance with Florence installation instructions; or the use of
Florence products in wall systems which do not allow for proper management of moisture
within the wall systems.
The determination of the suitability of all building components, including the use of Florence
products, as well as the design and installation of flashing and sealing systems are the
responsibility of the Buyer or User, the architect, contractor, installer, or other construction
professional and are not the responsibility of Florence Corporation.
`Florence products should not be used in barrier wall systems which do not allow for proper
management of moisture within the wall systems, such as barrier Exterior Insulation and
Finish Systems (EIFS) (also known as synthetic stucco) or other non-water managed systems.
`Product modifications that are not approved by Florence Corporation will void the warranty.

www.MyPackageConcierge.com
Table of contents
Popular Storage Bin manuals by other brands

Urban Oasis
Urban Oasis Collapsible Water Storage Barrel instructions

Glasdon
Glasdon NEXUS CITY 140 operating manual

Foppapedretti
Foppapedretti ilCuciniere 03 06 Assembly instructions

Classic Accessories
Classic Accessories seasons 57-003-014301-00 instructions

Hoshizaki
Hoshizaki B-300PC parts list

QABA
QABA 311-053V00 quick start guide