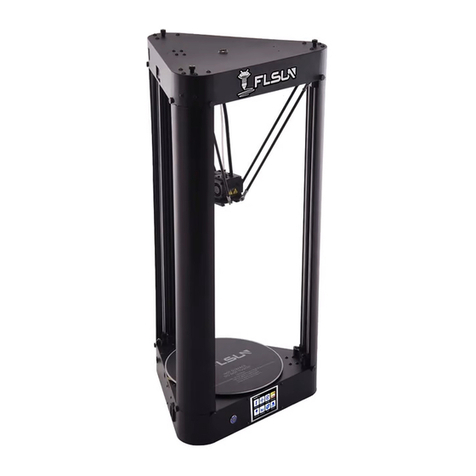
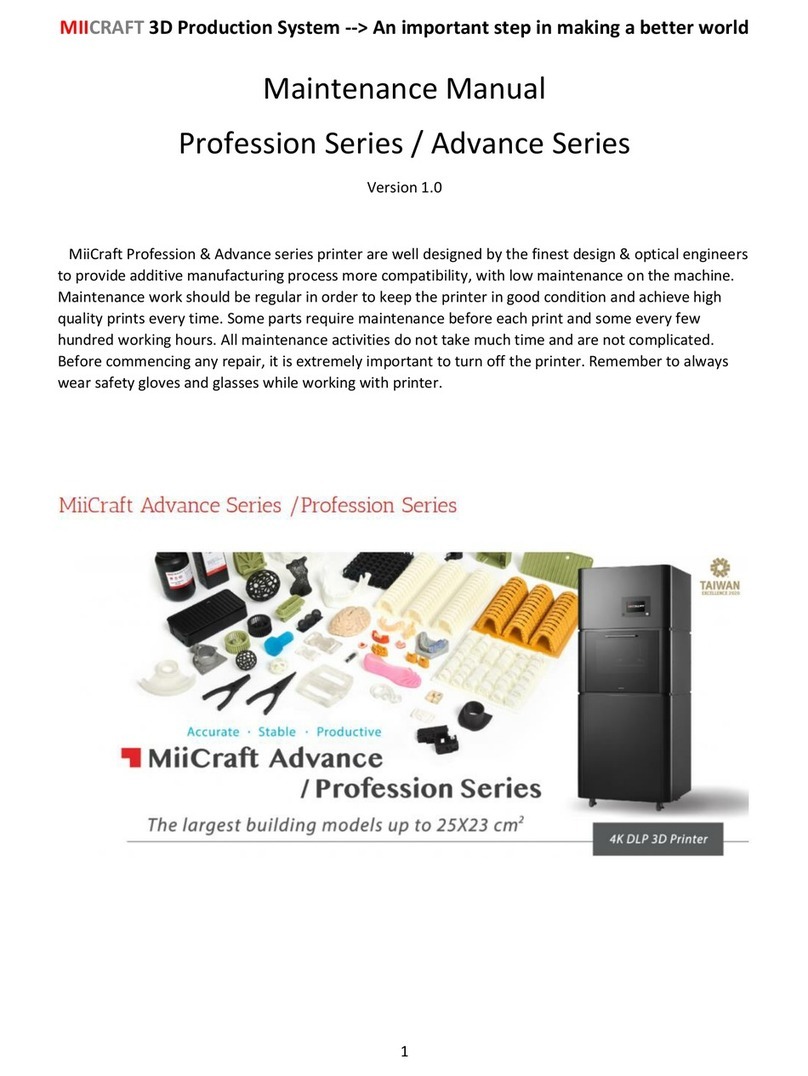
flsun SuperRacer User manual

SR (SuperRacer)
User Manual • Uživatelský manuál •
Užívateľský manuál • Használati utasítás •
Benutzerhandbuch

Dear customer,
Thank you for purchasing our product. Please read the following instructions carefully
before first use and keep this user manual for future reference. Pay particular attention
to the safety instructions. If you have any questions or comments about the device,
please contact the customer line.
✉www.alza.co.uk/kontakt
✆+44 (0)203 514 4411
Importer Alza.cz a.s., Jankovcova 1522/53, Holešovice, 170 00 Praha 7, www.alza.cz

Advice and Guidance
•The printer’s default power input voltage is 230V, if your local voltage is 115V,
please switch the input voltage of the power supply before turning on the printer
for the first time.
•The assembly videos, firmware and slicing software are included in the SD card,
please back up the files of the SD card to your computer before using.
•Do not touch the hot bed and nozzle while the printer is running, as the heat
would cause the burn injuries to your skin.
•The printer’s environment can affect the print quality, please ensure the printer is
not placed in too hot/cold temperature, high humidity or near drafts. To ensure
optimum printing, place the printer on an even and firm surface.
•Failures caused by changes to the printers mechanical components are not
covered by the printers warranty.
•Keep young children away from the printer due to the hot components while
printer is running.
•Please use the recommended filaments, poor quality filaments may cause poor
print quality or damage the printer.
•Typical maintenance would be useful.
•Please wait for the hot bed to cool down completely before removing the print.
•In case of emergency, turn off the printer and pull it from the main power to
prevent damage to the printer then contact our technical support.
•To avoid damage to printer and property, do not misuse printer. Printer has been
designed for it’s intended purpose only.
•All printers have been tested before leaving the factory. As a result of these tests,
some filament and stain might remain in and around nozzle, this is normal.
•In order to make the model stick to the hot bed well, please clean the hot bed
before each print.
•When the printer has to be restored to factory settings, please restart the printer
first, and then click “Restore”.

Parameters
Model
FLSUN SuperRacer
Printing Size
Φ260*330 (Max) mm
Molding Tech
Delta FDM
Nozzle Diameter
Standard 0.4mm
Slice Thickness
0.05-0.3mm
Precision
±
0.1mm
Filament Support
PLA/ABS/PETG/WOOD
File Format
STL/OBJ/AMF/3DS
Print Speed
Default Speed 150mm/s
Nozzle Type
Single Nozzle
Environment Temp
5-40°C
Nozzle Temp
⩽
255°C
Hot Bed Temp
⩽100°C
Slice Software
Cura/Repetier-Host/Simplify3D
Working Power
300W
Resume Printing
YES
Auto-Leveling
YES
Filament Detection Sensor
YES

Introduction
1 Filament Holder
5 BMG Extruder
9 Air Guide Nozzle
13 Tool Box
2 Axis
6 Slider
10 Nozzle Kit
14 USB Port
3 Filament Detector
7 Parallel Arm
11 Belt Adjustment
Nut
15 SD Card Slot
4 Linear Guide
8 Touch Screen
12 Hot Bed
16 Power Switch

Main Parts
Bottom Shell Top Shell and
Touch Screen
Axes Levelling
Switch
Parallel Arms
Effector
Module
Extruder and
Filament
Detection sensor
Filament
Holder
USB Line
Power Line
Gift Parts List
Diagonal Pliers
Spatula
SD Card and
Reader
Touch Screen
Bracket
Screwdriver
Allen
Wrench
Nozzle Kit
Heating Rod
Thermistor
Clean Needle

Screws
Grease
Open-End
Wrench
Brush
200g Filament
Assembly Instructions
1. Take out all main
parts and screws
2. Put the top shell on a flat surface.
Please prevent the screen from being
bumped during the assembly
3. Install the axis
4. Plug the motor cable
before putting the motor
into the top shell
5. Install the screws in the order
from 1 to 4
6. One axis completed
M4*22 (Long)

7. Install the other two
axes in the same way
8. Install the bottom shell. The two
logos marked in the photo should
be facing the same direction
9. The top shell
should be installed
in the guide rail
10. Push the bottom
shell down to the
correct position
11. Install the
screws for each axis
in order from 1 to 4
12. Slide the touch
screen bracket
nut into the guide
groove of the left
axis
13. Move the touch
screen bracket to
one-third of the
distance from the
top shell
14. Rotate the knob
clockwise to fix the
touch screen bracket
15. Rotate the printer
180 degrees the logo
is facing the front

16. Pull the parallel
arm to both sides
and install it on the
slider
17. Install the other
two parallel arms in
the same way
18. Install the
effector module the
logo on the effector
module must face
forward
19. Connect the
connectors of the
effector module
to the main cable
20. The color of the
connectors must match
two black connectors can
be connected arbitrarily
21. Install the main
cable connector
22. Put the main
cable into the
groove in the axis
23. Install the extruder
24. Extruder
installation finished
M4*8 (short)
The PTFE tube and the
filament detection
sensor entrance must
be
aligned

25. Plug the
filament detection
sensor cable
26. Plug the extruder
cable
27. Push the PTFE
tube to the
position marked
with an arrow in
the photo
28. Fix the
pneumatic
connector with a
buckle
29. Tie the PTFE tube
and the main cable
together at the
location marked in
the photo
30. Assemble the
filament holder
31. Install the
filament holder to
the top case
32. The orientation
of the filament
holder should be as
shown in the photo
33. Remove the
protective film from
the hot bed. The
assembly is finished
M4*8 (short)
M4*8 (short)
View from the
Front

Switch Input Voltage
Auto Levelling
1. Use diagonal pliers
to clean up the
filaments on the
nozzle
2. Connect the levelling
switch
3. Install the
levelling switch
according to the
direction on the
photo
●The default input voltage of the printer is 230V, please
make sure the printer is switched to your local voltage
before turning on the power switch for the first time.
If your local voltage is 115V, flip the red switch to
the right to switch the voltage to 115V
View from the right

4. Click “Tools”
icon on the
homepage
5. Click “Auto-Level” 6. Click “Auto
Levelling” on the
subpage
7. Click “Confirm”
8. Auto levelling
takes about two
minutes, please wait
9. Remove the
levelling switch and
disconnect the
connector after the
auto levelling finished
10. Click “Move Z0” 11. Make sure the
levelling switch has
been removed before
click “Confirm”
12. The nozzle
moves closer to the
hot bed

13. Put an A4 paper
between the hot
bed and the nozzle
14. Click “Adjust Z0”
15. Click “Z+” and “Z-“ to
set the distance
between the nozzle and
the hot bed to the
thickness of one layer
A4 paper
16. The distance is optimal,
when you feel a slight
friction between the nozzle
and the bed while slowly
moving the paper
backwards and forwards.
17. Click “Save”
18. Return to the
homepage

Load Filament
1. Straighten the
end of the filament
10cm. Use diagonal
pliers to cut the
end of the filament
into a bevel
2. This is how the
filament should
look after cutting
3. Push the
filament through
the PTFE tube in
the top shell
4. Push the filament
through the filament
detection sensor and
insert it into the
extruder
5. Turn on the power
6. Click “Tools” on
the homepage
7. Click “Change”
8. Click the
white input
box
9. If you use PLA
please enter 200
and click “OK”

10. Wait for the
nozzle to heat
up to 200°C,
then click “in”
11. Push down the
filaments at the
same time
12. When the
filament is
extruded from
the nozzle, click
“Stop”
First Layer Verification
1. Insert SD
card
2. Click “Print”
3. Select a test
gcode to print
4. Monitor the
extruded
filament of the
first layer
5. If the nozzle is too close or too far away from
the hot bed you can continue to adjust the height
of Z0 while printing and the adjustment will be
automatically saved
1. The nozzle is
too close to
the hot bed
2. Proper distance
3. The nozzle is
too far from
the hot bed
Filament
Filament
Filament

6. Click “Adjust Z”
7. Click “Z-0.05”
or “Z+0.05” to
adjust the
height of the Z
8. Adjust the
distance between
the nozzle and
the hot bed to a
proper distance
then click “Cancel”
9. Clean the hot bed
Install Slicing Software
1. Copy the CURA
slicing software
from the SD card
your computer
then double-click
to install
2. Select an installation
location and click “Release”
3. Wait for the
installation to complete
Auto-Levelling
done !

4. Double-click the
Cura shortcut on
the computer
desktop
5. Click “Get Started”
6. Click “Agree”
7. Click “Next”
8. Click “Next”
9. Click “Add a non-
networked printer”
10. Select
“FLSUN>Flsun
SuperRacer”
11. Click “Finish” to
complete the
installation

Printing
1. Insert the SD
card into the
card reader
2. Insert the card
reader into the
USB port of the
computer
3. Double-click to open
CURA, then click the
folder icon in the upper
left corner of the window
4. Select a supported
file the CURA supports
STL/OBJ/AMF/3DS
format files
5. Click on the marked
area in the photo to
open the slice parameter
configuration page
6. Click “Custom” to
open more parameter
configuration

1. Set the printing height of each layer, SR supports a minimum layer height of 0.05mm.
2. The thickness of the walls in the horizontal direction, this value is divided by the wall
line width defines the number of walls.
3. The number of walls when calculated by the wall thickness, this value is rounded to a
whole number.
4. The thickness of the top/bottom layers in the print.
5. The thickness of the top layers in the print.
6. The number of the top layers.
7. The thickness of the top layers in the print.
8. The number of the bottom layers.
9. Amount of offset applied to all polygons in each layer. Positive values can compensate
for too big holes, negative values can compensate for too small holes.
10. Set fill rate.
11. Set the infill patterns, when the filling density is greater than 20%, the infill pattern
should be “Lines”

12. Set the printing temperature of the nozzle, when printing PLA, due to the high speed
the nozzle temperature should be set to 220°C.
13. Set the printing temperature of the hot bed.
14. Enable retraction, to avoid stringing or oozing during printing.
15. Set the printing speed, the default printing speed of SR is 150mm/s, and the
maximum printing speed is 200mm/s.
16. Whenever a retraction is done, the build plate is lowered to create clearance
between the nozzle and the print. It prevents the nozzle from hitting the print during
travel.
17. Turn on the turbo fan. When printing a smaller model, turn on the turbo fan to
prevent the model from warping.
18. Set the fan speed.
19. Enable generate support.
20. Support placement style, “Everywhere” means that support is not only generated
from the hot bed, but also from the model itself, “Touching Buildplate” means the
support will be generated only from the hot bed.
21. Support will be generated only when the angle between the model and the vertical
direction is greater than this degree.
22. Build plate adhesion type. Select “Brim” mode to make the model better stick to the
hot bed.
7. After adjusting to
appropriate
parameters, click
“Slice”
8. Click “Save to
Removable driver”
9. Insert the SD
card into the
printer card
reader slot
This manual suits for next models
1
Table of contents
Languages:
Other flsun 3D Printer manuals
