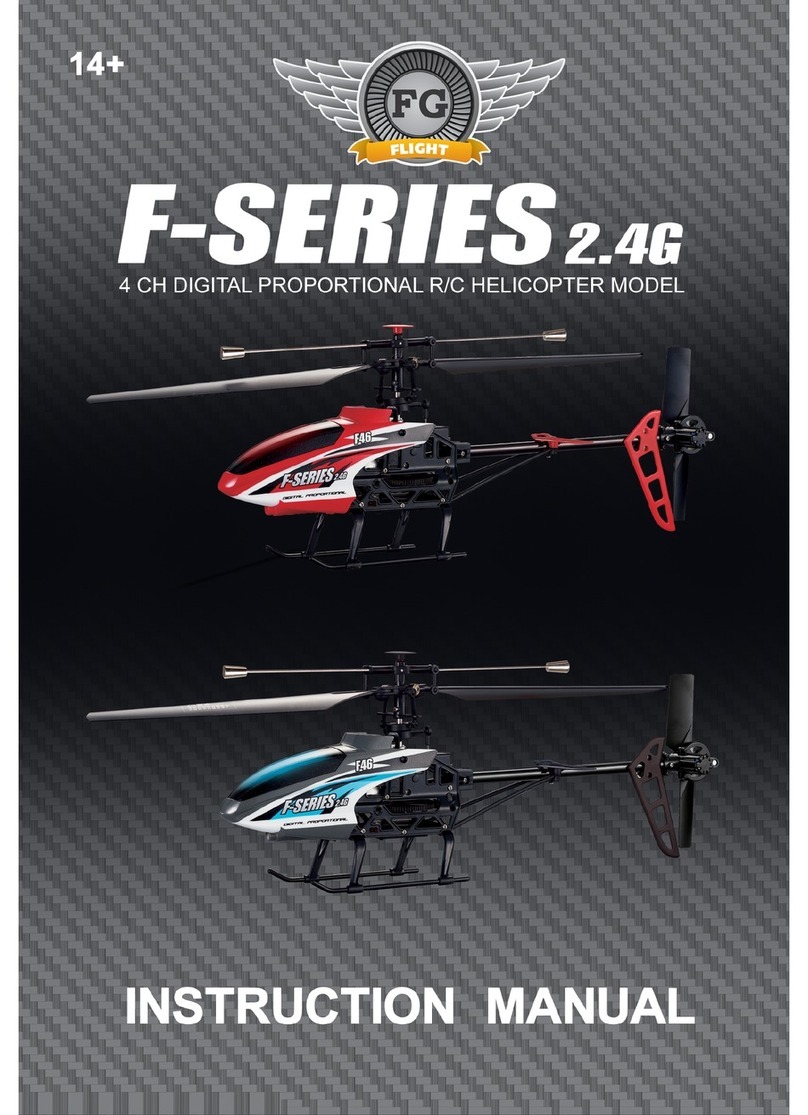
Flying Gadgets F-Series 2.4G User manual

ITEM NO.F47/F647

1
Technical parameter of the helicopter
Introduction
With a single-rotor design and built-in gyro, the helicopter is incredibly
flexible and much strong.
The newly designed body makes assembly and maintainance easy.
Using 2.4G auto connection technology, many helicopters can be
used at the same time.
With a high power capacity of a 3.7V 380mAh li-polymer battery, flight
time is approx 8 minutes.
An LCD remote control is included.
Safety Guidelines
This product is not a toy and can not be used by children who are under
14 years old.
Please read this instruction manual carefully before playing and operate
this product according to the manual.
The user is in charge of operating the helicopter. The
manufacturer and dealers disclaim all responsibility for any damage
caused by misuse.
Keep smallparts away from children to avoid accident.
Keep batteries away from fire or high temperatures.
When flying the helicopter, keep it 1~2 meters away from you or others
to avoid injury due to collision.
Do not modify the product which may cause a malfunction
or accident.
Fly the helicopter within your vision at all times.
Adult supervision is necessary when being used by children.
Only batteries of the same or equivalent type as recommended are to be
used.
Insert batteries with the correct polarity.
Non rechargeable batteries are not to be charged; the transmitter needs
4XAA batteries (not supplied).
Do not mix old and new batteries.
Gross Weight: about 49g
Motor: N30
Tail Rotor Diameter: 50MM
Battery: Li-polymer 3.7V
Fuselage Length:235MM
Overall height: 80MM
Gear Ratio: 8:1 Charging Time: about 70 minutes
Main Rotor Diameter: 225MM
Thank you for purchasing this Flying Gadgets product. Please read this
manual carefully before use and retain it for future reference.

2
The LCD Remote control
Remote Controller
(Transmitter)
1
2
Product/spare parts included in this packaging
Description
Left stick
Right stick
3Trimmer A
Helicopter 1
1
2
1
2
Remote controller
Rotor blade
Manual
3.7V 380mAh li-polymer battery
Qty(pc) Description Qty(pc)
1. Left stick
11. Throttle changing
button (Left)
11. Throttle changing
button (Right)
7. Power switch
8. Antenna
9. Power indicator
2. Right stick
3. Trimmer A
4. Trimmer B
5. Trimmer C
10.Throttle limit knob
12.flight mode
changing button
13.aileron/rudder
changing button
6. Trimmer D
No. Function switch Function description
Main features of the remote control
Sketch and function switches of the remote control
Tail Rotor 1
USB charger 1
POWER
The 2.4Ghz, LCD remote control, allows many helicopters to be used at the same time.
Control function: upwards, downwards, forwards, backwards, left, right,
spinning left and spinning right, video and photography.
Controls can be switched between either mode 1 or 2.
STICK MOD2:upward/downward,turn left/turn right;
STICK MOD4:upward/downward,left/right.
STICK MOD1:forward/backward,turn left/turn right;
STICK MOD3:forward/backward,left/right.
STICK MOD1: upward/downward,left/right;
STICK MOD3: upward/downward, turn left/turn right;
STICK MOD2: forward/backward,left/right;
STICK MOD4: forward/backward,turn left/turn right.
In stick Mod 2 and 4, this button is null.
In stick Mod 1and 3, it helps to tune the helicoper's
forward and backwards flight.

3
4
No. Function switch Function description
Trimmer B
5 Trimmer C
6 Trimmer D
7
8
Power switch
Antenna
9Power
indicator
Transmits wireless signal.
10 Throttle limit
knob
11
12
13
Throttle
changing button
aileron/rudder
changing button
flight mode
changing button
Remote control settings
Select the throttle control stick
There is 1 throttle button on either side of the remote control.
Slide both of the 2 buttons to "R", the right stick is the throttle control stick.
Slide both of the 2 buttons to "L", the left stick is the throttle control stick.
Tip: both of the 2 buttons should be either on the position of "R" or "L",
otherwise, the remote control can not be activated.
In stick Mod 3 and 4, it helps to tune the helicopter's
sidewards flight.
In stick Mod 1 and 2,it helps to tune the helicopter's
left and right direction spinning speed.
In stick Mod 3 and 4, it helps to tune the helicopter's
left and right direction spinning speed.
In stick Mod 1 and 2,it helps to tune the helicopter's
sidewards flight.
In stick Mod 1 and 3, this button is null.
In stick Mod 2 and 4, it helps to tune the helicoper's forward
and backwards flight.
It controls the power source of the transmitter.Slide
the power switch to the “ON” position, the transmitter
is powered on; slide the power switch to the “OFF”
position, the transmitter is powered off.
The indicator light keeps blinking slowly: the transmitter
is not activated.
The indicator light keeps flashing rapidly: the transmitter
is sending out a connection signal to the helicopter.
The indicator light keeps on without blinking: the
transmitter is connected to the helicopter.
The throttle of the helicopter can be adjuted by this button,
the user can use this button to increase or decrease the
helicopter's upwards/downwards speed.
Slide down or slide up the 2 buttons at the same time
to select the throttle mode
There are 3 flight modes of the helicopter: low speed, medium
speed and maximum speed.
Also named Stick Mode changing button.Press this button
to change the control stick mode.

4
STICK MOD:1 STICK MOD:2
PUSH
EXIT/
LIGHT
MENU/
OK
POWER
键键
PUSH
EXIT/
LIGHT
MENU/
OK
POWER
键键
Pic.3 Pic.4
Forwards/
Backwards
control
Forward/
Backwards
control
Forwards/
Backwards
control
Forwards/
Backwards
control
Throttle
control
Throttle
control
Throttle
control
Throttle
control
Left/Right
spinning
control
Left/Right
spinning
control
Left/Right
spinning
control
Left/Right
spinning
control
Left/
Right
control
Left/
Right
control
Left/
Right
control
Left/
Right
control
STICK MOD:3 STICK MOD:4
PUSH
EXIT/
LIGHT
MENU/
OK
POWER
键键
PUSH
EXIT/
LIGHT
MENU/
OK
POWER
Pic.5 Pic.6
When the left stick controls the throttle, press the AILE/RUDD button to
select the Mode( Mode 4 or Mode 2).
There are 3 flight modes available: low speed, medium speed and maximum
speed.Users can select the flight speed by pressing the flight mode button.
When the right stick controls the throttle, press the AILE/RUDD button to
select the Mode( Mode 1 or Mode 3).
Stick Mode Selection
Flight mode selection
PUSH
EXIT/
LIGHT
MENU/
OK
PUSH
EXIT/
LIGHT
MENU/
OK
Pic.1 Pic.2
Activate the LCD remote control
There are 4 flight modes available for selection: Stick Mod 1 (Pic.3)
Stick Mod 2 (Pic.4) Stick Mod 3 (Pic.5) Stick Mod 4 (Pic.6)
Slide the power switch to the "ON" position after you have chosen your
throttle mode selection. To activate the remote control, slowly push up the
throttle stick to the top and then push it down to the bottom.
The remote control is activated once a beep sound is heard. The indicator
light will keep flashing whilst the remote control is sending out a connection
signal. It takes about 10 seconds to connect. After the helicopter and the
remote control are connected, the indicator light on the controller remains
"ON”. The user can turn either the left stick or the right stick to skip the
connection process and enter into the start-up interface directly.

5
This is the low speed icon. This is the medium speed icon. This is the maximum speed icon .
Pic.8
Pic.7 Pic.8 Pic.9
How to charge the helicopter
PUSH
EXIT/
LIGHT
MENU/
OK
PUSH
EXIT/
LIGHT
MENU/
OK
PUSH
EXIT/
LIGHT
MENU/
OK
CH
STICK MOD
00
12
CH
STICK MOD
00
12
CH
STICK MOD
00
12
The helicopter
This helicopter comes with a USB charger.
Before charging,disconnect the battery power plug from
the helicopters PCB cable plug.Then, connect the battery power plug to the
USB cable and insert the USB plug into any equipment with a
USB input.
When charging the battery, the charging light of the USB will be off;
when the battery is fully charged, the charging light of the USB will be on.
A full charge takes about 70 minutes.
connector stabilizer bar
Tail motor
rotor blade
battery connector
battery compartment
landing gear
Computer
When not using the model, turn it off and unplug the battery cable from the
socket. If you keep it connected it will discharge. Take out the batteries
from the remote control if not using the model for some time.

6
Turn on the remote control. To activate the remote control,slowly
push up the throttle stick to the top and then push it down to the bottom.
The remote control is activated once you hear a beep.Then the
indicator light will flash rapidly whilst the remote control is sending out
a connectional signal.
Connect the battery plug to the helicopter battery cable,the indicator
light of the helicopter will flash slowly,place the helicopter down on a
flat platform. Once the helicoter receives the connection signal,the
indicator light on the helicopter will flash rapidly
Preparation for flight
push up the throttle stick slowly to take off the helicopter.
If the helicopter is flying slightly to one side, use the trimmer
button to stop it.
Check and regulate the swashplate of the helicopter
(1) If the swashplate is slightly inclined, use the trimmer
button on the remote control to move the swashplate to the horizontal.
(2) If the swashplate is greatly inclined, then it is better to
change the length of the servo connecting bar to move the swashplate
to the horizontal. Please follow these instructions:
This product comes with a battery, please pay attention to the following
safety instructions:
Only use the charger provided to charge the battery.
When charging the battery: If the battery becomes too hot, then the battery is
overcharged. If this is the case then stop charging the battery. As over charging will
damage the battery.
Always supervise the charging of the battery.
Do not take the battery apart.
After flying the model the battery will be hot.
Wait for about 30 minutes for the battery to
cool down before recharging.
If you are planning on leaving the model for
sometime and not using it.Then charge it for about
1 hour before storing it away.
The swashplate of the helicopter should be kept horizontal, otherwise, the helicopter will fly
forwards/backwards/left/right on its own without any control signal.
Therefore it is very important to check and confirm that the swashplate is horizontal before
flying the helicopter. There are two ways to make the swashplate horizontal.
This manual suits for next models
1
Table of contents
Other Flying Gadgets Toy manuals
