EASTCOLIGHT RC Spider User manual

RC Spider
Warning! Not suitable for children under 36 months. Choking hazard. Only for use by
children over 8 years old. To be used solely under the strict supervision of adults that have
studied the precautions given in the experimental set. Hair entanglement may result if the
child’s head is too close to the motorized unit of this toy. This toy contains functional sharp
point –on the component leads. Do not short-circuit the battery terminals and motors, which
may cause overheating. Do not lock the motor or other moving parts, which may cause
overheating. Use with care and only under supervision of adult.
Packaging materials are not toys. Please remove all packaging and packing tags/wires before
giving this toy to your child.
CAUTION!Take extra care during unpacking and use.
Please take note: As an extra precaution, check this toy regularly for signs of wear or damage.
Read the instructions carefully before use, then follow them and keep them for reference.
Warning! Do not short-circuit the battery terminals and motor, which may cause
overheating. The wires are not to be inserted into socket outlets.
Batteries required: 6 x AAA/LR03 (Not included)
IMPORTANT: Keep these instructions. DO NOT DISCARD.
1. Only adults should install and replace batteries.
2. Alkaline batteries are recommended.
3. If the device has not been used for a long time, remove the batteries.
4. Do not use rechargeable batteries.
5. Do not mix old and new batteries.
6. Do not mix alkaline, standard (carbon zinc) or rechargeable (nickel cadmium) batteries.
7. Exhausted batteries are to be removed from the toy.
8. Non-rechargeable batteries are not to be recharged.
9. The supply terminals are not to be short-circuited.
10. Only batteries of the same or equivalent type as recommended are to be used.
11. Batteries are to be inserted with the correct polarity.
12. Do not dispose of batteries in fire, batteries may explode or leak.
13. Batteries may explode or leak if misused.
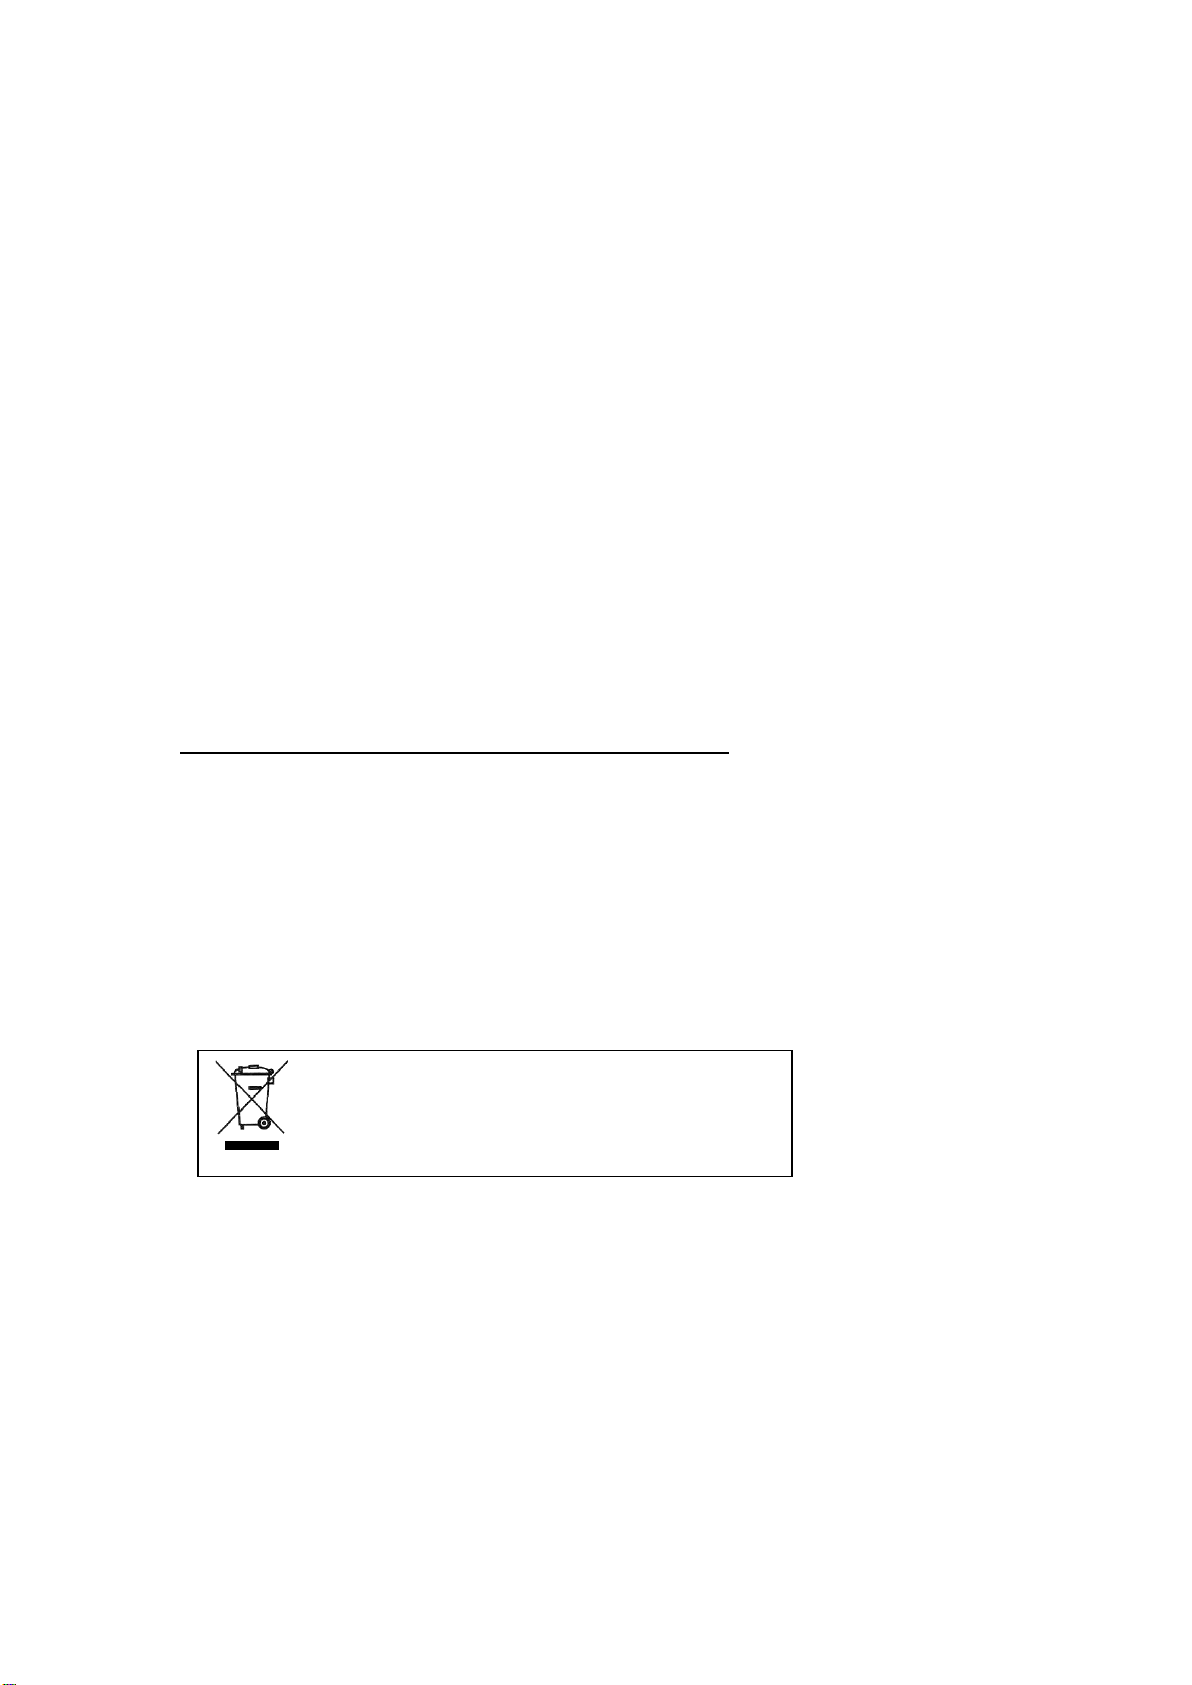
If at any time in the future you should need to dispose of this
product please note that Waste electrical products should not be
disposed of with household waste. Please recycle where facilities
exist. Check with your LocalAuthority or retailer for recycling
advice.(Waste Electrical and Electronic Equipment Directive)
Item No. 28114

Introduction
Almost every modern home has one or more remote control device, such as television
or CD player. There are two major types of remote control, depending on the
transmission signal used.
This RC robot uses the first type: infrared light (IR). It is commonly used for TV and
home appliance control because of lower cost and it will not interfere with other radio
devices. However, the range is short and the remote control must point at the device.
In other words, the device must be able to “see”the control signal from the remote.
Furthermore, it does not work well outdoors because the infrared part of sunlight will
interfere the sensor.
The other type of remote control uses radio wave, it is often used in car security alarm,
radio controlled planes and video game consoles, etc. They have the advantages of
longer range, and will not be blocked by walls and objects in between. However, they
are more expensive and may interfere with other radio devices.
How does a remote control work?
Most control remotes for electronic appliances use a near infrared diode to emit a
beam of light that reaches the device. This infrared light is invisible to the human eye,
but picked up by sensors on the receiving device. Video cameras see the diode as if it
produces visible purple light. The sensor converts the light pulses into electrical signal
and passes it to the microprocessor which decodes them as commands, for example,
to turn left or move forward.

Components:
1 Chassis x1
2 Transmission shaft x2
3 Short lever x4
4 Long lever x2
5 Switch cap x1
6 Circuit board x1
7 Switch x1
8 leg x6
9 Antenna part x4
10 Body frame x1
11 Body top x1
12 Long screw x6
13 Short screw x12
14 Battery box x1
15 Remote control x1
16 Foot x6
17 Screwdriver x1
Steps:
1. Combine the antenna parts (9). (Fig.
2)
2. Insert the antennae to the body frame
(10). (Fig. 3)
3. Install the body top (11) over the
body frame (10). (Fig. 4)
Fig. 2
Fig. 3
Fig. 4
17

4. Attach the transmission shafts (2),
the long lever (4) and short lever (3)
to the leg (8) using the long screw
(12) as shown in Fig. 5. Use the
screwdriver (17) to help you. The
screw should be tightly attached to
the shaft but still allows the leg and
the levers to rotate freely. Note that
the long lever should be in between
the transmission shaft and the short
lever. Repeat by using another leg.
5. Add a leg (8) to the short and long
lever using the short screws (13), as
shown in Fig. 6. Repeat to assemble
the other set of legs.
6. Attach another short lever (3) to the
middle leg using a short screw, as
shown in Fig. 7. Repeat for the other
side.
7. Install the legs assembled in the
previous step to the chassis (1) using
the long screws (12)and screwdriver
as shown in Fig. 8. Make sure the
screws are firmly secured to the
chassis but still allow the legs to
move freely.
Fig. 5
Fig. 6
Fig. 7
8
4
3

8. Attach the feet to the legs using the
remaining short screws as shown in
fig. 9.
9. Cover the switch (7) with the cap (5).
Install the battery box (14), the
switch (7) and the circuit board (6)
on the chassis. See Fig 10.
10. Connect the different plugs to the
circuit board:
i. Battery - socket “BAT”
ii. Right motor - socket “M1”
iii. Left motor –socket “M2”
iv. Switch - socket “SW1”.
See Fig. 11.
11. Use the screwdriver (17) to loosen
the screw in the battery compartment
door of the battery box (14), install 3
AAA batteries according to the
polarity mark. (Fig. 12) Replace the
door and tighten the screw. Similarly,
install 3 AAA batteries into the
remote control (15) as shown in Fig.
13.
Fig. 8
Fig. 9
Fig. 10
Fig. 11
Fig. 12
Fig. 13

12. Attach the body frame (10) in step 3
onto the chassis, as shown in Fig. 14.
Done!
13. There is a channel select switch on
the circuit board and the remote
control. The remote control must be
set to the same channel (1, 2 or 3) as
the robot to be able to control it. If
you are playing with your friends,
each must choose a different channel
so that one will not interfere with the
other units. (Fig. 15)
14. Push the red power button on the
robot and the triangle button (A) on
the remote control to turn it on. Point
the remote control towards the unit.
Push both control sticks of the
remote control forward or backward
at the same time to move it in
straight line. Move them in opposite
directions to make a turn. (Fig. 16)
Channel 1
Channel 2
Channel 3
Fig. 14
Fig. 15
Fig. 16
This manual suits for next models
1
Table of contents
Other EASTCOLIGHT Toy manuals