FOREWORD
BASIC PARAMETER
Wingspan ------------------------------------- 950mm
Fuselage total length ---------------------- 1000mm
Wing loading ------------------------------ 36g sq.dm
Main wing area ---------------------------- 182sq.dm
Flying weight ------------------------------------ 620g
Rate of push and weight ------------------------- 0.8
----------------------------------------- 950mm
--------------------------------------- 1000mm
---------------------------------- 36g sq.dm
---------------------------------- 18sq.dm
-------------------------------------- 620g
------------------------------------------- 0.8
BASIC COLLOCATION
- 1 -
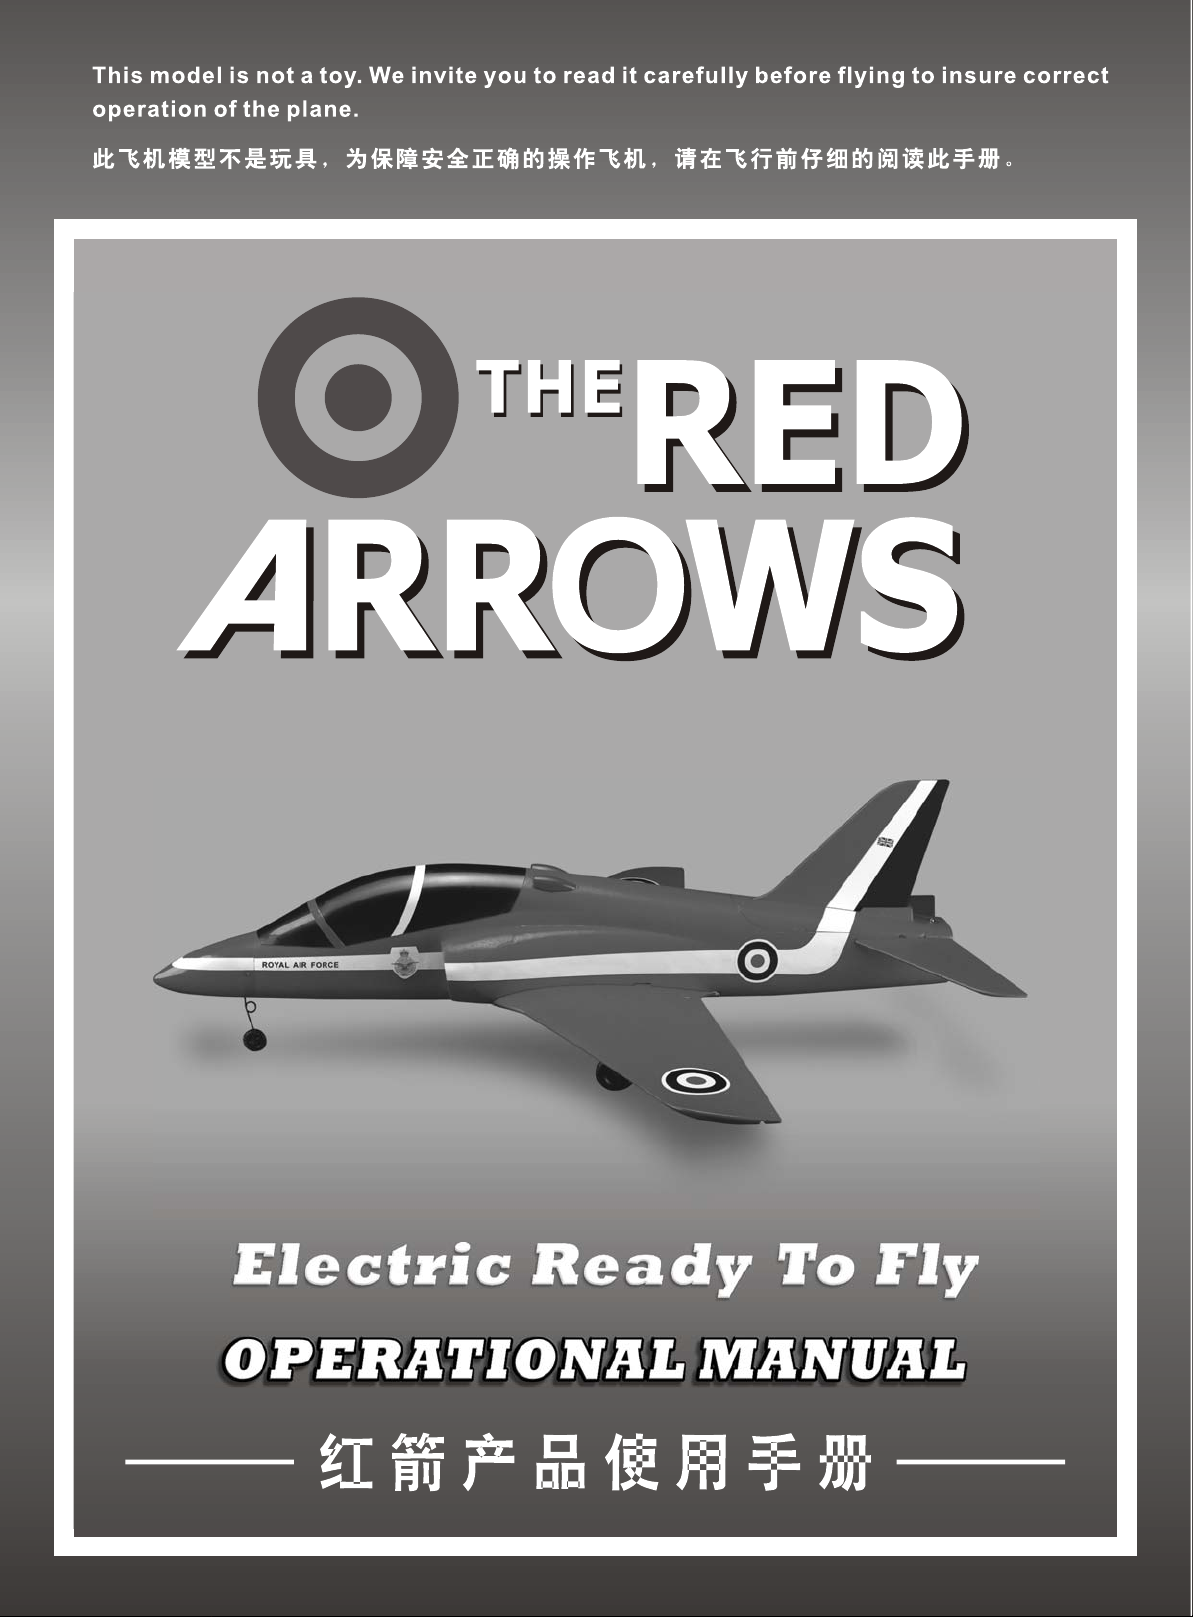
" " BAE HAWK
B2040
SAPAC 3S 1800MAH 12C
"Red Arrows" is Scale Electric Ducted Fan Jet Airplane which developed independently by SAPAC as English
astronavigation "BAE HAWK". The design is both stylish and elegant. The appearance is not only beautiful,
the importance it causes the low resistance. It makes the aerodynamic performance more excellent! The
"Red Arrows" uses the B2040 in-runner brushless motor and ducted fan of SAPAC as the power, matching
with 3S 1800MAH 12C Li-Po battery. The power is strong, electricity is economical, assembling of parts is
simple, function is stable and reliable, and maintenance is convenient.
----------------------------------------- 4
----------------------------------- 6
--------------------------------- 8g
--------------------------------------------- 25A
------------------------------- B2040 KV4300
---------------------------- 3S 1800MAH 10C
-------------------------------------- 6 64MM
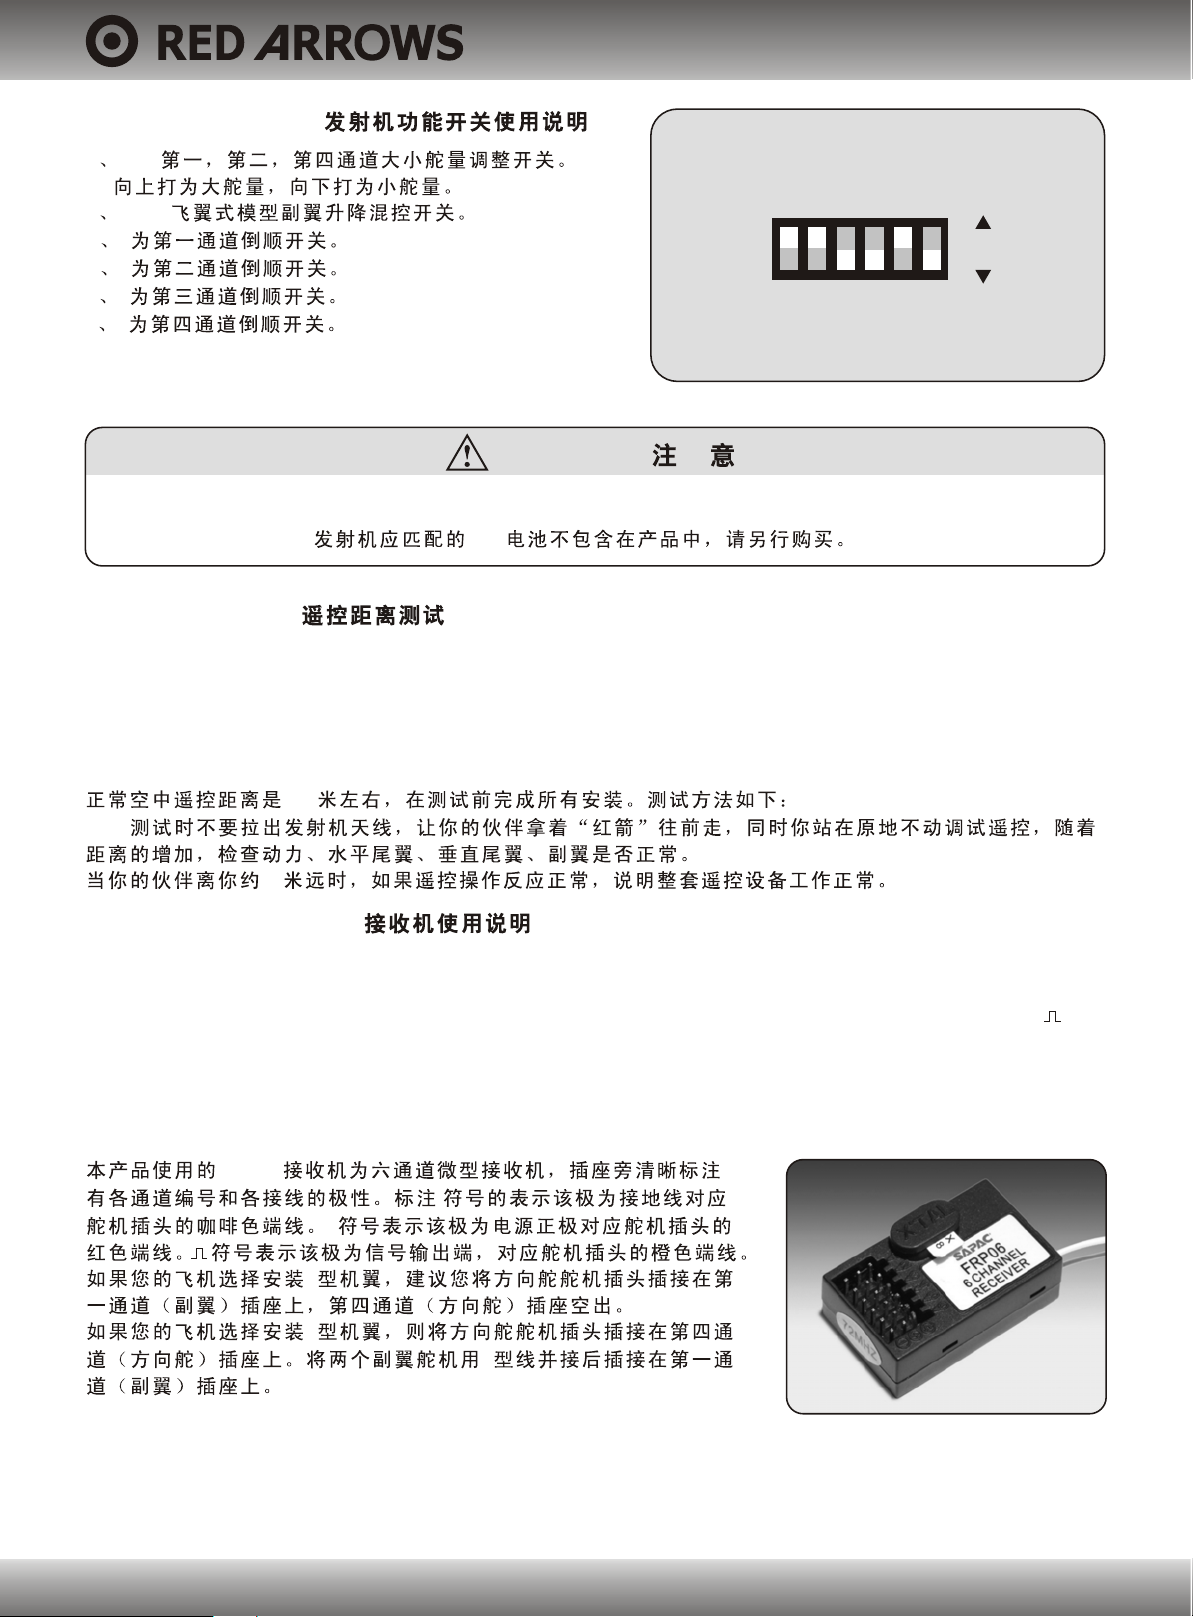
Transmitter ------------------------------- 4 channels
Receiver ---------------------------- Mini 6 channels
Servo ----------------------------------------- 8g servo
ESC ------------------------------------------------ 25A
Motor --------------------------------- B2040 KV4300
Battery ---------------------------- 3S 1800MAH 10C
Fan ---------------------------------- 6 paddles 64MM
MAIN CHARACTER
1. Excellent simulation, Classical Red Arrows decals, Perfect appearance, It even can become as an
outstanding artwork.
2. Red Arrows is suit for the intermediate and senior level amateur, the flying speed is quick and stability
is outstanding, regardless the high or low speed . The Anti-wind performance is good, you can take off the
Radio Control system completely when up-wind flight. It is lighter than the same size and style airplane
model .Moreover the lifting force is strong, glide is extremely stable. It can finish loops, inverted flight and
rolls and other aerobatics easily.
3. The entire fuselage uses the modulation structural design. Assembly is simple, function is stable and
reliable, and maintenance is convenient.
""
""
1.
2.
3.
,