3 4
Vacuum Packaging & Food Safety
The vacuum packaging process extends
the life of foods by removing most of the
air from sealed zipper bags and containers,
thereby reducing oxidation, which affects
nutritional value, flavour and overall quality.
Removing air can also inhibit growth of
micro-organisms, which can cause problems
under certain conditions:
Mould – Easily identified by its fuzzy
characteristic. Mould cannot
grow in a low oxygen environment;
therefore vacuum packaging can
slow the growth of mould.
Yeast – Results in fermentation, which can
be identified by smell and taste.
Yeast needs water, sugar and a
moderate temperature to grow. It
can also survive with or without
air. Slowing the growth of yeast
requires refrigeration, while freezing
stops it completely.
Bacteria – Results in an unpleasant
odour, discoloration and/or
soft or slimy texture. Under the
right conditions, Clostridium
botulinum (the organism that
causes Botulism) can grow
without air and sometimes
cannot be detected by smell or
taste. Although it is extremely
rare, it can be very dangerous.
To preserve foods safely, it is critical that
you maintain low temperatures.
It is important to note that vacuum
packaging is NOT a substitute for canning
and it cannot reverse the deterioration of
foods. It can only slow down the changes
in quality. It is difficult to predict how
long foods will retain their top-quality
flavour, appearance or texture because
it depends on the age and condition of
the food on the day it was vacuumed
packaged.
Food Safety Warning
Use fresh, perishable foods soon after
purchase. Even under proper storage
conditions, foods lose freshness and
nutritive value if they are stored too long.
Food Preparation Tips
Hard Cheeses:
To keep cheese fresh, vacuum package it
after each use.
IMPORTANT: Soft cheeses should never
be vacuum packaged.
Baked Goods:
To vacuum package soft or airy baked
goods, we recommend using a FoodSaver®
Container so they will hold their shape.
Accessories
Get the most out of your FoodSaver®
appliance with easy-to-use FoodSaver®
Bags, Containers and Accessories.
FoodSaver®accessories are available
through the consumer service number as
listed on the back page of this user guide.
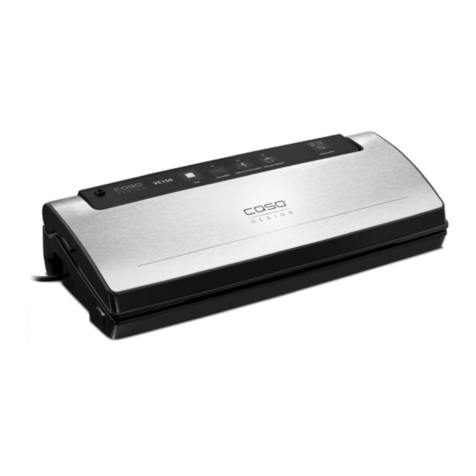
Charging Your Handheld Vacuum
Appliance: Before using the appliance
for the first time please charge it for at least
24 hours. Failure to do so will reduce the
product’s battery life. The charge Indicator
Light remains illuminated when the appliance
is plugged in.
IMPORTANT: Should liquid be collected in
the reservoir, stop vacuuming and clean it
frequently for smooth operation.
Sealing FoodSaver®
Vacuum Zipper Bag
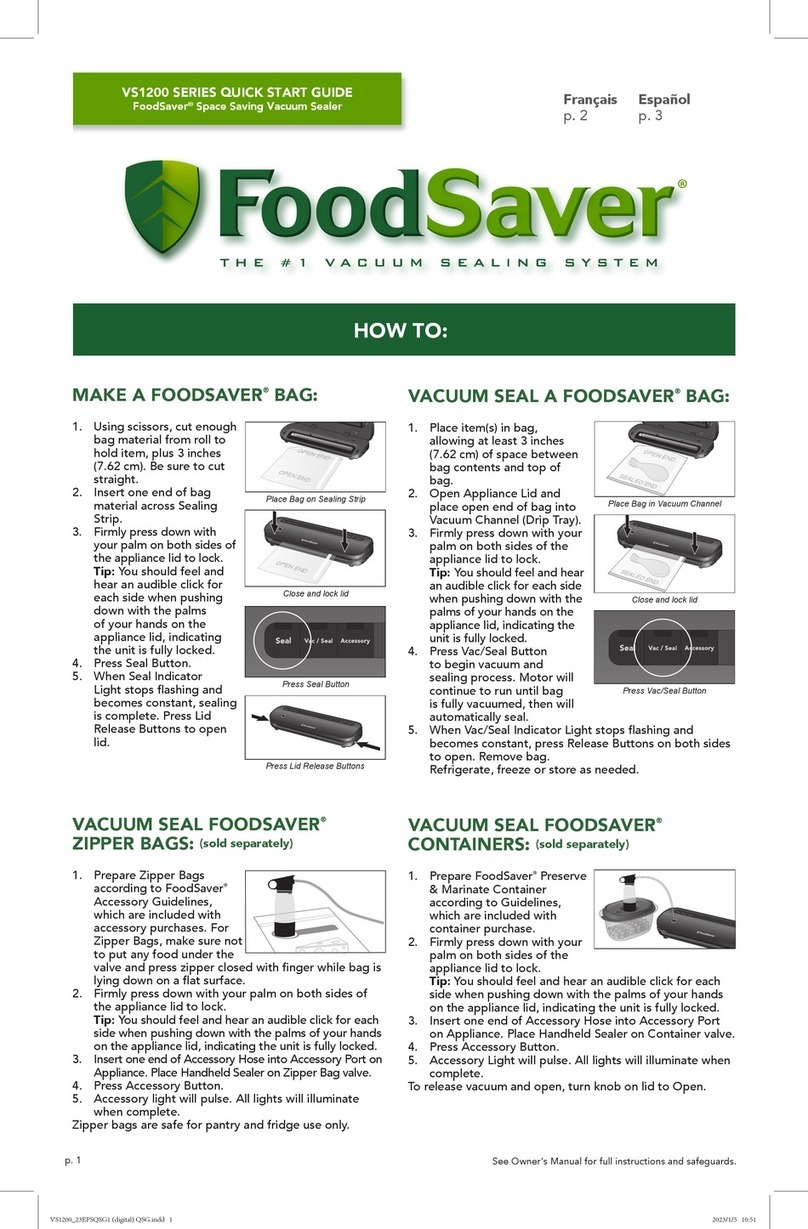
Step 1: Fill and Seal Bag
Place food in FoodSaver®Vacuum Zipper
Bag. Lay the Zipper Bag flat with the grey
circle facing upwards press zipper firmly to
start seal. Slide fingers across the zipper to
close the bag.
Step 2: Remove Air from Bag
Press FoodSaver®Vacuum Sealer over the
grey circle on the bag and gently press the
Green “Start” button.
Step 3: Refrigerate
Place the bag with food into the refrigerator
or pantry.
*Bags are not intended for liquids.
Sealing FoodSaver®
Containers (not included)
Step 1: Fill and Close
With FoodSaver®Container on a flat surface
– Place food in Container. Set lid on top and
apply pressure with both hands to snap
into place to prepare for vacuum sealing.
Step 2: Attach FoodSaver®Container
Adapter to bottom of Vacuum Nozzle by
pushing into bottom as shown.
Step 3: Evacuate Air
With the container adapter attached, place
the vacuum nozzle tip over the grey valve on
container lid. Press “Start” Button on unit
and evacuate for 10 seconds. The Container
is now ready to be stored. Look for the
dimple at the centre of the grey valve – it
tells you that air has been removed from
the container.
Step 4: Release Vacuum
To release the vacuum in the Container,
simply release the Vacuum Valve/Air Release
Flap by gently lifting the tab.
Guidelines for vacuum packaging Instructions
FSFRSH0050-073_13ECM2.indd 3-4 1/18/13 10:11 AM


