manuals.online logo
Brands
  1. Home
  2. •
  3. Brands
  4. •
  5. FormFit
  6. •
  7. Automobile Accessories
  8. •
  9. FormFit HD 29R11 User manual

FormFit HD 29R11 User manual

Rev0.Nov15, 2016 Page 1of 5
PARTS LIST/ LISTE DES PIÈCES
Installation tape measure
Ruban installation
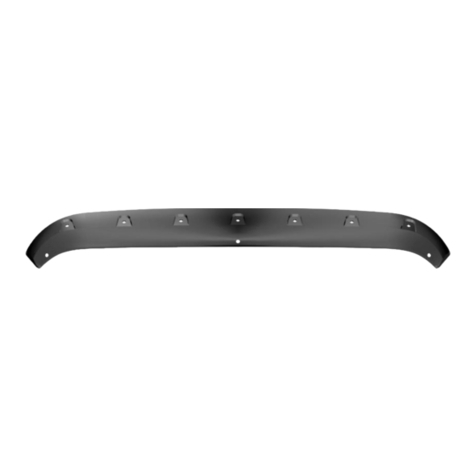
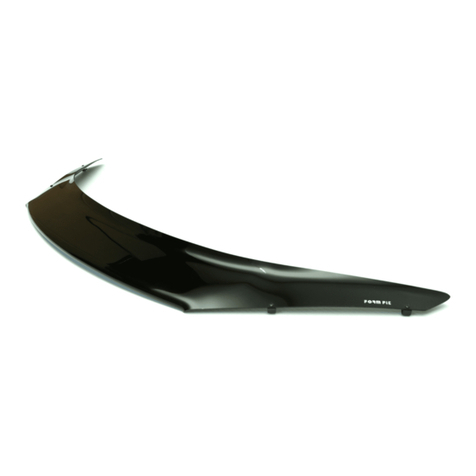
Hood protector
Déflecteur de capot
Large pedestals (3)
Piédestaux adhésifs grande (3)
Small pedestals (4)
Corps d'agrafe petit (4)
Pins (7)
Goupilles (7)
Screws (7)
vis (7)
Anti-abrasion pads (7)
Pads anti-abrasion(7)
Small metal mounting bracket (4)
Supports en métal Petit (4)
Large metal mounting brackets (3)
Supports en métal grande (3)
Bumpons (2)
Surface cleaner (2)
Nettoyant de surface (2)
Re-usable tape strips (1)
Réutilisables bandes de ruban (1)
TOOLS AND SUPPLIES REQUIRED
Long Shank Phillips Screwdriver #2
Masking Tape
Clean cloth or paper towel
OUTILS ET FOURNITURES NÉCESSAIRES
Longue tige tournevis cruciforme # 2
Ruban adhésif
Chiffon propre ou une serviette en papier
INSTALLATION
Ensure the vehicle is clean and completely dry before installation.
This product uses a 3M adhesive that requires installation and curing
temperatures of 15° to 43°C (60° to 110°F) for 1 hour to develop maximum
adhesion to the hood surface. Failure to install this product at the proper
temperature or allow adequate curing time before use is not covered under
warranty.
Proper installation of the adhesive pedestal system requires the use of a #2
Phillips screwdriver, preferably with a long shaft. The shaft of the
screwdriver needs to fit through the hole in the pedestal. Use of the correct
screw driver will facilitate a trouble free installation. Do not attempt to use
#1 or smaller Phillips screwdriver or any type of electric screwdriver.
CARE
Hand clean the protector using a mild soap and water solution or plastic
cleaner only.
Avoid automatic car-wash equipment where a brush and/or soft cloth come
in contact with the hood protector. Touch-less style automatic car-wash
equipment is less likely to harm the hood protector.
SERVICE
Periodically check to confirm the protector is securely attached to the hood.
WARNINGS
Do not pull / push on the protector when opening / closing the hood.
NOTE
On some vehicles it may be necessary to adjust the hood bumpers and/or
latch for proper clearance.
INSTALLATION
S’assurer que le véhicule est propre et complètement sec avant
l'installation
Ce produit utilise un adhésif 3M qui exige l'installation et des températures
de durcissement de 15 ° à 43 ° C (60 ° à 110 ° F) pendant 1 heure pour
développer une adhérence maximale à la surface du capot. Ne pas installer
ce produit à la bonne température ou laisser le temps de séchage adéquat
avant utilisation n'est pas couvert par la garantie.
L'installation correcte du système de piédestal adhésif exige l'utilisation
d'un tournevis à tête étoilée no2, préférablement à jambe longue. La jambe
longue doit s'ajuster dans le piédestal à travers le trou. L'utilisation du
tournevis approprié facilitera une installation sans problème. Ne pas tenter
d'utiliser le tournevis no1 ou un plus petit tournevis à tête étoilée, ou
n’importe quel type de tournevis électrique.

SOINS
Main nettoyer le protecteur en utilisant un savon doux et de l'eau ou un
nettoyant plastique seulement.
Évitez l'équipement automatique de lavage automobile où une brosse et /
ou un chiffon doux entrent en contact avec le protecteur de la hotte.
Équipements de lavage automobile automatique Touchez-moins de style
est moins susceptible de nuire à la protection de la hotte.
SERVICE
Vérifiez périodiquement pour confirmer le protecteur est solidement fixé à la
hotte.

MISES EN GARDE
Ne tirez pas / push sur le protecteur lors de l'ouverture / fermeture du
capot.
REMARQUE
Sur certains véhicules, il peut être nécessaire d'ajuster le pare-chocs du
capot et / ou de verrouillage pour un dégagement adéquat.
Hood Protector
Installation Instructions
HD 29R11
Mitsubishi RVR 2011-up
Rev0.Nov15, 2016 Page 2of 5
1. Assemble the installation tape measure as shown in the
illustration.
Assembler l'installation comme indiqué dans l'illustration.
2. Using masking tape or repositionable tape strips supplied, dry fit a
large adhesive pedestal at the center of the hood.
NOTE: The fingers incorporated on the leading edge of the pedestal
ensure the correct position relative to the hood edge. When correctly
positioned the fingers should contact the leading edge of hood.
Use the installation tape measure to confirm center by measuring to
opposite corners of the hood and adjust pedestal until both
measurements are identical.
Avec du ruban adhésif ou des bandes de ruban repositionnables
fournis, sécher s'adapter au grand piédestal adhésif au centre du
capot.
REMARQUE: Les doigts sont intégrés à la fine pointe de la colonne
d'assurer la bonne position par rapport au bord de la hotte. Lorsqu'il
est correctement positionné les doigts doivent contacter la fine
pointe de la hotte.
Utilisez le ruban de l'installation pour confirmer centre en mesurant
deux coins opposés de la hotte et ajuster piédestal jusqu'à ce que
les deux mesures sont identiques.
The positions of the pedestals are shown in the illustrations. Use
the center mark on the leading edge of the pedestals for accurate
measuring. The fingers incorporated on the leading edge of the
pedestal will help ensure the correct position relative to the hood
edge. When correctly positioned the fingers should contact the
leading edge of the hood.
Les positions des piédestaux sont représentées dans l'illustration.
Utiliser la marque de centre à la fine pointe des socles pour une
mesure précise. Les doigts sont intégrés à la fine pointe du socle
aideront à assurer la bonne position par rapport au bord de la
hotte. Lorsqu'il est correctement positionné les doigts doivent
contacter le bord d'attaque du capot.
3. Using the repositionable tape strips, temporarily attach the four
(4) small adhesive pedestals at the locations indicated in the
illustration.
En utilisant les bandes de ruban repositionnables, fixer
temporairement les quatre (4) petits socles adhésifs à l'endroit
indiqué sur l'illustration.
* Tape measure is always located below the measuring point*
* Ruban à mesurer se trouve toujours en dessous du point de mesure.*
Rev0.Nov15, 2016 Page 3of 5
4.Using the repositionable tape strips, temporarily attach the two (2)
large adhesive pedestals at the locations indicated in the
illustration.
En utilisant les bandes de ruban repositionnable, fixer
temporairement les deux (2) grands socles adhésifs à l'endroit
indiqué dans l'illustration.
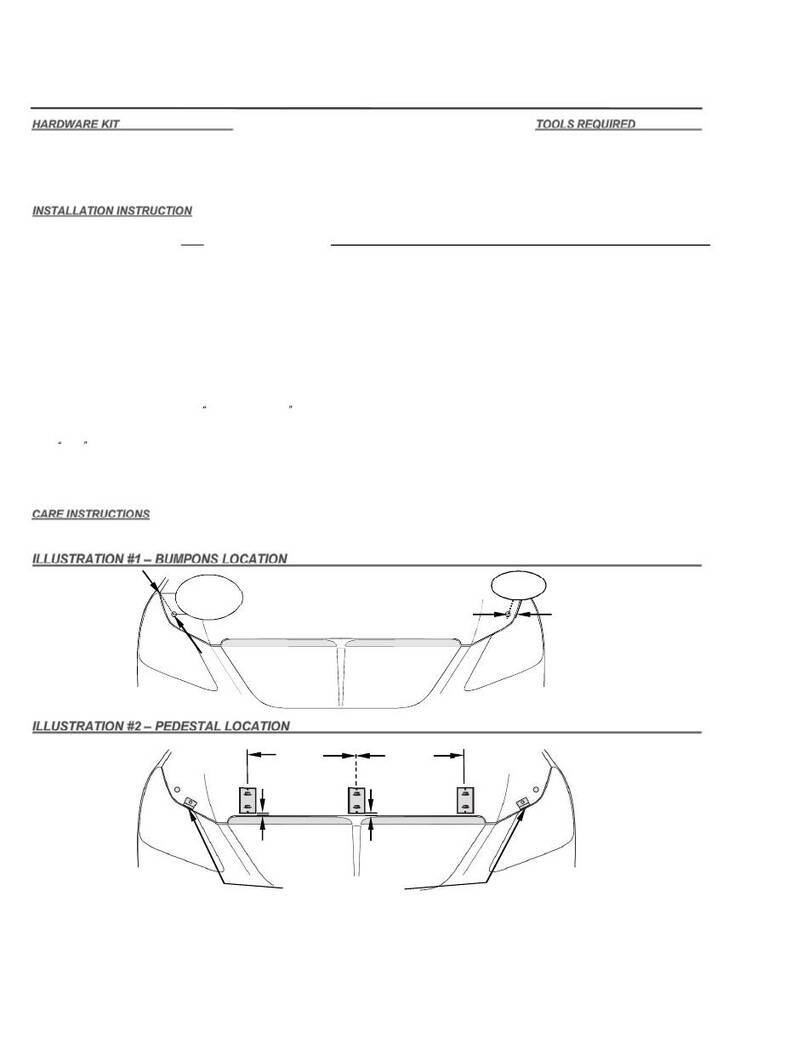
5. Mount two (2) Bumpons as indicated in the diagram. Note-
Bumpons must be mounted to the hood surface. If they are
mounted to the hood protector they will wear through the
paint.
Montez deux (2) Bumpons comme indiqué sur le schéma.
Attention - Bumpons doivent être montés à la surface du
capot. Si elles sont montées sur le capot de protection qu'ils
porteront à travers la peinture.
6.Remove the hood protector installation tape measure.
Place the hood protector on the pedestals to confirm
proper positioning. Ensure the holes in the protector
align with those in the pedestals. If necessary,
reposition the pedestals so all attachment positions are
correct and the protector is well centered.
Retirer le ruban à mesurer d'installation capot de
protection en desserrant la vis et retirer la broche.
Placez le déflecteur de capot sur les socles pour
confirmer le bon positionnement. Assurer les trous du
déflecteur aligné avec celles des caissons. Si
nécessaire, repositionner les socles afin que tous les
postes d'attache sont corrects et le déflecteur est bien
centré.
7.Remove the hood protector, and outline the perimeter of
the pedestals with masking tape or the re-usable tape strips
supplied to help final installation.
Retirer le déflecteur de capot, puis délimiter le périmètre
des piédestaux avec du ruban-cache ou de la bande de
ruban repositionnable pour l'installation finale.
Rev0.Nov15, 2016 Page 4of 5
8.Remove the pedestals and thoroughly clean the outlined area
with the alcohol wiping pad. Wipe dry with a clean cloth or
paper towel. This will insure all wax, finger prints and oils are
removed from the hood surface in the bonding area.
Important! Proper preparation of the hood surface will
ensure maximum adhesive bond.
Retirez le piédestal et nettoyez soigneusement la zone
délimitée avec le tampon d'alcool d'essuyage. Essuyer avec un
chiffon propre ou une serviette en papier. Ceci assurera toute
trace de cire, les empreintes digitales et les huiles sont retirées
de la surface du capot dans la zone de collage.
Important! Une bonne préparation de la surface du
capot assurera une adhérence maximale de l'adhésif.
9. One pedestal at a time, remove the protective
backing from the adhesive and install on the hood
surface.
Use caution to not contaminate the adhesive surface.
Tip: Hook the fingers on the pedestal over the hood
edge and rotate the unit into position. After
installation, remove the masking tape and “wet out”
the adhesive to the hood surface by applying
pressure with your thumb around the complete
surface of the pedestals.
Important: “wetting out” of the pedestals will
ensure maximum adhesive bond.
Un piédestal à la fois, retirer la pellicule protectrice de
l'adhésif et installer sur la surface du capot.
Faites attention de ne pas contaminer la surface
adhésive
Astuce: Accrocher les doigts sur le piédestal sur le bord
du capot et faites tourner l'appareil en position.
Après l'installation, enlever le ruban de masquage et
"mouiller" le socle en appliquant une pression avec le
pouce autour de la surface des piédestaux.
Important: "mouillage à« des socles assurera une
adhérence maximale adhésif
10. Start a screw into each pedestal a few turns. The tip of
the screw must not protrude into the hole where the
attachment pin will later install.
Insérer une vis à tête plate dans chaque piédestal, puis la
tourner en quelques mouvements. La pointe de la vis ne
doit pas pénétrer dans le trou où l'épingle de fixation
s’installera plus tard.
11. Peel and fold an anti-abrasion pad in half over the hood
edge between the fingers on each pedestal.
Décoller et plier en deux le tampon à pellicule anti-abrasive
sur le rebord du capot entre les crochets du piédestal.
Rev0.Nov15, 2016 Page 5of 5
12. Push metal mounting brackets over the hood edge
aligned with the anti-abrasion pads installed previously.
Ensure each bracket is fully engaged over the hood edge
and the hole in the bracket is aligned with the hole in the
pedestal.
Installer un support de montage en métal sur le rebord du
capot et sur le tampon à pellicule anti-abrasive monté
antérieurement. S’assurer que le support est bien fixé sur le
rebord du capot et que le trou dans le support est aligné
avec le trou dans le piédestal.
13. Place the protector on the pedestals and, starting at the
center location, install a pin through the protector and into
the pedestal. Maintain slight pressure on the pin to ensure
proper seating of the components, while simultaneously
tightening the screw a few turns. Repeat for remaining
pedestal locations.
Placez le protecteur sur le piédestal et à partir de la position
centrale installer une broche à travers le dispositif de
protection et dans le socle. Maintenir une légère pression
sur la goupille pour assurer un bon positionnement des
composants, tout en serrant simultanément la vis de
quelques tours. Répétez l'opération pour autres endroits sur
pied.
NOTE: Only tighten screws a few turns so the pins are
held in place but there is still some movement of the
protector as this assists in final alignment of all
attachment positions.
NOTE: Ne serrer les vis de quelques tours afin que les
broches sont maintenues en place mais il ya un certain
mouvement de la protection que ceci aide à
l'alignement final de toutes les positions de fixation.
14. Starting at the center location tighten all the screws
that were loosely installed in step 13. To ensure proper
seating of the components, maintain slight pressure on
the pin while simultaneously tightening the screw.
Repeat for all remaining pedestal locations.
À partir de l'emplacement du centre serrer toutes les vis qui
ont été lâchement installés à l'étape 13. Pour assurer un
bon positionnement des composants, maintenir une légère
pression sur la broche tout en serrant la vis simultanément.
Répétez l'opération pour tous les emplacements de
piédestal restants.
NOTE: To allow the adhesive to cure do not
wash the vehicle for 24 hrs. Please inform the
customer of this.
NOTE: Pour permettre adhésif pour guérir ne
pas laver votre véhicule pendant 24 heures.
S'il vous plaît informer le client de cette.

Other FormFit Automobile Accessories manuals

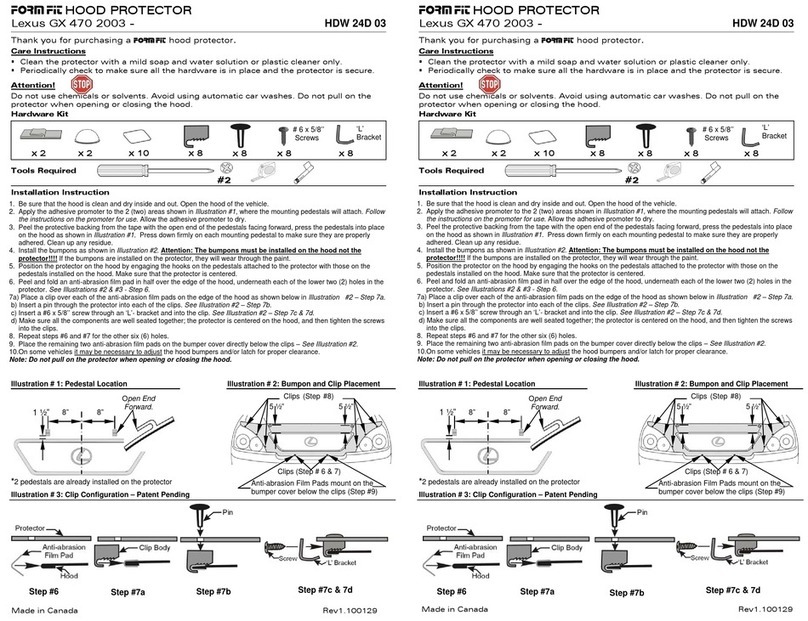
FormFit HDW 24D 03 User manual

FormFit

FormFit HDW 24D 03 User manual

FormFit HD-6A17 User manual

FormFit

FormFit HD-6A17 User manual

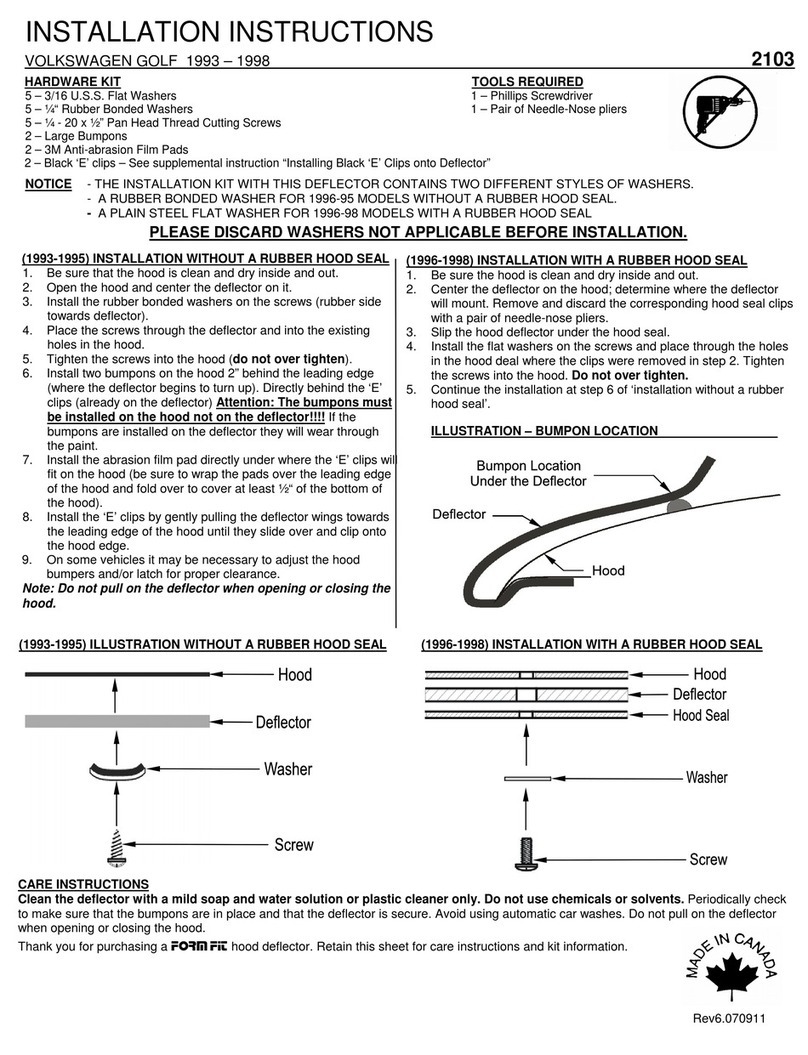
FormFit 2103 User manual

FormFit

FormFit 2103 User manual

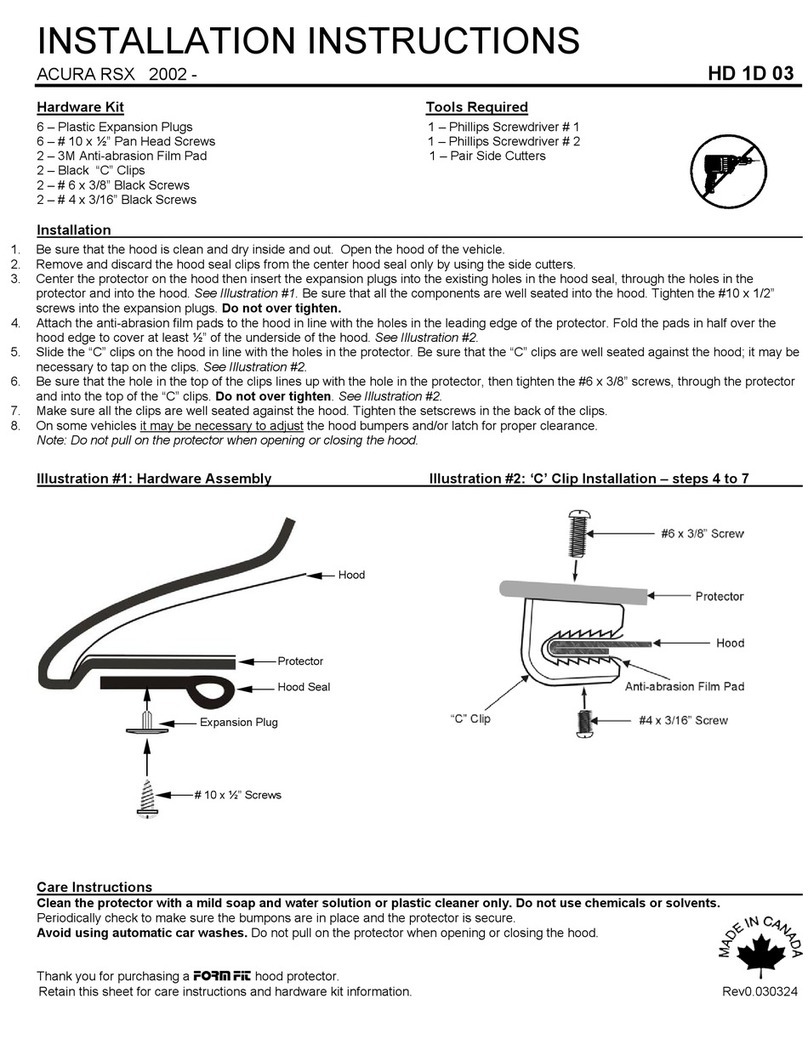
FormFit HD 1D 03 User manual

FormFit

FormFit HD 1D 03 User manual

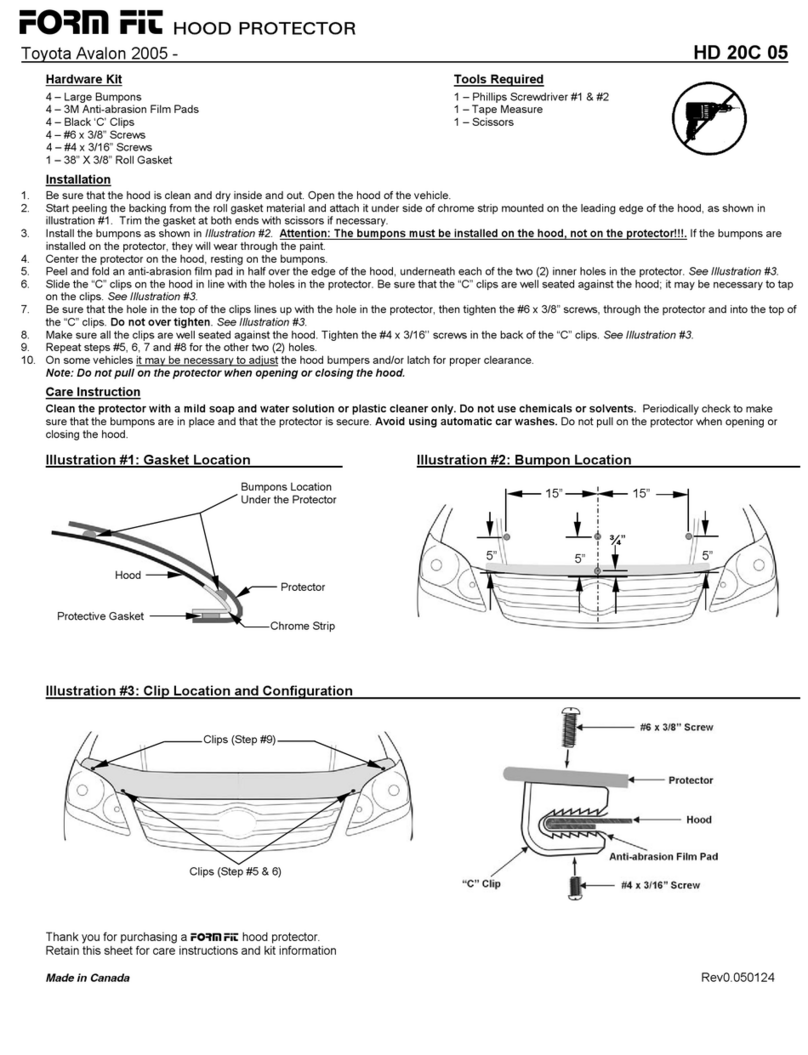
FormFit HD 20C 05 User manual

FormFit

FormFit HD 20C 05 User manual

FormFit HD 10N09 User manual

FormFit

FormFit HD 10N09 User manual

FormFit HDW 1779 User manual

FormFit

FormFit HDW 1779 User manual

FormFit HD 23A 07 User manual

FormFit

FormFit HD 23A 07 User manual

FormFit HD 10M18 User manual

FormFit

FormFit HD 10M18 User manual

FormFit HD 13B13 User manual

FormFit

FormFit HD 13B13 User manual

FormFit HD1C01 User manual

FormFit

FormFit HD1C01 User manual

FormFit 1308 User manual

FormFit

FormFit 1308 User manual

FormFit HD 8C 08 User manual

FormFit

FormFit HD 8C 08 User manual

FormFit SD 13B07 User manual

FormFit

FormFit SD 13B07 User manual

FormFit SD 13R07-5 User manual

FormFit

FormFit SD 13R07-5 User manual

FormFit HD 9D 03-4 User manual

FormFit

FormFit HD 9D 03-4 User manual

FormFit HD 9D18-4 User manual

FormFit

FormFit HD 9D18-4 User manual

FormFit HDW 8H 95 User manual

FormFit

FormFit HDW 8H 95 User manual

FormFit SD 13B13 User manual

FormFit

FormFit SD 13B13 User manual

FormFit Tough Guard TG 7W07 User manual

FormFit

FormFit Tough Guard TG 7W07 User manual

FormFit HD 29M17 User manual

FormFit

FormFit HD 29M17 User manual

FormFit HDW 4F 02 User manual

FormFit

FormFit HDW 4F 02 User manual

FormFit HD 10M09 User manual

FormFit

FormFit HD 10M09 User manual

FormFit 577 User manual

FormFit

FormFit 577 User manual

Popular Automobile Accessories manuals by other brands

Parrot MKi9000 quick start guide

Parrot

Parrot MKi9000 quick start guide

Monacor Carpower HPB-450 Mounting instructions
Monacor

Monacor Carpower HPB-450 Mounting instructions

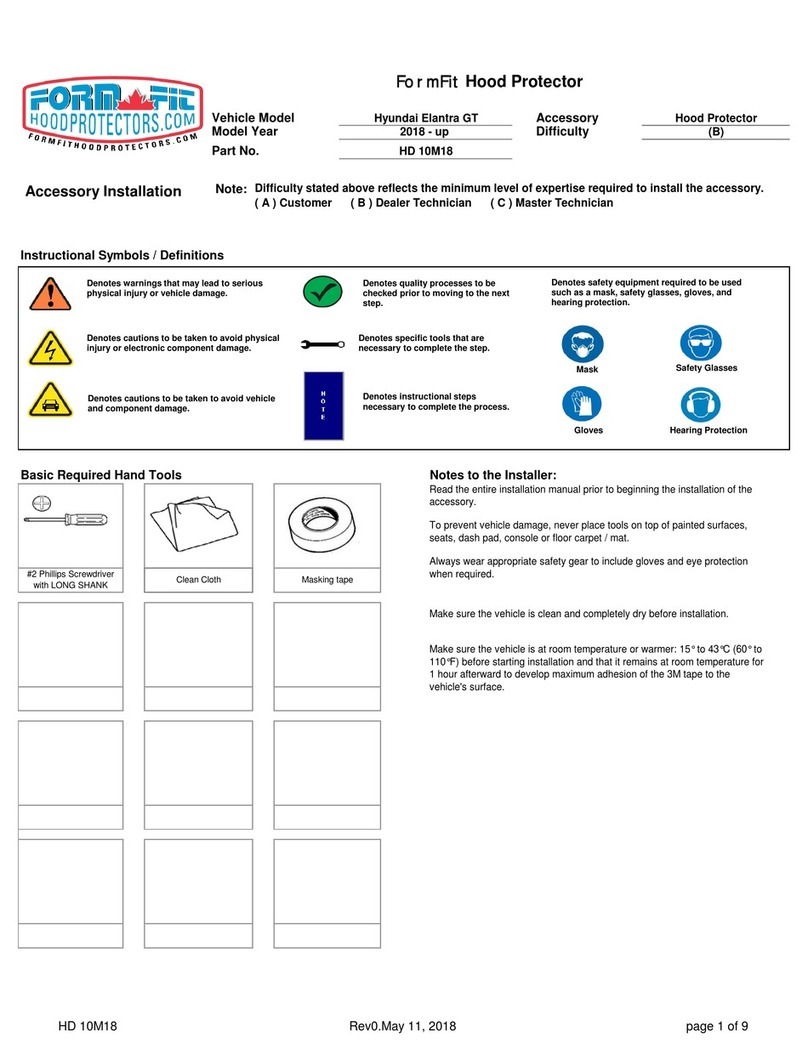
AMP Research BedStep AMP 75304-01A manual

AMP Research

AMP Research BedStep AMP 75304-01A manual

Paser UNICOM CF0012UNPI21 installation manual

Paser

Paser UNICOM CF0012UNPI21 installation manual

Metra Electronics 95-3306 installation instructions
Metra Electronics

Metra Electronics 95-3306 installation instructions
GROM Audio Vlite user guide

GROM Audio

GROM Audio Vlite user guide

IDEC HT3P instruction sheet

IDEC

IDEC HT3P instruction sheet

G3 S.p.A. 68.008 FITTING INSTRUCTION

G3 S.p.A.

G3 S.p.A. 68.008 FITTING INSTRUCTION

Broadfeet WCDO-202-22S installation instructions

Broadfeet

Broadfeet WCDO-202-22S installation instructions
Cruz Evo Rack Module E28 Assembly instructions
Cruz

Cruz Evo Rack Module E28 Assembly instructions
dirna Bergstrom INTEGRAL POWER User handbook

dirna Bergstrom

dirna Bergstrom INTEGRAL POWER User handbook

Directed DS3+ installation guide

Directed

Directed DS3+ installation guide

Uebler F42 Mounting and operating instructions
Uebler

Uebler F42 Mounting and operating instructions
CrimeStopper SAFECALL BM-001 user guide

CrimeStopper

CrimeStopper SAFECALL BM-001 user guide

Directed Directechs DS3 installation guide

Directed

Directed Directechs DS3 installation guide

KUSSMAUL 091-22F-A installation instructions

KUSSMAUL

KUSSMAUL 091-22F-A installation instructions

FenSens FenSens user manual

FenSens

FenSens FenSens user manual

Toro 07161 installation instructions

Toro

Toro 07161 installation instructions

manuals.online logo
manuals.online logoBrands
  • About & Mission
  • Contact us
  • Privacy Policy
  • Terms and Conditions

Copyright 2025 Manuals.Online. All Rights Reserved.