manuals.online logo
Brands
  1. Home
  2. •
  3. Brands
  4. •
  5. Fortis
  6. •
  7. Home Gym
  8. •
  9. Fortis FSFWRWGMCXA User manual

Fortis FSFWRWGMCXA User manual

Table of Contents
Usage Warnings......................................................................................................................................................2
Product Layout....................................................................................................................................................... 3
Assembly Steps...................................................................................................................................................... 4
Conditioning Guidelines.......................................................................................................................................5
W y Exercise?................................................................................................................................................... 5
Target Heart Rates...........................................................................................................................................5
Beginner's Guide ...................................................................................................................................................6
Work-out Tips....................................................................................................................................................6
How to Begin..................................................................................................................................................... 6
How Hard S ould You Work?......................................................................................................................6
Stretc ing Guide..................................................................................................................................................... 7
Tips for Stretc ing............................................................................................................................................ 7
Calf Stretc ........................................................................................................................................................ 7
Hamstring Stretc ........................................................................................................................................... 7
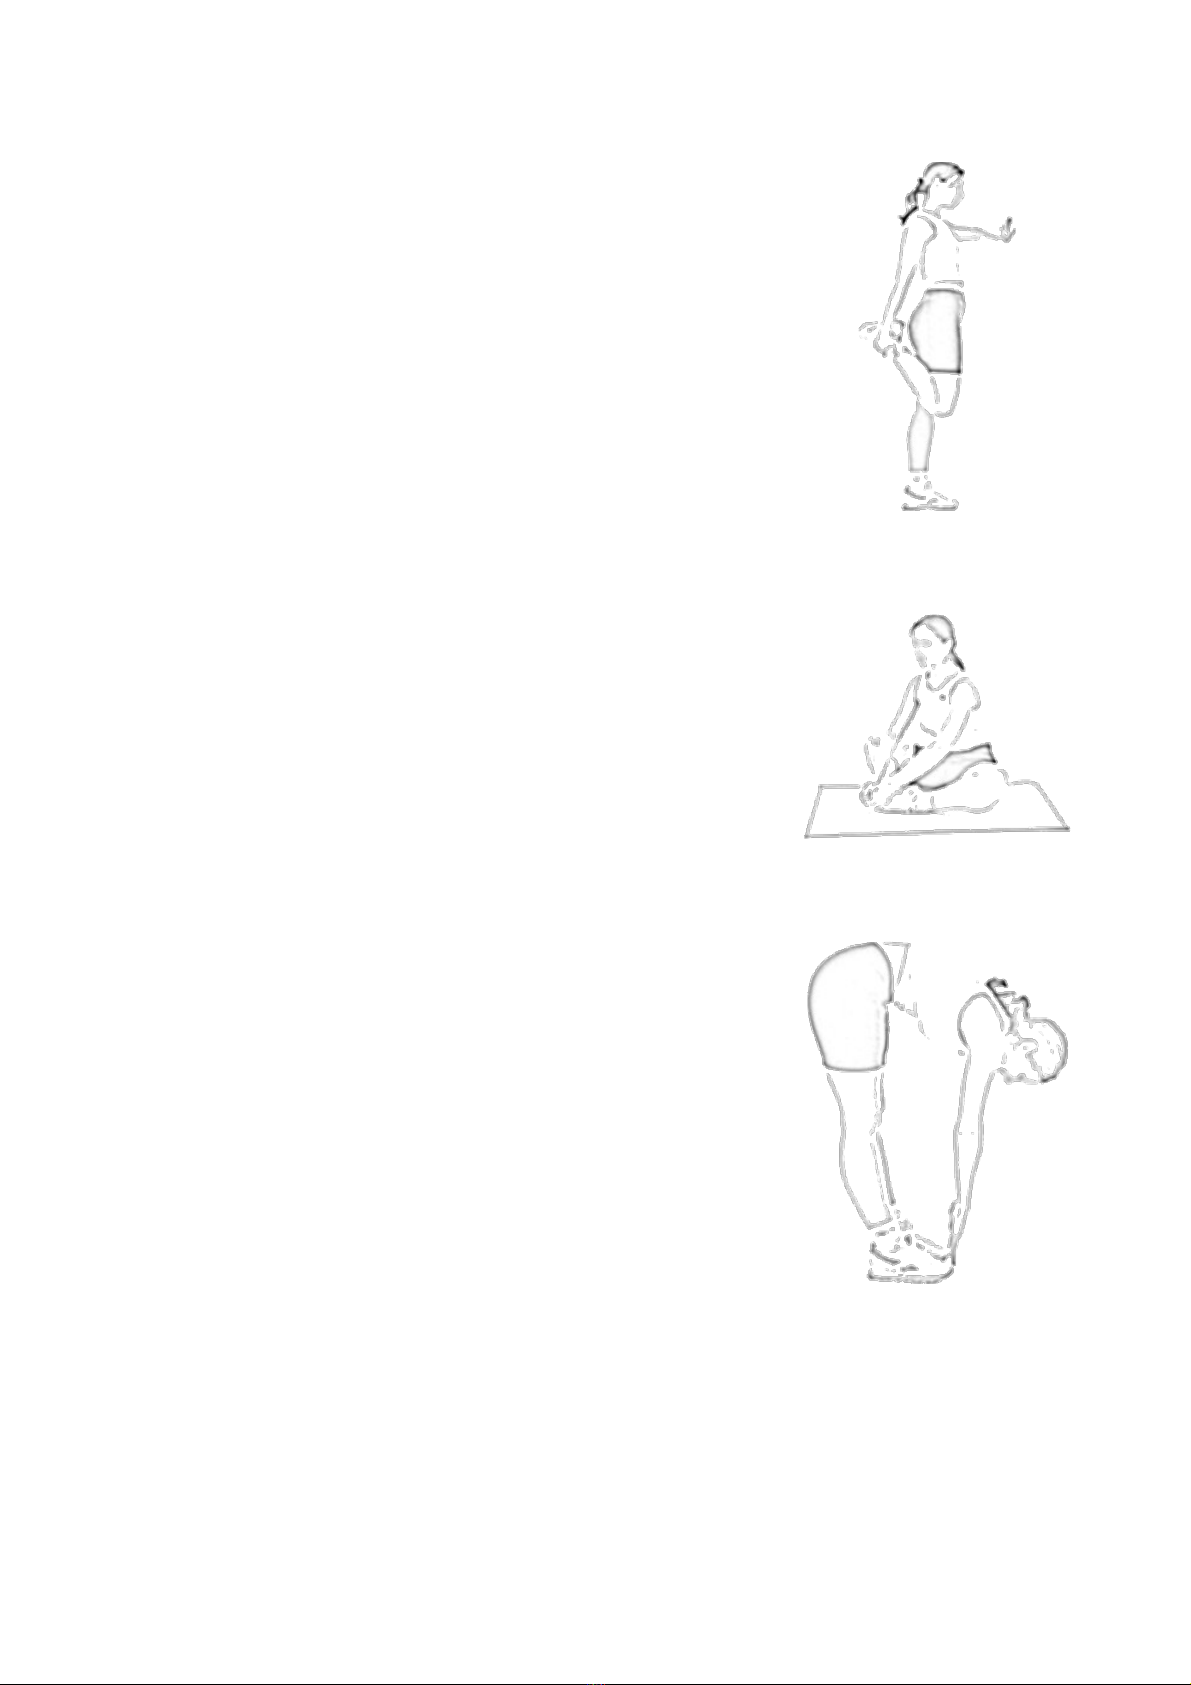
Quadriceps Stretc .........................................................................................................................................8
Inner T ig Stretc .........................................................................................................................................8
Toe Touc Stretc .......................................................................................................................................... 8
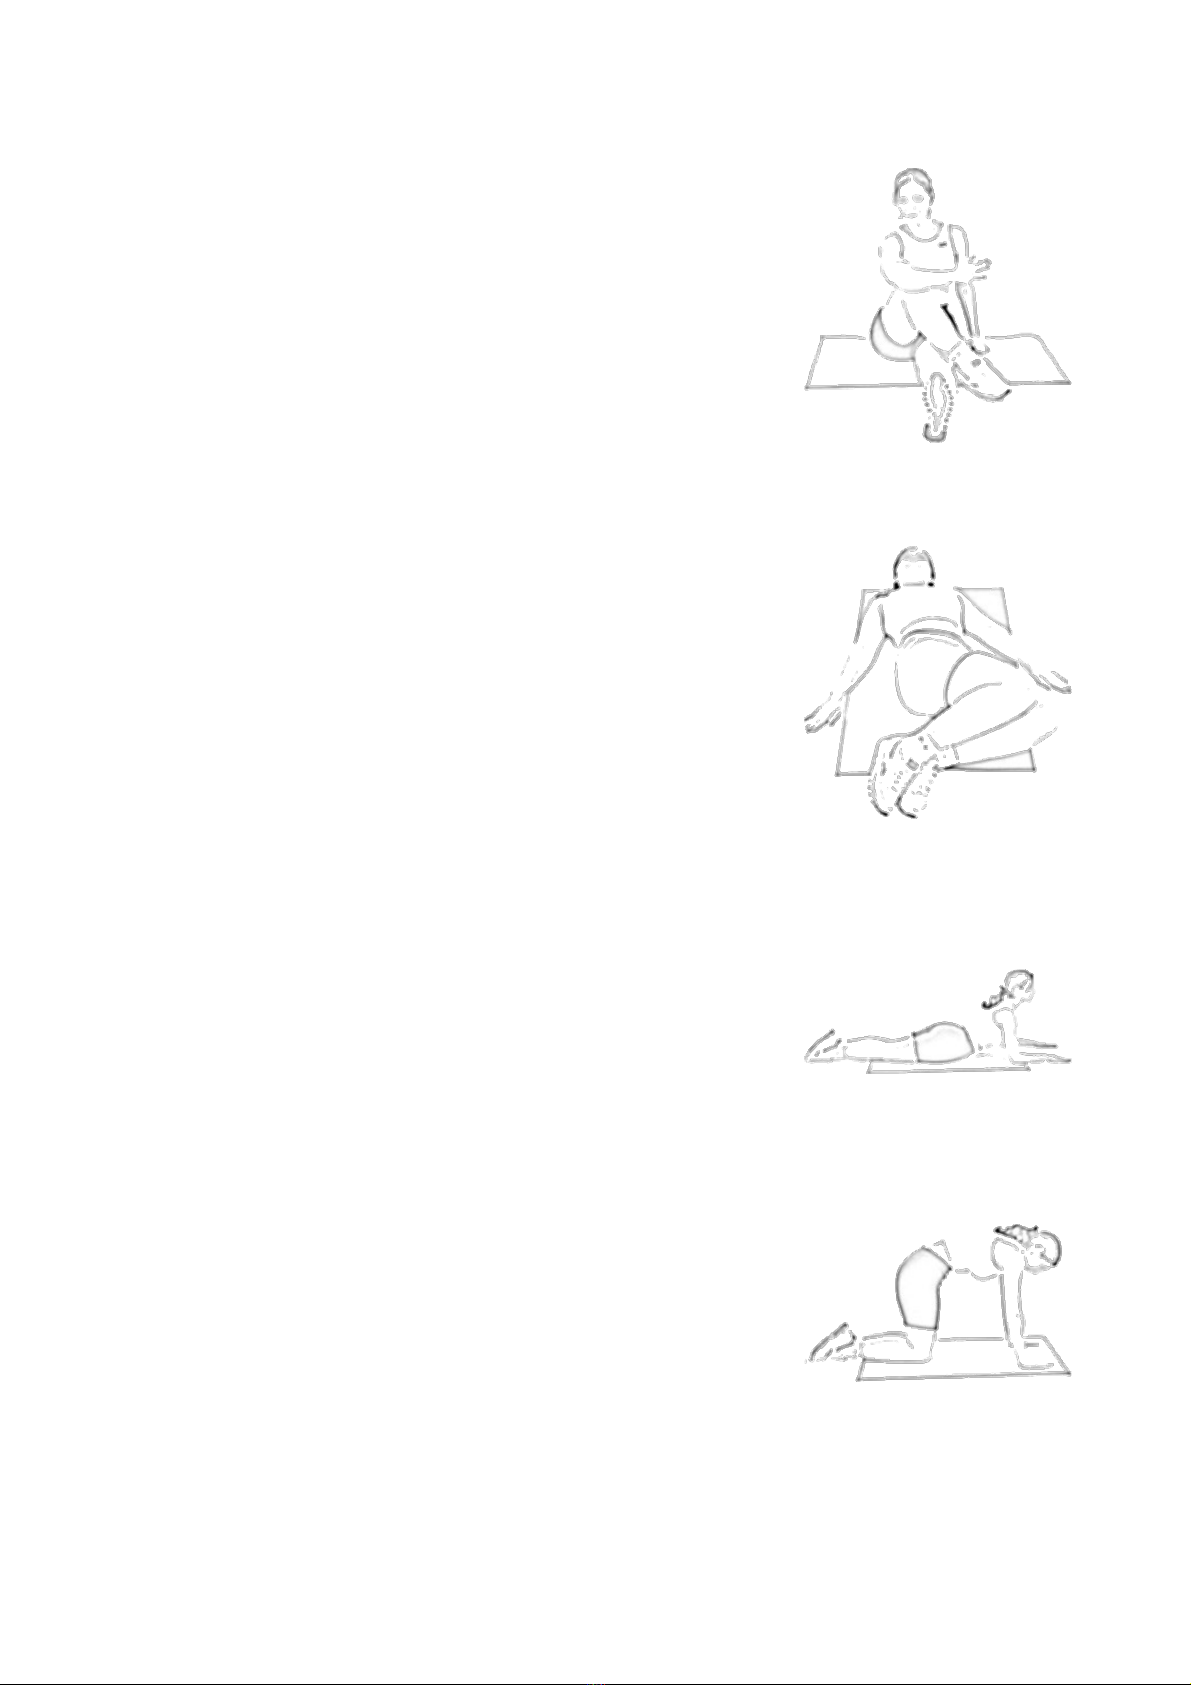
Glutes Stretc ...................................................................................................................................................9
Lower Back.........................................................................................................................................................9
Upper Abdominals........................................................................................................................................... 9
Upper Back......................................................................................................................................................... 9
C est Stretc .................................................................................................................................................. 10
Deltoid S oulder Stretc ............................................................................................................................10
All Over Stretc ..............................................................................................................................................10
Product Specifications.........................................................................................................................................11
1
Please read t is manual carefully before using t e mac ine!
Usage Warnings
T is rowing mac ine as a maximum load of 120kg and requires a service area greater t an
1630 x 510 x 460cm. Before exercise, it is necessary to c eck your body weig t and ensure
t at t ere will be enoug usable space. T e rowing mac ine can only be used by one
person at a time. Any excess loads may cause injury to t e user or damage to t e mac ine.
Before eac use, please c eck t e condition of t e mac ine to ensure t at no parts are
worn or broken.
T is guide contains important information suc as installation guides and warm-ups, w ic
will elp you avoid injury and will maximize t e effects of using t e rowing mac ine.
•Please put t e rowing mac ine on stable, level ground.
•Ensure t at t e firm parts of t e apparatus are at a locked condition and t at eac
part is operating correctly.
•W ile exercising, please wear s oes, preferable sports s oes. Never use t e rowing
mac ine wit bare feet.
•Please do warm ups prior to exercising.
•Store t e rowing mac ine in a dry, cool place. Please do not let pets or c ildren near
it w ile in use.
Notes:
•Please stop exercising immediately if you get dizzy, experience discomfort, c est-
pains or any ot er discomfort.
•Training volume s ould be decided in accordance wit your p ysical performance.
•W en using t e rowing mac ine, please listen to your body and use common sense.
Excessive exercise may be damaging to your ealt or body.
•T is rowing mac ine is for domestic, ome use only.
2
Product Layout
NO Description QTY NO Description QTY
1 Main Frame 1 40 Alloy Hub 2
2 Knob 1 41 Bearing 8
3 Cap 2 42 PU W eel 4
4 Handle Foam 2 43 Bus 2 2
5 Handlebar 1 44 Fixing Board 1
6 Display 1 45 Cross Pan Head Screw 2
7 Tension Controller 1 46 Trunk Wire 1
8 Flat Was er 2 47 Sensor 1
9 Nylon Nut 1 48 Rotation Plate 1
10 Flat Was er 2 49 Spring Collar 1
11 Pedal 2 50 Rotation Core for Flyw eel 1
12 Hex Bolt 2 51 Bus of Rotation Core 1
13 Seat Pad 1 52 Flyw eel 1
14 Hex Bolt 1 53 Magnetic Plate 1
15 Spring Knob 1 54 Flat Was er 1
16 Nylon Nut 4 55 Hex Bolt 4
17 Flat Was er 8 56 Spring Was er 4
18 Sliding Seat 1 57 Flat Was er 4
19 Hex Bolt 3 58 Inertia W eel 2
20 Bus 1 1 59 Cross Pan Head Self-Tapping Screw 10
21 Pulley 2 60 Left & Rig t Cover 1 pair
22 Rail 1 61 Flange Nut 2
23 Belt 1 62 Hex Nut 1
24 Limited Rubber Cone 4 63 Axle for Flyw eel 1
25 Hex Bolt 1 64 Belleville Spring 1
26 Cross Pan Head Screw 4 65 Axle for Belleville 1
27 Knob 1 66 Collar for Axle D17 1
3
28 Support Frame 1 67 Collar for Axle D12 1
29 Rear Cap 2 68 Cross Pan Head Self-Tapping Screw 3
30 Square Neck Bolt 2 69 Cap for Rotation Plate 1
31 Arc Was er 2 70 Cap 2
32 Dome Nut 2 71 Rubber Ottomans 1
33 Front Bottom Tube 1 72 Decorative S eet 1
34 Front Cap 2 73 Collar for Axle D10 4
35 Flat Was er 1 74 Bus 3 2
36 Sensor 1 75 Bearing 4
37 Cross Pan Head Screw 2 76 Double Head Solid Wrenc 1
38 Square Cap 1 77 Cross Head Small Wrenc 1
39 Round-magnetic 1 78 Double Head Solid Wrenc 2
Assembly teps
tep One
Connect t e front bottom tube (33) to t e mainframe (1) wit t e
square neck bolt, arc was er (31) and dome nut (32) firmly.
tep Two
Remove t e front two limited rubber cones
(24), fixing board (44) and cross pan ead
screw (45) first. T en insert t e sliding seat
(18) into t e rail (22), t en screw t e limited
rubber cone (24) to t e rail (22). Connect t e
fixing board (44) to t e rail (22) wit t e
cross pan ead screw (45).
tep Three
Fix t e support frame (28) to t e rail (22)
wit a ex bolt (25), flat was er (17), knob
(27) and nylon nut (16).
4
tep Four
Connect t e trunk wire (46) wit t e sensor
wire (36).
Align t e oles, t en connect t e rail (22) to t e
mainframe (1) wit a ex bolt (14), flat was er
(8), nylon nut (9), knob (2), flat was er (35) and
spring knob (15), t en cover wit t e cap (70).
Fix t e pedal (11) to t e mainframe (1) wit a ex
bolt (12) and flat was er (10).
W en you need to fold t e unit, pull t e spring
knob (15) out, t en fold t e rail (22) up. T en fasten t e rail (22) wit t e spring knob (15).
Conditioning Guidelines
T e following guidelines will elp you to plan your exercise program. Remember t at proper
nutrition and adequate rest are essential for successful results.
WARNING: Before beginning this, or any exercise program, consult with your doctor. This is
especially important for people over the age of 35 or those with health problems.
Why Exercise?
Excercise as been proven to be essential for good ealt and general wellbeing. Regular
exercise is known to:
•Relieve tension and stress
•Provide enjoyment and fun
•Stimulate t e mind
•Help maintain a stable weig t
•Control your appetite
•Boost self-image
•Improve muscle tone and strengt
•Improve flexability
•Lower blood pressure
•Relieve insomnia
Target Heart Rates
Age MIN-MAX (BPM)
20 133 - 167
25 132 - 166
30 130 - 164
35 129 - 162
40 127 - 161
45 125 - 159 •Note: This is a guide only, and performance will
depend on the fitness and health condition of the
person using the rowing machine.
50 124 - 156
55 122 - 155
60 121 - 153
65 119 - 151
70 118 - 150
75 117 - 147
80 115 - 146
85 114 - 144
5
Beginner's Guide
If you are beginning a new exercise program, you s ould c eck wit your doctor if:
•You ave been diagnosed wit eart problems, ig blood pressure or ot er medical
conditions.
•You ave not exercised for over a year.
•If you are over 35 years old and do not currently exercise.
•You are pregnant.
•You ave diabetes.
•You ave c est pain, or experience dizziness or fainting spells.
•You are recovering from injury or illness.
Work-out Tips
•Always perform stretc ing exercises bot before and after your work-out.
•Start slowly; doing too muc too soon can lead to injuries.
•If you are sore or tired, give yourself a few extra days to recover.
How to Begin
•Start wit two or t ree 15 minute sessions per week wit a rest day between work-
outs.
•Warm up for 5 to 10 minutes wit gentle movements like walking or swinging your
arms in a circle, t en stretc ing t e muscles you will use during your work-out.
•Increase t e pace and resistance to slig tly arder t an comfortable, t en exercise
for as long as you can. You may only be able to exercise for a few minutes at a time,
but t at will c ange quickly if you exercise regularly.
•End eac work-out wit a 5 minute cool down wit t e resistance set to a low level.
You s ould t en stretc t e muscles you've just worked out to prevent cramp and
injury.
•Increase your work-out time by a few minutes eac week until you can work
continuously for 30 minutes per session.
•Don't worry about distance or pace at t is stage. For t e first few weeks, focus on
endurance and conditioning.
How Hard hould You Work?
W en exercising, you s ould try to stay wit in your target eart rate zone, as s own in t e
table on t e previous page. Always be aware of ow you feel w en you exercise. If you feel
dizzy or lig t- eaded, stop immediately and rest. If you are not even breaking a sweat, t en
speed it up!
6
tretching Guide
Tips for tretching
•Begin wit gradual mobility exercises of all t e joints, i.e simply rotate your wrists,
bend your arms and roll your s oulders. T is will allow your body's natural lubrication
(synovial fluid) to protect t e surface of your bones at t e joints.
•Always warm up t e body before stretc ing, as t is increases blood flow around t e
body, w ic is turn makes t e muscles more supple.
•Start wit your legs and work your way up your body.
•Eac stretc s ould be eld for at least 10 seconds (working up to 20 to 30
seconds), and usually repeated about 2 or 3 times.
•Do not stretc until it urts. If t ere is any pain, ease off.
•Don't bounce. Stretc ing s ould be gradual and relaxed.
•Don't old your breat during a stretc .
•Stretc after exercising to prevent your muscles from tig tening up.
•Stretc at least t ree times a week to maintain flexability.
Calf tretch
•Stand wit one leg in front of t e ot er, wit bot feet
facing forwards and t e front leg bent. (Your front knee
s ould be above your ankle).
•Press t e eel of t e back leg into t e floor until you
begin to feel t e calf muscle in t e back of your rear leg
starting to stretc .
Note: keep your back and rear leg straight during this stretch.
•Slide your rear leg backwards to increase t e stretc if
required.
Hamstring tretch
•Sit wit one leg extended. Bring t e ot er leg towards
you and rest t e sole of t at foot onto t e inner t ig of
t e extended leg.
•Keeping your s oulders square, reac forward towards
your toes as far as possible, t en old for t e required
count, t en relax.
Note: Keep your back and leg straight during this stretch.
7
Quadriceps tretch
•Wit one and against a wall for balance, reac back and
grasp one foot wit your ot er and. Bring your eel up
as close to your buttocks as possible. Hold for t e
required count, t en relax.
Inner Thigh tretch
•Sit wit t e soles of your feet toget er and your knees
pointing outwards. Pull your feet in toward your groin
area as far as possible. Hold t em for t e required count,
t en relax.
Toe Touch tretch
•Stand wit your knees slig tly bent, t en slowly bend
forward from your ips.
•Allow your back and s oulders to relax as you reac
down towards your toes, stretc ing as far as possible.
Hold for t e required count, t en slowly return to t e
uprig t position and relax.
8
Glutes tretch
•Sit wit your leg stretc ed outwards; place your left foot
over your rig t leg at t e knee joint, placing your foot flat
on t e floor.
•Use your rig t arm to pull t e bent knee across your
body until you begin to feel a stretc in t e left buttock.
Hold for t e required time, t en relax.
•Repeat using t e opposite arms and legs.
Lower Back
•Lie on your back wit your knees bent.
•Keeping your upper back firmly on t e floor, allow your
knees to fall to one side, your lower back will rotate
naturally. Hold for t e required count, t en relax.
•Repeat on t e ot er side.
Note: If any pain is felt, avoid this stretch.
Upper Abdominals
•Lie on your stomac wit your forearms flat on t e floor
wit your palms facing down.
•Try to lift your ead upwards w ile looking forward at all
times, taking your weig t onto your forearms and
allowing your ips to relax into t e floor. Hold for t e
required count, t en relax.
Upper Back
•Start off on all fours, looking down towards t e floor.
•Pus your s oulders as ig as possible; as if a wire
placed between your s oulder blades is lifting you
upwards. Hold for t e required count, t en relax.
Note: this stretch is sometimes called the cat stretch.
9
Chest tretch
•Stand up and place bot ands on t e small of your back
(just above t e start of your backside).
•Keeping your ands w ere t ey are, slowly pus your
elbows toget er, pus ing your c est outwards.
•Hold for t e required count, t en relax.
Deltoid houlder tretch
•Stand up and place one arm across t e front of your
body.
•Use t e ot er arm to pus t e outstretc ed arm into your
c est.
Note: push at the point just above your elbow.
•Try to keep your arm straig t and breat e normally. Hold
for t e required count, t en relax and swap arms.
All Over tretch
•Stand wit your feet s oulder widt apart and your
knees slig tly bent.
•Place your ands above your ead wit t e t umbs
touc ing. Reac up evenly as ig as possible, and old
for t e required count, t en relax.
10
Product pecifications
Dimensions: 1780 x 490 x 460mm
Batteries: 2 x AA
Class Rating: HC
Maximum User Weig t: 120kg
Please note t at t ese specifications may c ange wit out notice.
If you have any further questions or concerns regarding this product, please contact the
Kogan.com customer support team.
11

Other Fortis Home Gym manuals

Fortis FSMEXRWMC1A User manual

Fortis

Fortis FSMEXRWMC1A User manual

Fortis MR-200 User manual

Fortis

Fortis MR-200 User manual

Fortis CROSS TRAINER User manual

Fortis

Fortis CROSS TRAINER User manual

Fortis WATER & MAGNETIC HYBRID MR-600 User manual

Fortis

Fortis WATER & MAGNETIC HYBRID MR-600 User manual

Fortis MR-500A User manual

Fortis

Fortis MR-500A User manual

Fortis MR-400 User manual

Fortis

Fortis MR-400 User manual

Fortis FSPLTPWRGM User manual

Fortis

Fortis FSPLTPWRGM User manual

Popular Home Gym manuals by other brands

Weider 340 L user manual

Weider

Weider 340 L user manual

Evo ReNegaDE Air Rower Pro instruction manual

Evo

Evo ReNegaDE Air Rower Pro instruction manual

Paramount Fitness SF-300 Assembly manual

Paramount Fitness

Paramount Fitness SF-300 Assembly manual

Matrix VS-S42 owner's manual

Matrix

Matrix VS-S42 owner's manual

Weider WEBE12910 user manual

Weider

Weider WEBE12910 user manual

Weider Muscle 1382 user manual

Weider

Weider Muscle 1382 user manual

Weider 390 Lt Bench manual

Weider

Weider 390 Lt Bench manual

Weider WEBE11880 user manual

Weider

Weider WEBE11880 user manual

Sharper Image 207724 user guide

Sharper Image

Sharper Image 207724 user guide

Impex Iron Grip Sport IGS-02 owner's manual

Impex

Impex Iron Grip Sport IGS-02 owner's manual

ParaBody 874 user guide

ParaBody

ParaBody 874 user guide

Horizon Fitness TORUS owner's manual

Horizon Fitness

Horizon Fitness TORUS owner's manual

Weider Pro 137 Bench user manual

Weider

Weider Pro 137 Bench user manual

HOMCOM A90-243 manual

HOMCOM

HOMCOM A90-243 manual

York Fitness 540 owner's manual

York Fitness

York Fitness 540 owner's manual

CORE ENERGY FITNESS Pro owner's manual

CORE ENERGY FITNESS

CORE ENERGY FITNESS Pro owner's manual

Circuit Fitness AMZ-167RW Assembly & owners manual

Circuit Fitness

Circuit Fitness AMZ-167RW Assembly & owners manual

Weider Power glide WCCR44060 user manual

Weider

Weider Power glide WCCR44060 user manual

manuals.online logo
manuals.online logoBrands
  • About & Mission
  • Contact us
  • Privacy Policy
  • Terms and Conditions

Copyright 2025 Manuals.Online. All Rights Reserved.