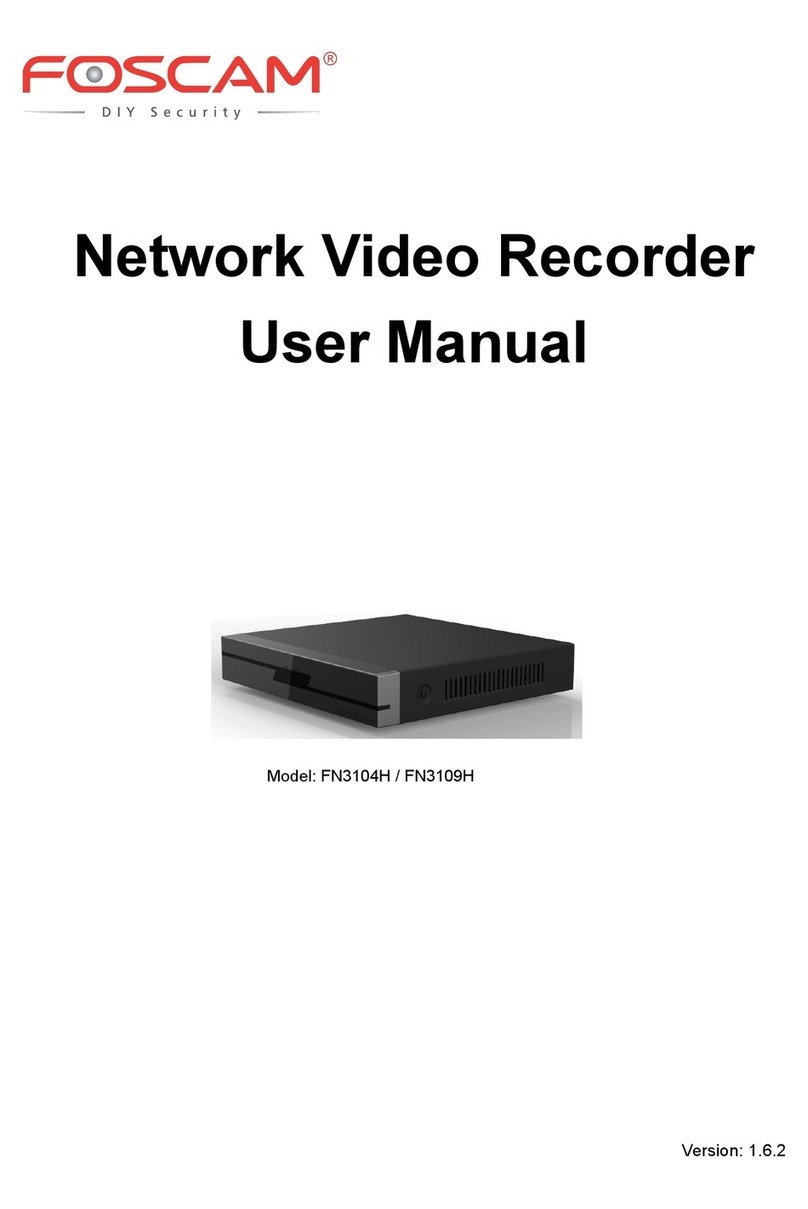
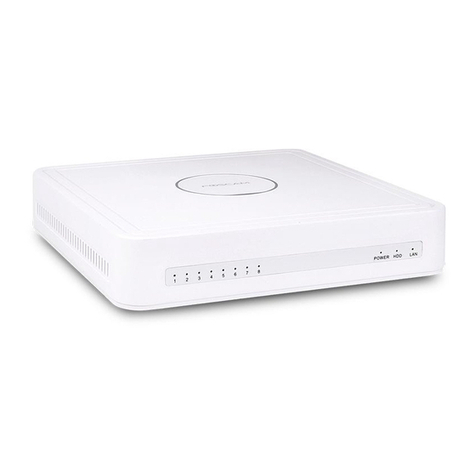
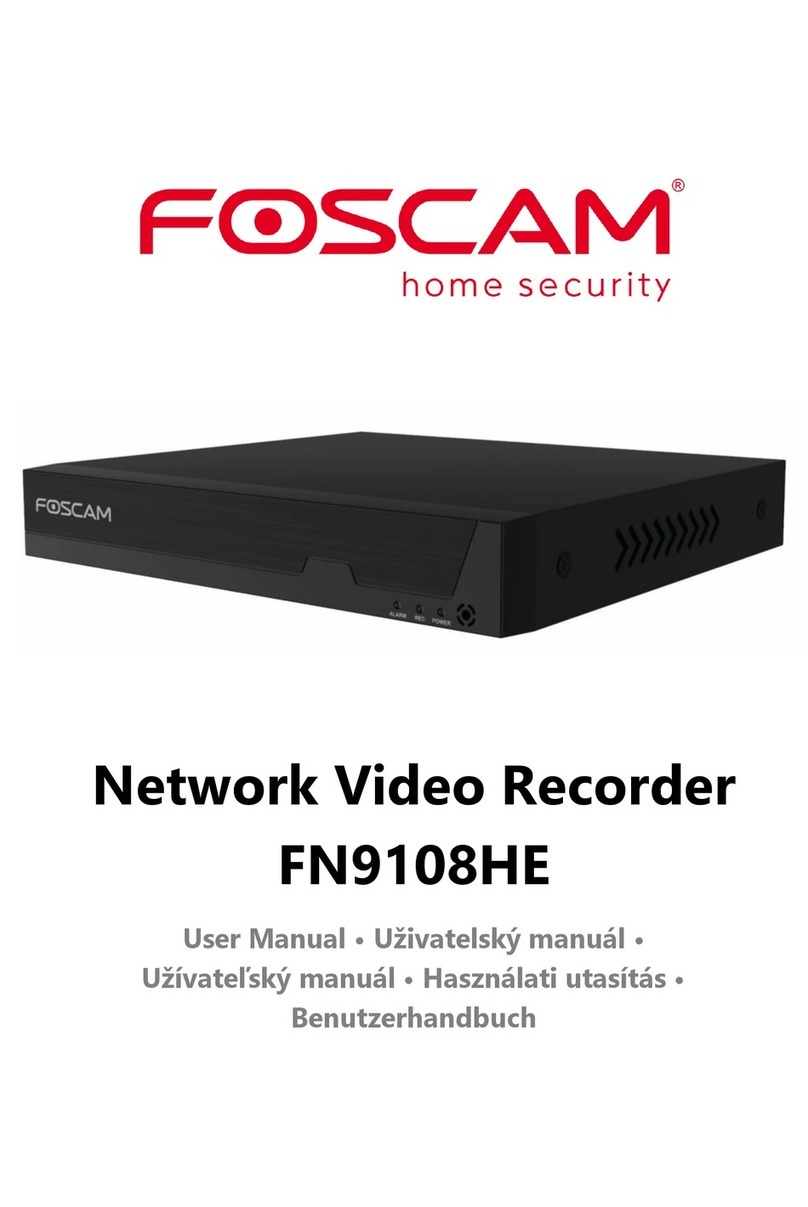
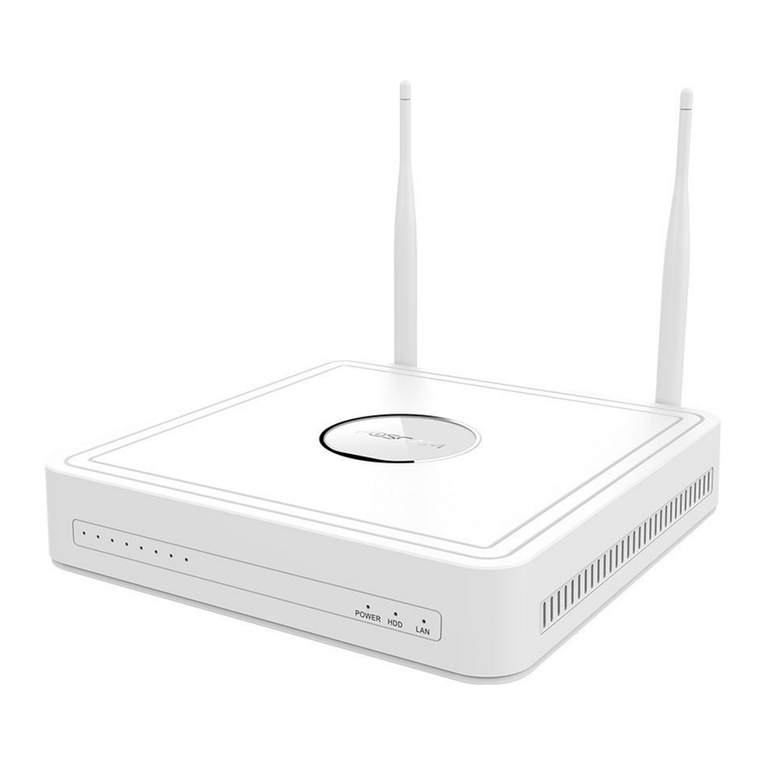
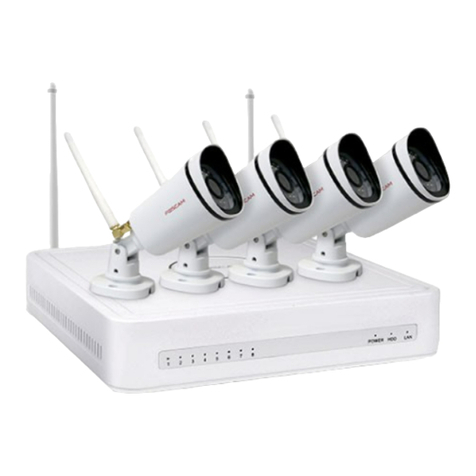
Foscam FN8108H User manual

2
Dear customer,
Thank you for purchasing our product. Please read the following instructions carefully
before first use and keep this user manual for future reference. Pay particular attention
to the safety instructions. If you have any questions or comments about the device,
please contact the customer line.
✉www.alza.co.uk/kontakt
✆+44 (0)203 514 4411
Importer
Alza.cz a.s., Jankovcova 1522/53, Holešovice, 170 00 Praha 7, www.alza.cz

3
Before You Start
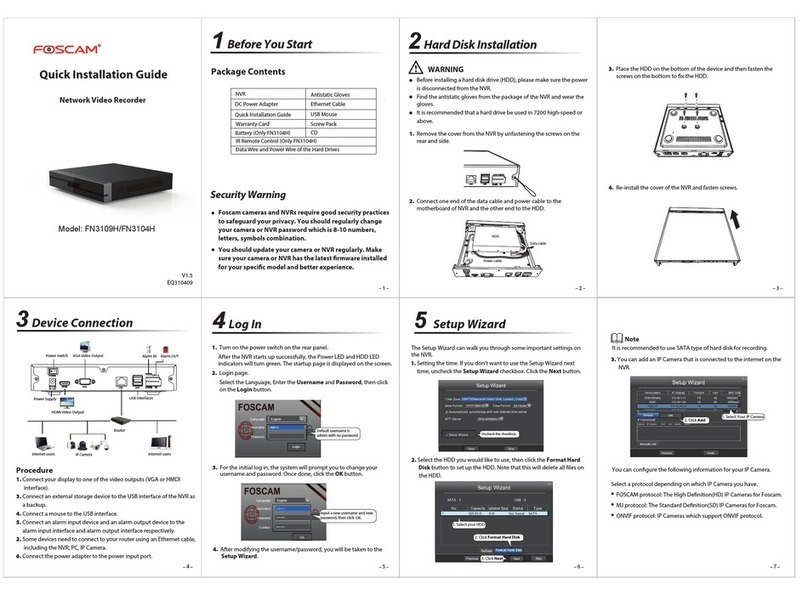
Package Contents
NVR
Ethernet Cable
DC Power Adapter
USB Mouse
Quick Setup Guide
Screw Pack
Warranty Card
Data Hire and Power Wire of the Hard
Drives
Security Warning
•Foscam cameras and NVRs require good security practices to safeguard your
privacy. You should regularly change your camera or NVR password which is the
combination of numbers, letters and symbols
•You should update your camera or NVR regularly. Make sure your camera or NVR
has the latest firmware installed for your specific model and better experience.
Hard Disk Installation
WARNING
•Before installing a hard disk drive (HDD), please make sure the power is
disconnected from the NVR.
•It is recommended that a hard drive be used in 7200 high-speed or above.
1. Remove the cover from the NVR by unfastening the screws on the rear and bottom.

4
2. Connect one end of the data cable and power cable to the motherboard of NVR and
the other end to the HDD.
3. Place the HDD on the bottom of the device and then fasten the screws on the bottom
to fix the HDD.
Data
HDD
Power Cable

5
4. Re-install the cover of the NVR and fasten screws.
Device Connection
Monitor
Mouse
VGA Cable
USB HDD
NVR Power
Adapter (DC 12V)
Ethernet
Cable
HD OUT Cable
Ethernet Cable
Ethernet
Cable
Camera Power
Adapter (DC 12V)

6
Procedure
1. The NVR needs to connect to the router rst, and assign an IP address to the IP
Camera. If the NVR is not connected to the router, it may appear that the NVR cannot nd
the IP Camera.
2. Connect your display to one of the video outputs (VGA or HD-OUT interface).
3. Connect an external storage device to the USB interface of the NVR as a backup.
4. Connect a mouse to the USB interface.
5. Some devices need to connect to your router using an Ethernet cable, including the
NVR, PC and IP Camera. 6. Connect the power adapter to the power input port.
Log In
1. Turn on the power switch on the rear panel. After the NVR starts up successfully, the
power LED and HDD LED indicators will turn green. The startup page is displayed on the
screen.
2. Change password . For your security, please set a new password for your NVR before
Log In.

7
3. Login page.
Enter the Username and Password, then click on the OK button.
4. After modifying the password, you will be taken to the Setup Wizard.
Setup Wizard
The Setup Wizard can walk you through some important settings on the NVR.
1. Setting the time.
2. Format HDD. Click the Format button to set up the HDD. Note that this will delete all
files on the HDD. HDD Full Setting. Select Stop Record and Overwrite.

8
3. P2P. If you want to know the UID of the device, please scan the QR code. If you don’t
want to use the Setup Wizard next time, uncheck the Setup Wizard checkbox. Click the
Finish button to complete the setup wizard.
Uncheck the checkbox

9
or Right-click→Main Menu →Configuration →uncheck the Setup Wizard checkbox.
Click the Finish button to complete the setup wizard.
Add IP Camera
You can add an IP Camera that is connected to the internet on the NVR.
1. Right-click on main interface, select Channel Config.
2. Select your IP Camera or Auto added IPC
3. Click Add.
4. Enter username and password of the camera. If your camera is in the factory default
state, you do not need to enter the user name and password.
5. Click OK.
Select a protocol depending on which IP Camera you have.
•FOSCAM protocol: The High Denition (HD) IP Cameras for Foscam.
•ONVIF protocol: IP Cameras which support ONVIF protocol.
1. Select Your IP Camera
2. Click Add

10
Recording
After the IP Camera is added successfully to the NVR, enable Scheduled Record
functionality to the following methods when in the Live View mode.
Scheduled Record
Right-click →Main Menu →Record →choose recording channel →Save (Actually, the
NVR system have default set 24h scheduled recording).
In the Live View mode, the icon is at the bottom right of the screen for each
channel, indicating recording is on going.
Event Record
If you want to start event recording, select Event in Type, use the left mouse button to
select the time (turned to green), if the other channels operate in the same way, select
Copy.

11
Note: The default alarm type is Motion Detect
In the Live View mode, the icon is at the bottom right of the screen for each
channel, indicating recording is on going.
Set the event alarm according to the following method Right-click →Main Menu →Event
→Motion Detect →choose target channel, setting Schedule, Delay, Record Channel,
Tour, PTZ Activation, Send Email Buzzer→Save.

12
Playback
You can see the recording information, include Manual Record, Alarm Record, Schedule
Record.
Right-click →Main Menu →Playback →choose channel and date →click timeline to
check record.
Note
The maximum number of 8 playback video channels have been reached, please deselect
other channels first to continue.
Remote Access
You can also access the NVR or IP Camera directly through Foscam VMS and Foscam
App

13
Access to the Foscam VMS
Foscam VMS is a new tool for PC. It does not require plug-ins and is compatible with
Windows & Mac, It supports all Foscam HD cameras and up to 36 cameras at the same
time. If you would like to manage multiple cameras, we suggest you install the Foscam
VMS. You can download the “Foscam VMS” from foscam.com/vms, and can download
the "Foscam VMS" Mac version from the APP store:
https://apps.apple.com/cn/app/foscamvms/id1521202507?mt=12
Note: For the best experience, please update Foscam VMS to the latest version!
Add the NVR
1. Run Foscam VMS, then you can create a local administrator account and login.
2. Tap the "+" button on the Foscam VMS and follow the setup wizard to add your NVR.
Please refer to the user manual for more detailed adding steps.
3. Preview: click device in Lan Device list to enter preview interface, select a channel to
view it’s picture, click to enter , as follow shows:

14
Access to the Foscam App
1. You can also simply go to the App Store or Google Play and search for the term
"Foscam". Download the APP to your smartphone, or scan the QR Code on the below, it
will take you to the download page to install the Foscam APP.
2. Run the Foscam APP, and then register for a Foscam account.
3. Device Adding: Once logged in, you can tap the "+" button on the APP, after that scan
the QR code, which is located at the bottom of your NVR.
4. Preview: click device in list to enter preview interface, select a channel to view it’s
picture, as follow shows:

15
Upgrade
1. You can upgrade your NVR and cameras system with local Software.
NVR Upgrade:
Download the firmware to the U disk →Insert U disk to NVR USB port →Right-click→
Main Menu →Upgrade →click Refresh →click Upgrade to upgrade your NVR.
Note:
Don't shut down the power during upgrade. After upgrading, NVR restarts.
2. You can upgrade the firmware of your NVR with Foscam VMS. Open and Login Foscam
VMS, select Setup > System > System Upgrade.
1. Click the button to select
the firmware to the U disk
2. Click the button to
Upgrade

16
Firmware upgrade step:
①Click "Download the latest firmware" button to download the latest firmware to your
computer.
②Click "Browse" button , choose file firmware version you want to upgrade on the web
page.
③Click "Upgrade" button and wait till it's finished.
3. You can upgrade the rmware of your NVR and cameras with Foscam App.
Open Foscam APP and Login the NVR, select Settings > NVR Firmware Upgrade.
Note:
In all upgrade methods, don't shut down the power during upgrade. After upgrading,
NVR restarts.

17
Product Performance
Power Supply: DC 12V 2.0A 24W
Technical Support
If you have problems with your Foscam device, please contact the reseller you
purchased from, or you can e-mail the headquarters technical support team:
products are welcomed!

18
Warranty Conditions
A new product purchased in the Alza.cz sales network is guaranteed for 2 years. If you
need repair or other services during the warranty period, contact the product seller
directly, you must provide the original proof of purchase with the date of purchase.
The following are considered to be a conflict with the warranty conditions, for which the
claimed claim may not be recognized:
•Using the product for any purpose other than that for which the product is intended
or failing to follow the instructions for maintenance, operation and service of the
product.
•Damage to the product by a natural disaster, the intervention of an unauthorized
person or mechanically through the fault of the buyer (e.g. during transport, cleaning
by inappropriate means, etc.).
•Natural wear and aging of consumables or components during use (such as
batteries, etc.).
•Exposure to adverse external influences, such as sunlight and other radiation or
electromagnetic fields, fluid intrusion, object intrusion, mains overvoltage,
electrostatic discharge voltage (including lightning), faulty supply or input voltage and
inappropriate polarity of this voltage, chemical processes such as used power
supplies, etc.
•If anyone has made modifications, modifications, alterations to the design or
adaptation to change or extend the functions of the product compared to the
purchased design or use of non-original components.

19
EU Declaration of Conformity
Identification data of the manufacturer's / importer's authorized representative:
Importer: Alza.cz a.s.
Registered office: Jankovcova 1522/53, Holešovice, 170 00 Prague 7
IČO: 27082440
Subject of the declaration:
Title: Network video recorder
Model / Type: FN8108H
The above product has been tested in accordance with the standard(s) used to
demonstrate compliance with the essential requirements laid down in the Directive(s):
Directive No. (EU) 2014/53/EU
Directive No. (EU) 2011/65/EU as amended 2015/863/EU
Prague, 27.5.2021

20
WEEE
This product must not be disposed of as normal household waste in accordance with
the EU Directive on Waste Electrical and Electronic Equipment (WEEE - 2012/19 / EU).
Instead, it shall be returned to the place of purchase or handed over to a public
collection point for the recyclable waste. By ensuring this product is disposed of
correctly, you will help prevent potential negative consequences for the environment
and human health, which could otherwise be caused by inappropriate waste handling of
this product. Contact your local authority or the nearest collection point for further
details. Improper disposal of this type of waste may result in fines in accordance with
national regulations.
Table of contents
Languages:
Other Foscam Network Hardware manuals

Foscam
Foscam FN3004H User manual

Foscam
Foscam FN9108HE User manual

Foscam
Foscam FN3104W User manual

Foscam
Foscam FN3109H User manual
Foscam
Foscam FN7108HE User manual

Foscam
Foscam FN3108E User manual

Foscam
Foscam FN3004H User manual
Foscam
Foscam FN3104W-B4 User manual

Foscam
Foscam FN3104H User manual

Foscam
Foscam FN3004H User manual