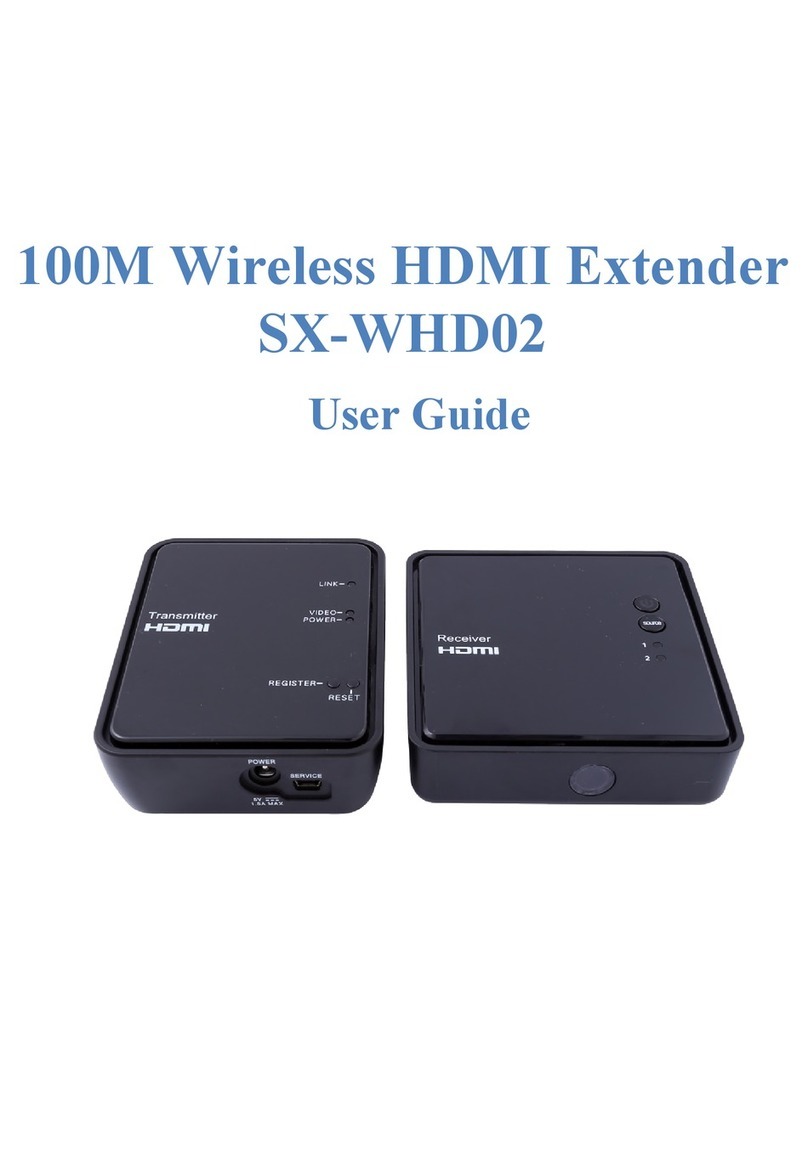
Foxun SX-WHD01 User manual

45M Wireless HDMI Extender
SX-WHD01
User Guide
Rev 1.0

Table of Contents
Safety Instructions .....................................................................................................4
Overview ...................................................................................................................5
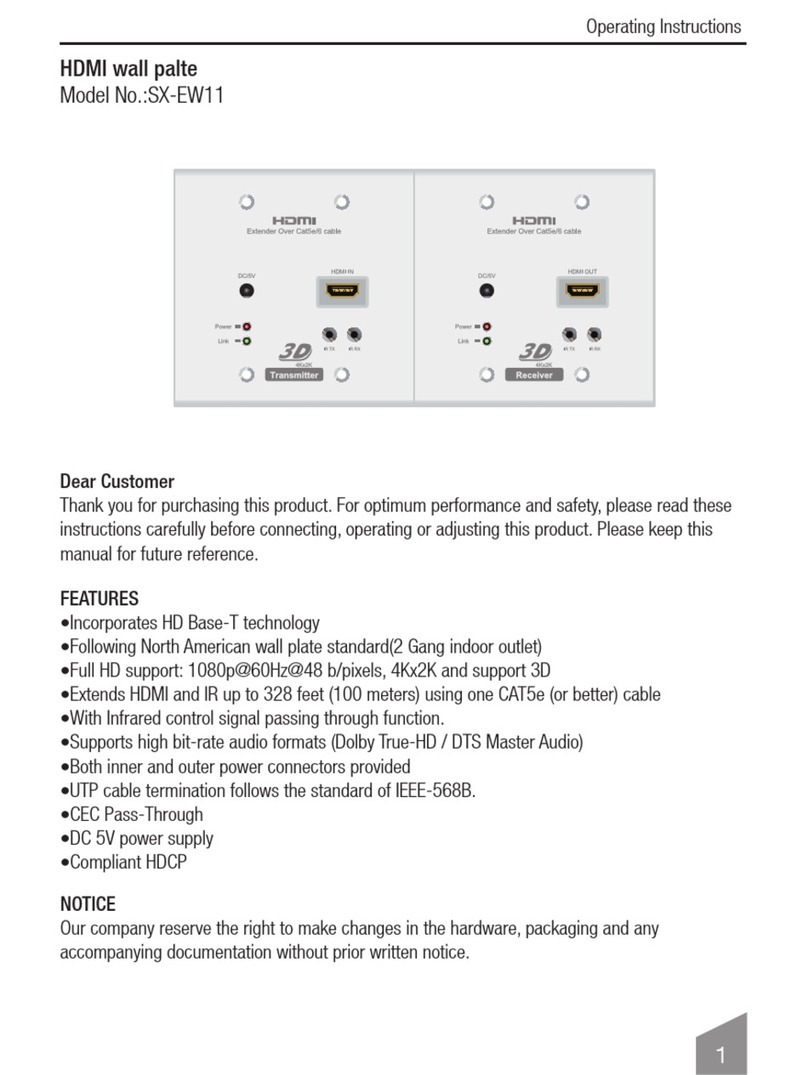
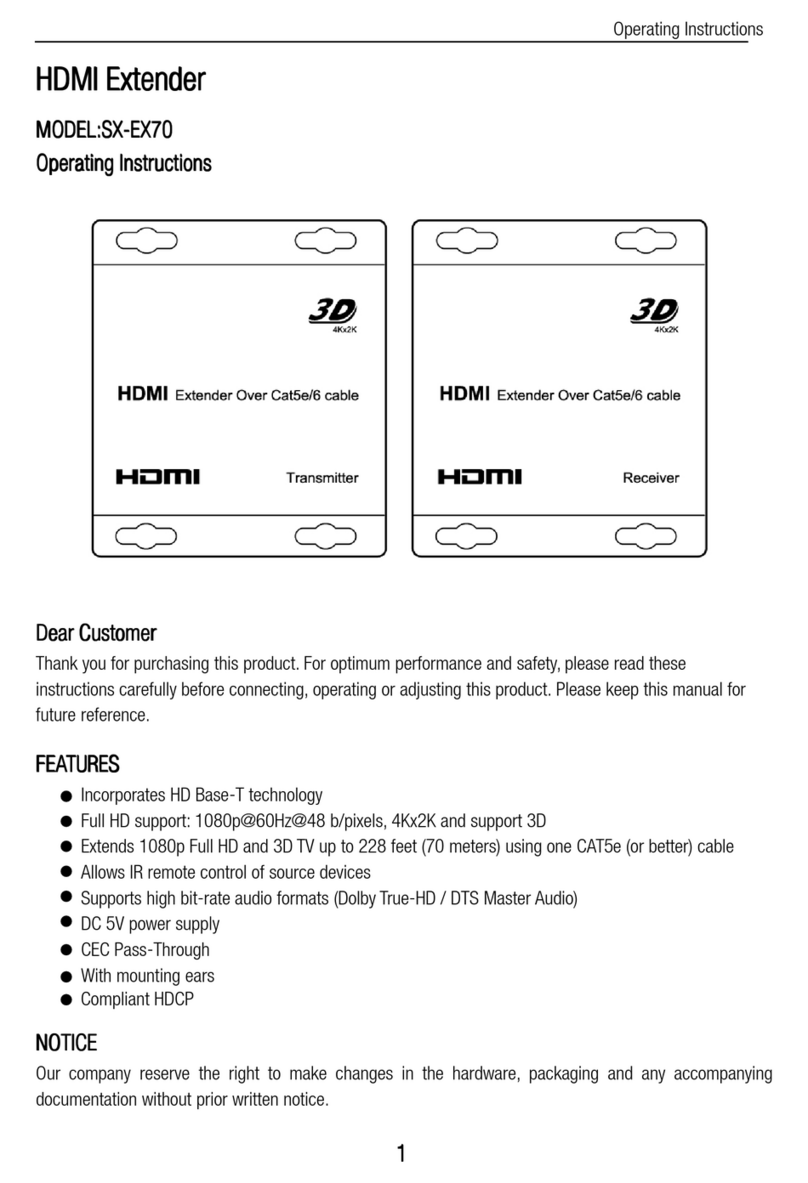
Package Contents .....................................................................................................6
Link setup..................................................................................................................7
Transmitter.............................................................................................................7
Receiver.................................................................................................................7
Product description....................................................................................................8
OSD Menu and Remote Control ..............................................................................10
Registration .............................................................................................................12
Registration using a remote control......................................................................12
Registration of additional receiver –Multicast mode ............................................13
Registration without a remote control ...................................................................13
Unregistering transmitters ....................................................................................13
Operating Modes and Frequencies..........................................................................15
Unicast mode.......................................................................................................15
Multicast mode (MM)............................................................................................15
Multi-system operation .........................................................................................15
Hardware Specifications ..........................................................................................16
Resolution supported...............................................................................................17
LED behaviors –Transmitter ...................................................................................18
Network LED........................................................................................................18
Video LED............................................................................................................18
LED behaviors - Receiver........................................................................................19
Link Quality Indicator ...............................................................................................20
Troubleshooting.......................................................................................................21
Other Malfunctions ..................................................................................................22
FCC Warning...........................................................................................................23
Safety Instructions
When operating this equipment, read and follow all the instructions in this manual.
Do not open unit.
Do not block the air ventilation openings.
Use only accessories specified or recommended by Shunxun.
When devices are switched on keep away at least 20cm from your body.
Do not expose to moisture or excessive heat.
Keep devices away from water
Use the mains plug to disconnect the apparatus.
Clean with a dry cloth only.
Unplug this apparatus during lightning storms or when unused for long periods of
time.
To reduce the risk of fire or electric shock, refer servicing to qualified service
personnel.
Keep these instructions in a safe and accessible place for future use.

Overview
The HD wireless is a robust video link with zero latency and advanced characteristics
for any professional, industrial and commercial application.
The wireless Extender is designed for hassle-free, easy installation and configuration in
conference rooms, lecture halls, public auditoriums and private projection rooms. It
saves time, money, labor and the need for cabling.

Package Contents
Please verify the following items are in the shipping box, prior to installation of the
transmitter and receiver:
ITEM DESCRIPTION QUANTITY
HD wireless video transmitter
1
HDMI wireless video receiver
1
5V Power Supply with DC jack 1
5V Power Supply with USB jack
1
HDMI cable 2
Remote Control 1
IR Emitter 1
Out of the box guide 1

Link setup
Transmitter
See Transmitter Product Description for port location described in this section.
1. Switch on Source.
2. Connect the transmitter to the HD video source via HDMI input.
3. Connect transmitter tothe 5v power, via the DC jack connector.
4. Enable Power on.
Receiver
See Receiver Product Description for port location described in this section.
1. Switch on Monitor.
2. Connect the receiver to the video sink (monitor) using a HDMI cable via
HDMI output.
3. Connect the receiver to the 5v power, via the USB jack connector.
4. Enable Power on.
Note: For maximal range
Keep line of sight between the transmitter and the receiver.
Avoid placing any metal obstacles besides the transmitter or the receiver.
Position both transmitter and receiver in an upwards position, for enhanced
antennas performance.
Mount the transmitter and receiver with proper air ventilation.
Bring the transmitter and receiver closer together while trying to maintain at
least 1 meter between them.

Product description
Transmitter
1 Network status LED
6 5V DC jack generic connector
2 Video status LED
7 MiniUSB port - Used for firmware updates
3 Power LED - Indicates
when supply voltage is
below 4.5V
8 HDMI input port - For connecting the HD video
source to the HD transmitter
4 Registration button
9 IR emitter generic connector
5 Reset button

Receiver
1 Network status LED
5 5V USB jack generic connector
2 Video status LED
6 MiniUSB port - Used for firmware updates
3 Registration button
7 IR receiver
4 Reset button 8 HDMI output port - For connecting the HD video sink to
the receiver

OSD Menu and Remote Control
The receiver generates an OSD Menu, which is used for adding/removing
and d
devices
isplaying the link status and general system related information. The display
menu is controlled by the enclosed remote control.
MENU key
This key is used to open the Setup window.
Add a new video Source
To add a new video source see section Registration using a remote control section.
Remove a video source
To remove a video source see section Unregistering transmitters section.
Modify video source name
When selecting this option a list of all registered transmitters will be displayed.

1. Select the source to rename using the “Up” and “Down”and "OK" buttons.
2. Select the characters you wish to modify using the right and left buttons on
the remote control, and modify the name using the up, down and “OK” buttons.
3. Press “OK” to save the modified name.
Note: The transmitter name is modified per receiver, i.e. in case the transmitter is
registered to other receivers as well, the renaming process will not affect the name
by which those receivers identify the transmitter.
Add Key
Provides direct access to the Add a new video Source function, which starts the
registration process on the receiver side.
Delete Key
Provides direct access to the Remove video Source function, enabling the user to
remove devices from the list of registered devices.
Source Key
Switches between video transmitters registered tothe receiver. This is done by
selecting the desired transmitter using the up, down arrows, and then pressing the
“OK” button.
The existing video link will be lost and within 30 seconds a video link will be
established with the selected transmitter.
Video Source Keys
These three keys (1st/2nd/3rd Video Source) will switch between the first, second or
third registered video transmitters accordingly, in order of their appearance on the
registered sources list. The existing video link will be lost and within 30 seconds a
video link will be established with the selected transmitter.

Registration
This products require registration between the transmitter and receiver, in order
to establish a wireless link. The registration process includes keys exchange, for
enhanced security and can be managed using the remote control, provided with the
product.
Sets of the transmitter and the receiver usually arrive pre-paired, when purchased
as pairs. In such case, video link will be established automatically after completing
installation.
The registration is required only once, and after registration, the sets of transmitters
and receivers will connect automatically upon boot up.
Registration using a remote control
The transmitter has the ability to connect up to 4 receivers at a time. During registration
power down any pre-registered receiver to prevent any video transmission during the
registration process.
1. Connect the HD Source to the transmitter (the registration process can be
done without HD source in which case an OSD message will appear to notify
of missing video source).
2. Using HDMI cable connect receiver intended for registration to a HD display.
3. Power on the transmitter and receiver.
4. Press the “Add”Hotkey button on receiver remote control.
5. The message “Please Activate Registration on Transmitter Unit” will
appear on the monitor.
6. Press the registration button on the transmitter side until the “Network” LED
starts blinking.
7. Wait for the OSD message "Adding [Tx name] Press OK to continue or
Exit to cancel".
8. Press the “OK” button on the IR Remote to confirm the addition of the
receiver.
9. Wait until the registration process is complete. An OSD message of "
Adding [Tx name]…"and progress bar will appear during the process.
10. Video link is now established.

Note: Once the registration process starts on the receiver side, it may take up to 30
seconds for the registration process to start on the transmit side. In case the
registration process exceeds 30 seconds, re-start the registration process by going
back to stage 4.
Registration of additional receiver –Multicast mode
In order to register an additional receiver to the transmitter, power down all other
receivers and repeat steps 3 through 10. Once all receivers have been registered to
the transmitter it is safe to power on all receivers. Video should be displayed on all
monitors.
Registration without a remote control
1. Connect the HD Source to the transmitter (the registration process can be
done without HD source in which case an OSD message will appear to notify
of missing video source).
2. Using HDMI cable connects receiver intended for registration to a HD
display.
3. Power on the transmitter and receiver.
4. Long press the Registration button on the Rx.
5. The message “Please Activate the Registration on Transmitter Unit” will
appear on the monitor.
6. Press the Registration button on the Tx until the “Network” LED starts
blinking.
7. Wait for OSD message of "Adding [Tx name] Press OKto continue or Exit to
cancel".
8. Press the Registration button on the Rx to confirm.
9. Wait until the registration process is complete. An OSD message of " Adding
[Tx name]…"and progress bar will appear during the process.
10. Video link is now established.
Unregistering transmitters
1. Power on the receivers.
2. Press the “Delete” Hotkey button on the remote control.

3. Select the source to be removed, using the up, down arrow buttons, and “OK”
button.
4. Confirm removal of the selected source by pressing the “OK” button,
or cancel the selection by pressing the “Exit” button.
5. Wait 30 seconds for the removal process to be completed.
6. Transmitter removal is complete.

Operating Modes and Frequencies
Unicast mode
In this mode a link is established between a single receiver and a single transmitter.
Multicast mode (MM)
In this mode a single transmitter can establish a link with 4 receivers.
Multi-system operation
Multisystem mode is supported, i.e. several pairs of receivers and transmitters can
operate simultaneously. It is recommended to keep the pairs at least 1 meter away
from each other
Frequency Specifications
Maximum conducted output
power per antenna
EIRP (including
antenna gain)
EIRP (including
antenna gain)
40MHz
channel
US INDOOR
Europe INDOOR
Japan INDOOR
5190
17
21
21
5230
17
21
21
5270
24
21
21
5310
24
21
21
5510
24
21
28
5550
24
21
28
5590
24
21
28
5630
x
21
28
5670
24
21
28
5755
30
x
x
5795
30
x
x
5835
x
x
x
Notes:
Total output power for both
antennas
Total radiated
output power
Total radiated
output power

Hardware Specifications
Module Name
AMN35226_PM
AMN36225_PM
Type
Tx
Rx
Video Interface
HDMI
Data Interface
IR,USB
IR, USB
Power
5v DC jack
5V via USB
PCB Size
L90mm x W60mm
L84mm x W54mm
Antenna
Internal
Internal
Delay
Less than 1 msec
Bandwidth
40 MHz
Environment
Operational: 0-40° C, 10%~90% humidity
Storage: -10°- 75° C, 10%~90% humidity
Range
45m LoS
Product Regulation
CE, FCC, RoHS, ESD +2Kv. MIC

Resolution supported
Video resolutions supported table:
Video Format Timings
Format Name
720(1440)x480i @ 59.94Hz/60Hz
480i
640x480p @ 59.94/60Hz
480p
720x480p @ 59.94Hz/60Hz
720(1440)x576i @ 50Hz
576i
720x576p @ 50Hz
576p
1280x720p @ 50Hz
720p
1280x720p @ 59.94/60Hz
1920x1080i @ 59.94/60Hz
1080i
1920x1080i @ 50Hz
1920x1080p @ 23.98/24Hz
1080p
1920x1080p @ 25Hz
1920x1080p @ 29.97/30Hz
1920x1080p @ 50Hz
1920x1080p @ 59.94/60Hz
1366x768p @ 60Hz
1440x900p @ 60Hz
1400x1050p @ 60Hz
1600x900p @ 60Hz
1680x1050p @ 60Hz
640x480p @ 59.94/72.809Hz
VGA
800x600p @ 60.317/72.188Hz
SVGA
1024x768p @ 60.004/70.069Hz
XGA
3D resolutions supported table:
Audio formats supported table:
Audio Formats
I2S, PCM, SPDIF, AC-3, DTS, Dolby 5.1
Video Format Timings
Format
Name
Side-by-
Side(Half)
Top-and-
Bottom
Frame
Packing
Primary 3D Formats (HDMI 1.4a)
1280x720p @ 59.94/60Hz
720p
Yes
Yes
Yes
1280x720p @ 50Hz
Yes
Yes
Yes
1280x720p @ 23.98/24Hz
Yes
1280x720p @ 29.97/30Hz
Yes
1920x1080i @ 59.94/60Hz
1080i
Yes
Yes
1920x1080i @ 50Hz
Yes
Yes
1920x1080p @ 59.94/60Hz
1080p
Yes
1920x1080p @ 50Hz
Yes
1920x1080p @ 23.98/24Hz
Yes
Yes
Yes
1920x1080p @ 29.97/30Hz
Yes
Yes

LED behaviors –Transmitter
Network LED
BLINKING MODE
DESCRIPTION
Solid
When a connection to Rx is established
Slow
Device is in listen mode
Normal
During link setup mode/during Registration
Fast
System Error (Video LED flashing as well)
Video LED
BLINKING MODE
DESCRIPTION
Solid
Video signal is locked
Normal
Video is not supported
Fast
System Error (Network LED flashing as well)
Power LED
BLINKING MODE
DESCRIPTION
Solid
Low battery
–
when voltage is less than 4.5v

LED behaviors - Receiver
Network LED
BLINKING MODE
DESCRIPTION
Solid
When a connection to Tx is established*/Link quality is good
Slow
Device is in listen mode/Link quality is reasonably good
Normal
During link setup mode/during registration
Fast
System Error (Video LED flashing as well)/Link quality is poor
* For Sky Link systems in Aerial mode expect a solid LED even when the Tx is out of
range.
Video LED
BLINKING MODE
DESCRIPTION
Blinking mode
Description
Solid
Video signal is locked
Fast
System Error (Video LED flashing as well)

Link Quality Indicator
The link quality indicator gives the user an indication of link quality.
When enabled this indicator appears in the top left corner in three different colors,
depending on the quality of the link:
- Very good
- Reasonably good
- Poor
In order to enable the indicator the user must short press the link quality button on
the Receiver during link. With a series of short presses the user can switch between
several indication modes as described in the flow chart below:
Note that the link quality indication button on the receiver is used for registration as
well. During link a long press will generate the registration message on the monitor.
Before a link is established this button is used solely for the registration purposes.
See registration section for correct usage.

Troubleshooting
Registration fails
Make sure both transmitter and receiver are powered on.
Make sure pairing units are theonly devices currently powered on.
Bring the transmitter and receiver closer together but no closer than 1 meter.
Keep the number of solid walls between the transmitter and receiver to a
√
√
√
√
√
√
√
√
√
√
√
√
√
√
√
√
√
√
√
√
√
√
√
√
√
√
√
minimum.
No Signal on monitor
Make sure the receiver is powered on.
Make sure the monitor is powered on.
Make sure the receiver is properly connected to the monitor.
Make sure the monitor is set to display video from the right source (HDMI1,
HDMI2 etc.).
Reboot the receiver.
Unplug and then re-plug the HDMI cable between the receiver and the
monitor.
Replace the HDMI cable.
Make sure the video resolution is supported by the monitor.
No video over the wireless link
Make sure the transmitter is properly connected to the source.
Make sure the network LED is powered on.
Make sure the source is powered on.
Unplug and then re-plug the transmitter to the source.
Abnormal Color or Noise on the monitor
Unplug and then re-plug the HDMI cable between the receiver and the
monitor.
Unplug and then re-plug the HDMI cable between the transmitter and the
source.
Bring the transmitter and receiver closer together but no closer than 1 meter.
Keep the number of solid walls between the transmitter and receiver to a
minimum.
Power cycle the system.
No Audio
Check the mute and audio volume settings on the monitor.
Check the audio format setting on the source is incompatible with system.
IR Remote Control Malfunctions
Make sure the plastic cover of the battery is removed.
Make sure the remote control batteries are fully charged.
Make sure there is a far enough distance between the IR receiver and any
fluorescent lighting or radiation interfering with the IR signals.
Table of contents
Other Foxun Extender manuals

Foxun
Foxun SX-EX36 User manual

Foxun
Foxun SX-EX57 User manual

Foxun
Foxun SX-EH100 User manual

Foxun
Foxun SX-EX13 User manual

Foxun
Foxun SX-GES24 User manual

Foxun
Foxun SX-WHD02 User manual

Foxun
Foxun SX-EP37 User manual

Foxun
Foxun SX-EW11 User manual

Foxun
Foxun SX-EX70 User manual

Foxun
Foxun SX-EX11 User manual
Popular Extender manuals by other brands

Shenzhen Shunxun Electronics
Shenzhen Shunxun Electronics LM-EHU100 operation instruction

Intelix
Intelix DIGI-VGASD-WP-S installation manual

AMG
AMG AMG4783BxR instruction manual

KVM-TEC
KVM-TEC USBflex user manual

LOVATO ELECTRIC
LOVATO ELECTRIC RX10 manual

StarTech.com
StarTech.com ST121HD20V quick start guide