Framus Artist Series User manual

Instruction Manual for all
Framus Vintage Instruments
&
Artist Series Guitars
ENGLISH - GERMAN
FRGuita Manual_neu_eng_de_2013:WWBassManualxp5 30.04.13 15:38 Seite 1

ENGLISH
FRGuita Manual_neu_eng_de_2013:WWBassManualxp5 30.04.13 15:38 Seite 2

Markneukirchen, October 2012
Dear Customer,
Framus was founded on January 1st 1946 in Erlangen, Germany, and stands for 60 years of experience and tradition in the craft
of guitar making. During the company’s rich history, Framus was responsible for introducing a large number of innovations to the
market. In the 1960s, the company went on to become the leading guitar manufacturer of all of Europe. Clearly, it was not without
reason that Bill Wyman, Peter Kraus, Bill Lawrence a.k.a. Billy Lorento, Jim all, Attila Zoller, Charles Mingus, Eberhard Weber
and Volker Kriegel all swore by instruments manufactured by Framus.
Our goal for the Framus Vintage series is to make the most interesting vintage models manufactured in the tradition-steeped
Framus factory buildings in Erlbach and Bubenreuth come to life once again. The result is quality instruments crafted in Asia that
are manufactured carbon neutral, and conjure up the classic spirit of Framus once more.
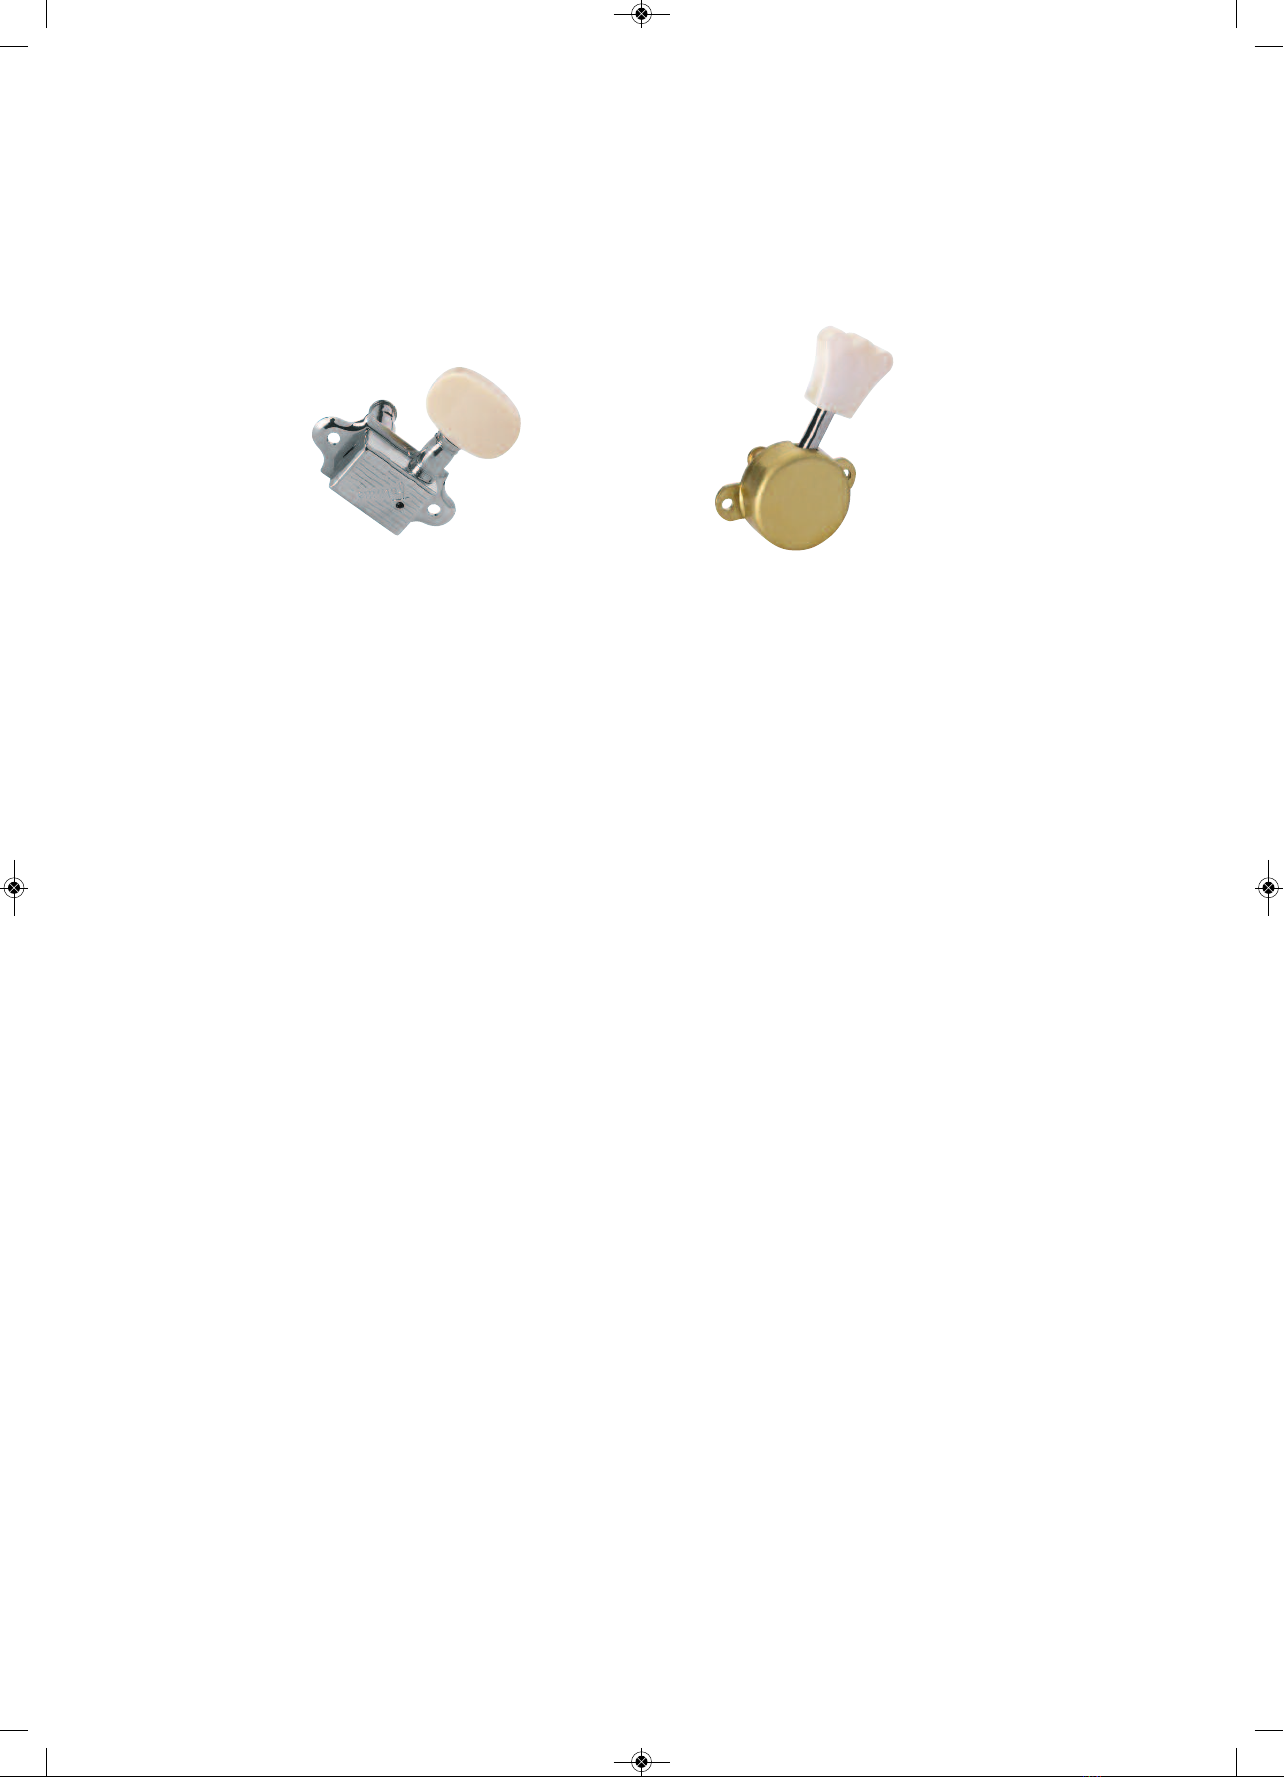
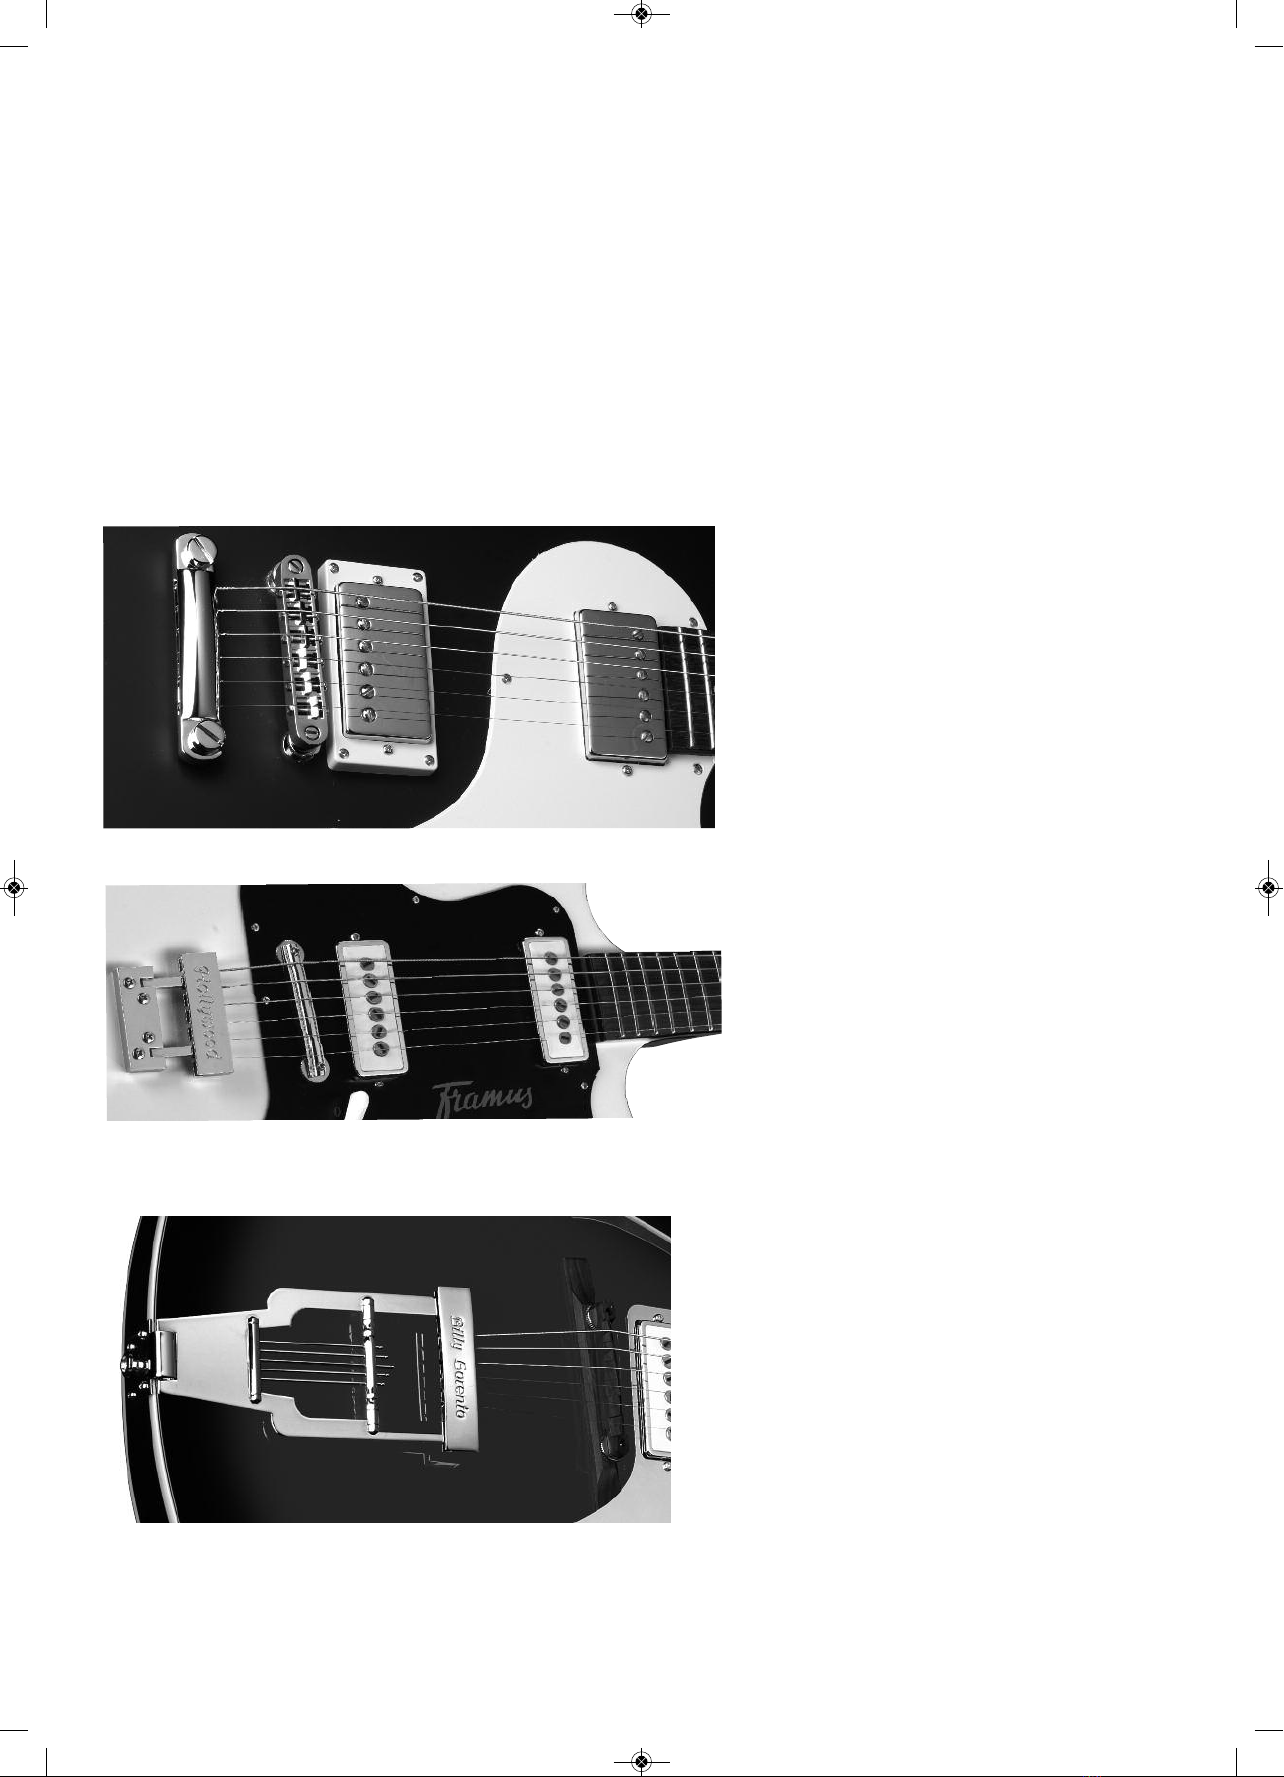
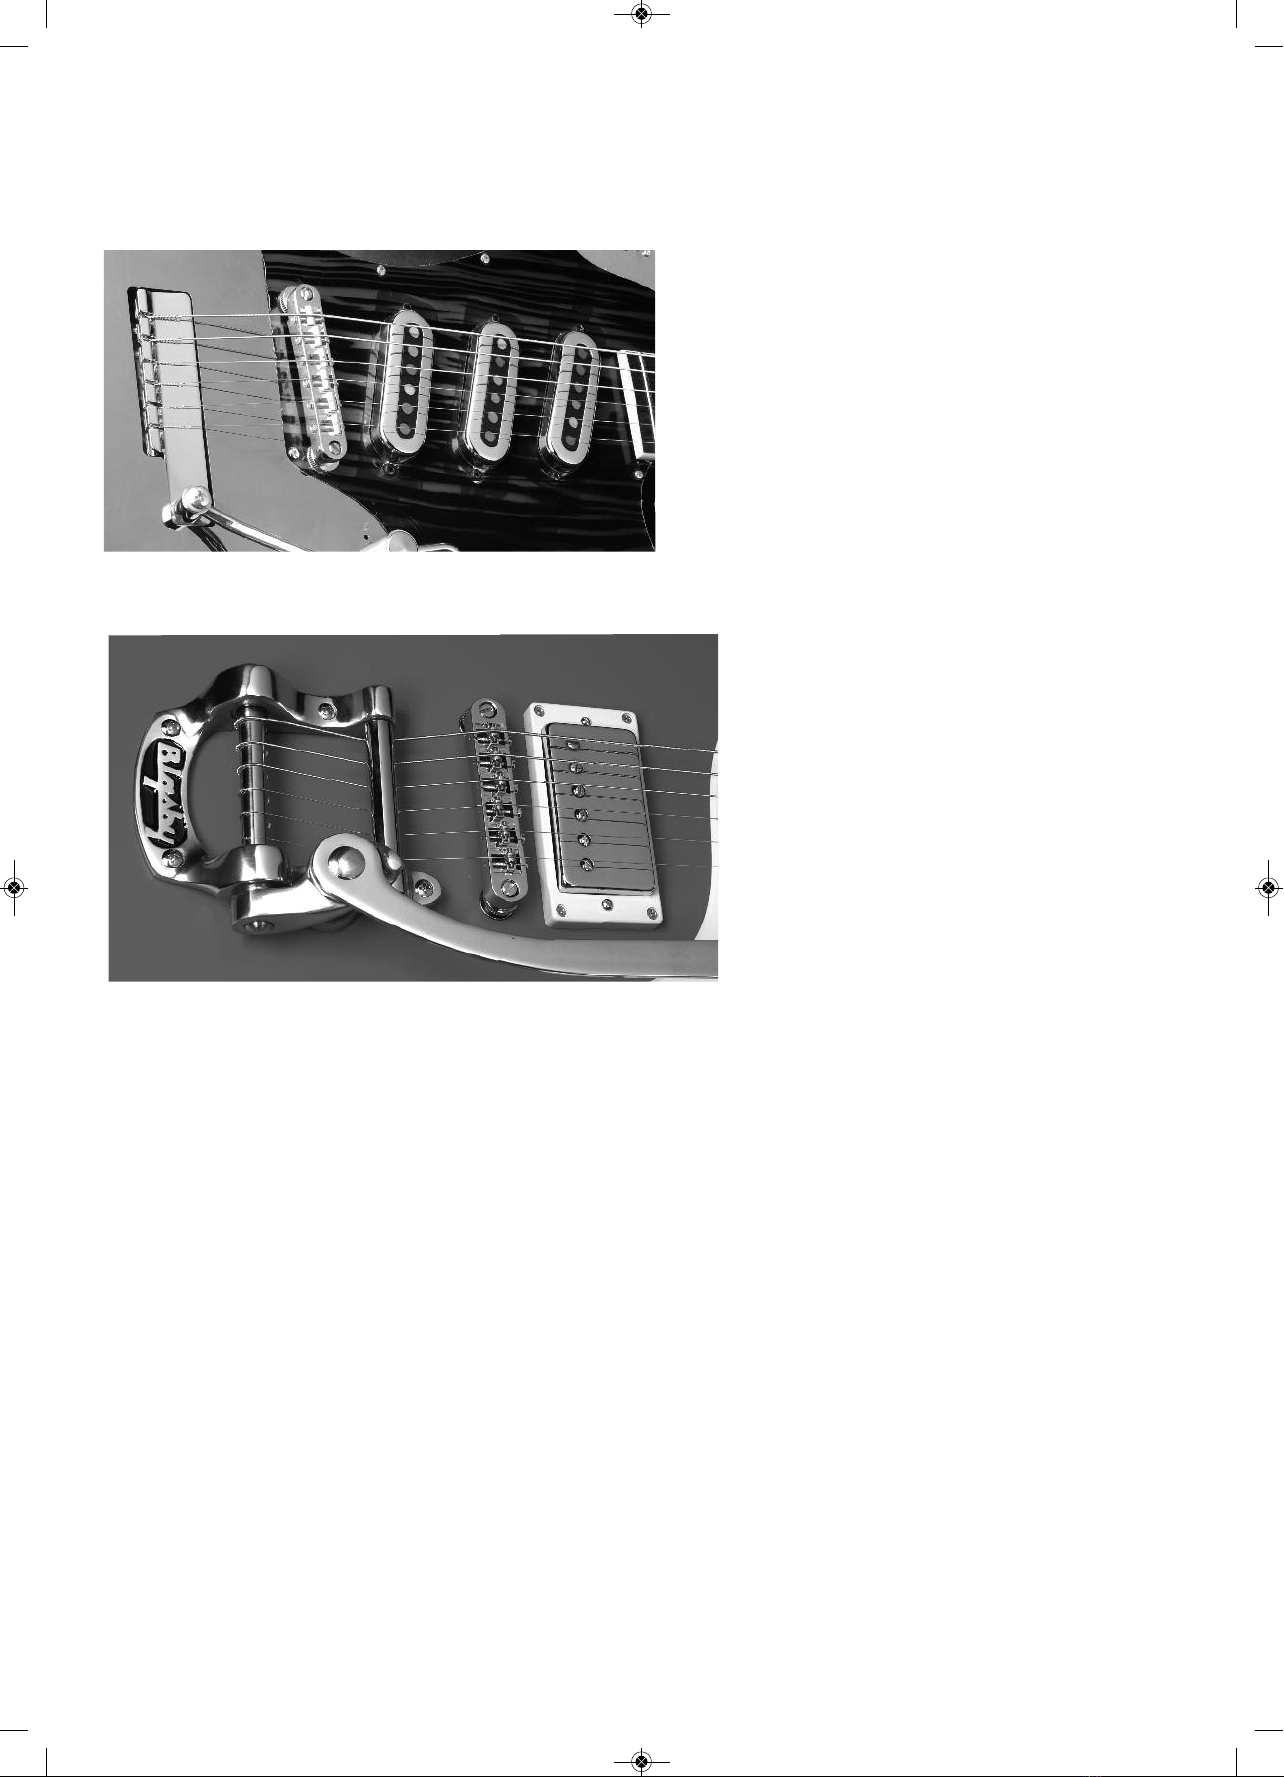
Wherever possible, all Framus models come with hardware and pickups crafted according to original specifications. This results
in an authentic vintage feel, beautiful looks, and of course, true vintage tone. The Framus Vintage series radiates pure vintage cool
for lovers of traditionally-styled guitars originating from the heyday of rock’n’roll and jazz!
We have every reason to be proud of Framus’ rich tradition. Come visit our very own Framus Museum here in Markneukirchen,
which is dedicated to the company’s history, and experience the tradition-steeped spirit of Framus at first hand!
Enjoy your Framus Vintage guitar!
Yours truly,
ans-Peter Wilfer
FRGuita Manual_neu_eng_de_2013:WWBassManualxp5 30.04.13 15:38 Seite 3

4
Index
1) Tuners 5
2) String Action Setup and Truss Rod Adjustment 6
3) ickup Setup 8
4) Bridges and Vibratos 8
5) Electronics Layout for all models 10
Models, Specs
Vintage Series
5/131 ollywood Single Cut 10
5/131 ollywood Double Cut 10
5/120 Billy Lorento / 5/150 Starbass 10
5/168 Golden Strato Deluxe 10
Artist Series
Earl Slick P90 11
Earl Slick PAF 11
6) Tips for Body, Neck and Fingerboard Care 12
7) Easy Access Electronics Compartment 12
8) Security Locks 13
9) Warranty / Customer Service 14
FRGuita Manual_neu_eng_de_2013:WWBassManualxp5 30.04.13 15:38 Seite 4

5
1) Tuners - Stringing / Tuning
Tuners
All Framus Vintage guitars come with Framus Vintage precision tuners (15:1 ratio). Framus tuners feature a sealed, self-lubricating gear
that warrants high tuning stability and needs no maintenance.
Framus Vintage Machine ead Framus Vintage Brass Machinehead
FRGuita Manual_neu_eng_de_2013:WWBassManualxp5 30.04.13 15:38 Seite 5

6
2) String Action Setup and Truss Rod Adjustment
String Action Setup
Due to the physical characteristics of wood and strings in conjunction with the vibration process please keep in mind that with a very low
string action setup, string buzzing is quite possible. The guitar has an optimal setup when your individual requirements are met. String gauge,
playing techniques, pick gauge, string attack, are all variables that cannot be considered when performing a factory setup.
Standard String Gauges (Framus Strings)
4-Saiter 30“ scale
42200 M 045/105”
Warwick Red Strings
.045”, .065”, .085”, .105”
6-string 25,5“ scale
45210 CL 009/046"
Framus Nickel Plated Steel Strings (.009" - .046")
009", 011", 016", 026", 036", 046"
6-string 24,75“ scale
45220 REG 010/046"
Framus Nickel Plated Steel Strings (.010" - .046")
010", 013", 017", 026", 036", 046"
ow often should one change strings?
Changing strings is a matter of individual preference. It also depends on many different factors. and sweat and inappropriate room
conditions can attack the strings and negatively influence the sound of the guitar and its playability.
We recommend changing the strings once or twice a month to ensure brilliant tone and playability.
FRGuita Manual_neu_eng_de_2013:WWBassManualxp5 30.04.13 15:38 Seite 6

7
B
A
Direction A = Back bow
Direction B = Forward bow
Truss Rod Adjustment
The neck is setup correctly if it has a slight forward bow. You can verify the neck’s relief by pressing the lowest string at the first and last fret
(simultaneously). The gap between fret and string should be approximately between 0.1 and 0.3 mm at the 9th fret. This value is indepen-
dent from the actual string action setup of the instrument.
Turning the truss rod wrench clockwise (direction A) will tighten the truss rod and give the neck a back bow; turning the wrench counterclock-
wise (direction B) will loosen the truss rod and give the neck a forward bow. These adjustments should be done in small steps because the
neck’s reaction is not instantaneous. You should check the results after approximately one hour and probably check again the following day.
Readjust the truss rod if needed. One should pay attention to the neck’s setup and the corresponding truss rod adjustment particularly during
the change of seasons or during strong weather fluctuations and resulting changes in humidity.
FRGuita Manual_neu_eng_de_2013:WWBassManualxp5 30.04.13 15:38 Seite 7

Wooden Bridge & Framus Tailpiece Billy Lorento/Star Bass
8
3) ickup Setup
The factory setup for the pickups is such that pressing the lowest and highest string at the highest fret will create a distance of 2 mm between
strings and pickup.
Use a screwdriver to adjust the pickup height.
The closer the pickup is to the strings, the higher the output and the sustain decreases. Normally the bridge pickup should be closer to the
strings.
Framus Bridge & Framus Tailpiece Hollywood
4) Bridges and Vibratos
Fixed Bridges
Tune-O-Matic with Stop Tailpiece - Earl Slick
FRGuita Manual_neu_eng_de_2013:WWBassManualxp5 30.04.13 15:38 Seite 8

9
Tone-o-matic & Vintage Vibrato - Strato Deluxe
Bigsby B5 vibrato with roller bridge - Earl Slick 90/Humbucker
Vibratos
FRGuita Manual_neu_eng_de_2013:WWBassManualxp5 30.04.13 15:38 Seite 9

10
5) Electronics Layout for all models
Hollywood Singlecut / Hollywood Double Cut / Billy Lorento / Starbass
Volume / Treble Control / Bass Control
Golden Strato Deluxe
FRGuita Manual_neu_eng_de_2013:WWBassManualxp5 30.04.13 15:38 Seite 10

11
Earl Slick 90
Earl Slick Humbucker
FRGuita Manual_neu_eng_de_2013:WWBassManualxp5 30.04.13 15:38 Seite 11

12
6) Tips for Body, Neck and Fingerboard Care
Tips for Body Care
Colored Oil Finish / Satin Finish (body & neck):
A matte and transparent surface with visible wood structure and accentuated grain are
the essential characteristic of the Colored Oil / Satin Finish. ere the surface is either
color stained (Colored Oil Finish) or the wood stays natural and sealed with a thin layer
of clear satin matte lacquer (Satin Finish). This sealed and non-colored finish does not
need special care. If the surface gets dirty it should be wiped with a damp cloth or with
one of the many non-abrasive spray cleaners available in select stores or specialty
shops.
High olish Finish (body & neck):
A igh Polish Finish is produced with the use of a high polish lacquer. The wood is
completely sealed under the finish, the surface is as smooth as glass and without noti-
ceable wood grain structure. As with Colored Oil Finish, care is limited to the visual
aspects. You can wipe the surface clean with a damp cloth or with the correspondingly
suited spray cleaners, or you can use polish that reinstates the full shine of the finish
and can also get rid of small scratches and typical traces of playing.
Tips for Fingerboard Care
All fingerboards that come standard on Framus guitars are not lacquered and require occasional maintenance to avoid getting rough or
dull. To clean and protect the fingerboard use products that are available at selected stores or specialty shops and are specially made for
this purpose. Please refer to that manufacturer’s product information to achieve the desired result. You can also use our beeswax for your
fingerboard maintenance.
7) Easy Access Electronics Compartment
To open the compartment, press on both latches simultaneously with your fingernails.
Available at our Framus webshop:
The Warwick Beeswax SP W 50015 for natural oil
body and neck finishes
FRGuita Manual_neu_eng_de_2013:WWBassManualxp5 30.04.13 15:38 Seite 12

13
8) Security Locks
All Framus Earl Slick Guitars are shipped with Warwick Security Locks.
Montage:
Put the piece with the outside thread in the strap hole.
Put the ring on the thread from the other side of the strap.
Screw the nut on the thread. Tighten with a
wrench.
Press the button of the Security Locks to unlatch it so you
can remove the strap or put it on.
Lift the upper part with both hands and remove the cover.
FRGuita Manual_neu_eng_de_2013:WWBassManualxp5 30.04.13 15:38 Seite 13

14
9) Warranty / Customer Service
Framus offers a 2-year limited warranty on all musical instruments. In case of a defective product please refer to your musical instrument
dealer. We wish you lots of fun with your new Framus guitar. If you have any questions about your instrument please feel free to contact
us.
Phone 0049 - 37422-555 0
Fax: 0049 - 37422-555- 9999
Email: [email protected] or ser[email protected]
Please direct your custom shop requests to: [email protected]
For spare and replacement parts visit our Webshop http://shop.warwick.de
United States customers may contact us at:
76-80 East, 7th Street
New York, NY 10003
Tel 1 (0) 212.777.6990
Fax 1 (0) 212.777.6994
E-Mail: info@warwick.de
Visit our Framus Vintage website at http://www.framus-vintage.de and www.framus.de
Please keep in mind that Framus reserves the right to modify pickups, electronics, and item numbers without prior notice. Visit our web-
site at: www.framus.de and www.framus.com
FRGuita Manual_neu_eng_de_2013:WWBassManualxp5 30.04.13 15:38 Seite 14
This manual suits for next models
8
Table of contents
Other Framus Musical Instrument manuals