Franke 2DCF-30 User manual

OPERATION & INSTALLATION MANUAL
30" COMBO FREEZER COOLER
30" Combo Freezer Cooler
MODEL: 2DCF-30
PART NUMBER: 18012935

of 122
IMPORTANT SAFETY INFORMATION
EXPLANATION OF SAFETY AND NOTICE SYMBOLS
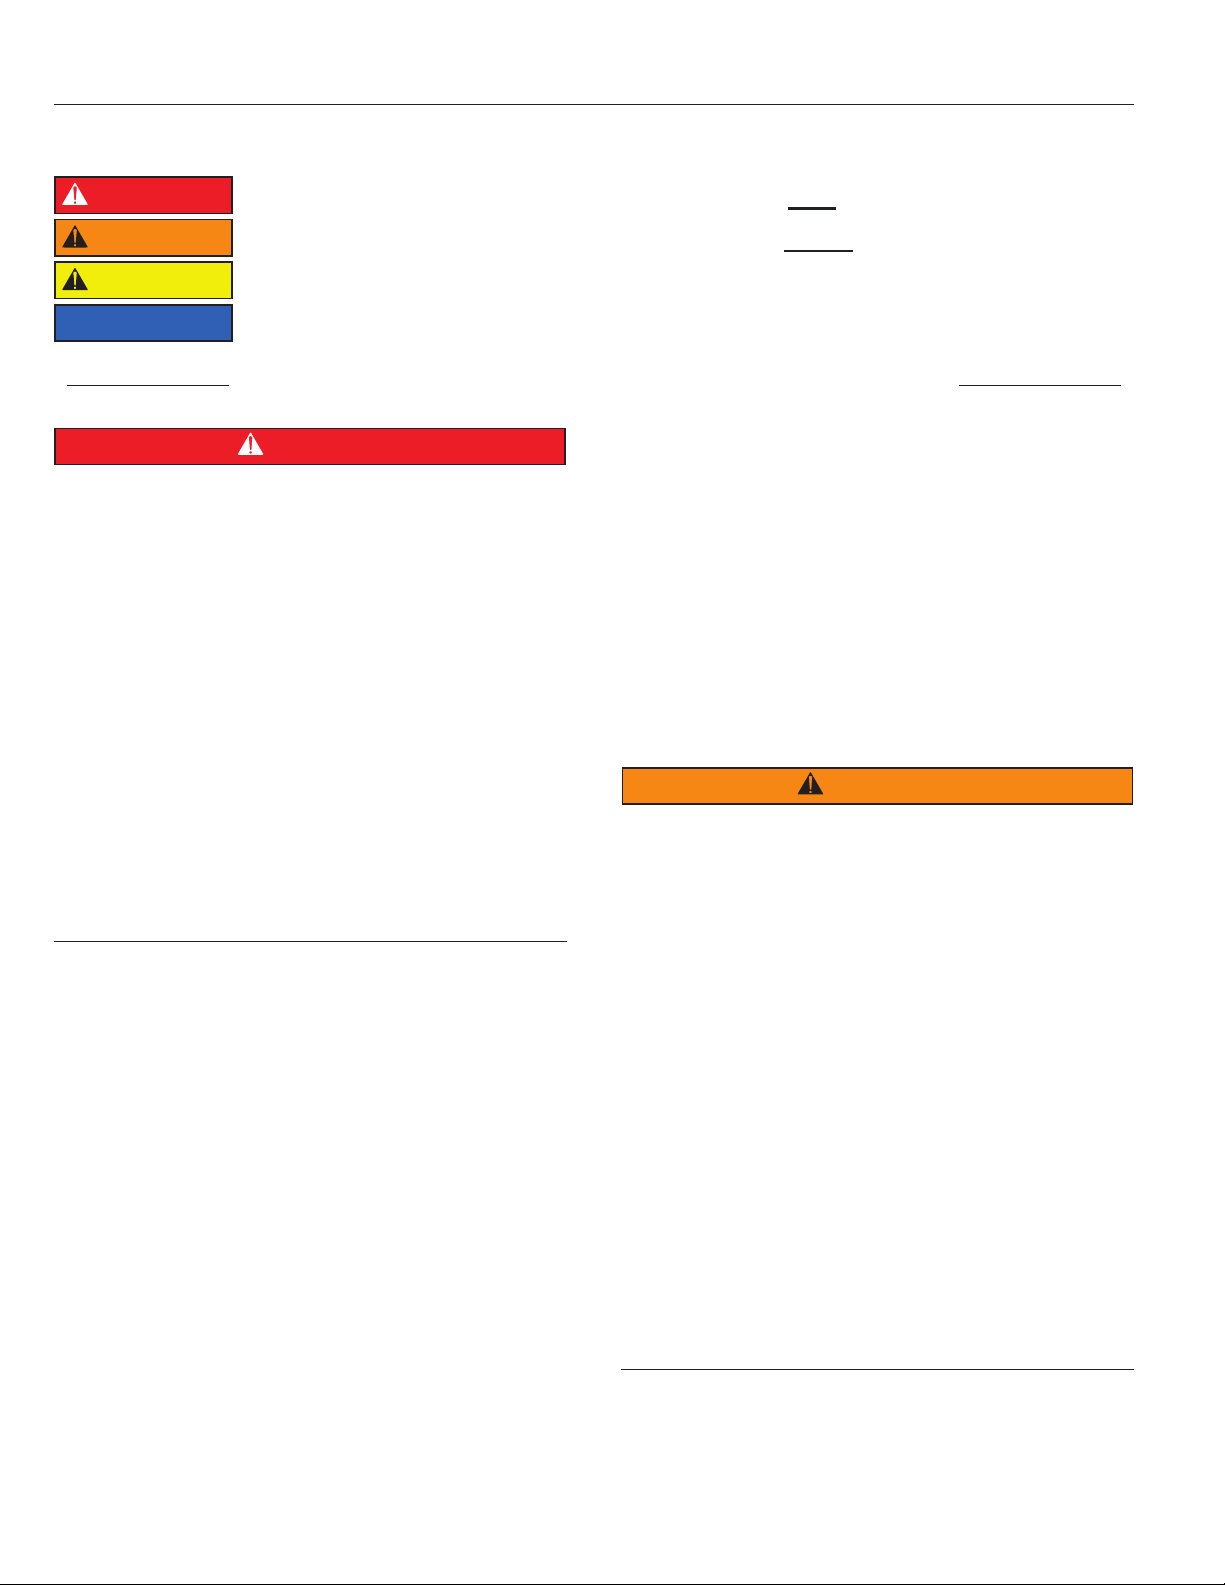
DANGER DANGER indicates a hazardous situation which, if not avoided, WILL result in death or serious injury.
WARNING WARNING indicates a hazardous situation which, if not avoided, COULD result in death or serious injury.
CAUTION CAUTION indicates a hazardous situation which, if not avoided, could result in minor or moderate injury.
NOTICE
NOTICE is used to address practices not related to physical injury.
READ AND SAVE THESE INSTRUCTIONS
DANGER
Energized electrical circuits present a life-threatening
hazard of electric shock, explosion, or arc flash.
-NEVER hose down unit or clean with water jet.
-ALWAYS disconnect unit from power IMMEDIATELY if
bare wires or other electrical conductors are exposed.
- ALWAYS ensure all electrical circuits are
disconnected and discharged, with an appropriately
rated voltage detecting device, before performing
service, maintenance, or installation work.
- ALWAYS follow all national and local standards,
laws, and codes, as well as all applicable safe
electrical work practices.
Failure to follow these safety instructions WILL result
in death or serious injury.
Refrigeration systems that use R-290 (Propane)
present a life-threatening hazard of fire or explosion.
All refrigeration systems present a hazard of flash
freezing and oxygen displacement.
-ONLY defrost unit naturally to avoid puncture or
damage to the refrigeration circuit.
-ALWAYS perform repairs on the unit in a well
ventilated area, away from any source of ignition.
-ALL service work MUST be performed ONLY by
factory-authorized service personnel following all
national, local, or other applicable refrigerant safe
handling work practices, standards, laws, and codes.
-ONLY use original equipment manufacturer (OEM)
components designed for use in R-290 refrigeration
systems when servicing, to minimize the risk of
ignition from incorrect parts or improper service.
-ALWAYS use caution when handling or moving
refrigerated equipment to avoid damage to the
refrigeration tubing so as to minimize the risk of leaks.
-ALWAYS read the unit’s operation and service
manuals completely before performing service work.
-ALWAYS use caution when handling refrigeration
discharge lines because they are hot and can burn.
-ALWAYS wear appropriate personal protective
equipment (PPE) when servicing equipment.
Failure to follow these safety instructions WILL result
in death or serious injury.
WARNING
Unauthorized modifications or repairs pose a hazard
in the form of an improperly functioning unit.
-ONLY for commercial use.
- NEVER make ANY modifications to the unit that are
not authorized by documentation provided by
Franke
.
-NEVER remove any labels from the unit.
-ALWAYS replace ANY labels that have been
removed or damaged IMMEDIATELY.
-ONLY use original equipment manufacturer (OEM)
parts when service, maintenance, or installation work
is performed.
-NEVER operate with factory installed parts or
components removed.
-NEVER use for other than intended use.
Failure to follow these safety instructions COULD
result in death or serious injury.
These instructions are intended for qualified
persons ONLY. Use by others creates an unsafe
condition.

of 123
TABLE OF CONTENTS
Important Safety Information..........................................................................................2
Key Components ...............................................................................................................4
Overview ..................................................................................................................................4
Installation .........................................................................................................................5
Installing the Freezer/Cooler ...................................................................................................5
Controls & Settings ...........................................................................................................6
Factory Preset Temperature and Adjustable Range..................................................................6
Freezer/Cooler Temperature Adjustment ................................................................................6
Manual Defrost.........................................................................................................................7
Operation ...........................................................................................................................7
Store Opening ..........................................................................................................................7
Daily Cleaning/Store Closing ...................................................................................................8
Drawer Removal .......................................................................................................................8
Drawer Installation ...................................................................................................................9
Troubleshooting ............................................................................................................. 10
Warranty.......................................................................................................................... 11
-ONLY persons who are certified technicians or
trades persons with the requisite knowledge, skills,
ability, and training, MUST perform service or
installation work.
-ALWAYS keep out of the reach of children.
-ONLY allow access to unit by trained personnel who
have read this manual.
Failure to follow these safety instructions COULD result
in death or serious injury, as well as propery damage or
void of warranty.
NOTICE
NEVER use inappropriate tools, processes, or
procedures. Damage to components of unit can occur.
-Follow these instructions EXACTLY to avoid property
damage or void of warranty.
NEVER discard any loose parts received with
unit. They may be required for proper and safe
installation and operation.
IMPORTANT SAFETY INFORMATION

of 124
KEY COMPONENTS
Overview
The 2-Drawer Combo Freezer/Cooler provides tem-
porary, point-of-use access to fresh proteins at the
grill station. Two drawers - an upper, freezer drawer
and a lower, refrigerated drawer - can hold specially
designed organizers (not included) for holding prod-
uct. The drawers and optional organizers can be eas-
ily removed for cleaning. Two digital temperature con-
trollers allow for monitoring and adjusting the current
temperature of each of the drawers.
Fig. 1
2
3
4
5
6
7
8
9
1
ITEM PART NAME QTY
1 Locking Casters 4
2 Condenser Access Panel 1
3 30" Combo Freezer/Cooler 1
4 Temperature Controller, Freezer 1
5 Power ON/OFF Switch 1
6 Temperature Controller, Refrigerator 1
7 Glove Holder 1
8 Upper Freezer Drawer 1
9 Lower Refrigerator Drawer 1
Table 1

of 125
INSTALLATION
Installing the Freezer/Cooler
1. Remove any packaging from the outside and
inside of the unit.
2. Remove any protective film covering the stainless
steel surfaces and loose parts.
3. Remove drawers (Fig. 2) (refer to
Drawer
Removal
, Page 8) and inspect unit to ensure fans
and air return holes are clear (Fig. 3).
Fig. 2
Fig. 3
4. Wipe down all interior surfaces of the unit and
drawers with a store-approved sanitizer before
loading.
5. Reinstall both drawers (Fig. 4) (refer to
Drawer
Installation
, Page 9).
Fig. 4
6. Ensure that there are 2" of clearance between
the unit and any nearby equipment to either side.
7. Plug the unit into the proper electrical receptacle,
per data plate specifications.
8. Set the unit into position and lock casters in
place (Fig. 5).
Fig. 5
LOCKUNLOCK
9. Toggle the power switch ON to start the unit (Fig. 6).
Fig. 6

of 126
CONTROLS & SETTINGS
Power On/Off Switch
NOTICE
NEVER turn the Power Switch OFF when the unit is
in use! Doing so may result in spoilage and loss of
stored food products.
The 2-Drawer Combo Freezer/Cooler is provided with
a main power ON/OFF switch, mounted to the front
of the unit, above the two refrigerated drawers (Fig. 7).
Fig. 7
Factory Preset Temperature and
Adjustable Range
The temperatures for the 2-Drawer Combo Freezer/
Cooler are preset at the factory. The preset tem-
peratures are recommended for normal operation. If
needed, the temperatures can be adjusted. The fac-
tory presets and adjustable ranges are shown in the
following table (Table 2).
MODULE
FACTORY PRESET
TEMPERATURE/
CONTROL
SETTING
ADJUSTABLE
TEMPERATURE RANGE
Upper
(Freezer)
Drawer
-5° F (-20.5° C) 0° to -10° F
(-18° to -23° C)
Lower
(Refrigerator)
Drawer
37.5° F (3° C) 34° to 40° F
(1° to 4° C)
Table 2
Freezer/Cooler Temperature Adjustment
To adjust the temperatures of the unit:
1. Locate the appropriate temperature controller on
the front of the unit (Fig. 8).
Fig. 8
FREEZER
CONTROLLER
REFRIGERATOR
CONTROLLER
1. Press SET (Fig. 9).
Fig. 9
2. Press SET again. The current setpoint is displayed.
Press the UP and DOWN arrow buttons to adjust
the temperature setting (Fig. 10).
Fig. 10
3. Press the POWER button twice to save the new setting.
The current temperature will be displayed (Fig. 11).
Fig. 11
4. Monitor the unit to verify that it reaches the
desired operating temperature.

of 127
Manual Defrost
NOTICE
The 2-Drawer Combo Freezer/Cooler is equipped with
a heater and controls for automatic evaporator coil
defrosting. Under normal operating conditions, NO
MANUAL DEFROSTING is required by the operator.
A manual defrost can only be initiated from the freezer
(left-hand) controller.
Use the following steps to initiate a defrost:
1. Press and hold the DOWN arrow button for 5 to 7
seconds (Fig. 12).
Fig. 12
2. The display will read “dEF” (Fig. 13). The
compressor will shut off and the heater will begin
to melt excess ice buildup. The controller will
display the current temperature once defrosting
is complete.
Fig. 13
OPERATION
Store Opening
NOTICE
NEVER scrape stainless steel with metal objects. Allow
refrigerated surfaces to defrost naturally. Scratches
cause corrosion, making cleaning more difficult. To
avoid damaging electrical components, be careful not
to use excessive liquids during cleaning. Do NOT use
a water jet or steam cleaner to clean the unit.
1. Turn the power switch ON (Fig. 14).
2. Allow the drawers to reach operating temperature
before reloading with wares and product.
Fig. 14
CONTROLS & SETTINGS

of 128
Daily Cleaning/Store Closing
1. Turn the power switch OFF.
2. Unload all remaining product, and place into the
appropriate cold storage to maintain holding
standards.
3. Clean per the store’s Planned Maintenance
Manual tasks for this unit.
Drawer Removal
Using the following procedure to remove the drawers.
1. Remove all remaining product and place in the
appropriate cold storage to maintain holding
standards. Remove the organizers and wares
from the drawers.
2. Turn the power switch OFF (Fig. 15). Open the
drawers fully. Allow 30 minutes for the drawers to
reach room temperature.
Fig. 15
3. Locate the drawer lock on the front of each
drawer slider. Push down and pull the drawer
locks toward the front of the drawers until they
spring upward (Fig. 16).
Fig. 16
4. Lift drawer front slightly, and pull forward to
remove (Fig. 17). Set the drawers on a clean
surface, such as a cart.
Fig. 17
5. Pull the drawer sliders out as far as they will go
(Fig. 18).
Fig. 18
6. Push back on the slider lock to release the lock
(Fig. 19).
Fig. 19
OPERATION

of 129
7. Lift the front end of each drawer slider, and
slide free from the rails in the interior of the
refrigerated cabinet (Fig. 20).
Fig. 20
Drawer Installation
To reinstall the drawers:
1. Push each drawer slider completely back into their
rails inside of the refrigerator cabinet. Pull the
slider lock forward to re-engage the lock (Fig. 21).
Fig. 21
2. Gently set the drawer rails back onto the rollers
on the end of the drawer sliders, and push the
drawer in until completely closed (Fig. 22).
Fig. 22
3. Reopen the drawer and pull outward until it
stops. Push the drawer lock upward while
simultaneously towards the back of drawer to
lock the drawer in place (Fig. 23).
Fig. 23
4. Inspect to ensure both locks are firmly secured.
Close both drawers.
5. Turn the power switch back ON. Allow the
refrigerated drawers to reach operating
temperature before reloading with wares and
product.
OPERATION

of 1210
TROUBLESHOOTING
ISSUE POSSIBLE CAUSE REMEDY
Unit does not run. Circuit breaker has
been tripped.
Check circuit breaker to see if it has tripped.
Reset if necessary.
Unit is running, but does not reach
target operating temperatures.
Store’s ambient
temperature is too high.
Decrease set point temperature of controller
(refer to
Freezer/Cooler Temperature Adjust-
ment
, Page 6).
Condenser coil is dirty
or clogged with debris.
Use a soft bristle brush to clean coils (refer to
the store’s Planned Maintenance Manual).
Ice buildup on evapora-
tor coils.
Remove all product, defrost (refer to
Manual
Defrost
, Page 7), and allow sufficient time for
unit to reach target operating temperature.
Product in drawers is above the tar-
get temperature.
Store’s ambient
temperature is too high.
Decrease set point temperature of controller
(refer to
Freezer/Cooler Temperature Adjust-
ment
, Page 6).
Food has not been
pre-chilled before
placement in the
drawers.
Place product into cold storage until product
temperature has been brought down to within
food safety limits.
Frost building up on opening around
freezer (top) drawer.
Door gasket is damage
or not installed
correctly.
Verify that the drawer gasket is installed cor-
rectly and is not cracked or damaged.
Product in refrigerator (bottom)
drawer freezes.
Set point temperature
of controller is too low.
Increase set point temperature of controller
(refer to
Freezer/Cooler Temperature Adjust-
ment
, Page 6).
If following these steps does not fix the problem,
contact
Franke
at (800) 537-2653 and press 2 for Technical Support.

of 1211
WARRANTY
Franke Foodservice Solutions (“Franke”) warrants new equipment manufactured in Franke’s own facilities to be free of defects due to
poor materials or workmanship for the period of time listed below (following the date of original installation):
Franke-Manufactured Equipment
-All Components (including compressor) - 2 Year Parts and Labor (year 1-2)
-Compressor - 5 Years (parts only years 3-5)
Exclusions: Certain Franke parts that are expendable by nature and need to be replaced frequently may not be covered. Franke
is not liable under these warranties for repairs or damages due to improper operation, maintenance or cleaning,
attempted repairs or installation by unauthorized persons, alterations, water quality, abuse, fire, flood or acts of God.
Additionally, this warranty may be voided in the case of:
-Failure to follow Franke instructions for use, care or maintenance.
-Removal, alteration or defacing of the Franke-affixed serial number labels.
-Service by a non-authorized service company.
-Use of non-OEM (Original Equipment Manufacturer) parts.
This warranty is conditional upon Franke receiving notice of any defect subject to this warranty within thirty (30) days of its original
discovery by the Buyer.
Other Equipment (Not Manufactured by Franke)
-Equipment not manufactured by Franke (commonly known as “buyouts” or purchased goods) and manufactured
by other entities is covered by the warranties, if any, of such third-party manufacturers. Where such third party
manufacturers provide warranties on any or all portions of said “buyouts,” Franke agrees to transfer all such warranties
to the Buyer.

Franke Foodservice Solutions Inc.
800 Aviation Parkway
Smyrna, TN 37167, USA
www.franke.com
© 2017 Franke Foodservice Solutions, Inc. This media is the confidential and proprietary property
of Franke Foodservice Solutions, Inc. and shall not be reproduced in any form of media without the
express written permission of Franke. Due to continuous product development, Franke reserves the
right to make changes in design and specifications without prior notice. Trademarks used are the
property of their respective owners. Printed in the USA under license by Franke Technology and
Trademark Ltd., Switzerland.
Document Part # 19010785, Rev. A, August 22, 2017
For Support, Please Call:
Tel +1-800-537-2653, Option 2
(1-800-5-FRANKE, Option 2)
This manual suits for next models
1
Table of contents
Other Franke Freezer manuals

Franke
Franke FSDF 330 NF NE F Operating manual

Franke
Franke HCMF-18 User manual

Franke
Franke SU03 User manual

Franke
Franke 2DCV-30 User manual

Franke
Franke HCWF-P User manual

Franke
Franke FSDF 300 NF XS E User manual

Franke
Franke HCMF-18 User manual

Franke
Franke HCMF-30P User manual

Franke
Franke 2DCV-30 User manual

Franke
Franke GSFP 450 R290 User manual