4. FORBIDDEN USES AND REASONABLY FORESEEABLE INCORRECT USES
WARNING: do not introduce into the machine frozen, half frozen dough or other products which
are not foreseen in this manual.
Should there be one or more dough balls accumulated thus blocking the dough exit hole, do not take
them away while the machine is on. Always turn off the machine before proceeding with the
cleaning. Open a door or unplug it.
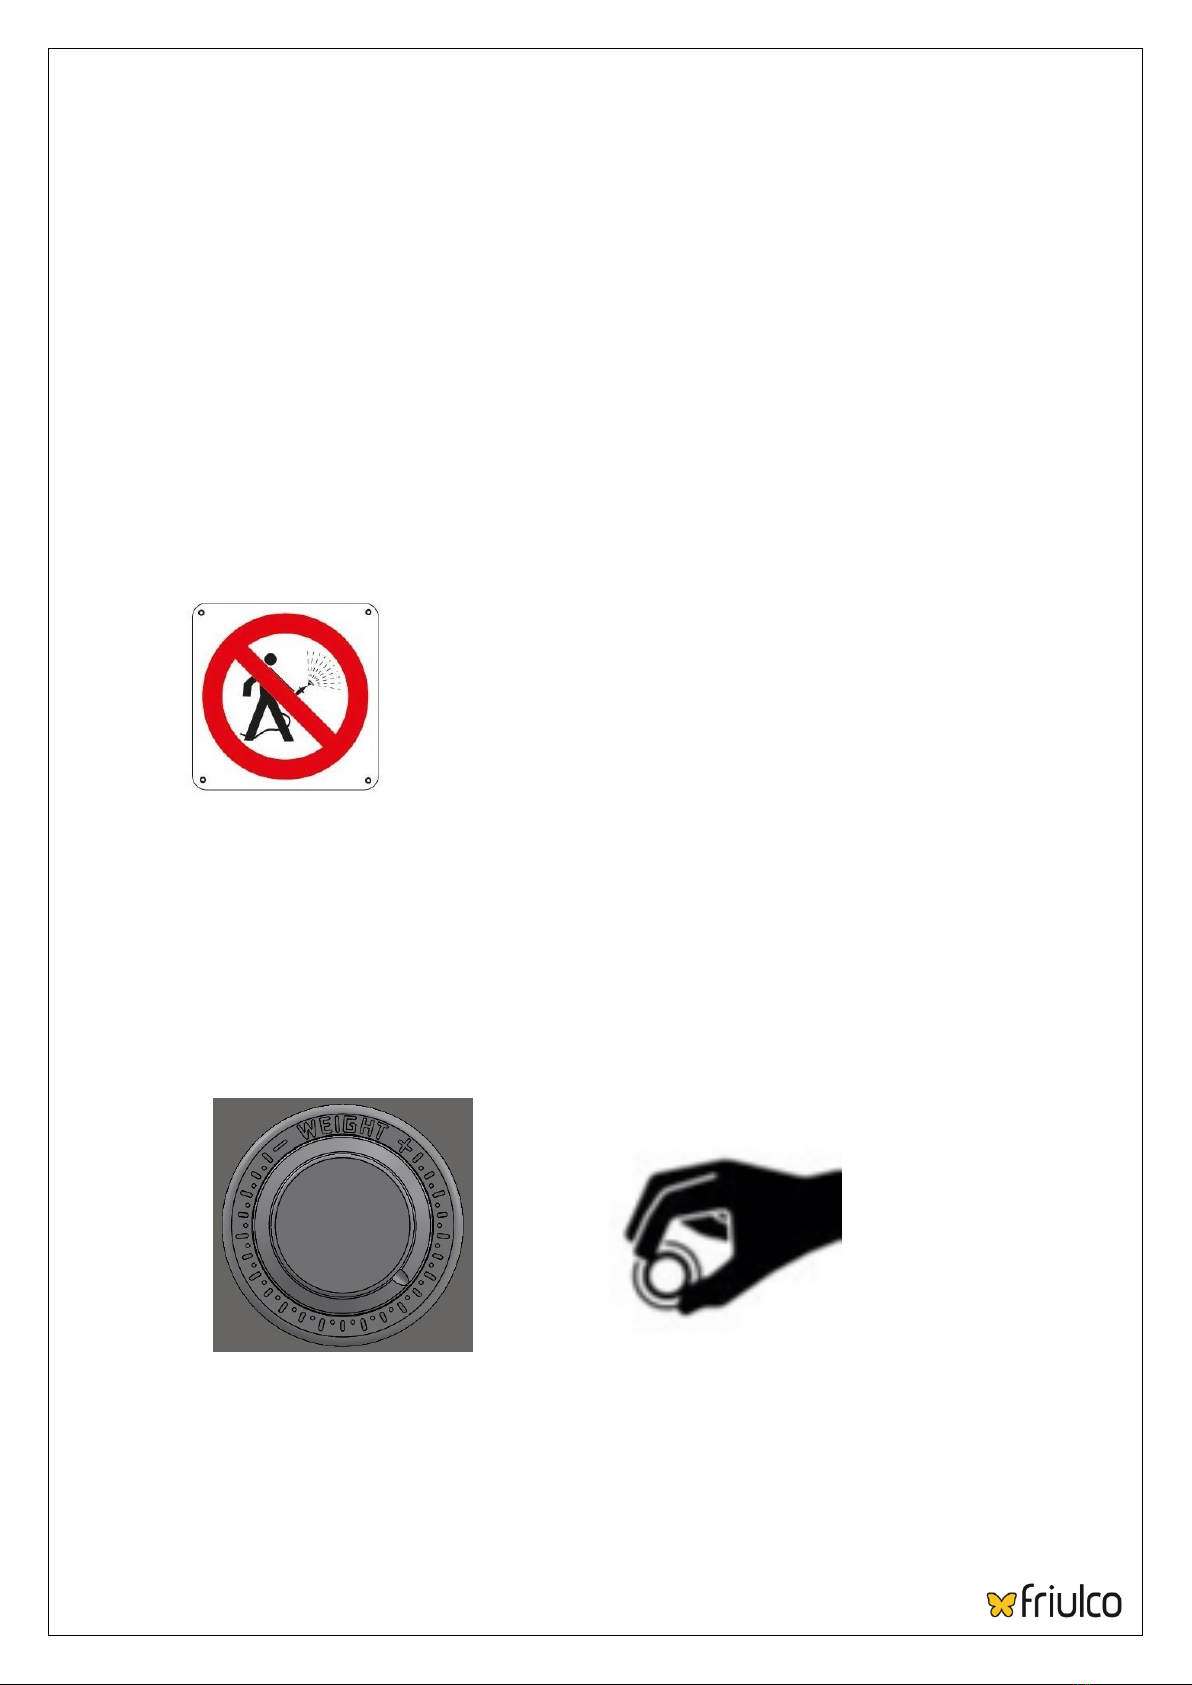
DO NOT wash the machine with water jets.
5. TRANSPORT, LIFTING AND INSTALLATION
5.1. The machine is placed on a wooden pallet, fixed onto it with iron angles and plastic band.
It is then closed from above with a cardboard box without bottom and strapped to the pallet.
Each cardboard box contains a complete machine, its operating and maintenance manual with
declaration of conformity.
5.2. To extract the machine out of its packing, you need to cut the straps and lift the cardboard box
up.
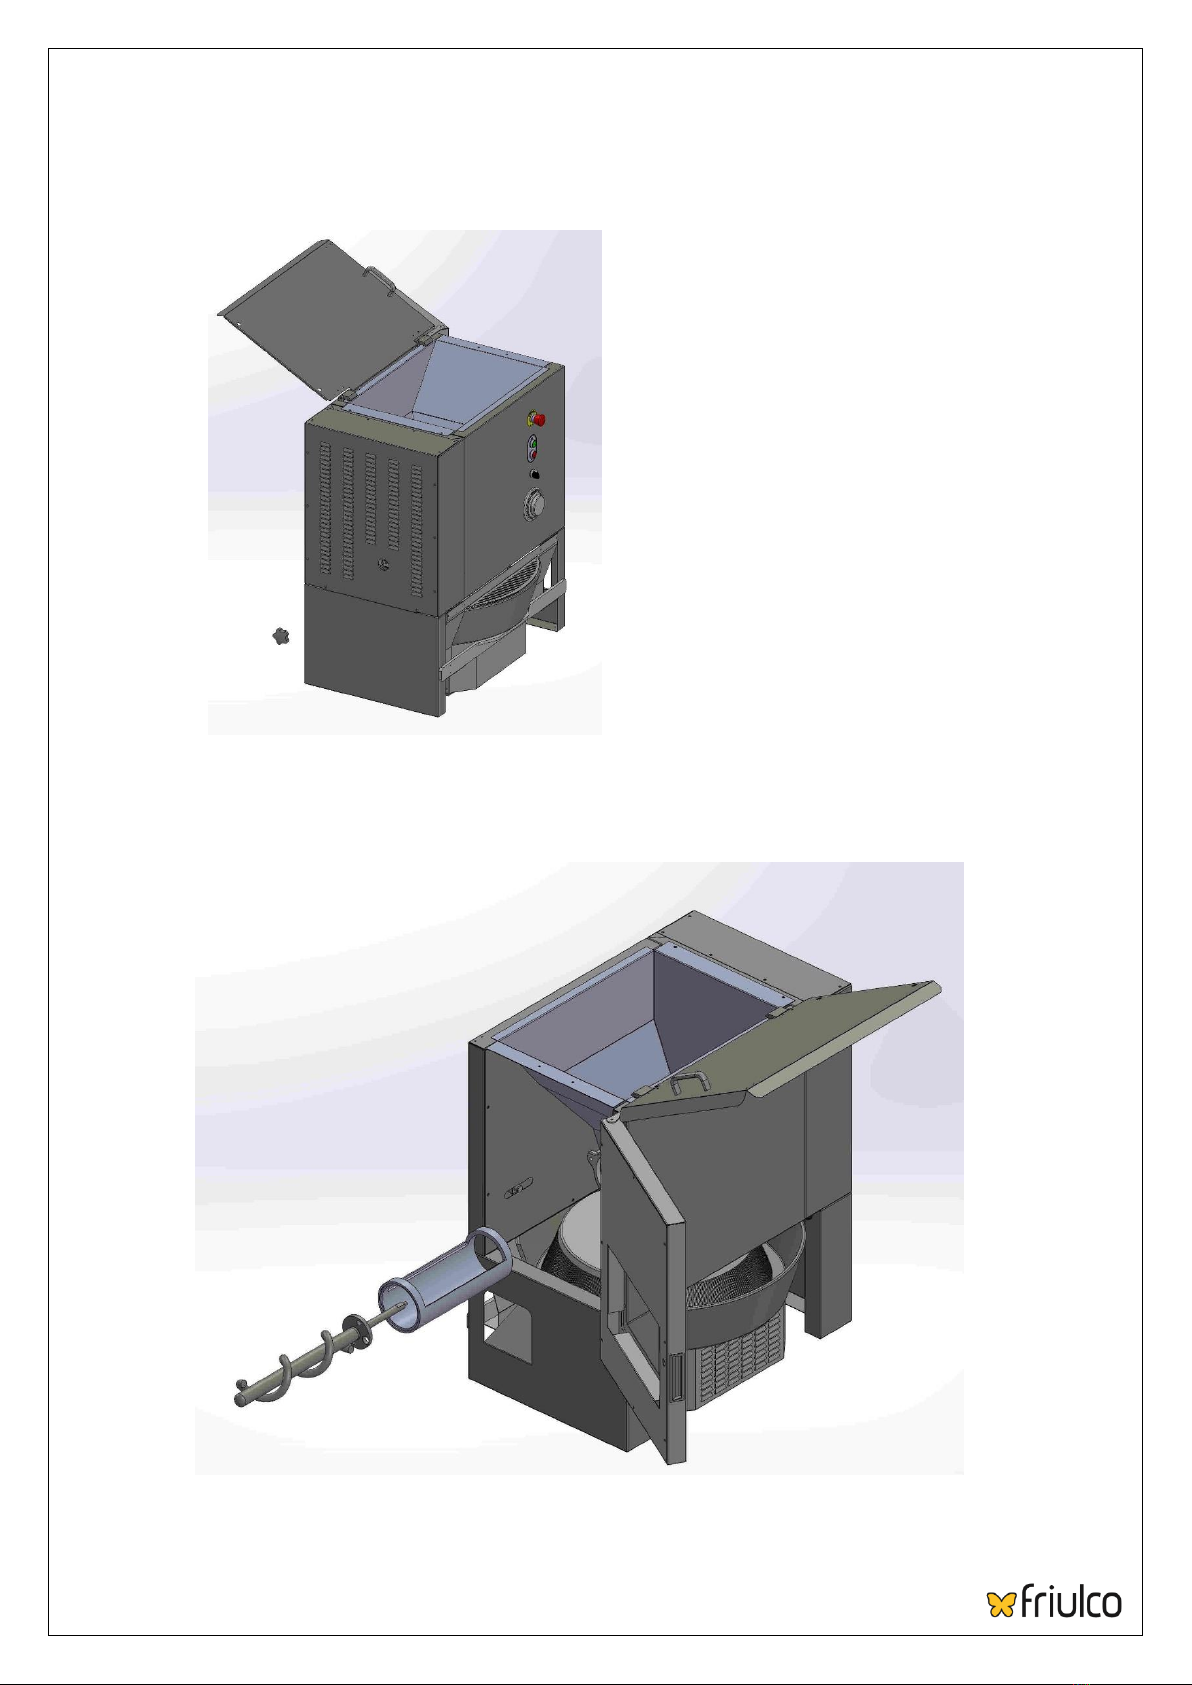
CAUTION: two persons are necessary to take away the dough rounder (lower part of the machine)
from the pallet.
These two persons can then take away the upper part of the machine (dough divider) from the pallet.
Place again the dough rounder under the dough divider and plug it into the socket of the divider.
CAUTION: in order to ensure a correct ventilation of the motors which are placed at the back, make
sure to leave at least twenty centimetres clearance between the machine and the wall or other
equipment.
Before connecting the machine, plug the dough rounder into the divider socket (Ref.24) placed
underneath.
CAUTION: The dough rounder must be correctly coupled with the divider.