TROUBLE SHOOTING
TIPS
1. If entire tree lightingdoes not light, make sure power strip cords are securelyinserted in a working wall outlet.
2. If an entire sectionof the tree does not light, please review followingactions:
a. Check that all plugs within the tree are securely connected.
b. Check fuse in power strip to determine if it may need replacement.Caution: Note that a blown fuse indicates an
electrical overload or electrical short circuit. If the fuse is blown, unplug power strip fromoutlet.Also unplug any
additional strings or products may be attached to the power strip. Replace the fuse following
manufacturer
instructions with proper fuse rating. If the replacementfuse blows, a short circuit may be present and the product
should be discarded.
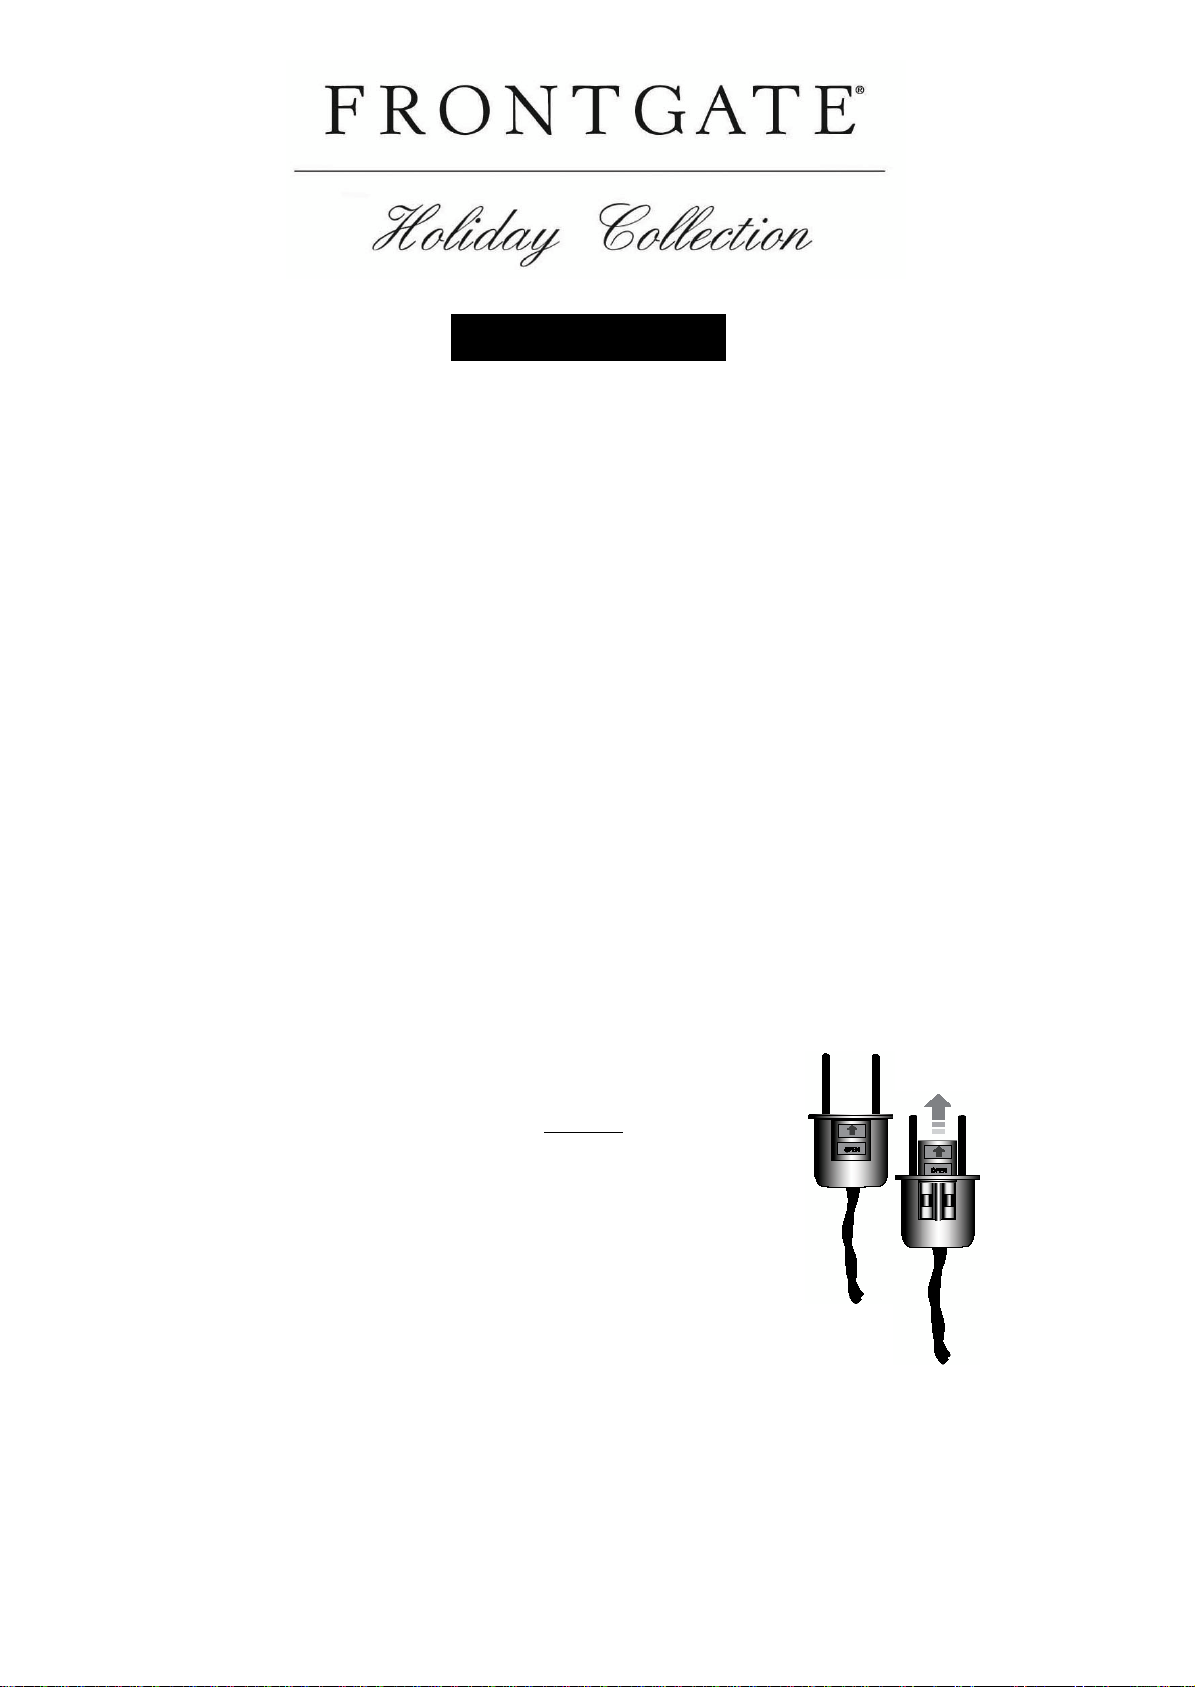
c. Check fuse in plug connectionon end of each light string.(See section on replacing plug fuses in this document).
3. If some individual lights do not light up, it may be due to becoming dislodged from the socket during assembly. Note those not lit
up; check for looseness and push any loose bulbs gently back into their socket. If they still do not light up, try a replacement
light bulb (supplied by
manufacturer)
and follow directions in section describing how to replace light bulbsPORTANT
BASIC SAFETYINSTRUCTIONS
When using electrical products, to avoid risk of fire burns, personal injury and electrical shock, basic precautionsshould always be
followed as stated below:
READ AND
FOLLOW
ALL SAFETY INSTRUCTIONS
1. Do not use seasonalproducts outdoors unless marked suitable for indoor and outdoor use. When productsare used in outdoor
applications,connect the product to a Ground Fault Circuit interrupting(GFCI) outlet. If one is not provided, contact a qualified
electrician for proper installation.
2. This seasonal use product is not intended for permanent installationor use.
3. Do not mount or place near gas or electrical heaters, fireplace, candles or other similar sources of heat.
4. Do not secure the wiring of the product with staples or nails, or place on sharp hooks or nails.
5. Do not let lamps rest on the supply cord or on any wire.
6. For your safety, unplugthe product when leaving the house, when retiring for the night or if left unattended.
7. This is an electrical product–not a toy! To avoid risk of fire, burns, personal injury and electric shock it should not be played
with or placed where small children can reach
it.
8. Do not use this product for other than its intended use.
9. Do not hang ornaments or other objectsfromcord, wire or light string.
10.
Do not close doors or windows on the product or extensionscords as this may damage the wire insulation.
11. Do not cover the product with cloth, paper or any material not part of the product when in use.
12. This product is equipped with push-in lamps. Do not twist the lamps.
13. This product employsoverload protection(fuse). A blown fuse indicates an overload or short-circuitsituation. If the fuse blows,
unplugthe productfrom the outlet. Also unplug any additional strings or products that may be attached to the product. Replace
the fuse as per the user servicing instructions(follow product marking for proper fuse rating) and check the product. If the
replacementfuse blows, a short-circuit may be present and the product should be discarded.
14. Read and followall instructionsthat are on the product or provided with the product.
CAUTION: To reduce the risk of fire and electric shock:
a. Do not install on trees having needles, leaves or branch coveringsof metal or materials which look like metal, and:
b. Do not mount or support strings in a manner that can cut or damage wire insulation.