FSC SKOP Troubleshooting guide

Factory Furniture Ltd |The Stableyard |Coleshill |Swindon SN6 7PT |T +44 (0)1793 763829 |F +44 (0)1793 861615
We reserve the right to change specification without notice. © 2008 Factory Furniture Ltd
FSCTM - The mark of responsible forestry. ©1996 Forest Stewardship Council A.C.
SKOP bench, seat & stool
Operation & Maintenance Manual

Introduction
Design
Design, shop drawings and development by Factory Furniture Ltd
Manufacture
Factory Furniture manufactured components. Products are assembled in Factory workshops, checked and dispatched ready
for installation. Replacement products or components thereof should be ordered direct from Factory Furniture Ltd
Copyright
The design copyright for the product and drawing copyright remains the sole property of Factory Furniture Ltd
General Specifications
Bench Seat (with back)
Metric length 2500mm | width 620mm | height 450mm Metric length 2500mm | width 620mm | height 860mm
Imperial length 8’ 2½” | width 2’ ½” | height 1’ 5½” Imperial length 8’ 2½” | width 2’ ½” | height 2’ 10”
Approx Weight 72kg Approx Weight 84kg
Fixing Centres 2420mm (7’ 11½”) x 420mm (1’ 4½”)
Stool
Metric length 580mm | width 620mm | height 450mm
Imperial length 1’ 11” | width 2’ ½” | height 1’ 5½”
Approx Weight 27kg
Fixing Centres 500mm (1’ 7½”) x 420mm (1’ 4½”)
Detailed Material & Finish Specifications
Seat Slats
• Manufactured from FSC certified tropical hardwood or non-FSC oak (other timber options available upon request)
• Profiled and left untreated as standard (oil or microporous woodstain treatment available on request)
• Supported on frame - attached with 4 no. fixing points each
Back Rest (Skop ‘seat’ only)
• Slats are manufactured from FSC certified tropical hardwood or non-FSC oak to match seat slats (other timber options
available upon request).
• Slats are profiled and left untreated as standard (oil or microporous woodstain treatment available on request). Each slat is
attached to the back frame via 2 no. fixing points. Each back panel has 4 no. slats
• Back rest frame manufactured from stainless steel angle - satin polished or polyester powder coated (powder coat colour
grey as standard or to customer specification). Each back support is fixed to the seat top via 4 no. fixing points
Frame
• Manufactured from stainless steel rectangular section tubing - satin polished or polyester powder coated finishes (powder
coat colour grey as standard or to customer specification)
• Anchored using 2 no. resin fixed M10 x 200mm threaded rods and cap nuts per base (surface fix only)
2SKOP specification

General Maintenance (Recommended Schedule & Guidelines)
Daily/Weekly/Monthly (or as adopted)
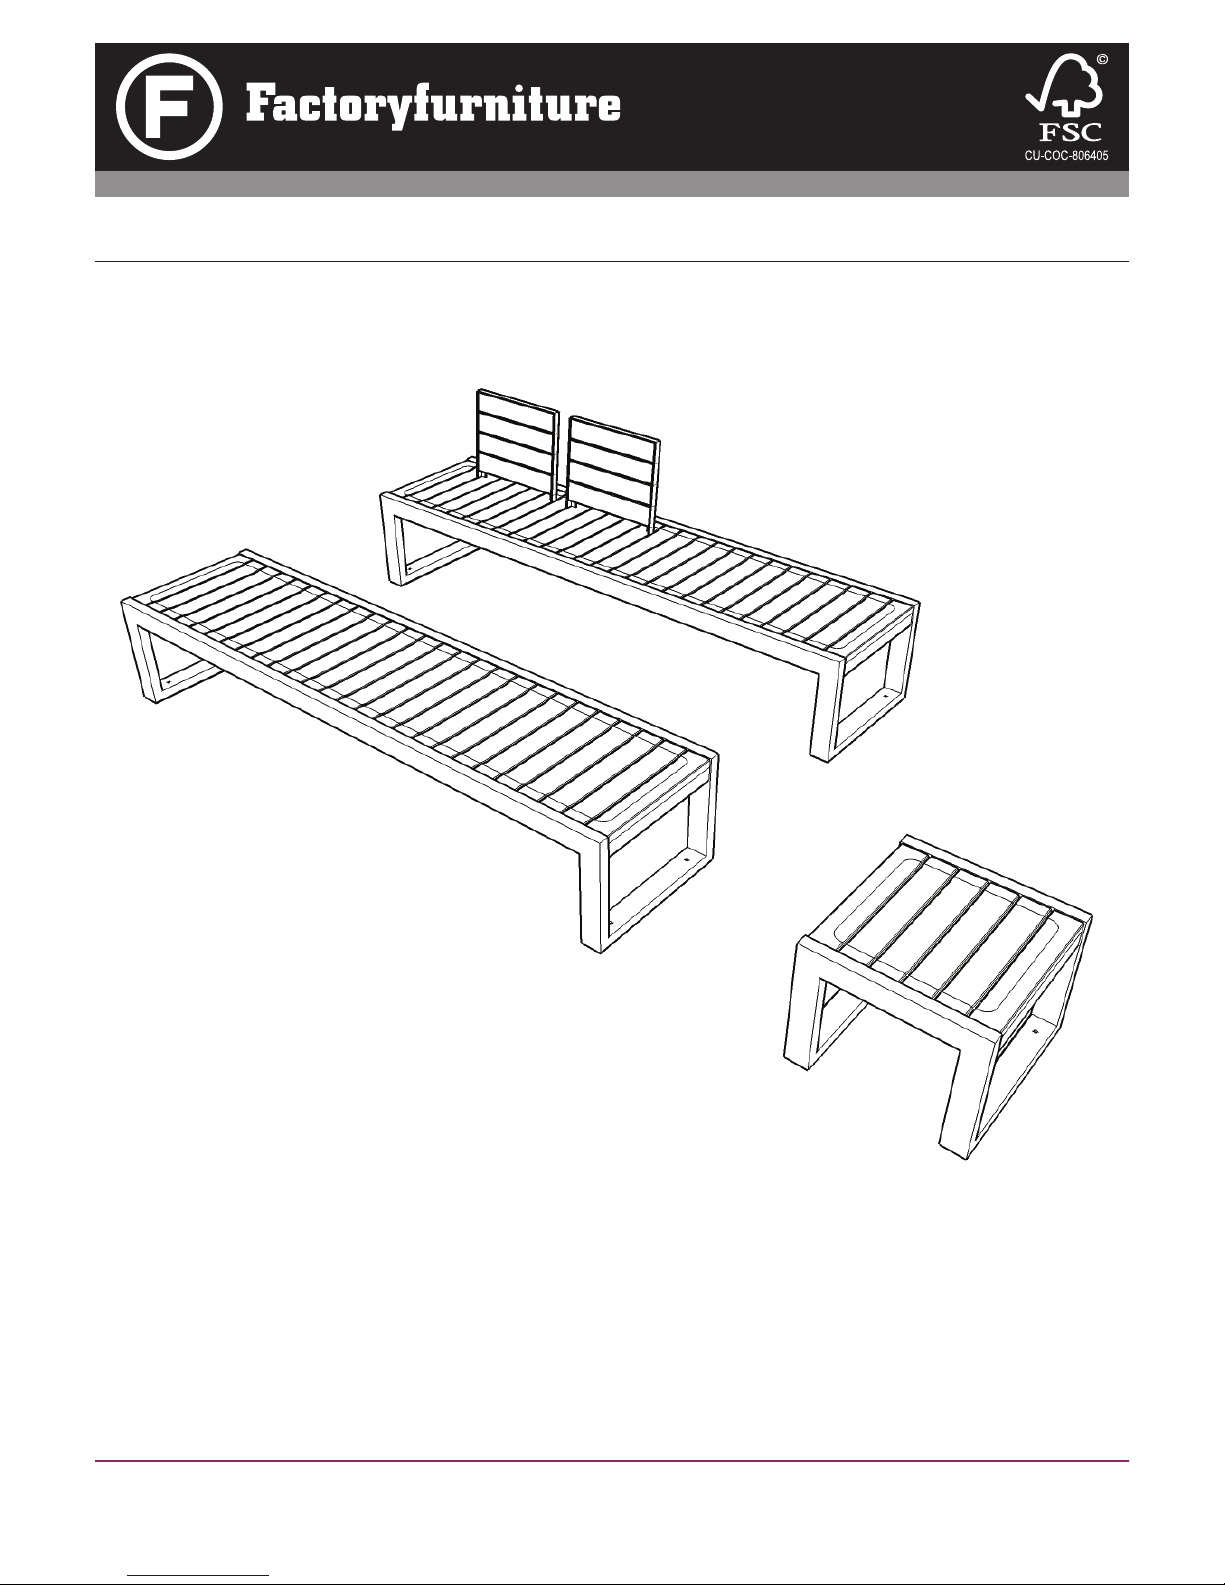
Visual checks of seat top, back and bases - check all items for superficial or physical damage.
Three Monthly
Clean all items as detailed below check all fixings are seated correctly; inspect timber for serious damage and splinters.
Six Monthly
Secure all fixings; full clean as detailed below; check that seat/bench is firmly secured to the ground
Specific Maintenance Details
FSC Timber / Non-FSC Timber
Clean with a stiff brush once per year, especially in more exposed locations, in order to prevent a verdigris type build up on
the timber surface. Ideally this should be completed in early spring. During the cleaning stage, all exposed timber surfaces
should be inspected for splits and splinters. Any splinters and graffiti should be removed and the surface sanded with 100
grit sandpaper in order to remove any uneven / sharp edges or surfaces.
During the first few months after installation the tannin naturally occurring in the timber may leach out and cause a brown
staining on the bases. This may be removed with a light solution of household bleach and water.
Stainless Steel (polished stainless steel only)
Clean as required, but at least every three months, using a stainless steel polish and a lint free cloth. To remove ground in dirt,
a stainless steel finishing pad may be required.
Polyester Powder Coated
For general cleaning using a damp cloth and warm soapy water only. Scourers and abrasive cleaners are NOT suitable for
this type of finish and may damage it. Before using any cleaning agents to remove graffiti etc. try on a small, inconspicuous
area first to avoid causing more unsightly damage.
Repairs
FSC Timber / Non-FSC Timber
For light damage, please see section on specific maintenance details above. For instances of heavy damage, the timber item
should be replaced. Please order against the part number reference in the reordering section towards the end of this manual.
Stainless Steel
Light damage (surface scratches etc.) can be removed using an emery pad (240 grit) and freeing oil such as ‘WD40’. Care
should be taken to follow the direction of the brushing grain. It is recommended that a trial repair be carried out on an
unimportant surface first. No corrosive cleaners or other abrasives should be used. Any contamination, particularly carbon
steel scuffs from vehicles, should be quickly removed to avoid corrosion.
Polyester Powder Coated Surfaces
For light damage (scratches, chips etc.) repair using touch-up paint to match original colour (available from Factory Furniture
Ltd). Paint application should be carried out in accordance with approved methods detailed by the paint manufacturer.
Please note that it is advisable to use professional painters to achieve best results when touching up larger areas. Products
for respraying larger areas are available from Factory Furniture Ltd.
Heavy Damage
In the event of serious damage to any component, replacements should be ordered from Factory Furniture Ltd. In this event
(or if the product needs to be disassembled for any reason), please contact Factory Furniture for detailed technical advice.
3SKOP maintenance

Reordering / Spares
Part No. Item Description
P1011 / 01 1 no. Skop bench slat set (not including frame) - (2 no. end slats and 24 no. mid slats total)
P1011 / 02 1 no. Skop seat slat set (not including frame) - (2 no. end slats and 24 no. mid slats total)
P1011 / 03 1 no. Skop stool slat set (not including frame) - (2 no. end slats and 4 no. mid slats total)
P1011 / 04 1 no. Skop back unit (complete assembled unit) - N.b. bench slats must be modified to use back unit
Instructions For Reordering
If possible, please specify job name or number at the time of reordering to enable identification of details such as the original
species of timber used, stainless steel finishes and polyester powder coat colours etc. In any event where either, additional
orders are required, or spares and replacements are required please contact Factory Furniture Ltd. Using the part numbers
given above as reference should help us to process your enquiry more efficiently.
Note - All fittings required to assemble ordered parts will automatically be included in the order.
AutoCAD Drawing List
FF1011 / 01 SKOP BENCH SEAT FABRICATION DRAWINGS
FF1011 / 02 SKOP BENCH FRAME FABRICATION DRAWING AND SLAT DETAILS
FF1011 / 03 SKOP BENCH BASE SETTING OUT
FF1011 / 04 SKOP BENCH BACK REST FABRICATION DRAWINGS
Contacts
Factory Furniture Ltd,
The Stableyard,
Coleshill,
Swindon.
Wiltshire SN6 7PT
U.K.
Tel +44 (0) 1793 763829
Fax +44 (0) 1793 861615
Email [email protected]
Web www.factoryfurniture.co.uk
4SKOP reordering

580
450
620
500 Ctrs
Ground
level
Foundation 2 no.
pads
700x400x200mm in
C20 concrete
(recommendation
only)
420 Ctrs
Foundation 2 no.
pads
700x400x200mm in
C20 concrete
(recommendation
only)
2500
450
620
2420 Ctrs
Ground
level
420 Ctrs
175
200mm x M10
threaded rod
anchor resin fixed
into 12mm hole
M10 S/S
cap nut
50
700 x 400 x 200mm
C20 Concrete Base
(recommended)
Ground level
Installation Instructions
ALL INSTALLATION WORKS TO BE CARRIED OUT BY COMPETENT PERSONNEL - INSTALL AS
COMPLETE UNIT.
Bench & Seat (Surface Fix)
Stool (Surface Fix)
Skop Bench / Seat / Stool (surface fix only)
1. Install suitable foundation pads (see illustration) each with top face at ground
level
2. Position bench in correct orientation with bases centrally on foundation pads,
then mark hole positions through base plates.
3. Remove the bench; drill holes Ø12mm x 175mm deep
4. Clear debris from holes.
5. Fill the holes to within approximately 35mm from the top with Hilti HY150 resin (or
similar). Lift the seat (with threaded anchor rods/capnuts in place) and carefully
lower the anchors into the holes, leave for two hours before using.
6. Using a torque wrench, tighten nuts and washers over flange plates to 30Nm to fasten down the bench.
7. Check level
IMPORTANT NOTE:
Ensure that stainless steel is protected during site cutting of stone – contamination from disc cutters will produce corrosion on
stainless steel components.
5SKOP installation
Table of contents
Other FSC Indoor Furnishing manuals
Popular Indoor Furnishing manuals by other brands

BRW
BRW SYRIUSZ X2W1S/20/9 Assembly manual

Furniture of America
Furniture of America Glenview CM8372BK-T Assembly instructions

J.Burrows
J.Burrows JBPROFMBBK Assembly instructions

Coaster
Coaster 723458 Assembly instructions

Homelegance
Homelegance 196H4522 3 Series Assembly instruction

Hathaway
Hathaway NG5023 Assembly instructions