2
IMPORTANT
To customer _____ Please read the following before using your DPC-R1.
In rare cases the DPC-R1 may not be compatible, depending on the personal
computer used.
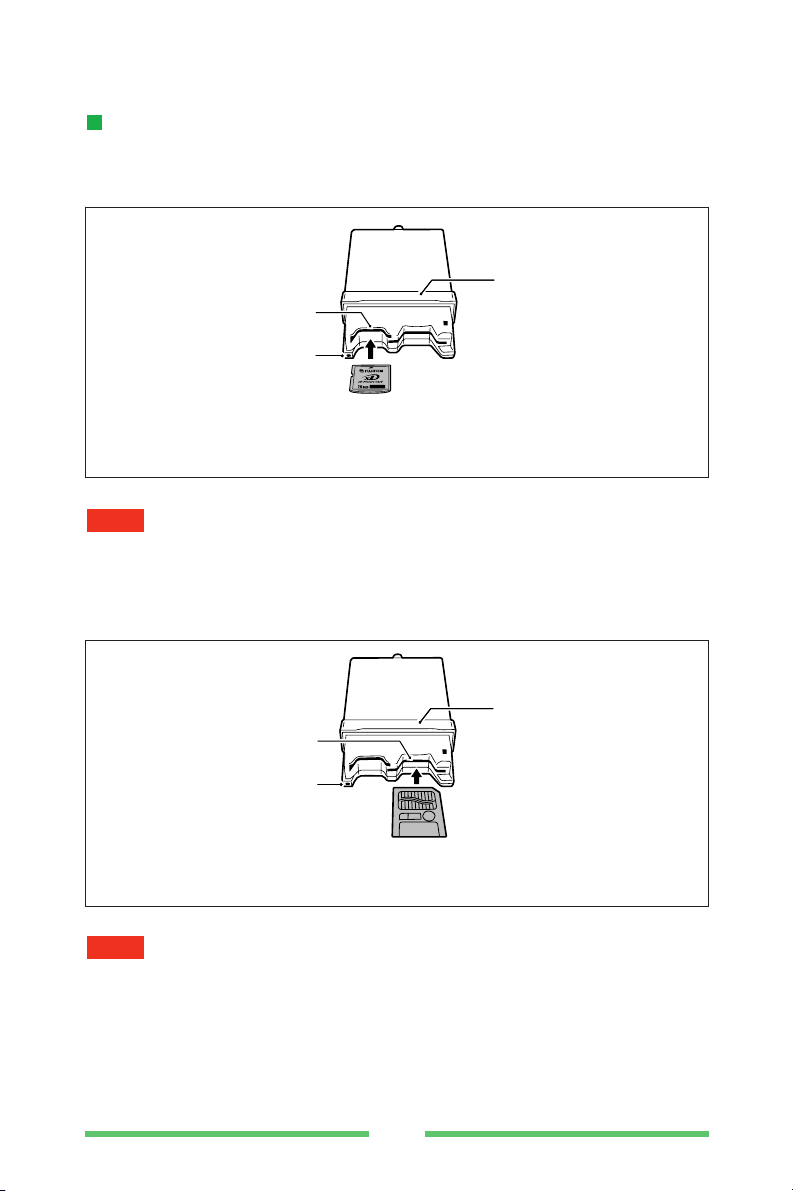
■To open an image
To display an image on your personal computer, JPEG image reading software
is required.
■Trademark Information
●Microsoft and Windows are registered trademarks of the Microsoft
Corporation of the U.S. registered in the USA and other countries.
Windows is an abbreviated term referring to the Microsoft Windows
Operating System.
●IBM PC/AT is a registered trademark of International Business Machines
Corp. of the USA.
●Macintosh, iMac, iBook, PowerMacintosh, PowerBook, MacOS are
trademarks of Apple Computer, Inc.
●SmartMedia is a trademark of Toshiba Corporation.
●Other company or product names are trademarks or registered trademarks of
the respective companies.
■Notes on Electrical Interference
Usage of the DPC-R1 in an aircraft or hospital may cause erroneous operations
of the aircraft and hospital control devices, make sure of the regulations of
hospitals or aircraft.
Software and User's Guide precautions
(1) No part of the software and owner’s manual may be reproduced without
prior permission.
(2) The software and owner’s manual can be used with one Image Memory
Card Reader DPC-R1.
(3) Fuji Photo Film Co., Ltd. shall not be liable for any losses incurred by the
customer or other parties by use of the DPC-R1 according to the accessory
software and owner’s manual.
(4) The DPC-R1 has been carefully inspected, however, if the product is found
to be defective due to faulty materials or workmanship the product will be
replaced. No other warranty is implied.
(5) The contents of the software and User's Guide are subject to change
without prior notice.