CHAPTER3 OPERATION
3.1 Power On
1. Depress the side of the power switch marked “1”.
2. Wait until the Power LED and the READY LED lights are on. If either
LED fails to light or if the Paper Jam LED lights, refer to Chapter 5
for troubleshooting, as shown in Figure 3. 1.
3.1.1 Sabct SCSI ID by turning the rotary switch in the back to a desirable
SCSI ID. The scanner ships with a default setting of “6”.
3.2 Scan Moda Options
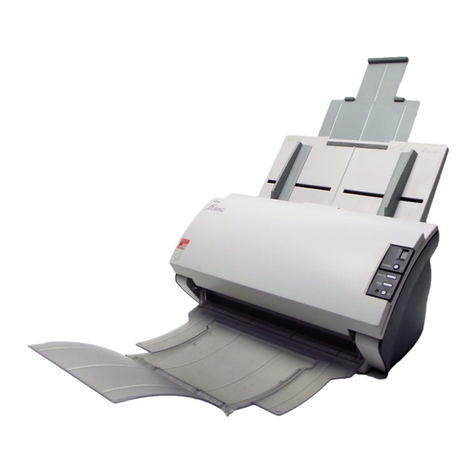
The ScanParter 10 image scanner can scan documents in two modes:
The Flat- Bed mode or the automatic document feeder mode.
In Flat- Bed mode, the document cover is lifted and ‘each page is scanned
one at a time and removed manually. Flat- Bed mode is particularly useful
when documents need to be scanned many times without being repositioned,
are particularly delicate or small or are bound. In ADF mode, a stack of
papers is scanned sequentially, without operator intervention. The ADF mode
is particularly useful when multiple sheets are being scanned.
The following two subsections describe the operation of each scanning mode.
3.2.1
1.
2.
3.
4.
5.
6.
3.2.2
1.
2.
3.
4.
5.
Ftat- Bed
Open the document cover.
Place the document face down on the documenit board with the top
edge towards the scan aperture, as shown in Figure 3.2.
Position the document so that its left side and top1 edge are in line with
the ruler guides next to the scanner glass, as shown in Figure 3. 3.
Close the document cover carefully, being sure paper is flat against the
glass.
Start scan.
Note: Do not open the document cover during scanning.
When scanning completes, open the document cover carefully and
remove the document.
Automatic Paper Feeding
Place the document face down in the input paper chute. (Refer to Figure
3.4 in the next page. )
Slide the stack forward slightly so that it rests against the ADF sensor.
Move the both sides of the paper guide so that they touch both sides
of paper.
The first sheet will be automatically fed to the scanning position.
Start scan.
14