manuals.online logo
Brands
  1. Home
  2. •
  3. Brands
  4. •
  5. Galvin Engineering
  6. •
  7. Bathroom Aid
  8. •
  9. Galvin Engineering CliniLever TC51FC1C Instruction sheet

Galvin Engineering CliniLever TC51FC1C Instruction sheet

© Galvin Engineering Pty Ltd
Product Installation Guidelines
Version 3, 27 August 2021, Page 1of 4
CliniLever®CP-BS Hospital Wall Mixing
Set Type 51 Fixed 150 C/D
PRODUCT CODES:
- TC51FC1C
SPECIFICATIONS
−The CliniLever®product range is primarily used for hand washing applications in medical facilities,
hospitals, aged care facilities, schools and in-home care.
−CliniLever®products provide state of the art features to comply with the latest healthcare guidelines.
−The dual levers for on/off, hot and cold temperature have a straight forward operation which simplifies
hand washing.
−All CliniLever®products provide laminar flow (not aerated).
−Our highly sought after lever handle design are easily operated with elbows or wrists to avoid hand
contact.
−The main body is made of solid dezincification resistant (DR) brass rod, with a DR brass gooseneck
outlet.
−Quick action SBA’s includes brass ceramic cartridge component, with red and blue indicator button on
150mm lever action handles.
IMPORTANT: All CliniLever®healthcare taps are tested in accordance with AS/NZS 3718 and leave our
premises in good working order.
TECHNICAL DATA
Inlet
½” BSP –Female
Outlet
Laminar Flow
Headwork
Ceramic Disc
Working Pressure Range (kPa)
Min
50
Max
500
Working Temperature Range (°C)
Min
5
Max
65
Nominal Flow Rate (LPM)
5.3
Finish
Chrome
NOTE: Galvin Engineering continually strive to improve their products. Specifications may change without
notice.
TOOLS REQUIRED
−Power drill
−Spanner
−Hex key
−Thread tape
© Galvin Engineering Pty Ltd
Product Installation Guidelines
Version 3, 27 August 2021, Page 2of 4
PRE-INSTALLATION - MOUNTING DETAILS
Hole Centres
−Hole centres must be at 215±0.5mm
−This is critical to ensure easy installation
−Wall spuds must be 15BSP MI and protrude
from the finished wall by no more than 15mm
Note: In some situations, a male thread connection
on the tap may be more suited. If so, please contact
us on 1300 514 074
INSTALLATION
IMPORTANT: Galvin Engineering products must be installed in accordance with these installation
instructions and in accordance with AS/NZS 3500, the PCA and your local regulatory requirements. Water
and/or electrical supply conditions must also comply to the applicable national and/or state standards. Failing
to comply with these provisions shall void the product warranty and may affect the performance of the
product.
1. Fit wall flange
−Remove the maintenance tail from the
CliniLever®body and take the wall flanges out of
the packaging.
−Ensure o-rings are secure in the rear of the wall
flange and slide over the maintenance tail.
2. Fit maintenance tail
−Fit the maintenance tail with wall flange to the
wall spud and fasten with the supplied 12mm
allen key. We recommend using thread tape or
equivalent to ensure the connection does not
leak.
215
SERVICEABLE
INLINE FILTER ISOLATION
VALVE
1/2" BSP FI
260
170
260
150
© Galvin Engineering Pty Ltd
Product Installation Guidelines
Version 3, 27 August 2021, Page 3of 4
3. CliniLever® body
−Check maintenance tails to ensure o-rings are
fitted correctly and are in good condition.
−Fit the CliniLever®body onto the maintenance
tails until it sits flush against them, taking care
not to damage the o-rings.
4. Fit grub screws and testing
−Ensure the CliniLever®body is pushed firmly
against the maintenance tail and then secure
in place with the supplied grub screws.
ENSURE ALL FOUR (4) GRUB SCREWS
ARE FITTED WITH SUPPLIED ALLEN KEY.
If grub screws are missing, contact us on
1300 514 074.
−Once grub screws are secure, open the
regulating valve prior to the tap. Open the
lever handles and ensure there is flow from
both hot and cold inlets. Inspect the tap and
check for any leaks.
TROUBLESHOOTING
PROBLEM
CAUSE
RECTIFICATION
Taps are dripping water
Ceramic discs are worn or damaged
Remove and inspect SBA.
Remove debris and/or replace
SBA if damaged.
Tap seat is damaged
Refurbish tap seat using a
reseating tool.
Water is not flowing from tap
Water is turned off
Turn water on
Aerator or flow regulator is blocked
by debris
Remove aerator and/or flow
regulator from tap and remove
debris. Install an inline strainer.
Handle is loose
Screw has come loose
Tighten handle screw
Flange does not screw down
onto basin/sink surface
Tap bodies are set too far out
Re-position tap bodies and breach
piece
Version 2, 27 August 2021, 4 of 4
Product Installation Guidelines
Version 3, 27 August 2021, Page 4of 4
SERVICE AND MAINTENANCE
1. Turn off the water supply and turn on the tap handle to drain water from the bodies.
2. Remove the temperature indicator from the handle.
3. Remove the handle from the tap.
4. Unscrew the ceramic head part from the body.
5. Check the o-ring on the ceramic head part for wear and damage. Replace if required.
6. Clean the head part and the body of any debris.
7. Replace the cartridge and hand tighten back into the body.
8. Follow the product installation guidelines for the relevant product to re-assemble.
WARRANTY
The warranty set forth herein is given expressly and is the only warranty given by the Galvin Engineering
Pty Ltd. With respect to the product, Galvin Engineering Pty Ltd makes no other warranties, express or
implied. Galvin Engineering Pty. Ltd. hereby specifically disclaims all other warranties, express or implied,
including but not limited to the implied warranties of merchantability and fitness for a particular purpose.
Galvin Engineering Pty Ltd products are covered under our manufacturer’s warranty available for download
from www.galvinengineering.com.au Galvin Engineering Pty Ltd expressly warrants that the product is free
from operational defects in workmanship and materials for the warranty period as shown on the schedule in
the manufacturer’s warranty. During the warranty period, Galvin Engineering will replace or repair any
defective products manufactured by Galvin Engineering without charge, so long as the terms of the
Manufacturer’s warranty are complied with.
The remedy described in the first paragraph of this warranty shall constitute the sole and exclusive remedy
for breach of warranty, and Galvin Engineering Pty Ltd shall not be responsible for any incidental, special or
consequential damages, including without limitation, lost profits or the cost of repairing or replacing other
property which is damaged if this product does not work properly, other costs resulting from labour charges,
delays, vandalism, negligence, fouling caused by foreign material, damage from adverse water conditions,
chemical, electrical or any other circumstances over which Galvin Engineering has no control. This warranty
shall be invalidated by any abuse, misuse, misapplication, improper installation or improper maintenance or
alteration of the product.

Other Galvin Engineering Bathroom Aid manuals

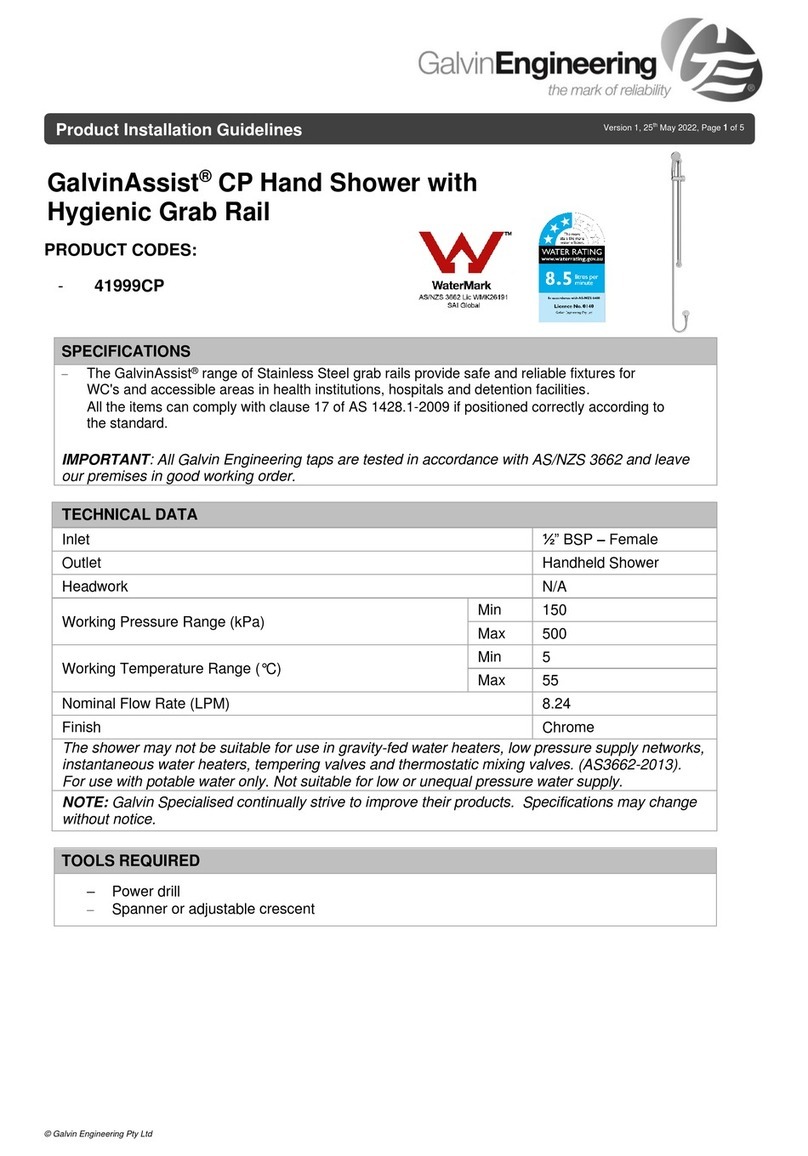
Galvin Engineering 41999CP User manual

Galvin Engineering

Galvin Engineering 41999CP User manual

Galvin Engineering GalvinAssist 41985CP User manual

Galvin Engineering

Galvin Engineering GalvinAssist 41985CP User manual

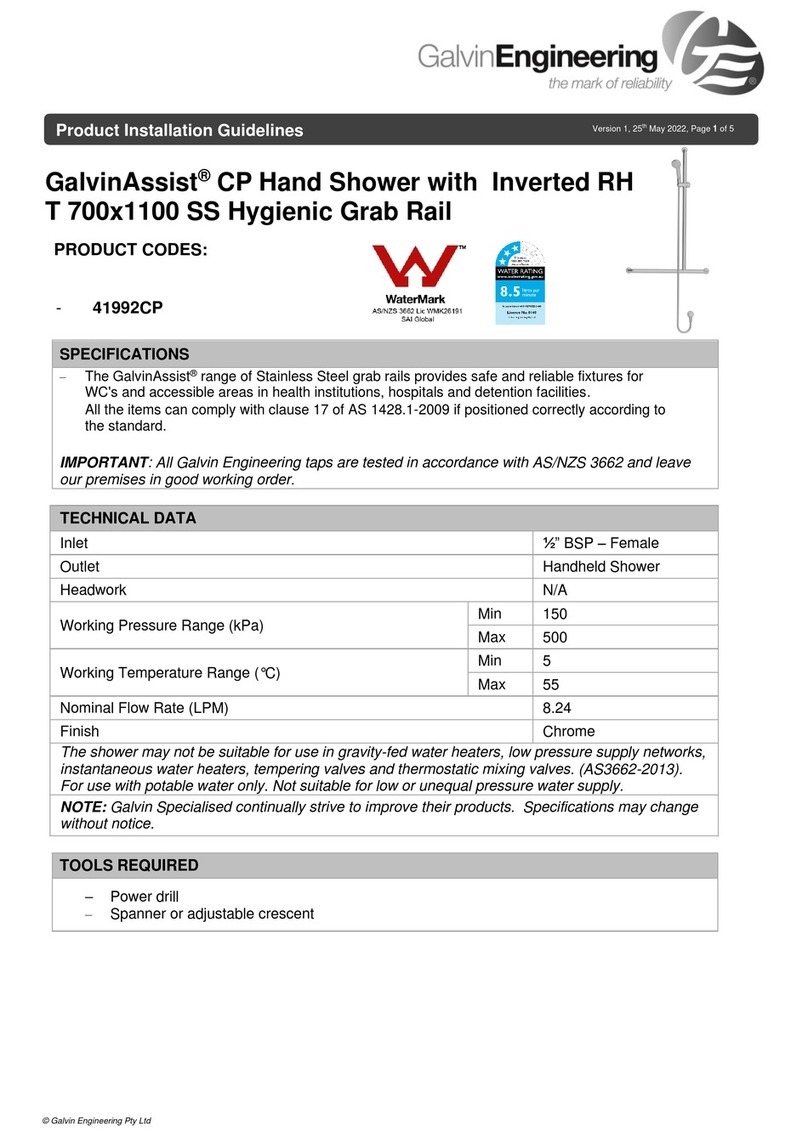
Galvin Engineering GalvinAssist 41992CP Instruction sheet

Galvin Engineering

Galvin Engineering GalvinAssist 41992CP Instruction sheet

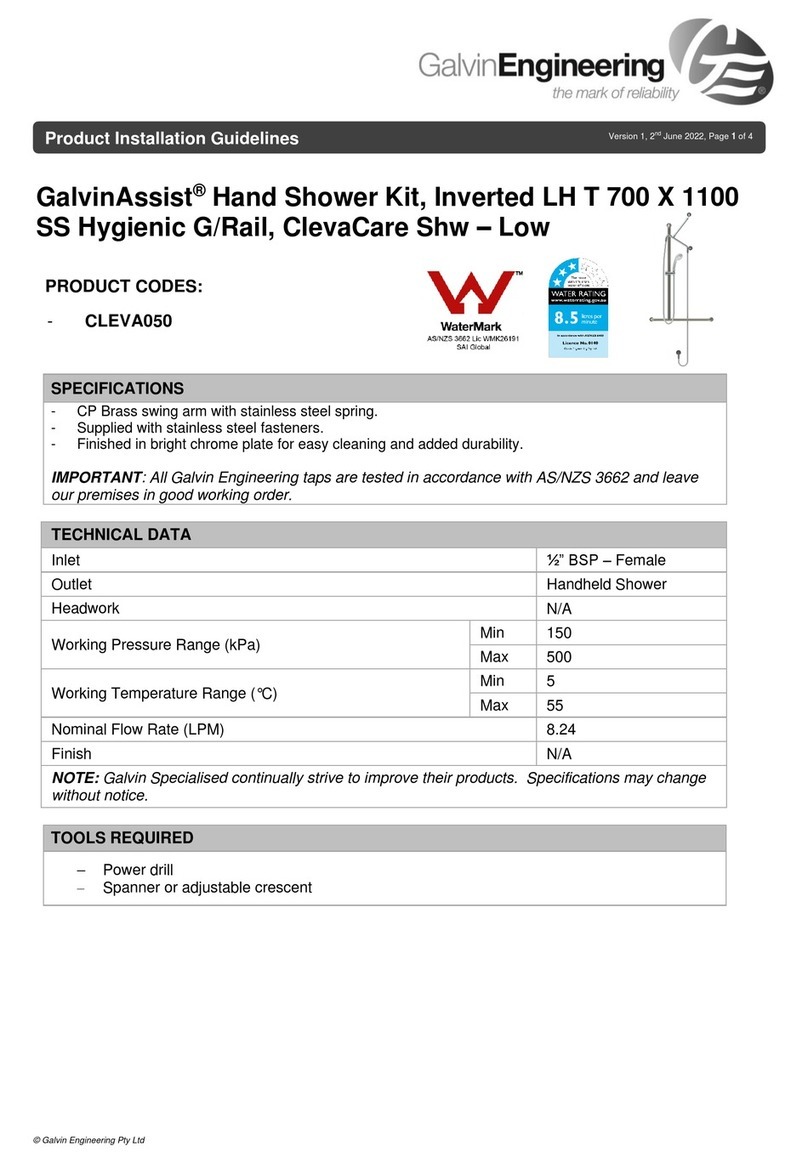
Galvin Engineering GalvinAssist CLEVA050 Instruction sheet

Galvin Engineering

Galvin Engineering GalvinAssist CLEVA050 Instruction sheet

Popular Bathroom Aid manuals by other brands

Etac Hi-Loo with brackets 80301065 manual

Etac

Etac Hi-Loo with brackets 80301065 manual

HERO S10360 user manual

HERO

HERO S10360 user manual

Etac Swift manual

Etac

Etac Swift manual

NRS Healthcare P23075 User instructions

NRS Healthcare

NRS Healthcare P23075 User instructions

Pressalit R844721 Mounting instruction

Pressalit

Pressalit R844721 Mounting instruction

Moen DN7005 quick start guide

Moen

Moen DN7005 quick start guide

Greentouch 2014ATH-113 Installation and care guide

Greentouch

Greentouch 2014ATH-113 Installation and care guide

Arjo Malibu Instructions for use

Arjo

Arjo Malibu Instructions for use

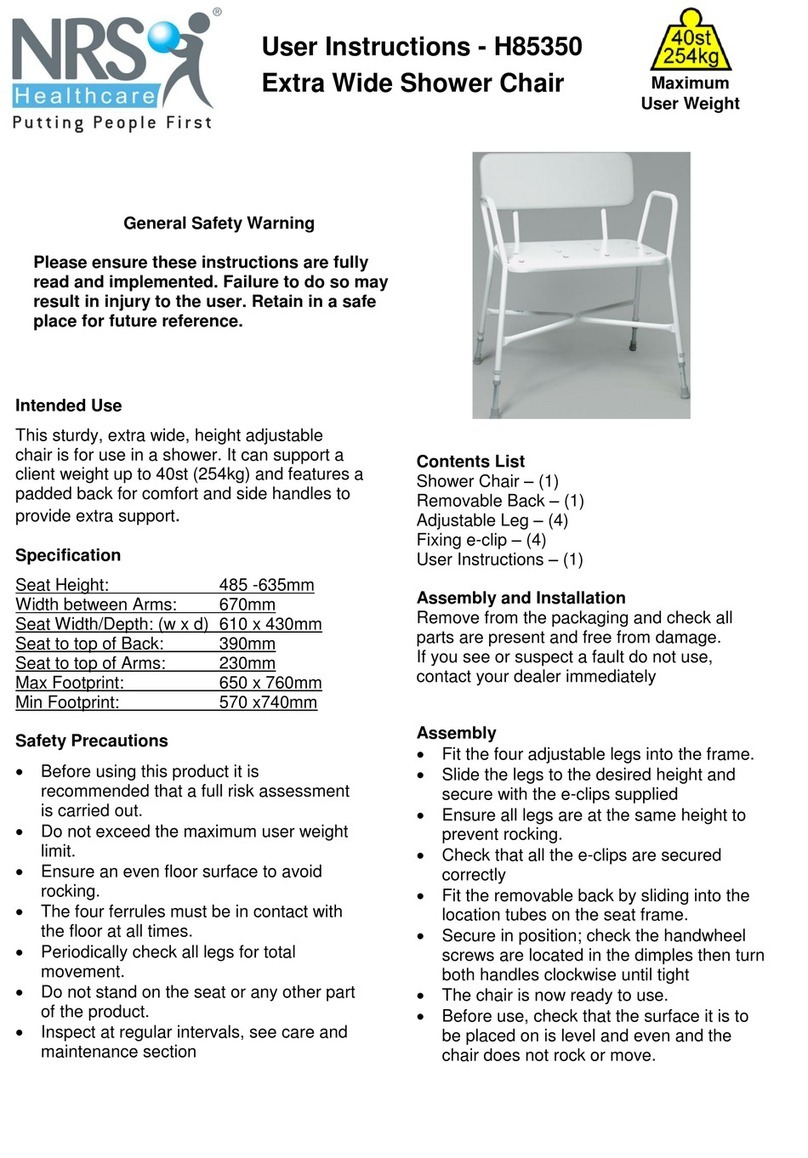
NRS Healthcare H85350 User instructions

NRS Healthcare

NRS Healthcare H85350 User instructions

Pressalit R4750 Mounting instruction

Pressalit

Pressalit R4750 Mounting instruction

AddLife Ropox Toilet lifter Electric user manual

AddLife

AddLife Ropox Toilet lifter Electric user manual

Care & Independence COMFORT VALUE CVT user guide

Care & Independence

Care & Independence COMFORT VALUE CVT user guide

Cefndy M158 User instructions

Cefndy

Cefndy M158 User instructions

KMINA PRO K30010 user manual

KMINA

KMINA PRO K30010 user manual

Invacare Hydraia 9670CE Assembly, installation and operating instructions

Invacare

Invacare Hydraia 9670CE Assembly, installation and operating instructions

Invacare 1148124 Assembly, installation and operating instructions

Invacare

Invacare 1148124 Assembly, installation and operating instructions

Gordon Ellis & CO ASHBY 6218/B manual

Gordon Ellis & CO

Gordon Ellis & CO ASHBY 6218/B manual

Pressalit R7664 Mounting instruction

Pressalit

Pressalit R7664 Mounting instruction

manuals.online logo
manuals.online logoBrands
  • About & Mission
  • Contact us
  • Privacy Policy
  • Terms and Conditions

Copyright 2025 Manuals.Online. All Rights Reserved.