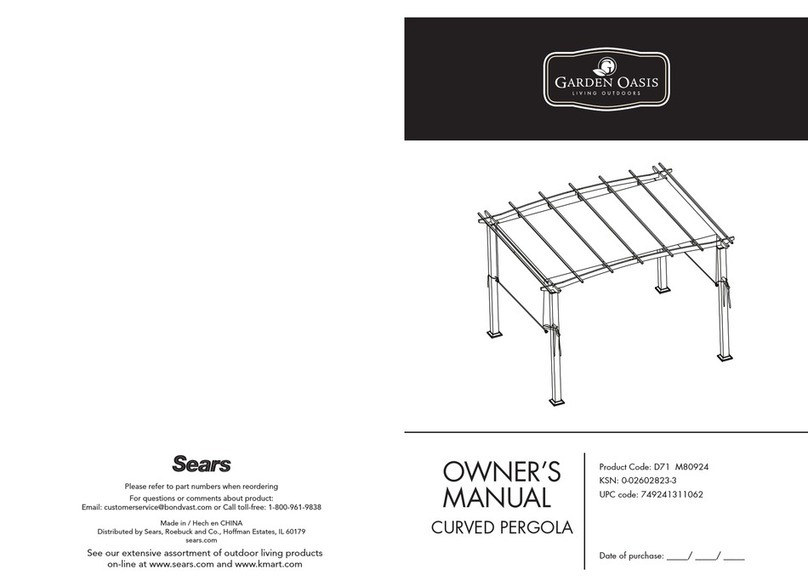
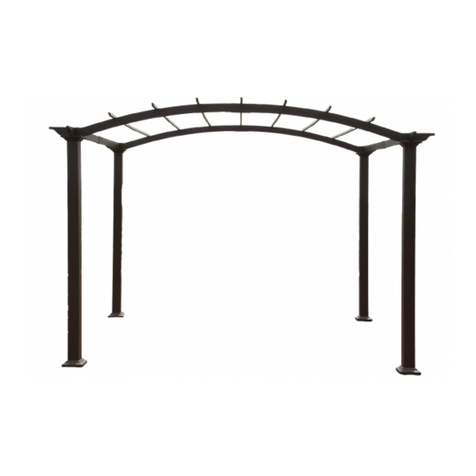
manuals.online logo
Brands
  1. Home
  2. •
  3. Brands
  4. •
  5. Garden Oasis
  6. •
  7. Lawn And Garden Equipment
  8. •
  9. Garden Oasis GFM00110B User manual

Garden Oasis GFM00110B User manual

Other Garden Oasis Lawn And Garden Equipment manuals

Garden Oasis D71 M23737 User manual

Garden Oasis

Garden Oasis D71 M23737 User manual

Garden Oasis Garden Oasis D71 M80878 User manual

Garden Oasis

Garden Oasis Garden Oasis D71 M80878 User manual

Garden Oasis Garden Oasis MK9061 User manual

Garden Oasis

Garden Oasis Garden Oasis MK9061 User manual

Garden Oasis NEW CASTLE FIREBOWL User manual

Garden Oasis

Garden Oasis NEW CASTLE FIREBOWL User manual

Garden Oasis 08824341-5 User manual

Garden Oasis

Garden Oasis 08824341-5 User manual

Garden Oasis D71 M20513 User manual

Garden Oasis

Garden Oasis D71 M20513 User manual

Garden Oasis Garden Oasis UA38338 User manual

Garden Oasis

Garden Oasis Garden Oasis UA38338 User manual

Garden Oasis GF-11S168B User manual

Garden Oasis

Garden Oasis GF-11S168B User manual
Popular Lawn And Garden Equipment manuals by other brands

Sunforce SOLAR user manual

Sunforce

Sunforce SOLAR user manual

GARDEN OF EDEN 55627 user manual

GARDEN OF EDEN

GARDEN OF EDEN 55627 user manual

Goizper Group MATABI POLMINOR instruction manual

Goizper Group

Goizper Group MATABI POLMINOR instruction manual

Rain Bird 11000 Series Operation & maintenance manual

Rain Bird

Rain Bird 11000 Series Operation & maintenance manual

Cub Cadet BB 230 brochure

Cub Cadet

Cub Cadet BB 230 brochure

EXTOL PREMIUM 8891590 Translation of the original user manual

EXTOL PREMIUM

EXTOL PREMIUM 8891590 Translation of the original user manual

Snapper 690179 installation instructions

Snapper

Snapper 690179 installation instructions

Exmark SAR481KA30 Operator's manual

Exmark

Exmark SAR481KA30 Operator's manual

Yazoo/Kees Z12 Operator's manual

Yazoo/Kees

Yazoo/Kees Z12 Operator's manual

Makita EM408MP Original instruction manual

Makita

Makita EM408MP Original instruction manual

Exmark Quest Bagger Setup instructions

Exmark

Exmark Quest Bagger Setup instructions

Manitou Systems AS960 Operator's manual

Manitou Systems

Manitou Systems AS960 Operator's manual

Vertex 1/3 HP Maintenance instructions

Vertex

Vertex 1/3 HP Maintenance instructions

GHE AeroFlo 80 manual

GHE

GHE AeroFlo 80 manual

Land Pride Post Hole Diggers HD25 Operator's manual

Land Pride

Land Pride Post Hole Diggers HD25 Operator's manual

Yazoo/Kees Z9 Commercial Collection System Z9A Operator's & parts manual

Yazoo/Kees

Yazoo/Kees Z9 Commercial Collection System Z9A Operator's & parts manual

Premier designs WindGarden 26829 Assembly instructions

Premier designs

Premier designs WindGarden 26829 Assembly instructions

Snapper 1691351 installation instructions

Snapper

Snapper 1691351 installation instructions

manuals.online logo
manuals.online logoBrands
  • About & Mission
  • Contact us
  • Privacy Policy
  • Terms and Conditions

Copyright 2025 Manuals.Online. All Rights Reserved.

02628062-8
805670024222
11 ft x 11 ft CURVED PERGOLA
Product Code: D71 M83028
SEARS INSISTS ON THE HIGHEST STANDARDS OF
FURNITURE. EACH PIECE HAS BEEN CAREFULLY
INSPECTED BEFORE SHIPMENT.
IN CASE OF PROBLEM, DO NOT RETURN TO THE
STORE, CALL YOTRIO CORPORATION AT PHONE#
1-866-905-4107 BETWEEN THE HOURS OF
8:30 AM TO 5:00 PM PST, MONDAY THROUGH
FRIDAY, FOR ANY QUESTIONS OR PROBLEM YOU
MAY HAVE.
NOTE:
THIS GAZEBO IS MADE FOR THE PURPOSE OF
PROVIDING LIMITED OITDOOR SUN SHADE AND
NOTHING ELSE. IT IS NOT AS A TOY, A SHELTER
OR A TENT. CHILDREN UNDER AGE OF 12 NEAR
TEH FACILITY SHOULD BE SUPERVISED BY A
COMPETENT AUDIT.
IMPORTANT
PARTS LIST
PARTS
NO. QTY DESCRIPTION NAME
1
11 x 11 ft Curved Pergola Assembly Instructions
GFM00110B
A
B
C
D
E
F
G
H
I
J
K
L
M
1 PC
1 PC
1 PC
1 PC
2 PCS
2 PCS
2 PCS
2 PCS
2 PCS
2 PCS
2 PCS
4 PCS
12 PCS
Tow Rope Crossbeam 1
Tow Rope Crossbeam 2
Top Tube
Bending Tube 1
Bending Tube 2
Side Bending Tube 1
Side Bending Tube 2
Tow Rope Leg Tube
Leg Tube
Sunshade
Replacement Canopy
M6*15 Nuts & Bolts
M5*15 Nuts & Bolts
PARTS LIST
PARTS
NO. QTY DESCRIPTION NAME
2
11 x 11 ft Curved Pergola Assembly Instructions
GFM00110B
N
O
P
Q
R
S
T
U
V
W
X
Y
Z
72 PCS
10 PCS
8 PCS
2 PCS
1 PC
4 PCS
2 PCS
2 PCS
2 PCS
2 PCS
6 PCS
4 PCS
16 PCS
M6*16 Nuts & Bolts
M6*35 Nuts & Bolts
M6*72 Nuts & Bolts
Rope Holder
Top Tube Connector
Base
Decorative Base 1
Decorative Base 2
Decorative Extrusion 1
Decorative Extrusion 2
Ground Spike
Allen Wrench
Sliding Tube
11 x 11 ft Curved Pergola Assembly Instructions
GFM00110B
3
Step 1:
Insert Side Bending Tube 1 (F) into Side Bending Tube 2 (G), then align
all bolt holes and fasten by using M6*16 Nuts & Bolts (N).
Step 2:
Insert Bending Tube 1 (D) into Bending Tube 2 (E), then align all bolt
holes and fasten by using M6*16 Nuts & Bolts (N).
F
F1
G
G
N
NE
E
D
D
2
11 x 11 ft Curved Pergola Assembly Instructions
GFM00110B
4
Step 3:
Put the tube joint of Tow Rope Crossbeam 1 (A) and Tow Rope
Crossbeam 2 (B) close to Top Tube (C), then embed Top Tube
Connector (R) into joint and fasten by using M6*16 Nuts & Bolts (N).
Step 4:
Put the final assembled Bending Tube D and E close to Top Tube (C),
then align all bolt holes and fastened by using M6*35 Nuts & Bolts (O).
Step 5:
Put the final assembled Side bending Tube F and G close to Top Tube
(C), then align all bolt holes and fasten by using M6*35 Nuts & Bolts (O).
Step 6:
Line up the bolt holes on the assembled tube with corresponding bolt
holes on Tow Rope Crossbeam A and B, then screw in the M6*16 Nuts
& Bolts (N).
O
O
3
4
5
6
R
A
A
C
N
N
N
N
B
B
B
B
F
F
F
G
G
G
G
G
D
D
E
E
5
11 x 11 ft Curved Pergola Assembly Instructions
GFM00110B
Step 7:
Unfold the Replacement Canopy (K), insert the tube joint on Canopy (K)
one with another. Then put it close to Top Tube (C) and tighten by using
M6*35 Nuts & Bolts (O).
O
OO
O
Step 8:
Insert the Sliding Tube (X) into the Replacement Canopy (K) and pass
through pulley until it reaches to the other end. Then insert the tube joint
on Canopy (K) one with another through pulley. Finally, align the holes
on the pulley as well as Canopy (K) by using M6*15 Nuts & Bolts (L) and
tighten it.
k
7
c
x
x
k
L8
6
11 x 11 ft Curved Pergola Assembly Instructions
GFM00110B
Step 9:
Lay the Sunshade (J) onto the top of the pergola. Line up the bolt
holes on the Sunshade with corresponding holes on the top, then
screw in the M6*16 Nuts & Bolts (N).
9
N
N
N
N
N
N
J
J
J
J
F
G
K
7
11 x 11 ft Curved Pergola Assembly Instructions
GFM00110B
Step 10:
1). Embed Decorative Base 1 (T) and Decorative Base 2 (U) into Tow
Rope Leg Tube (H) and Leg Tube (I) respectively, then screw in the
M6*16 Nuts & Bolts (N).
2). Align all bolt holes on Base (S) with corresponding bolt holes on
Leg Tube H and I and screw together by using M6*16 Nuts & Bolts (N)
with Allen Wrench (Z).
10
H
HH
N
N
N
NN
N
S
S
TU
I
II
T
U
8
11 x 11 ft Curved Pergola Assembly Instructions
GFM00110B
Step 11:
1). Lift the whole top and make sure all leg tubes are in place. Align all
bolt holes on the top tube with corresponding bolt holes on Leg Tube H
and I and screw together by using M6*16 Nuts & Bolts (N) and M6*72
Nuts & Bolts (P).
2). Align all bolt holes on Decorative Extrusion 2 (W) and Decorative
Extrusion 1 (V) with corresponding bolt holes and screw together by
using M6*16 Nuts & Bolts (N).
Step 12:
Screw the Rope Holder (Q) onto the Tow Rope Leg Tube (H) by using
M5*15 Nuts & Bolts (M).
NP
11
H
H
I
I
P
2
1
N
N
N
V
W
I
I
H
H
12
Q
M