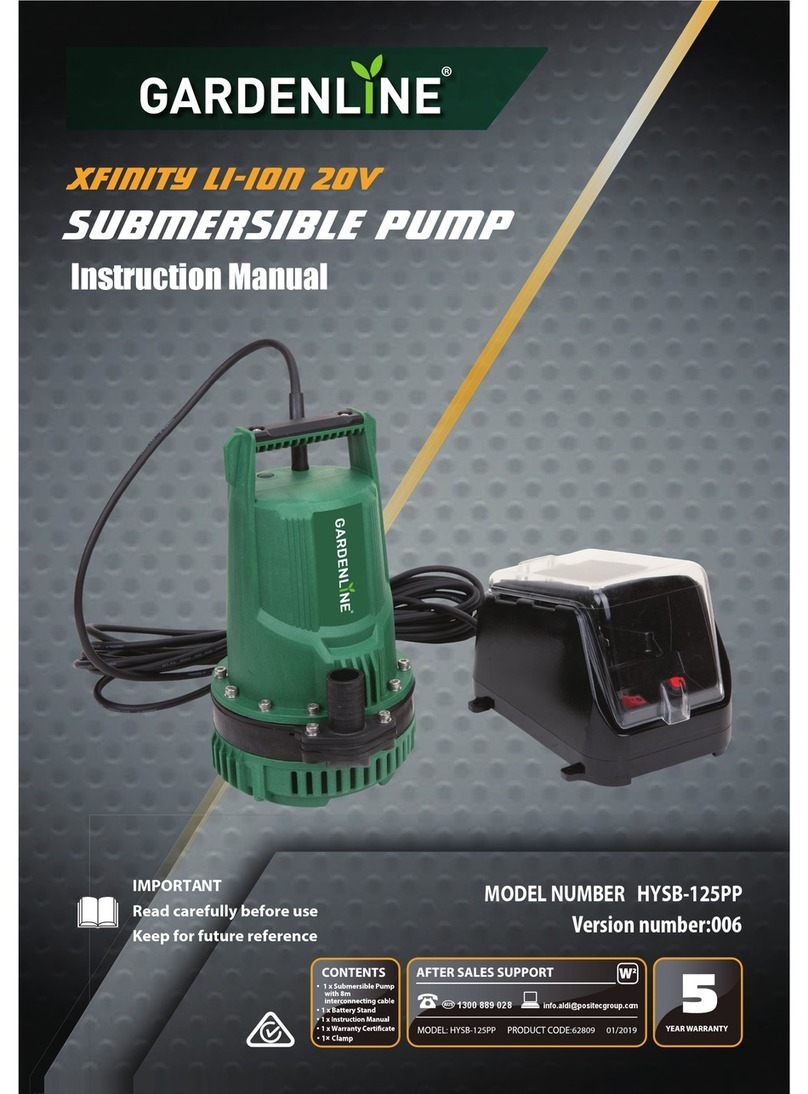
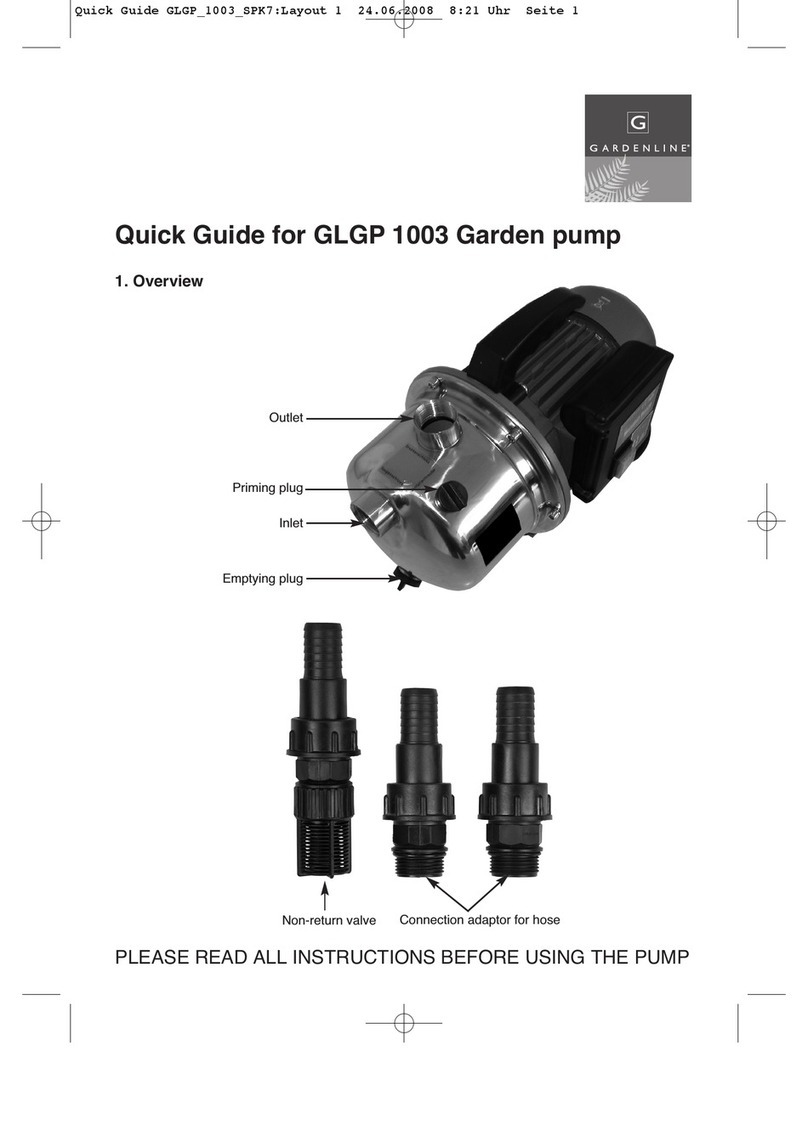
Gardenline BG-AW 1136 User manual

Garden Pump 1100W
User Guide
After Sales Support
Now you have purchased a
Gardenline®product you can rest
assured in the knowledge that as well
as your 1 year parts and labour
guarantee you have the added
peace of mind of dedicated helplines
and web support.

Warranty Details
Garden Pump
After Sales Support
Telephone: 1300 922 271
Email: [email protected]
The product is guaranteed to be free from defects in workmanship and parts for a period
of 12 months from the date of purchase. Defects that occur within this warranty period, under
normal use and care, will be repaired, replaced or refunded at our discretion. The benefits
conferred by this warranty are in addition to all rights and remedies in respect of the product that
the consumer has under the Competition and Consumer Act 2010 and similar state and
territory laws.
Our goods come with guarantees that cannot be excluded under the Australian Consumer
Law. You are entitled to a replacement or refund for a major failure and for compensation
for any other reasonably foreseeable loss or damage. You are also entitled to have the
goods repaired or replaced if the goods fail to be acceptable quality and the failure
does not amount to a major failure.
AFTER SALES SUPPORT

AFTER SALES SUPPORT
MODEL NUMBER: BG-AW 1136, 04/13
05 General Safety Regulations
05 Layout
05 Items Supplied
06 Proper Use
06 Technical Data
06 Electrical connections
06 Fitting a suction pipe
06 Pressure line connection
07 Starting up
07 Maintenance instructions
07 Replacing the mains cable
07 Ordering replacement parts
08 Storage
08 Disposal and recycling
08 Troubleshooting guide
What your 1 year warranty means
Congratulations on choosing to buy a Gardenline®product. By doing so you now have the assurance
and peace of mind that comes with purchasing a product made by one of Australia’s leading
suppliers.
All products brought to you by Gardenline®are manufactured to the highest standards of
performance and safety, and, as part of our philosophy of customer service and satisfaction, are
backed by our comprehensive 1 Year Guarantee.
Please fill in and return the Guarantee Card to the address provided.
We hope you will enjoy using your purchase for many years to come.
Contents

AFTER SALES SUPPORT
3
1
1
4
3
2
2
3
5
6
Anleitung_BG_AW_1136_SPK7__ 08.08.12 11:20 Seite 3

AFTER SALES SUPPORT
MODEL NUMBER: BG-AW 1136, 04/13
General Safety Regulations 1
Read and follow the operating
instructions and safety information
before using for the first time.
Important!
When using equipment, a few safety precautions must
be observed to avoid injuries and damage. Please read
the complete operating manual with due care. Keep
this manual in a safe place, so that the information is
available at all times. If you give the equipment to any
other person, give them these operating instructions
as well.
We accept no liability for damage or accidents which
arise due to non-observance of these instructions and
the safety information.
CAUTION!
In stagnant water bodies, garden ponds,
swimming ponds and their surrounding areas
the unit may only be used with an earth-
leakage circuit breaker with an actuating
rated current of up to 30 mA (according to
VDE 0100 Part 702 and 738).
The equipment is not designed for use in
swimming pools and paddling pools of any
kind or other bodies of water in which people
or animals may be present during operation.
It is prohibited to operate the equipment if a
person or animal is in the danger area. Ask
your electrician!
This equipment is not designed to be used by people
(including children) with limited physical, sensory or
mental capacities or those with no experience and/or
knowledge unless they are supervised by a person who
is responsible for their safety or they have received
instructions from such a person in how to use the
equipment safely. Children must always be supervised
in order to ensure that they do not play with the
equipment.
Important!
•Always inspect the equipment visually before using
it. Do not use the equipment if safety devices are
damaged or worn. Never disable safety devices.
•Use the equipment only for the purposes indicated in
these operating instructions.
•You are responsible for safety in the work area
•If the cable or plug is damaged by external
•influences, the cable may not be repaired. The cable
must be replaced by a new one. This work may only
be carried out by a trained electrician.
•The voltage of 230 V alternating voltage specified
on the rating plate must be the same as the mains
voltage.
•Never use the power cable to lift, transport or secure
the equipment.
•Ensure that the electrical plug connections are in
areas that are not at risk of flooding or protect them
from moisture.
•Pull the mains plug before starting any work on the
equipment.
•Do not expose the equipment to a direct jet of water.
•The operator is responsible for complying with local
safety and installation regulations. (Ask an electrician
if you are in any doubt.)
•Consequential damage caused by flooded rooms in
the event of the equipment suffering faults must be
prevented by the user by means of suitable measures
(for example installing alarm systems or a reserve
pump, etc.).
•In the event of a failure please call the customer
service hotline on 1300 922 271.
•The equipment must never run dry or be used when
the intake line is closed fully. The manufacturer’s
warranty does not cover damage caused to the
equipment as a result of running it dry.
•The pump must not be used to operate swimming
pools.
•The equipment must not be installed in the drinking
water pipe line.
CAUTION!
Read all safety regulations and instructions.
Any errors made in following the safety
regulations and instructions may result in an
electric shock, fire and/or serious injury.
Keep all safety regulations and instructions in
a safe place for future use.
Layout (Fig. 1) 2
1. Water intake screw
2. Intake connector
3. Water filler screw
4. Pressure connector
5. Coarse filter
6. Non-return valve
Items supplied 3
•Open the packaging and take out the equipment
with care.
•Remove the packaging material and any packaging
and/or transportation braces (if available).
•Check to see if all items are supplied.
•Inspect the equipment and accessories for transport
damage.

AFTER SALES SUPPORT
MODEL NUMBER: BG-AW 1136, 04/13
•If possible, please keep the packaging until the end
of the warranty period.
IMPORTANT
The equipment and packaging material are
not toys. Do not let children play with plastic
bags, foils or small parts. There is a danger of
swallowing or suffocating!
•Garden Pump
•Operating Instructions
•Quickstart Guide
•Warranty Certificate
•Warranty Sticker
Proper use 4
Applications
•Irrigation and watering of green areas, vegetable
beds and gardens.
•Operation of lawn sprinklers.
•For drawing water from ponds, streams, rainwater
butts, rainwater cisterns and springs for supplying
service water
Transport media:
•For the pumping of clear water (fresh water),
rainwater or light suds/service water.
•The maximum temperature of the fluid must
not exceed +35°C if the equipment is operated
permanently.
•Do not use the equipment to pump inflammable,
gassing or explosive fluids.
•The pumping of aggressive liquids (acids, alkalis,
silo seepage etc.) as well as liquids with abrasive
substances (sand) must likewise be avoided.
•This equipment is not designed to convey drinking
water.
The equipment is to be used only for its
prescribed purpose. Any other use is deemed
to be a case of misuse. The user / operator
and not the manufacturer will be liable for any
damage or injuries of any kind caused as a
result of this.
Please note that our equipment has not been
designed for use in commercial, trade or
industrial applications. Our warranty will be
voided if the machine is used in commercial,
trade or industrial businesses or for equivalent
purposes.
Technical Data 5
Mains supply: 230V ~ 50 Hz
Power rating: 1100 W
Delivery rate max. 3600 l/h
Delivery height max. 46 m
Delivery pressure max. 0.46 MPa (4.6 bar)
Suction height max. 7 m
Delivery and intake con-
nection:
33.3 mm (R1 IG)
Water temperature max. 35°C
Protection type IP44
Electrical connections 6
•Connect the power cable to a 230 V ~ 50 Hz earthed,
10 amp fuse minimum.
•The appliance is switched on and off using the
integrated ON/OFF switch.
•The motor is protected against overloading or
blocking by an integrated thermostat. In the event
of overheating, the thermostat switches off the
pump automatically. The pump will start up again
automatically after it has cooled down.
Fitting a suction pipe 7
•Screw an intake hose (min. 19 mm (3/4“ ) plastic hose
with spiral reinforcement) either directly or with a
threaded nipple to the pump’s intake connection (33.3
mm (R1)) (see Fig. 1).
•The intake hose should rise from the water pick-up
point to the pump. Always avoid laying the intake line
higher than the pump. Air bubbles in the intake line
delay and hinder suction.
•The intake and pressure lines must be attached in such
a way that they do not place the pump under any
mechanical strain.
•The intake valve should be so far immersed in the
water that the pump cannot run dry even if the water
level falls.
•If the intake line is not air-tight, the intake of air will
hinder the intake of water.
Pressure line connection 8
•The pressure line (should be at least 19 mm (3/4“))
must be connected to the pump’s pressure line
connection (33.3 mm (R1)) either directly or via a
threaded nipple.
•A 13 mm (1/2“) pressure hose can also be used with
the appropriate screw connections, but this will reduce

AFTER SALES SUPPORT
MODEL NUMBER: BG-AW 1136, 04/13
the delivery rate.
•All shut-off devices (spray nozzles, valves etc.) in the
pressure line must be fully opened when priming so
that any air in the intake line can escape.
Starting Up 9
•Set up the pump on flat and firm ground.
•Attach the intake line ready for use.
•Unscrew the water filler screw (3) and remove the
coarse filter (5) together with the non-return valve
(6) as shown in Figure 2. Now you can fill the pump
housing with water. Filling the intake line accelerates
the priming process.
•Assemble in reverse order.
•Plug into the mains.
•Depending on the suction height and the amount
of air in the intake line, priming can take anywhere
between 30 seconds and 5 minutes. If it takes longer
than this, the pump should be refilled with water.
•If the pump is removed again after use, it must
always be refilled with water whenever it is
connected and used again.
9.1 Operating the flow switch:
You can select one of the four operating modes with
the MODE button.
POWER ON mode:
The equipment is in standby mode.
EVER ON mode:
The equipment will run continuously. Important:
Never let the equipment run against pressure over
a longer period (without drawing water). Danger of
overheating!
AUTOMATIC mode:
L = The equipment is drawing water (pump is running)
P = The equipment is building up pressure (e.g. the
water tap is closed) and then switches off
automatically.
TIME mode:
1. TIME NOW (current time): First press the SET button,
then you can enter the time with the SET and MODE
button. Confirm your entry by pressing the CHECK
button.
2. TIME ON (switch-on time): Proceed as described
under TIME NOW.
3. TIME OFF (switch-off time): Proceed as described
under TIME NOW.
4. Check TIME ON and OFF again, then confirm by
pressing the CHECK button.
The programming is now completed. Confirm that the
water tap opens at the programmed time.
Maintenance instructions 10
•To ensure a long service life, we recommend regular
checks and care.
Warning!
Before every servicing, switch off the pump
and remove the plug from the socket.
•If the pump is not going to be used for a long time or
has to be removed for the winter months, rinse it out
with water, empty it completely and allow it to dry.
•If there is a risk of frost, the pump must be emptied
completely.
•After long stoppages, make sure the rotor turns
correctly by briefly switching the pump on and off.
•If the pump becomes blocked, connect the pressure
line to the water line and remove the intake hose.
Open the water line. Switch on the pump several
times for approx. 2 seconds. Most blockages can be
removed in this way.
10.1 Cleaning the coarse filter insert
•Clean the coarse filter insert at regular intervals, and
replace it if necessary.
•Remove the coarse filter screw and coarse filter
together with the non-return valve .
•Do not use abrasive cleaning agents or petrol to clean
the coarse filter and the non-return valve. Clean the
coarse filter and the non-return valve by tapping
them on a flat surface. In cases of stubborn dirt, first
clean with soapy water, then rinse with clear water
and air-dry.
•Assemble in reverse order.
Replacing the mains cable 11
Warning!
Disconnect the pump from the mains! If the mains
cable is defective, it must be replaced by an electrician.
Ordering replacement parts 12
Contact our After Sales Support on 1300 922 271 and
quote the following data when ordering replacement
parts:
•Type of machine
•Article number of the machine
•Identification number of the machine
•Replacement part number of the part required

AFTER SALES SUPPORT
MODEL NUMBER: BG-AW 1136, 04/13
Storage 13
Store the equipment and accessories out of children’s
reach in a dark and dry place at above freezing
temperature. The ideal storage temperature is between
5 and 30 °C. Store the electric tool in its original
packaging.
Disposal and recycling 14
The unit is supplied in packaging to prevent its being
damaged in transit. This packaging is raw material and
can therefore be reused or can be returned to the raw
material system.
The unit and its accessories are made of various
types of material, such as metal and plastic. Defective
components must be disposed of as special waste. If
unsure, ask your local council.
Troubleshooting guide 15
Faults Cause Remedy
Motor fails to start up •No mains voltage
•Pump rotor blocked -thermostat
switched off
•Check voltage
•Dismantle and clean pump
No intake •Intake valve not in water
•Pump chamber without water
connection
•Air in intake line air-tight
•Intake valve leaks
•Strainer (intake valve) blocked
•Max. suction height exceeded
•Clean
•Remove the coarse filter with the
non-return valve, then fill water
into the pump housing.
•Make sure intake line is close
•Clean intake valve
•Clean strainer
•Check suction height
Inadequate delivery rate •Suction height too high
•Coarse filter dirty
•Water level falling rapidly
•Pump performance diminished by
contaminants part
•Check suction height
•Clean
•Place the suction hose at a deeper
level
•Clean pump and replace wearing
Thermostat switches pump o •Motor overloaded - friction
caused by foreign substances too
high
•Dismantle and clean pump.
Prevent intake of foreign
substances (filter)
GARDENLINE® is a registered trademark of ALDI Stores.
ALDI Guarantee
Specially made for ALDI Stores to our stringent quality specifications. If you are not entirely satisfied with this product,
please return it to your nearest ALDI store, within 60 days from the date of purchase, for a full refund or replacement,
or take advantage of our after sales support by calling the Customer Service Hotline.
ALDI STORES
1 SARGENTS ROAD
MINCHINBURY NSW 2770
AUSTRALIA
www.aldi.com.au
04/2013
Art.Nr: 41.767.15_11012
Table of contents
Other Gardenline Water Pump manuals
Popular Water Pump manuals by other brands

Waspper
Waspper WP20D/P instruction manual

GEA
GEA durietta I Bloc Installation and operating instructions

EBARA
EBARA ESA200W instruction manual

WULI
WULI WH-2024F Operation manual

GORMAN-RUPP PUMPS
GORMAN-RUPP PUMPS GMC Series Installation, operation and maintenance manual

Zoeller
Zoeller 61 HD Series Repair manual

Grundfos
Grundfos BMS hs Assembly, installation and operating instructions

Xylem
Xylem GSP0311 instruction manual

Wilo
Wilo Multivert MVIS Series Installation and operating instructions

TSI Instruments
TSI Instruments DustTrak 8530EP quick start guide

Hozelock
Hozelock Flowmax Collect 2200 manual

vacuubrand
vacuubrand ME 4C NT VARIO Instructions for use