Quick activation by app
Offers affordable and flexible data plan
Program your camera via app
Send pictures to cell phone
High quality pictures (48MP still photos), 1296P 20fps or
1080P 30fps H.264 video clips with audio
Clear night vision, flash range 100ft, equipped with 36pcs high
performance infrared no glow 940nm LEDs that function as a
flash (invisible to eyes)
Wide view angle - 70°
Easy to use/program with well-designed operation buttons and
built-in 2.4-inch color screen, easy to program, review pictures
and videos on the screen
3 working modes - Motion detection, Time lapse and
Hybrid
Fast trigger time approx. 0.1~0.5 seconds (pre-activated
technology with 3 PIR sensors designed), Fast recovery time of
less than 0.5 seconds, Long trigger distance up to 90ft
Info strip on each capture: Date, Time, Temperature & Moon
phase
Operation Hours, Loop Recording, Time Lapse, Password
Protected
Built for any climate - IP66, Operation Temperature: -4~140°F
Support SD/SDHC/SDXC memory card, maximum capacity
512GB (not included)
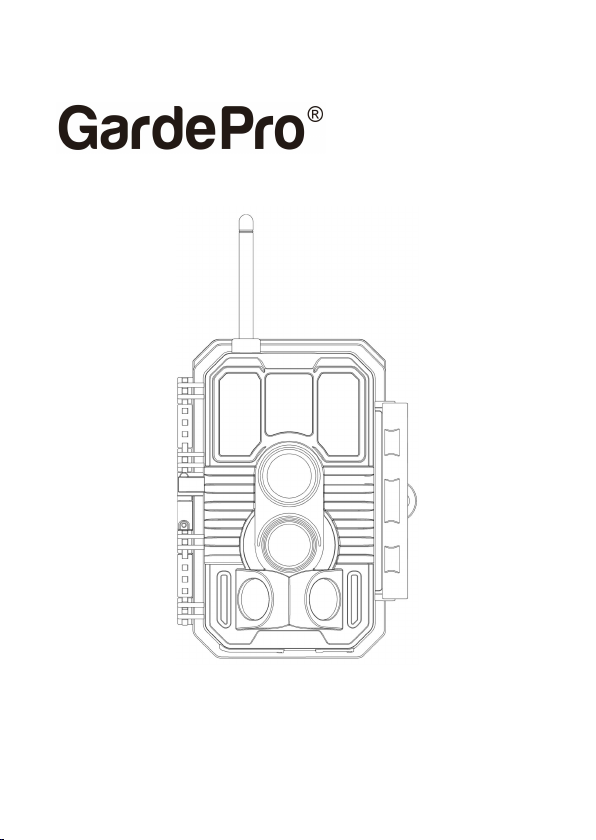
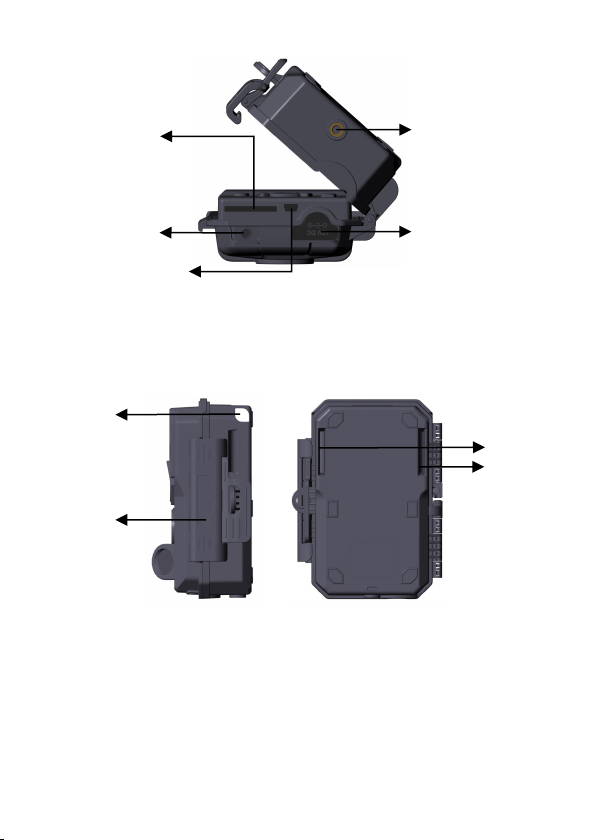
4. PARTS AND CONTROLS
The camera is equipped with an antenna, 36pcs infrared LEDs,
Indicator, Light Sensor, Optical Lens, PIR Sensors, Lock Holes
in front view (Figure 1).
TIP: During use, the black PIR Lens may be dirty or have
scratches, however it does not affect the performance due to