10
Functions
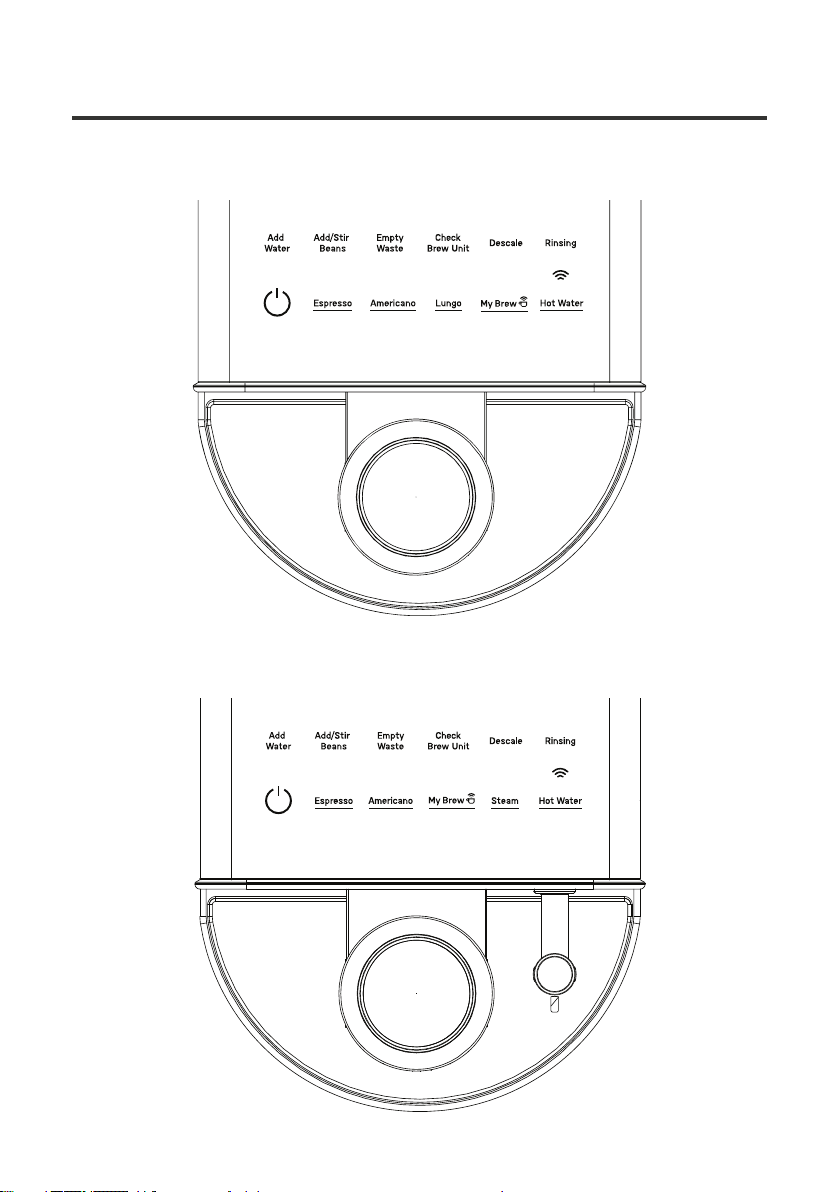
Buttons
NOTE: All settings have a default and can be
changed through the SmartHQ App.
NOTE: Coffee ground amounts and espresso
volumes may vary depending on bean type and
machine settings.
Espresso
(VSUHVVRLVDIXOOIODYRUHGFRIIHHGULQNVHUYHGDV
DFRQFHQWUDWHGVKRW&DSSXFFLQRV)ODW:KLWHV
DQG/DWWHVDUHDOOPDGHZLWKDQHVSUHVVRVKRW.
'HIDXOWVHWWLQJaJUDPVRIFRIIHH\LHOGVa
P/RIHVSUHVVRR]
Lungo
7KH/XQJRRUORQJ´7KLVZLOOFUHDWHDFXSWKDW
has double the water and extraction time.
'HIDXOWVHWWLQJaJUDPVRIFRIIHH\LHOGVa
P/RIHVSUHVVRR]
/XQJRLVRQO\LQFOXGHGZLWKPRGHO
P7CEBAS6RBB.
You can change My Brew in the SmartHQ app to
/XQJRLIGHVLUHG
Americano
7KLVLVDFRIIHHEUHZVL]HGGULQN,WLVPDGHE\
the addition of hot water over the single shot of
espresso. Your machine will brew espresso first,
dispose of the used grounds, and pour hot water
on top through the same coffee spout. Please
wait for all cycles to complete before enjoying
your Americano.
'HIDXOW6HWWLQJ%UHZ(VSUHVVRaJUDPVRI
FRIIHHaP/>R]@$GGKRWZDWHURQWRSa
P/>R]@
My Brew
:KHQXVLQJWKH³0\%UHZ´VHWWLQJWKHGHIDXOWLV
VHWWRD5LVWUHWWR7KLVLVVLPLODUWRDQHVSUHVVR
VKRWEXWLVKDOIWKHZDWHUYROXPH2IWHQFDOOHGD
³VKRUW´HVSUHVVR
aJUDPVRIFRIIHH\LHOGVaP/RI
HVSUHVVRòR]
7KH0\%UHZIXQFWLRQFDQRQO\EHXSGDWHGZLWKLQ
the SmartHQ app.
Steam
6WHDPLVXVHGWRKHDWXSPLONRUDOWHUQDWLYHV
and create microfoam for frothed milk drinks like
/DWWHVDQG&DSSXFFLQRV
Steam is only included with model
P7CEBBS6RBB
CAUTION To avoid possible burns
to body parts and/or
other injury from hot steam, do not touch
liquids or steam wand during or after
steaming. Do not remove pitcher until
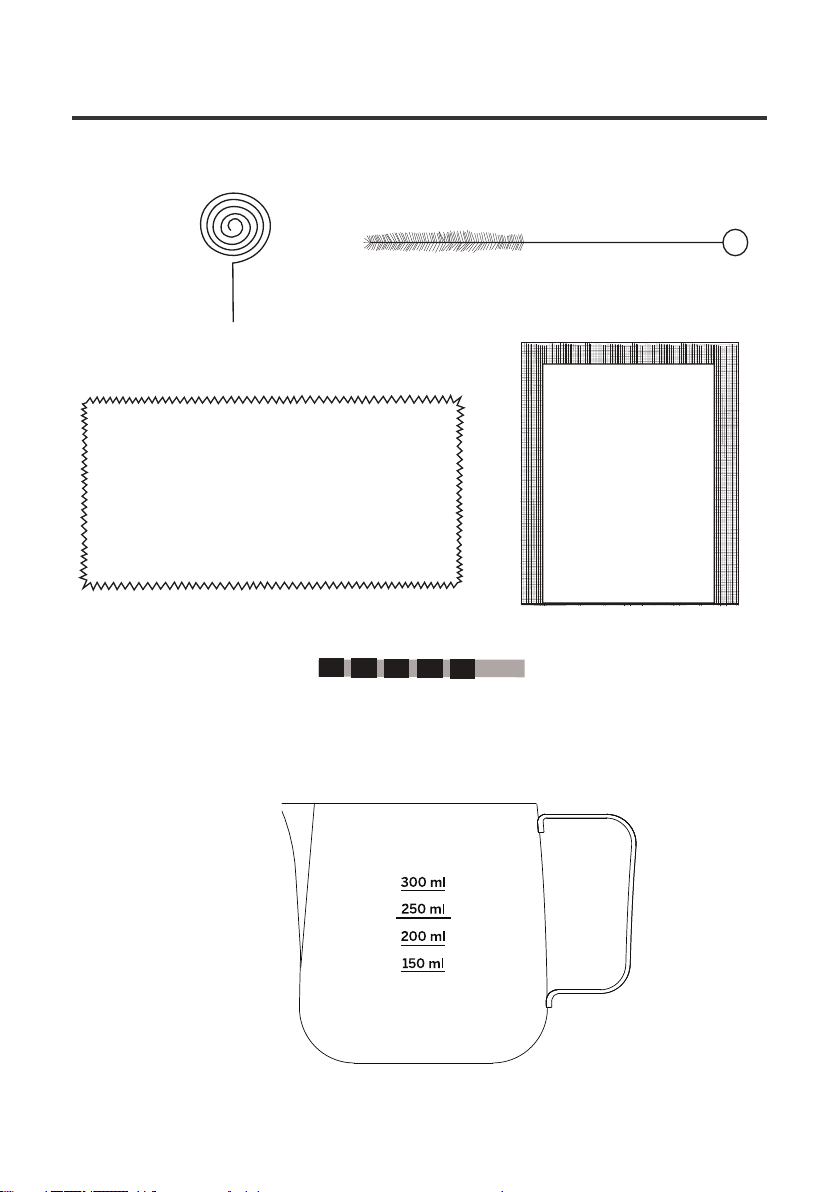
steaming is complete. Hold milk pitcher by the
handle.
Hot Water
7KH+RW:DWHUIXQFWLRQGLVSHQVHVKRWZDWHUIURP
WKHVSRXWRUVWHDPZDQG3&(%%65%%8VH
this function when hot water is desired. No coffee
is used during this function.
Alerts
WiFi
<RXUHVSUHVVRPDFKLQHLV:L)LFRPSDWLEOH6HH
page 20 for how to connect and use the SmartHQ
app.
Add Water
7KH$GG:DWHULQGLFDWRUDSSHDUVZKHQWKHUHLV
no water left in the tank or the tank is removed
from the unit. If this occurs during a cycle, simply
add water then press the button of the desired
function to continue the current cycle.
Add/Stir Beans
7KH$GG6WLU%HDQVLQGLFDWRUDSSHDUVZKHQWKHUH
are no beans left in the coffee bean container.
$GG21/<ZKROHFRIIHHEHDQVWRWKHFRQWDLQHU
NOTE: If machine runs out of coffee beans in the
middle of the cycle, it might terminate the brew
or produce a drink of reduced strength. An alert
will clear after the beans are refilled and the user
restarts a new brew.
NOTE:2LO\EHDQVDUHQRWUHFRPPHQGHGIRU
automatic espresso machines. If beans do not
easily slide down into the grinder, it means oil is
present. Please stir beans in the hopper.
Check Brew Unit
&RIIHH%UHZHUDQGRU6HUYLFHGRRUDUHQRWLQ
place or not properly installed.
Empty Waste
Empty Waste appears after 8 brews. Empty the
waste basket and the alert will turn off. If the
disposal drawer is open for more than 5 seconds,
the counter is reset.
NOTE: Clean out, wash, and dry the Disposal
7UD\DQG'ULS7UD\EHIRUHORQJSHULRGVRIQRXVH
Descale
Descale alert will appear when it is time to run a
descale cycle for best operation and life span of
the machine.
Rinsing
An alert is on during automatic rinsing function
ZKLFKRFFXUVRQSRZHU21DIWHUFRPSOHWHFRRO
down.
Notification LED
See page 11 for full list of notification colors.