GE 2-9920 User manual

We bring good things to life.
2-9920/2-9921
900MHz
Cordless Telephone
User’s Guide

2
IMPORTANT INFORMATION
NOTICE: The Industry Canada label identifies certified equipment. This certification means
that the equipment meets certain telecommunications network protective, operational and
safety requirements. The Industry Canada does not guarantee the equipment will operate to
the user’s satisfaction.
Before installing this equipment, users should ensure that it is permissible to be connected
to the facilities of the local telecommunications company. The equipment must also be
installed using an acceptable method of connection. The customer should be aware that
compliance with the above conditions may not prevent degradation of service in some
situations.
Repairs to certified equipment should be made by an authorized Canadian maintenance
facility designated by the supplier. Any repairs or alterations made by the user to this
equipment, or equipment malfunctions, may give the telecommunications company cause to
request the user to disconnect the equipment.
Users should ensure for their own protection that the electrical ground connections of the
power utility, telephone lines and internal metallic water pipe systems, if present, are
connected together. This precaution may be particularly important in rural areas.
CAUTION: Users should not attempt to make such connections themselves, but should
contact the appropriate electric inspection authority, or electrician, as appropriate.
NOTES: This equipment may not be used on coin service provided by the telephone
company.
Party lines are subject to telephone company tariffs and, therefore, you may not be able to
use your own telephone equipment if you are on a party line. Check with your local
telephone company.
HEARING AID COMPATIBILITY
This telephone system meets FCC/Industry Canada standards for Hearing Aid Compatibility.
INDUSTRY CANADA NUMBER IS LOCATED ON THE CABINET BOTTOM
REN NUMBER IS LOCATED ON THE CABINET BOTTOM

3
INTRODUCTION
Your GE 900 MHz Cordless Telephone is designed to give you flexibility in
use and high quality performance. To get the most from your new cordless
telephone, we suggest that you take a few minutes right now to read
through this instruction manual.
IMPORTANT INFORMATION ....................... 2
HEARING AID COMPATIBILITY .................. 2
GETTING STARTED ................................ 4
BEFORE YOU BEGIN .......................... 4
MODULAR JACK REQUIREMENTS ...... 4
DIGITAL SECURITY SYSTEM ............. 4
DESKTOP INSTALLATION ...................... 5
WALL MOUNT INSTALLATION .............. 6
CORDLESS PHONE BASICS ...................... 7
MAKING ACALL ............................... 7
INUSE INDICATOR ......................... 7
REDIAL (RE/PA) ........................... 7
RECEIVING ACALL ............................ 7
FLASH BUTTON ................................ 8
VOL (VOLUME) SWITCH .................... 8
RING/PWR (RINGER AND POWER)
SWITCH ....................................... 8
SELECTING ARING SOUND (PGM
BUTTON) ..................................... 9
MUTE BUTTON ................................. 9
TEMPORARY TONE ............................ 9
PAGING THE HANDSET ..................... 10
ADVANCED FEATURES .......................... 10
CHANNEL BUTTON (CHAN) ............ 10
THE MEMORY FEATURE ................... 10
STORING ANUMBER IN MEMORY ... 10
CHANGING ASTORED NUMBER ...... 11
STORING AREDIAL NUMBER ........... 11
STORING APAUSE IN MEMORY ..... 11
DIALING ASTORED NUMBER ......... 12
CHAIN DIALING FROM MEMORY ..... 12
HEADSET AND BELT CLIP OPERATION ..... 13
CONNECTING HEADSET TO HANDSET ... 13
CONNECTING THE BELT CLIP ............. 13
CHANGING THE BATTERY ...................... 14
BATTERY SAFETY PRECAUTIONS ..... 14
TROUBLESHOOTING GUIDE ................... 15
GENERAL PRODUCT CARE .................... 17
CAUSES OF POOR RECEPTION ............... 17
TELEPHONE NETWORK INFORMATION ...... 18
INTERFERENCE INFORMATION ................. 19
REN NUMBER ................................... 19
INDEX ............................................... 20
ACCESSORY FORM .............................. 21
SERVICE WARRANTY ........................... 22
WARNING:
TO PREVENT FIRE
OR ELECTRICAL SHOCK HAZARD,
DO NOT EXPOSE THIS PRODUCT
TO RAIN OR MOISTURE.
SEE MARKING ON BOTTOM / BACK OF PRODUCT
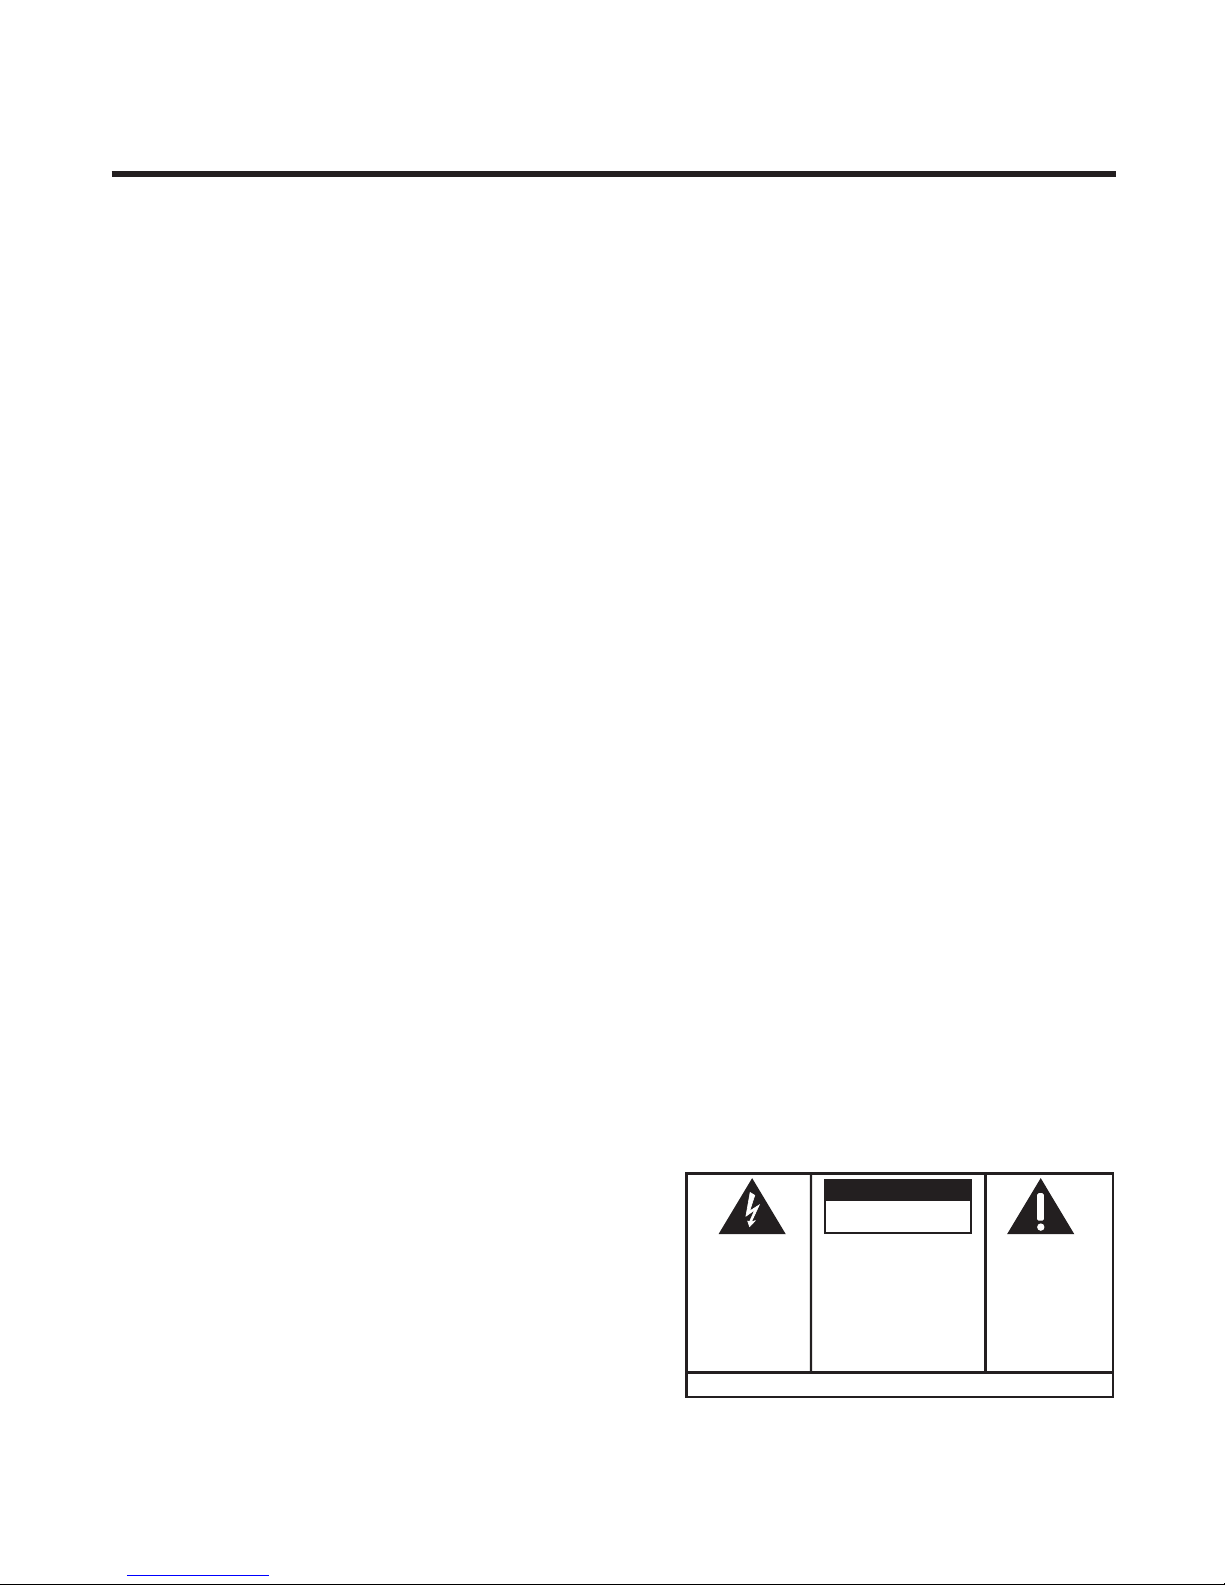
CAUTION
RISK OF ELECTRIC SHOCK
DO NOT OPEN
THE EXCLAMATION
POINT WITHIN THE
TRIANGLE IS A
WARNING SIGN
ALERTING YOU OF
IMPORTANT
INSTRUCTIONS
ACCOMPANYING
THE PRODUCT.
THE LIGHTNING
FLASH AND ARROW-
HEAD WITHIN THE
TRIANGLE IS A
WARNING SIGN
ALERTING YOU OF
"DANGEROUS
VOLTAGE" INSIDE
THE PRODUCT.
CAUTION: TO REDUCE THE
RISK OF ELECTRIC SHOCK,
DO NOT REMOVE COVER
(OR BACK). NO USER-
SERVICEABLE PARTS IN-
SIDE. REFER SERVICING
TO QUALIFIED SERVICE
PERSONNEL.

4
BEFORE YOU BEGIN
GETTING STARTED
Make sure your package includes the items shown here.
AC power adapter
Telephone
line cord
MODULAR JACK REQUIREMENTS
You need an RJ11(CA11A) type modular jack, which is the most
common type of phone jack and might look like the one pictured
here. If you don’t have a modular jack, call your local phone
company to find out how to get one installed.
Short telephone
line cord
Handset
Base
TUV
1
456
GHI
7
PQRS
89
WXYZ
OPER
0#
*
23
TONE
JKL MNO
ABC DEF
RE/PA FLASH MUTE
TALK
CHAN
PGM MEM
ON OFF–RING
PWR–ON OFF
IN USE BAT LOW
PAGE
IN USE
CHARGE/
PAGE
Base plate
Headset
(for 2-9921
only)
Belt Clip (for
2-9921 only)
DIGITAL SECURITY SYSTEM
Your cordless phone uses a digital security system to prevent false ringing,
unauthorized access, and charges to your phone line.
When you place the handset in the base, the unit verifies its security code.
After a power outage or battery replacement, you should place the hand-
set in the base for about 20 seconds to reset the code.
Important: Because cordless phones operate on electricity, you should have at least
one phone in your home that isn’t cordless, in case the power in your home goes out.
INSTALLATION NOTE: Some cordless telephones operate at frequencies that
may cause interference to nearby TVs and VCRs. To minimize or prevent such
interference, the base of the cordless telephone should not be placed near or on
top of a TV or VCR. If interference continues, moving the cordless telephone
farther away from the TV or VCR will often reduce or eliminate the interference.

5
NOTE: Use only the Thomson power supply that is compatible with this unit.
Using other adapters may damage the unit.
DESKTOP INSTALLATION
2
T/P switch
4
67
3
1. Make sure base plate is securely fastened.
2. Plug the telephone line cord into the PHONE LINE jack on the base and
into a modular jack.
3. Plug the power supply cord into the POWER 9V DC jack on the base and
into an AC outlet.
4. Set the T/P switch to T for touch-tone service, or P for pulse (rotary)
service. If you don’t know which type of service you have, check with
the phone company.
5. Set RING switch (on the handset) to ON.
6. Raise the base antenna.
7. Place handset in the base to charge for 12 hours. The CHARGE/PAGE
light (on the base) comes on to indicate that the battery is charging. If
you don’t charge the handset battery properly (for 12 hours) when you
first set up the phone, performance of the battery will be compro-
mised.
1

6
WALL MOUNT INSTALLATION
1. Remove the handset hook; turn it
upside down, and put it back in the
slot. You need to do this so the handset
doesn’t fall out of the base.
2. Plug the short telephone line cord into
the jack marked PHONE LINE on the
back of the unit and plug the other end
into a modular wall jack.
3. Connect the power adapter to the
POWER 9V DC jack on the phone.
4. Install the base plate by putting the
tabs into the slots on the top of the unit
first, and then snapping the bottom
tabs into place.
5. Slip the mounting holes over the wall
plate posts and slide the unit down
firmly into place. (Wall plate not
included.)
6. Set the T/P switch to T for touch-tone
service, or P for pulse (rotary) service. If
you don’t know which type of service
you have, check with the phone
company.
7. Plug the other end of the power
adapter into an AC outlet.
8. Set RING switch to ON.
9. Raise the base antenna.
2
1
3
5
9
7
PAGE
IN USE
CHARGE/
PAGE
10
4

7
10. Place handset in the base to charge for 12 hours. The CHARGE/PAGE
light comes on to indicate that the battery is charging. You must
charge the handset battery continuously (without using the
phone) for 12 hours when you set up the phone.
CORDLESS PHONE BASICS
RE/PA
Redial/Pause
button
MAKING ACALL
After initial set up, put handset in the
base for 12 hours to charge the battery.
The only two things you need to know to
make a call are:
• Press the TALK button before you dial.
• Press TALK or place the handset in the
base to hang up.
INUSE INDICATOR
You know the phone is on when you see
the IN USE indicator on the handset light.
REDIAL (RE/PA)
Press the TALK button, then press the RE/
PA (redial/pause) button to redial the last
number you called (up to 31 digits).
RECEIVING ACALL
To answer a call when the handset is out
of the base, you must press the
TALK button before you can talk.
TALK button
TUV
1
456
GHI
7
PQRS
89
WXYZ
OPER
0#
*
23
TONE
JKL MNO
ABC DEF
RE/PA FLASH MUTE
TALK
CHAN
PGM MEM
ON OFF–RING
PWR–ON OFF
IN USE BAT LOW

8
TUV
1
456
GHI
7
PQRS
89
WXYZ
OPER
0#
*
23
TONE
JKL MNO
ABC DEF
RE/PA FLASH MUTE
TALK
CHAN
PGM MEM
ON OFF–RING
PWR–ON OFF
IN USE BAT LOW
FLASH BUTTON
Use the FLASH button to activate custom
calling services such as call waiting or call
transfer, which are available through your
local phone company.
VOL (VOLUME) SWITCH
Controls the volume of the handset's
earpiece.
RING/PWR (RINGER AND
POWER) SWITCH
This is a 3-position switch that controls
the ringer and handset power.
When you move the switch to the left,
the power is on and the ringer is on.
When you move the switch to the middle
position, the power is on, but the ringer
is off.
When you move the switch to the far
right, the power is off and the ringer is
off which saves battery power. You must
turn PWR to ON (by sliding the switch to
the middle or left position) in order to
make calls or receive calls.
TIP: If you press the TALK button to
activate custom calling services such as
call waiting, you’ll hang up the phone.
Press FLASH instead.
FLASH
button
VOL (volume) switch
(on the side of the handset)
MUTE
button
PWR– ON OFF and
RING– ON OFF
switch
PGM
button

9
SELECTING ARING SOUND (PGM BUTTON)
You can choose between two different ring sounds. To choose the first ring
sound:
1. Press PGM.
2. Press 1.
3. Press PGM.
To choose the second ring sound:
1. Press PGM.
2. Press 2.
3. Press PGM.
To check your current ring sound selection, press PGM, press 3, and press
PGM again.
MUTE BUTTON
Use the MUTE button to interrupt a phone conversation to talk privately
with someone else in the room.
1. Press MUTE to activate mute feature (the BAT LOW light blinks).
2. Press MUTE again to turn it off.
TEMPORARY TONE
This feature enables pulse (rotary) service phone users to access touch-
tone services offered by banks, credit card companies, etc., by pressing
the TONE button to temporarily make the phone touch-tone compatible. To
get information about your bank account, for example, you would:
1. Press the TALK button.
2. Call the bank’s information line.
3. Press the TONE button after your call is answered.
4. Follow the voice instructions to complete your transaction.
5. Hang up when finished. The phone returns to pulse (rotary) service.

10
ADVANCED FEATURES
PAGING THE HANDSET
Press the PAGE button on the base to
locate a misplaced handset. When you
press the PAGE button, the handset
beeps. Press the TALK button when you
locate the handset. Remember that the
ringer must be ON in order for the
handset to ring.
MEM
button
TUV
1
456
GHI
7
PQRS
89
WXYZ
OPER
0#
*
23
TONE
JKL MNO
ABC DEF
RE/PA FLASH MUTE
TALK
CHAN
PGM MEM
ON OFF–RING
PWR–ON OFF
IN USE BAT LOW
CHAN button
RE/PA (redial/
pause) button
PAGE
button
PAGE
IN USE
CHARGE/
PAGE
CHANNEL BUTTON (CHAN)
If you ever experience any interference or
don’t have clear voice quality, press the
CHAN button on the handset to advance
to another channel.
THE MEMORY FEATURE
Store up to 10 numbers in memory for
quick dialing.
STORING ANUMBER IN MEMORY
The phone must be OFF (PWR button
ON, but no dial tone).
1. Press the MEM button
2. Dial the number (up to 24 digits).
3. Press MEM.
4. Press any number key (0-9) to store
the phone number in that memory
location.

11
CHANGING ASTORED NUMBER
Use the same procedure to change a stored number as you do to store a
number— you’re just moving the phone number to a different memory
location.
S
TORING
A
REDIAL
NUMBER
The phone must be off (PWR button ON, but no dial tone).
1. Press MEM.
2. Press RE/PA (redial/pause).
3. Press MEM.
4. Press any number key (0-9) to store the phone number in that memory
location.
S
TORING
A
P
AUSE
IN
M
EMORY
Use the RE/PA button to insert a pause when a delay is needed in the
dialing sequence (for example, when you must dial a 9 to get an outside
line or when you must enter codes to access your bank’s information line).
If you need to dial 9 to get an outside line and want to store a number in
memory without having to dial 9 each time, you would:
1. Press MEM (phone must be off— PWR button ON, but no dial tone).
2. Press 9.
3. Press RE/PA (redial/pause).
4. Dial the phone number you want to store in memory.
5. Press MEM.
6. Press any number key (0-9) to store the phone number in that memory
location.
TIP: If you need a longer pause, press RE/PA button more times.

12
D
IALING
A
S
TORED
N
UMBER
1. Press the TALK button to get a dial tone.
2. Press MEM and then press the number for that memory location.
C
HAIN
D
IALING
FROM
M
EMORY
Use this feature to make calls which require a sequence of numbers, for
instance if you use a calling card for a frequently called long distance
number. Basically, you dial each part of the sequence from memory. The
following example shows how you can use chain dialing to make a call
through a long distance service:
The Number For Memory Location
Long distance access number 7
Authorization code 8
Frequently called long distance number 9
1. Press the TALK button to get a dial tone.
2. Press the MEM button and then press 7.
3. When you hear the access tone, press MEM and then press 8.
4. At the next access tone, press MEM and then 9.

13
HEADSET AND BELT CLIP OPERATION
CONNECTING AHEADSET TO
THE HANDSET
For hands free conversation, connect the
headset (for 2-9921 only) to the HEADSET
jack as shown. The handset receiver and
microphone are disabled when the
headset is connected.
Adjust the headset to rest comfortably on
top of your head and over your ear. Move
the microphone to approximately 2 to 3
inches from your mouth.
• Press the TALK button to answer or
place a call before using the headset.
HEADSET
Headset
jack
Headset plug
CONNECTING THE BELT CLIP
There are two slots, one on each side of the
handset.
• Attach the belt clip (for 2-9921 only) by
inserting the sides of the belt clip into the
slots. Snap the ends of the belt clip into
place.
Slot for
belt clip
Slot for
belt clip

14
CHANGING THE BATTERY
BATTERY SAFETY PRECAUTIONS
• Don’t disassemble, mutilate, puncture, wet, or dispose of battery in fire.
Like other batteries of this type, if it is burned or punctured, it could
release toxic materials which can cause injury.
• Keep batteries out of the reach of children.
Make sure RING/POWER switch is OFF
before you replace battery.
1. Remove the battery compartment door.
2. Disconnect the cord attached to the
battery pack and remove the battery
pack from the handset.
3. Insert the new battery pack and connect
the cord into the jack inside the handset.
4. Put the battery compartment door back
on.
5. Place handset in the base to charge. If
you don’t charge the handset
battery properly (for 12 hours) when
you first set up the phone and/or
when you install a new battery
pack, the battery’s long-term perfor-
mance will be compromised.
Ni-Cd
Must be Recycled or
Disposed of Properly
Contains
Nickel-Cadmium
Rechargeable
Battery
NOTE: This product contains a nickel-cadmium rechargeable
battery and must be recycled or disposed of properly. We suggest
that you check with your local Environmental Agency regarding
recycling or disposal.

15
TROUBLESHOOTING GUIDE
In case of difficulty, please check the following Troubleshooting Guide
before seeking service.
Problem Solution
No dial tone • Check installation:
— Is the base power cord connected to a working outlet?
— Is TALK light on?
— Is the telephone line cord connected to the base unit and
the wall jack?
• Disconnect the base from the wall jack and connect another
phone to the same jack. If there is no dial tone in the second
phone, the problem might be your wiring or local service.
• Is the handset out of the base unit’s range? Move closer to
the base unit.
• Make sure the battery is properly charged (12 hours).
• Is the battery pack installed correctly?
• Make sure the RING/PWR switch on the handset is turned to
ON.
• If the phone still does not work, disconnect the power cord
and remove the battery pack. Then reconnect the power cord
and reinstall the battery pack. Place handset in the base for
10 seconds to allow it to reinitialize.
Make sure base plate is securely fastened.
Dial tone is OK, but • Make sure the T/P switch on the base is set
can’t dial out correctly.
Handset does not ring • Make sure the RING/PWR switch on the handset is turned to
ON (the far left position).
• You may have too many extension phones on your line. Try
unplugging some phones.
• See solutions for “No dial tone.”
Cannot hear phone • Set the volume control on side of handset to HI.
conversation
You experience static, • Change channels.
noise, or fading in • Is handset out of range? Move closer to the base.
and out • Does the base need to be relocated?
• Charge handset battery.
• Make sure base is not plugged into an outlet with another
household appliance.
•

16
Problem Solution
Cannot hear the • Set the RING/PWR switch on the handset to ON (the far left
Page alert tone
position).
Range is shorter • Press the CHAN button during the conversation to select a
than normal new channel.
• Position the base antenna upward.
Battery will not hold a • Be sure you are sufficiently charging the battery. When the
charge
or
is fully charged battery has been charged for 12 hours, you can expect
and the BAT LOW lights approximately 4 hours of talk time.
• Check to be sure battery contacts on both the handset and
the base are making contact and are clean; free of dirt or lint.
• When the handset is placed in the base, check that the base
CHARGE light is on.
BAT LOW light stays on • Place handset in base for 10 seconds to reset the
phone. If
that doesn’t work, charge battery for 12 hours.
Memory Dialing
• Did you program the memory location keys correctly?
doesn’t work • Did you follow proper dialing sequence?
• Make sure T/P switch is correctly set.
Unit locks up • If the unit doesn’t work, turn the power switch on the handset
off. Hold down digit 2 and 8 simultaneously and then turn the
power switch on. Put the handset back on the base and press
the PAGE button until you hear a beep.
• If a power outage occurs while the handset is away from the
base, the handset must be returned to the base when the
power returns.
No link between base • ID code between handset and base could be lost. Follow
these instructions: Make sure power switch on the handset is
OFF. Turn the power switch ON while holding down digit 2
and 8 simultaneously. Put the handset down on the base.
Press “PAGE” button until beep sound comes out. Beep
sound indicates that ID code is correctly restored.
and handset.

17
GENERAL PRODUCT CARE
To keep your telephone working and looking good, follow
these guidelines:
• Avoid putting the phone near heating appliances and devices that
generate electrical noise (for example, motors or fluorescent lamps).
• DO NOT expose to direct sunlight or moisture.
• Avoid dropping the handset, as well as other rough treatment to
the phone.
• Clean the phone with a soft cloth.
• Never use a strong cleaning agent or abrasive powder because this will
damage the finish.
• Retain the original packaging in case you need to ship the phone at a
later date.
• Periodically clean the charge contacts on the handset and base with a
eraser.
CAUSES OF POOR RECEPTION
• Aluminum siding.
• Foil backing on insulation.
• Heating ducts and other metal construction can shield radio signals.
• You’re too close to appliances such as microwaves, stoves,
computers, etc.
• Atmospheric conditions, such as strong storms.
• Base is installed in the basement or lower floor of the house.
• Base is plugged into an AC outlet with other electronic devices.
• Baby monitor is using the same frequency.
• Handset battery is low.
• You are out of range of the base.

18
TELEPHONE NETWORK INFORMATION
Should your equipment cause trouble on your line which may harm the
telephone network, the telephone company, where practicable, may notify
you that temporary discontinuance of service may be required. Where
prior notice is not practicable and the circumstances warrant such action,
the telephone company may temporarily discontinue service immediately.
The telephone company may make changes in its communications
facilities, equipment, operations or procedures where such action is
required in the operation of its business. If these changes are expected to
affect the use or performance of your telephone equipment, the telephone
company will likely give you adequate notice to allow you to maintain
uninterrupted service.
Notice must be given to the telephone company upon termination of your
telephone from your line.

19
INTERFERENCE INFORMATION
This equipment generates and uses radio frequency energy which may
interfere with residential radio and television reception if not properly
installed and used in accordance with instructions contained in this
manual. Reasonable protection against such interference is ensured,
although there is no guarantee this will not occur in a given installation. If
interference is suspected and verified by switching this equipment on and
off, the user is encouraged to try to correct the interference by one or
more of the following measures: Reorient the radio/television receiver’s
antenna, relocate the equipment with respect to the receiver, plug the
equipment and receiver into separate circuit outlets. The user may also
wish to consult a qualified radio/television technician for additional
suggestions. This equipment has been fully tested and complies with all
limits for Class B computing devices pursuant to part 15 FCC Rules and
Regulations. This device complies with RSS-210 of Industry Canada.
Operation is subject to the following two conditions: (1) This device may
not cause interference, and (2) This device must accept any interference,
including interference that may cause undesired operation of the device.
REN NUMBER
On the bottom of this equipment is a label indicating, among other
information, the FCC Registration number and Ringer Equivalence Number
(REN) for the equipment. You must, upon request, provide this information
to your telephone company.
The REN is useful in determining the number of devices you may connect
to your telephone line and still have all of these devices ring when your
telephone number is called. In most (but not all) areas, the sum of the
RENs of all devices connected to one line should not exceed 5. To be
certain of the number of devices you may connect to your line as deter-
mined by the REN, you should contact your local telephone company.

20
INDEX
A
Accessory Order Form 21
B
Battery
Installation 14
Battery Safety 14
Belt Clip 13
Buttons
CHANNEL 10
FLASH 8
MEMORY 9, 10, 11, 12
PAGE/FIND 10
PHONE ON/OFF 7
REDIAL 7
TONE 9
C
Chain Dialing 12
CHANNEL Button 10
CHARGE/IN USE light 5, 7
Cleaning the Phone 17
Connecting a Headset to the Handset 13
Connecting the Belt Clip 13
F
FLASH button 8
H
Headset 13
I
Installation 5
Interference Information 19
M
Making a Call 7
MEMORY button 9, 10, 11, 12
Memory Feature 10
Memory Location 10
O
Order Form 20
P
PAGE/FIND button 10
Paging the Handset 9
PHONE ON/OFF 7
Poor Reception 17
Product Care 17
PWR/RING (power and ringer) Switch 8
R
Receiving a Call 7
REDIAL 7
REN Number 19
Ringer switch 10
Ringer switch (PWR/RING) 8
S
Service Warranty 22
Storing a Number in Memory 10
Storing a Redial Number 11
Storing a Tone Number with Pulse
Dialing in Memory 11
T
Telephone Network Information 18
Temporary Tone 9
TONE button 9
Troubleshooting Guide 15
Other manuals for 2-9920
2
This manual suits for next models
1
Table of contents
Other GE Cordless Telephone manuals