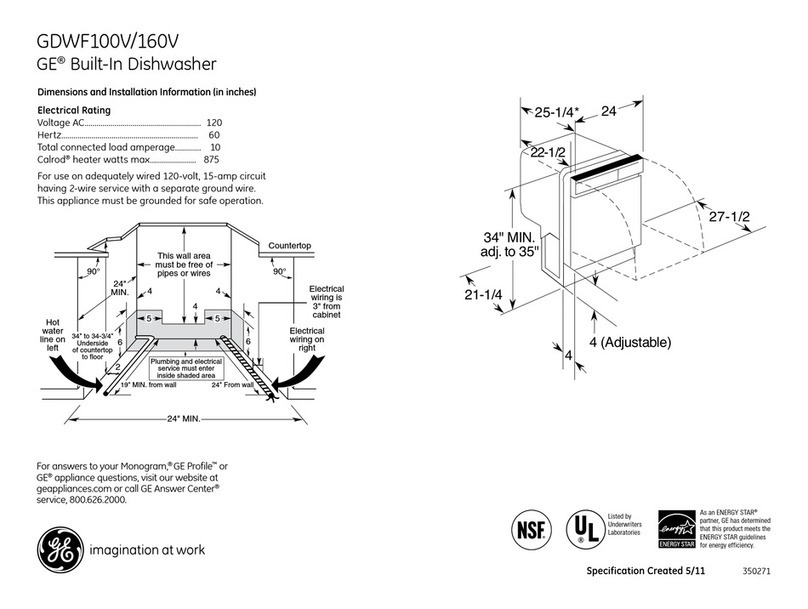
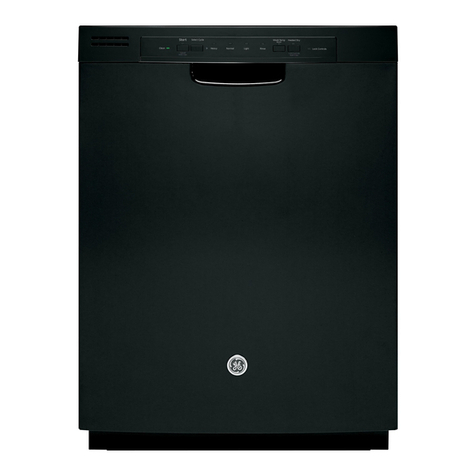
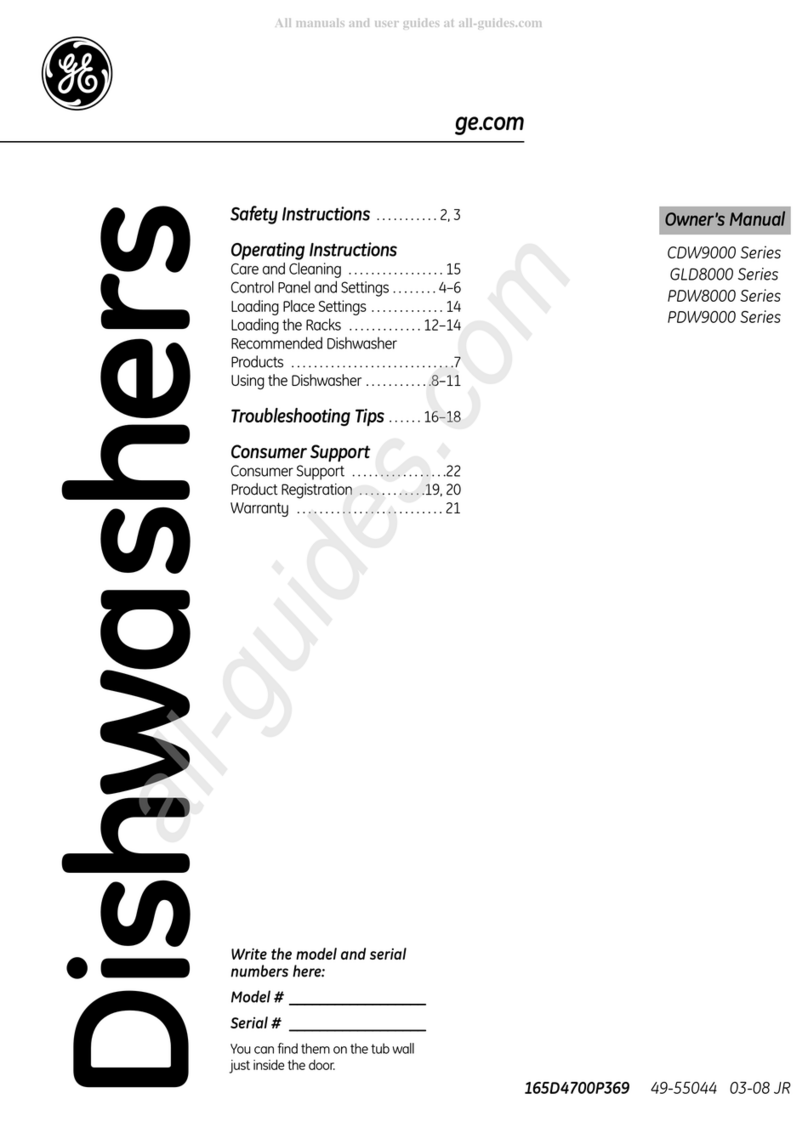
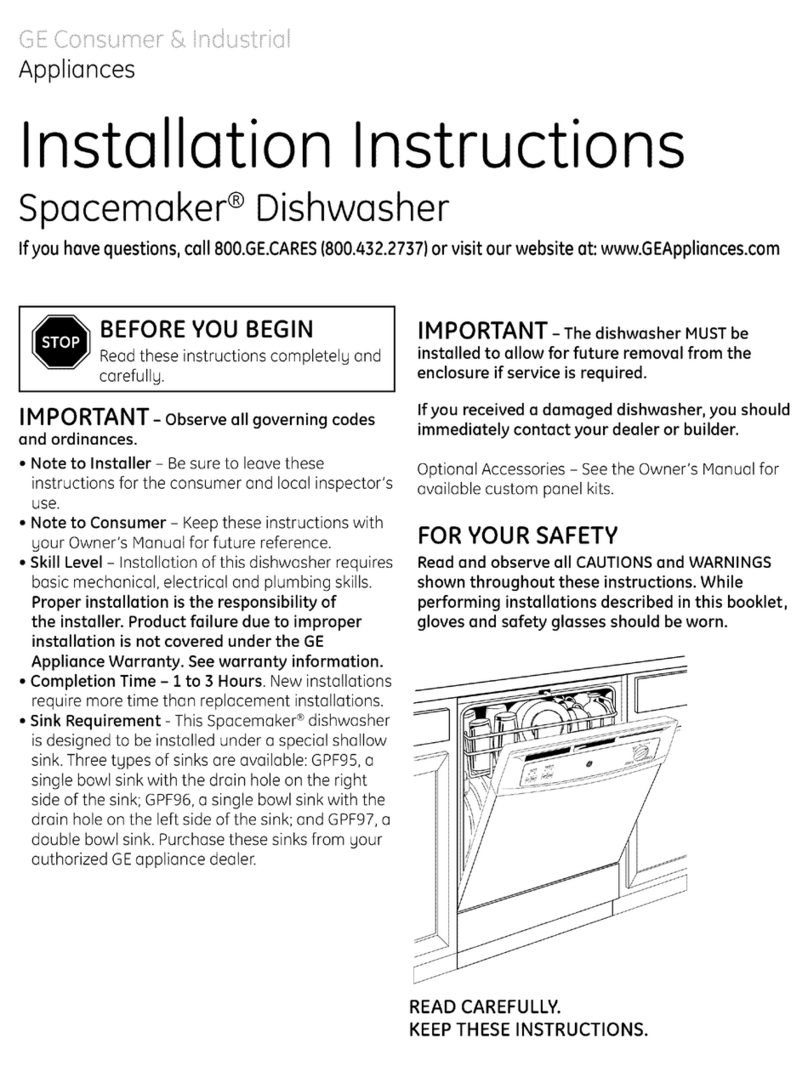
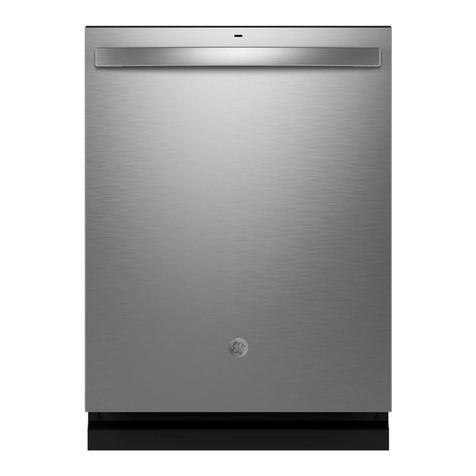
GE Appliances GSC3200 User manual

GEAppliances
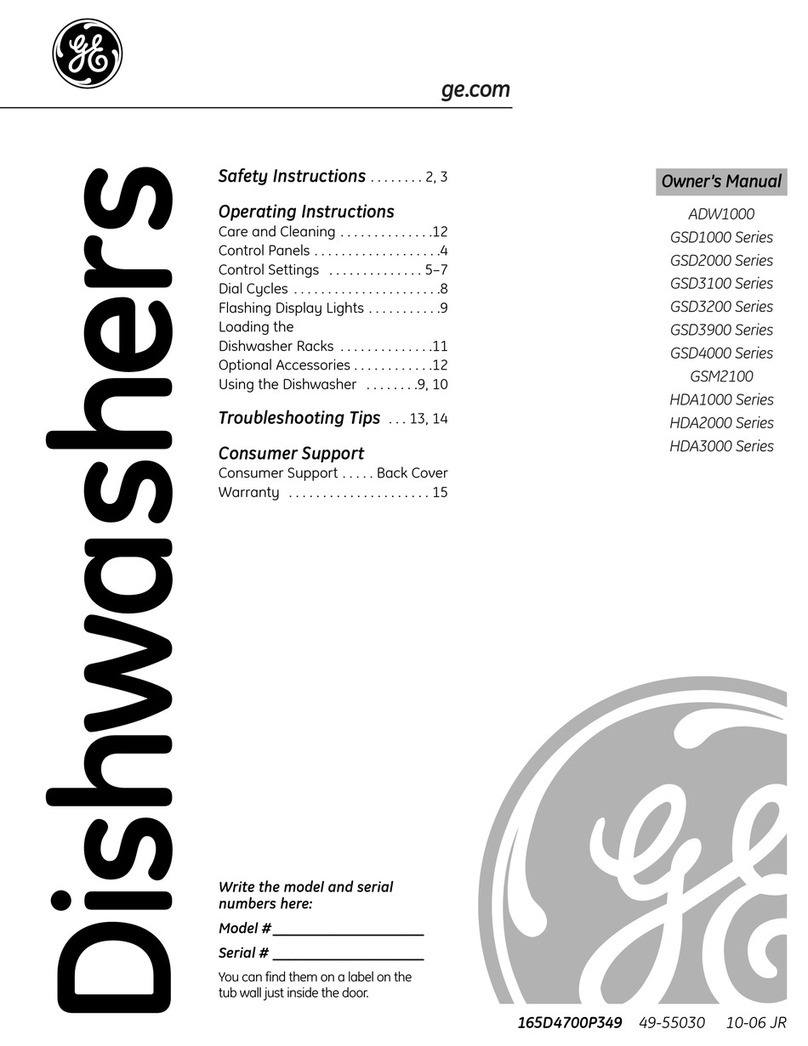
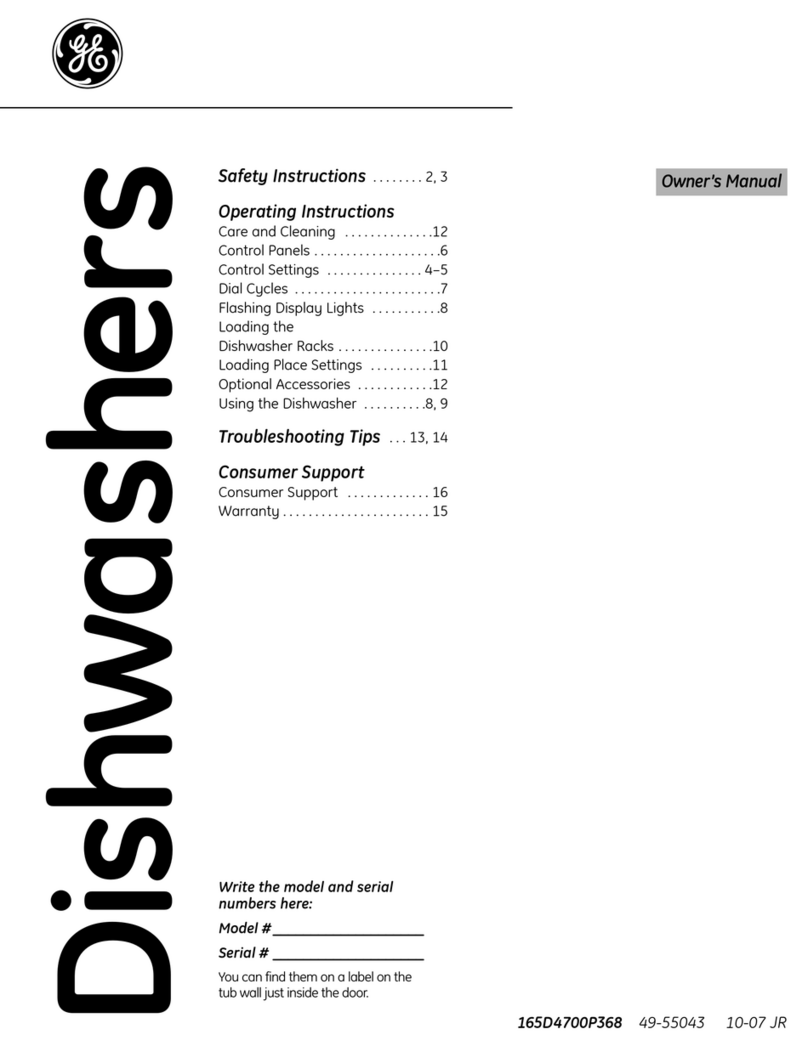
Safety hlformation ....... 4-7
Opera ting lnstructions
Connecting Elecuici/y ..... l l
Control Panels ............ 12
Control Settings ........... 13
Dial Cycles ............ 14, 15
I,oading the
Dishwasher Racks ...... 18, 19
Optional Accessories ...... 21
Unicouple .............. 8-10
Using the Dishwasher . .16, 17
Care and Cleaning ........ 20
Troubleshooting Tips
Before You Call
for Service ............. 22-27
Customer Service
Product Registration ....... 29
Service Telephone
Numbers ....... 3, Back Cover
Win'rainy ................. 31
GSC3200
GSC3230
GSC3400
GSC3430
www.geappliances.com 16504700,°213 49-5887 07-OOJR

_iii!i!_!_ili!!iiiiii!!ii!i!/iiii_
_i_,l_!iiii!iiiii
GE& You,AServicePartnership.
Important!
Two easy ways to register your appliance /.
5_' Throtl¢_h tile ....interrlet at x_ o°eatl:-) -)liances.... (onl
Complete and mail tile enclosed Product Registratior_ Card
Write themodel and serial numbershere.
#
#
Youcan find them on the tub wailjust insido the door.
Staple sales slip orcancelled check here.
Proofof the origina/ purchaso date is needed to obtain
service under the warrant.
Manual
Inside ?()u will find many helptill hirers on how to use and maintair_
}our dishwasher properl}, lust a little preventive care (m }our part
can save yOU a g-real deal of time aild nlolley over the lile ot your
dishwasher.

i_iiiiiiiiiliiiHil;ili!!iiii
You'll tind man} answers to common problems here. [tyou review our
chart ot Troubleshooting Tips tirst, you ma) not need to call for sea-vice
atall.
If YouNeedService
lfyou do need service, you can reke_, knowing help is only a phone call
away, A list of toll-ii'ee (alstomer service numbers is included in the back
section. Or you can always call the GE Answer Center <')at 800.626.2000,
94 hours a day, 7 days a week.
OR
Visit our $\ebsite at: www.geappliances.com
iii?iiiiiiiii//!i//i!iiiii7

IMPORTANTSAFETYINFORMATION.
READALLINSTRUCTIONSBEFOREUSING.
AWARNING!
For your safe_ the information in this manual must be
foflowed to minimize the risk of fire, explosion, electric
shock, or to prevent property damage, personal injury,
or loss of life.
i!iiiiiiHiiHiililH!iiiiiHi
!iiiii!iN_i!iiil
i_i!ii_i:iiiiii!i
ilii_i:iiii!i:ii!iliii!iiiii_
WATERHEATERSAFETY
Under certain conditions hydrogen gas may be produced in
a water heater thathas notbeen used for two weeks or
more. HYDROGENGASIS EXPLOSIVE,
If tile hot water has not been tlsed tot two weeks or more, prevent
the possibilit 3of damage or ir{itu), by turning on all hot water
tm_cets and allow them to run tor several minutes. Do this betore
using any electrical appliance which is connected to the hot water
s_stem. This simple procedure will allow any built-up hvdro_,-en oas
to escape. Since the gas is flammable, do not smoke or use an open
fianm or appliance during this process.

Use your dishwasher only for its intended purpose as
described in this Owner's Manual
PROPERINSTALLATION
ANDMAINTENANCE
This dishwasher must be properly installed and located in
accordance with the Installation Instructions before #is
used. If you did not receive an Installation Instructions
sheet with your dishwasher, you can receive one by calling
us toll-free at the GEAnswer Cente_ 800.626.2000.
s_,Connect to a grounded
metal, permarmr_t wiring
system; or run an equipment-
grour_dir_oconductor with
the cirolit conductors and
connect to the equipment-
groundino terminal or lead
of the appliance.
N Improper connection ot the
equipmentNTounding
conductor can resuh in a risk
of electric shock. Check with
a qualified electrician or
service representative if you
are in doubt whether the
appliance is properly
grounded.
_ l)ispose of discarded
appliances and shipping or
packing material properl).
N I)o not attempt to repair
or replace any part ot ?x_ur
dishwasher unless it is
specitically recommended
in this manual. All other
servicing should be reterred
to a qualitied technician.
N To minimize the possibility ot
electric shock, disconnect this
appliance ti'om the power
supply betk_re attempting any
maintenance. NOTE:Turning
the disl'rwasher otl does not
disconnect the appliance
t;'om the power supply.
We recommend having a
qualified technician service
your appliance.
iiiiHi!i iiiiii!!
l{i{{iiii!i>ii_i,!ii{iiiii!ii
iii!!iii i iiiHH
5

IMPORTANTSAFETYINFORMATION.
READALLINSTRUCTIONSBEFOREUSING.
AWARNING!
i!iiiiiiHiiHiililH!iiiiiHi
!iiiii!iN_i!iiil
i_i!ii_iiiiiiii!i
ilili_iiii!ili!iliii!iiiii_
DONOT...
i¢ Do not tamperwith controls.
i_ Do not _tbuse, sit on, or stand
on the door or dish r_tck oi
die dishw_tsher.
i¢ Do not allow children to play
inside, on or with this
appliance or any discarded
appliance.
s_i'I)o not discard a dishwasher
without first removing the
door of the washing
compartment.
i_ Do not store or rise
combustible materials,
g_/soline or other tlammable
vapors and liquids in the
vicinity ot this or any other
appliance.

WHENUSINGYOURDISHWASHER
_ Use only powder, tabs or
liquid detergents, or wetting,
agents recommended for use
in a dishwasher and keep
them out of the reach of
children. Cascade ')
Automatic l)ishwashing
I) r? lere ge -_thas been approved
ti)r use in all GE dishwashers.
s_?'1Jocate sharp items so that
they are not likely to damage
the door seal.
i_ I,oad sharp knives with the
handles up to reduce the risk
ot cut-t}T)eir_juries.
N I)o not wash plastic items
unless marked dishwashor
solo or the equivalent. For
plastic items not so marked,
check the mamfli_cturer's
recommendations.
_ Non4)ishware Items: Do not
wash items S[lch as electronic
air cleaner fihers, furnace
filters and paint brushes in
your dishwasher, l)amage to
dishwasher and discoloration
or staining of dishwasher
may result.
s_?,I)o not touch the heatino-
element during or
immediately _ffteruse.
i¢ Do not operate y)ur
dishwasher unless all
enclosure panels are properly
in place.
N (;lose supervision is necessa U
if this appliance is used by or
near children.
s_i' 1 h( h
oad "g t plastic items so
they Mll not become
dislodged and drop to the
bottom ot the dishwasher-
the} might come into contact
with the heating element and
be damaged.
READAND FOLLOWTHIS
SAFETYINFORMATIONCAREFULLY.
SAVETHESEINSTRUCTIONS
i/}iiii_liJi_'_"lii_/iiii_tii_
7

ilii i:iiii!i:ii ! iliii!iiiii
Aboutthe unicouple.
Before Operating the Dishwasher the First -time
iii_iiiiiii _ _iii _ i
iI
/
Attachthefaucetadapter.The special faucet adapter
supplied with your dishwasher must be assembled to
the sink tim(el betbre you can use your dishwasher,
The taucet adapter is designed to tit standard spouts
having internal or external threads. You willfind the
adapter andtwo washersin the faucet adapter packetin
your dishwashe_
Toinstall faucet adapter, first remove the old aerator or
trim ring on your tm_cet spout.
Iffaucet has external threads: Insert the thinner otthe
m'o washers into tile faucet adapter and attach it to tile
taucet spout.
Tighten with pliers.
Iffaucet has internal threads: Insert both otthe washers
into the faucet adapter and attach it to the faucet spout.
Tighten with pliers.
If tile faucet adapter threads do not match your t_tucet
spout, }our local hardware or phmfl)ing suppl} store
normall} has additional fittings to adapt }our tm_cet
spout to the special faucet adapter.
NOTE: A sink sprayattachment hose can burst ff it is installed
on the samesink with your dishwasher We suggest that you
disconnect thesick sprayattachmeet ff your sick has one and
plug thehole.

How to Connect the Unicouple
Pull Unicouple and its hoses completely ()tit fl'orn
storage cornpam-ner_t located at rear oI dishwasher
and attach it to the timcet adapter,
Attach tile Unicouple connector to tile taucet
adapter b) depressing the collar at the top of the
connector. When Unicouple is all the way up onto
the adapter, release file collar. It will then snap into
position to h)ck the Unicouple in place.
The Unicouple's small hose carries xcater ti'om tile
tmlcet to the dishwasher. Its large hose carries drain
water to tile sink. Be sure Unicouple is pointing
toward the sink bowl drain opening and tile sink
drain is open tierwater that will drain tram your
dishwasher. If your dishwasher drains into a
disposer, operam the disposer until it is completely
empty beti)re starting the dishxcdsher.
Turn hot water rill} on beiore starting the
d shwasher.
iiii iiH!
!i ii iii iiiiii!
How to Disconnect the Unicouple from Faucet Adapter
P,elease tile water pressure b} depressing tile pressure release
btltton. This relieves water pressure and protects '_OII, and the
room, fi'om severe splashing.
Rele_tse Unitouple ti'()nl thucet b} depressing tile collar at tile
.....................top of the Unicouple connector.
iili!i!i!i,liliii
9

Aboutthe unicouple.
How to Disconnect the Dishwasher
Remove..... the power (ord plug, fl'om the....wall re(eptacle.
i)isconnect Unicouple fl'om taucet adapter.
NOTE:Whenmotorstopsat theendof thefinaldnse,theUnicouplecanbe
disconnectedandreturnedtostorage,
How to Drain Excess Water From Unicouple Hoses
H
11the sink is 34" or higher ti'om the floor, the excess
water in Unicouple hoses cannot be drained directly
into the sink. It will be necessat T to drain excess water
fl'om hoses into abowl or stfitable container that is held
outside and lower than the sink.

Aboutconnecting electricity.
ACAUTION,forpersonalsafety:
DONOTUSEAN EXTENSIONCORDORAN ADAPTERPLUGWITHTHIS
APPLIANCE.
DONOT UNDERANY CIRCUMSTANCES,CUTORREMOVETHETHIRD
GROUNDINGPRONGFROMTHEPOWERCORD.
GROUNDINGINSTRUCTIONS--Thisappliance must be grounded. In
the event oI a malflmction or breakdown, grounding will reduce the
risk of electric shock by providing a path ot least resistance tbr
electric current. This dishwasher is equipped with a cord having a
grounding conductor and a grounding plu , The plu , must be
plugged into an appropriate outlet that is installed and grounded in
accordance with the NATIONAt ELECTRICCODE,ANSI/NPFANO. 70.
DANGER--hnproper connection oI the equipment/grounding
conductor can resuh in a risk of electric shock. Check with a
qualified electrician or serviceman ityou are in doubt as to whether
the dishwasher is properl} grounded. [)o not modit_, the plug
provided with the appliance; itit will not fit the outlet, have a proper
outlet installed by a qualified electrician.
iiii iiH!
!i ii iii iiiiii!
Electrical Requirements
i i i _ /iiii iii:
fllsurepropergroundexistsbetoreuse
:i;"This appliance must be supplied with 120V, 60 Hz,
and connected to an individual, properly grounded
branch circuit, protected by a 15 or 20 amp circuit
breaker or time-delay fuse.
N If the electric supply provided does not meet the
above specifications, it is recommended dmt a
licensed electrician install an approved outlet.
N Your dishwasher cir_fit should not be used tbr any
other appliance while the dishwasher is in operation as
the dishwasher requires the lull capacity otthe drcuit.
_ If the wall receptacle ym ph N the dishwasher's power
cord into is controlled by a switch, turn on the switch.
//

;;;;;;;;;;;;;;;;;;;;;;;;;;;;;;;;;;;;;
About the dishwasher controlpanel
Youcan locate your model number on the tub wall just inside the door.
Throughout this manual, features and appearance may vary from your model.
Models GSC3200and GSC3230
CYCLES E_ER_Y OPTIOn,S ON
POTS _ORMAL H_TE_PWASH HEATEDDRY
&PAN_ WASH _N _FP _ _FF
RINSEONLYr._ATEDD_ _r_
Models GSC3400and GSC3430
CYCLES ENEn_yOPTIONS
@@@@@@@@
_TARTDELAY • _ _TART
[HRS_ _ _HORT
;;;;;;;;;;;;;;;;;;;;;;;;;;;;;;;;;;;;;_2

ControlSettings
OCycles
POTS&
PANS 9.5gal.,63rain. Rinse-Rinse-Rinse-MainWad_-Rinse-Rinse-Rinse
Forheavilysoileddisl_esorcookwarewith dried-on
or baked-onsoils.Everydaydishesmaybeincluded.
Tiffscyclewill notremoveburned-onfoods.
NORMAL 8.0gal.,63min. RinseRinse_MainWashq:_inse-RinseRinse
WASH Forloadsof everydaydishes,glassesandcookware
witl=mediumsoils.NOTE."Manydisl_esI_avelighter
soil than normal.Choosingacycleotherthan
NORMALWASHwiii saveenergyandwater.
LIGHT 6.7gal.,63min. RinseRinse-MainWash-Rinse-Rinse
WASH Fordisheswith light soils.
SHORT 6.6gal.,55rain. RinseMainWasl_Rinseq:_inse-Rinse
WASH Forquicklywashingloadsof everydaydisheswith medium
soilsthat havenot driedoil, su@as loadsconsistingmostly
of glasses.
RINSE 3.9gal.,12min. RinseRinseq:_inse
ONLY Forrinsingpartial loadsthat will bewashedlater.
Donotusedetergent
PLATE Forwarming cleandishesandservingplates.Thiscyclewill take
WARMER approximately32 minutes.
HOT adds1.5gal.,30rain.toselectedcycle. Rinse-StartSelectedCycle
START Preheatswashwater to correcttemperature.
Make sure the l)ial is at the OFFpositiorL
s_' l_atch the door.
OEnergyOptions
HITEMP Providesextra heat for bestperformance,it isusedbest
WASH with heavily-soileddishes.
HEATED Turnsthe dryingheateronfor fast drying.Thiscyclewill extend
DRYON thetime toyourwasl_cycle.Availableonaiiwasl_cyclesexcept
RINSE ONLY,Addapproximately32minutestotilecycle.
HEATED Shutsoff tile dryingheatoptions.Dishesairdrynaturally
DRYOFF andenergyissaved.
OStart
Slowly turn the DiM to the START1)osition. Don't turn it past
the STARTposiuon,or you could accidentally miss a rinse.
There is a time delay between start-up and water 1ill so you
will not hear anywash action right a_cay.
iiii iiH!
!i ii ,iii iiiiii!
i/iiiii_liPhii_/iiii_tii_
13

ilii i:iiii!i:ii!iliii!iiiii
Aboutthe dial cycles.
Short Wash
ROT START
OPTION
START DELAy %'_ STAR T
(HRS) '_ SHORT
¢,
OFF
pLATEWARMER
mt_leDDRy_
m
_N_TmDRYOm
For quicklywashing loads ot eve)3(la_,disheswith
medium soilsthat have not dried on.
_ Select the NORMALWASH(ycleand any options.
_lie sure the door isunlatched.
_ Slowlyturnthe Dial to SHORTWASH,
_I atch the door tostart the c?vle.
HDT START
OPTION
START DELAy g'_ START
RINSE ONLY
Rinse Only
For rinsing partial loads that will be washed later. Do not
uso dotorgont
Make sure HEATED DRY OEEis selected.
Be sure the door is unlatched
:_{_ Slowly turn the I)ial to RINSE ONLY.
Iatch the door to start the cycle.
ROTSTART
OPTION
START DELAy g'_ START
(HRS) _SHORT
WASH
PLATE WARMER
Plate Warmer
For warming clean dishes and serving plates. This (7,cle
• . x,t -
wdl take approxlmatel, 32 minutes.
) Ix)ad clean dishware to be'warnle(l
>_, Select HEATED DRY. ON.
lie sure the door is unlatched
Slowly turn the Dial to PLATE WARMER.
l_atch the door to start the cycle
74

HOT START
OPTION
START DELAy _ '_ STAR T
(fiRS) % SHORT
,_- WASH
OFF
P_TEWARMER
_N_TmD
m_O ORYOFF}
Hot Start
Preheats wash water to correct temperature.
Select the HOT STARTcvcle and am other option.
_{ Be sure the door is unlatched.
Slowl} turn the l)ial to HOTSTART
I_atch the door to start the ode.
iiii iiH!
!i ii ,iii iiiiii!
HOT START
OPT}ON
START DELAY %'_ START
(RRS) '_ SHORT
WASH
OFF
pLATEWARMER
m_TmD.vom
Start Delay (GSC3400andGSC3430only)
The STARTBELAYwill allow you to delay the start time oi
any c) cle not on the ]Dial automatically t{)r up to 6 horn's.
Be sure the door is mflatched.
Select the wash cycle and option }ou want.
Slowly turn the Dial to desired time. The CYCLEON
..............light will come on.
l_atd_ the door to start the (v(le.
{{i::
15

Using the dishwasher.
Checkthe WaterTemperature
The entering water must be at least 120°F. and not nlore than
150° F., tbr ettective cleaning and to prevent dish damage. Check
tile water temperature with a candy or meat thermometer. Turn oil
tile hot water taucet nearest the dishwasher, place tile thernlometer
in a glass and let tile water run continuousl} into tile glass until tile
temperature stops rising.
16
UsedebD,T ® RinseAgent
Jet-Dry_rinse agent removes spots and prevents new tilm build-up
on }our dishes, glasses, tlatware, cookware and plastic.
Fill the rinse agent dispenser
until it reaches the botton_ of lip
inside the opening. Replace cap.
To check it rinse agent is needed,
renlove tile cap and look into tile
dispenser. ()n sonle models, the
dispenser can )e checked by
r s ll-l( h "
p e 's g t e (lear center of the
till cap 2 or 3 times, lt'rinse agent
tills tile center ot the till cap, you
have enough.
A full dispensershould lastabout one month.
If rinse agent spills, wipe up the excess.
ForgettoAdda Dish?
A forgotten dish can be added any time betore tile detergent cup
opens.
Push tile door latch to tile lefl.
_I)o not open the door tlntil the water spra} action stops. Steam
:: :::::::_II1_-l} rise Ollt of tile dishwasher.
Close tile door and push tile latch to tile far right.

ProperUseof Detergent
Use only detergent specithally made tot use in dishwashers. ( ascade '_
Automatic Dislm_ashing [)ete_\gent has been approved ior use in all GE
dishwashers. Keep your detergent tt'esh and d[)-.Don't put powder
detergent into the dispenser until ?xm're tea@ to _ash dishes.
The amount of detergent to use depends on whether your water is
hard or soft. With hard water, you need extra detergent. With soil
water, you need less detergent.
Protect ;,xmr dishes and distm-asher by contacting ?xmr water
department and asking how hard ?xmr water is. Twelve or more grains
is extremely hard water. A water sotiener is recommended. Without it,
lime can build up in the water valve, which could stick while open and
cause tlooding. Too nmch detergent with soil x_-atercan cm_se a
perrnanent cloudiness of glassuvu'e, called otching.
You'll find two detergent dispensers on the
door ofyour dishwasher. All wash cycles except ipig;_
RINSE ONF require detergent in the main cup.
Ifvour dishes h_n,eextra heaw soil or VOllhave
hard water yotl inay want to add detergerH to tile _@_open cup also. X_,rashcycles with two washes will
also use the open cup. _hen using automatic Main"cup.._\ _
dishwashing detergent tabs, simply place one
tab in the main cup and close.
Be sure the Dial is OFFbeiore adding detergent. ()therwise, the
detergent cup will not close and latch properly. Add detergent dlen
close the main cup.
NOTE:To open deteNent (alp after it has ..........
been closed, simply turn the detergent cup
handle counterclockwise until it releases.
A snapping sound may be heard.
iiii iiH!
!i ii ,iii iiiiii!
iliiiii_liii_'_"lii_liiii_tii_
77

Loadingthe dishwasher racks.
For best dishwashing results, follow these loading guidelines. Features and
appearance of racks and silverware baskets may vary from your model
Upper Rack
Tile upper rack is tor glasses, tups and saucers.
CtlpS al-ldglasses fit best alol-l_ tile sides. This is
also a secure place tor dishwasher-sate plastics.
The upper rack is good tot all kinds of odd-
shaped utensils. Saucepans, nlixing bowls and
other items should be placed l_lce down.
Securelargerdishwasher-safeplasticsovertwofingers
whenpossible.
Makesuresmallplasticitemsaresecuresotheycan?fall
ontotheheatingelement.
An upperwasharm(onsomemodels)islocatedabovethe
toprack.Checktomakesurethattall itemswill notblock
rotationofthisarm.
18
The Wash Tower
Keepthecenterareaclearinthelowerrack.
Tile wash tower rises throtlgh tile tenter of tile
lower rack during the wash and rinse portions of
tile cycle.
Don'tblockit ortoadtall thingsnexttoit.
Also, be careful not to let a
portion otan item such as a pot or
dish handle extend through ttle
bottom rack, This could block tile
wash arm and cause poor washing
results.

Lower Rack
Whenioadingthelowerrack,donot loadlargepiattersor
traysb thefrontrightcornerTheymaypreventdetergent
fromcirculatingduringthewashcycle.
The lower rack is best used tor plates, saucers
and cookware, IJaNe items such as broiler pans
and racks should go along the sides, 1Joad
platters, pots and bowls along the sides, in
corners, or in the back, The soiled side ot items
should t_lce the center of the rack.
Don,tlet any
item extend
throughbottom.
Silverware Basket
t'ut flatware in the removable basket with tork
and knil_' handles up to protect your hands. Place
spoons in tile basket with handles down. Mix
knives, torks and spoons so they don't nest
to,,-ether I)istribute exenlx Small plastic items
such as measuring spoons and lids ti'om small
containers, should go in the bottom of the
silverware basket with silverware on top.
A security cell cover (Oil some
...., models) hinged in some
handles can be lowered to
either side to secure
lightweight,,items ti'om the
etlects ot tile vigorous
wash action.
iili!i!i!i,liliii
19

Caringfor the dishwasher.
Toclean the control panel use a lightly dampened cloth then dry thoroughly.
Toclean the exterior use a good appliance polish wax.
Never use sharp objects, scouring pads or harsh cleaners on any part of
the dishwasher.
Sumpcoverscrews
Protect Against Freezing
II your dishwasher s leti in an unheated pla_e during
tile winter, ask a service technician to:
_{ Cut off electrical power to the dishwasher. Remove
r ftlses or trip c rcut )reaker.
Turn off'the water suppl) and disconnect the water
:::::::::::::::inlet line i]?Ollltile water valve.
:: I)rain water ti'om tile inlet line and water valve.
(Use a pan to catch the water.)
Reconnect tile water inlet line to tile water vah,e.
Remove the plastic sump cover in the tub
bottonl and use a sponge to soak up water in the
rubber boot.
I _ "it'_
Twotypesof _7,.11_1'. II I1_
Checktheairgapanytimeyour
dishwasherisn"tdrainingwell.
20
Does YourDishwasher Have anAir Gap?
An air ap pr( tects your dislm asher against xsater
backing up into it it adrain clogs. Tile air gap is not
a part ot the dishwasher. It is not covered byT,xmr
warranty. Not all plumbing codes require air gaps,
so }x)u may not have one.
The air gap is easF to clean.
Turn off'ttle dishwasher and Ritioff tile chrome
lover.
Unscrew ttle plastic cap and clean x_dtha toothpick.
Other manuals for Appliances GSC3200
2
This manual suits for next models
3
Table of contents
Other GE Dishwasher manuals