GE GSC3500NWW User manual

Oge.com
Safety Instructions ........ 2-4
Operating Instructions
Care and Cleaning .............. 11
Control Panel .................... 5
Control Settings ................. 5
Dial Cucles ...................... 6
Loading the
Dishwasher Racks ............... 9
Loading PlaceSettings .......... 10
Unicouple ....................... 7
Using the Dishwasher ............ 8
Troubleshooting Tips ... 12, is
Consumer Support
Consumer Support ..... Back Cover
Warrantg ..................... 15
G5C3500
Write the model and serial
numbers here:
Model #
Serial #
Youcan find them on a label on the
tub walljust insidethe dooE
165D4700P359 49-55034-I 06-07 JR

IMPORTANT SAFETY INFORMATION
READ ALL INSTRUCTIONS BEFORE USING --
SAVE THESE INSTRUCTIONS
WARNING!
For your safety, the information in this manual must be followed to minimize the risk of fire,
explosion, electric shock, and to prevent property damage, personal in]ur 9, or death,
_tls WARNING! WATERHEATERSAFETY
f _,,J'_ "_ Under certain conditions, hydrogen gas may be produced in o water heater that has not been used
for two or more weeks. HYDROGEN GAS IS EXPLOSIVE.
Ifthe hot water hasnot been usedfor two or more weeks, prevent the possibility of damage or injury
bg turning on all hot water faucets and allow them to run for several minutes. Dothis before usingang
electricalappliance connected to the hot water sgstem.Thissimple procedure will allow ang built-up
hgdrogen gasto escape.Sincethe gas isflammable, do not smoke, usean open flame, or usethe appliance
during this process.
PROPERINSTALLATIONAND MAINTENANCE
This dishwasher must be properly installed and located in accordance with the Installation
Instructions before it is used. If you did not receive on Installation Instructions sheet with
your dishwasher, you con receive one bg visiting our website at ge.com.
• Connect the dishwasher/appliance to a grounded
metal, permanent wiring sgstem; or run an
equipment-grounding conductor with the circuit
conductors and connect to the equipment-
grounding terminal or lead of the appliance.
• Improper connection of the equipment-grounding
conductor can result in a risk of electric shock.
Check with a qualified electrician or service
representative if you are in doubt whether the
appliance is properly grounded.
• Dispose of discarded appliances and shipping
or packing material properly.
• Donot attempt to repair or replace ang part
of your dishwasher unlessit isspecifically
recommended in this manual. Allother servicing
shouldbe referredto a qualified technician.
• Tominimize the possibilitg of electric shock,
disconnect this appliancefrom the power supply
before attempting ang maintenance.
NOTE:Turningthe dishwasher off doesnot
disconnectthe appliancefrom thepower supply.
Werecommend having a qualifiedtechnician
serviceyour appliance.
CAUTION: Toprevent minor injurg and propertg damage
• Using a detergent that is
not specifically designed
for dishwashers will cause
the dishwasher to fill with
suds.
• If your dishwasher is connected to a
wall switch, ensure that the switch is
on prior to use.
• Non-Dishware Items: Do not wash items
such as electronic air cleaner filters,
furnace filters and paint brushes in gour
dishwasheE Damage to the dishwasher
and discoloration or staining of the
dishwasher mag result.
• Closesupervisionisnecessary ifthis appliance
isused bg or near children.
• Load light, plastic items so theg do not
become dislodged and drop to the bottom of
the dishwasher-theg might come into contact
with the heating element and be damaged.

ge.com
a CAUTION:
For personal safety:
DO NOT USEAN EXTENSION CORD ORAN ADAPTER PLUG WITH THISAPPLIANCE.
DO NOT, UNDER ANY CIRCUMSTANCES, CUT OR REMOVE THE THIRD GROUNDING PRONG
FROM THE POWER CORD.
GROUNDING INSTRUCTIONS--This appliance must be grounded. In the event of a malfunction
or breakdown, grounding will reduce the risk of electric shock by providing a path of least
resistance for electric current. This dishwasher is equipped with a cord having a grounding
conductor and a grounding plug. The plug must be plugged into an appropriate outlet that
is installed and grounded in accordance with the NATIONAL ELECTRICALCODE,ANSI/NPFA
NO. 70.
AWARNING!
Improper connection of the equipment/grounding conductor can result in a risk of electric
shock. Check with a qualified electrician or serviceman if you are in doubt as to whether the
dishwasher is properly grounded. Do not modify the plug provided with the appliance; if it
will not fit the outlet, have a proper outlet installed by a qualified electrician.
ELECTRICALREQUIREMENTS
• This appliance must be
suppliedwith 120V,60 Hz,
and connected to an
individual,properly
grounded branch circuit,
protected by a 15 or 20
amp circuit breakeror _'\\_-
time-delag fuse. Ensureproperground
• If the electric supply existsbeforeuse.
provided doesnot meet
the above specifications,it isrecommended that a
licensedelectrician install an approved outlet.
• Your dishwasher circuit should not be usedfor
any other appliance while the dishwasheris in
operation asthe dishwasher requiresthe full
capacity ofthe circuit.
• If the wall receptacle you plug the dishwasher's
power cord into iscontrolled by a switch,turn on
* the switch.

IMPORTANT SAFETY INFORMATION
READ ALL INSTRUCTIONS BEFORE USING --
SAVE THESE INSTRUCTIONS
.tk WARNING! RISK OF CHILD ENTRAPMENT
PROPER DISPOSAL OF THE DISHWASHER
Junked or abandoned dishwashers are
dangerous_.even if they will sit for "just a few
days." If you are getting rid of your old
dishwasher, please follow the instructions below
to help prevent accidents.
Before You Throw Awau Your Old
Dishwasher:
• Take off the door of the washing compartment
or remove the door latch keeper (asshown).
Door latch keeper
WARNING! When using your dishwasher, follow basic precautions,
including the following:
• Usethis appliance only for its intended purpose • Donot operate your dishwasher unlessall
as described in this Owner's Hanual. enclosure panelsare properly in place.
• Useonly powder,tabs,liquid detergents or rinse • Donot tamper with controls.
agents recommended for use in a dishwasher and • Donot abuse, sit on or stand on the door or dish
keepthem out ofthe reach of children. Cascade®,
Cascade®Complete and Electrasol®Automatic
Dishwashing Detergents,and Jet-Dry ®and
Cascade Crystal Clear¢ rinseagents have
been approved for usein all GEdishwashers.
• Locate sharp items sothat they are not likely
to damage the door seal.
• Load sharp kniveswith the handlesup to reduce
the risk of cut-type injuries.
• Donot wash plastic items unlessmarked
dishwasher safe or the equivalent. Forplastic
items not so marked,check the manufacturer's
recommendations.
• Donot touch the heating element during or
immediately after use.
rack of the dishwasher
• Donot allow childrento play around the
dishwasherwhen opening or closing the door due
to the possibility of small fingers being pinched in
the door
• Donot discard a dishwasher without first removing
the door ofthe washing compartment or the latch
keeper
• Donot store or use combustible materials, gasoline
or other flammable vapors and liquidsin the
vicinity ofthis or any other appliance.
• Donot allow childrento play with, on or insidethis
or any discarded appliance.
READAND FOLLOWTHISSAFETYINFORMATION
CAREFULLY.
SAVE THESE INSTRUCTIONS
4

About the dishwasher control panel ge.com
You can locate your model number on the left tub wall just inside the door. Throughout this manual,
features and appearance may vary from your model.
Cycles
o Co,U
Options Start Light Wash
Hot Start • •
Option O
Off O
Plate Warmer
(Heated Drg On)
Control Settings
Cycles
CYCLESare selectedusing a combination of timer dial setting and pad selection.Anindicator above the selectedpod will be ON to
indicate which pad has beenselected.
POTS& PANS For heavily soiled dishes or cookware with dried-on or baked-on soils.Everyday dishes may be included.
This cycle will not remove burned-on foods.
NORMAL/ For loads of everyday dishes, glasses and cookware with medium soils. NOTE: Hang dishes have lighter
NORMAL WASH soil than normal.
LIGHT WASH For dishes with light soils. NOTE: Pad must be set to NORMAL WASH.
RINSEONLY For rinsing partial loads that will be washed laten Do not use detergent.
DRYING For warming clean dishes and serving plates. This cycle will take approximately 30 minutes.
PLATEWARMER
HOT START Preheats wash water to improve wash performance.
OOptions
An indicator above theselected pad will be ONto indicate which pad has beenselected.
RESETOPTION Shuts off the drying heat option. Dishes air dry naturally and energy is saved. Open the dishwasher door
to speed drying.
HEATED DRY Turns the heater on for fast drying. This cycle will extend the time to your wash cycle by 30 minutes.
ON DO NOTuse with RINSE ONLY cycle.
Cycle Chart
Cgcle Water Usage (gal.) Cgcle Time (min,)
HotStart Option 2.5 12
Pots& Pans 7.0 118
NormalWash 5.7 118
LightWash 4.5 11/4
RinseOnlg 2.2 53
PlateWarmer 0.0 40

Operation of models with cycle dial
St(_t Lgh W_Sh
¢_tlql 6
off o
_o_ warmer I b_br_ D_ Ofg
Rinse Only
Forrinsing partial loadsthat will be washed lateEDonot usedetergent.
HakesureHEATEDDRYisnot selected. _ Slowly turn the Dialto RINSEONLY.
Besurethe door is unlatched, Latch the door to start the cycle,
_t_t Lb_t Wash
off O° i ....
i ! ii:iiii:iii!ii!ili!
Plate Warmer
Forwarming clean dishesand serving plates.This cycle will take approximately 39 minutes.
i_ Load clean dishware to be warmed.
i
SelectHEATEDDRYON.
Be surethe door is unlatched.
Slowly turn the Dialto PLATEWARMER.
i/iiii_iiii
Latchthe door to start the cycle.
i ii Hot Start
Preheatswash water prior to the NORMALor POTS&PANScycle.
Slowly turn the Dialto HOTSTART.
atch the door to start the cycle,
iii i _ i i
st_ Lg_t Wash
Hot Sts t m
Qpon
off o
Light Wash
Forquickly washing loadsof everyday disheswith light to medium soilsthat have not dried on.
Be surethe door isunlatched. _ Pressthe NORMALpad.
Slowly turn the Dialto LIGHTWASH. Latch the door to start the cycle.
Start
.......... ForNORMALor POTS,£PANScycles selected by push button.
Besurethe door is unlatched, Slowly turn the Dialto START.
iil i_; Pressthe NORMALpad or the Latch the door to start the cycle.
' :?:it!?: POTS&PANSpad. ....................
There isa time delay between start-up and water fill so you will not hear any wash action
right away.
6

About the unicouple ge.com
Before Operating the Dishwasher the First Time
Attach the faucet adapter. Thespecialfaucet adapter supplied with your dishwasher must be
assembled to the sink faucet before you can useyour dishwasheE
Thefaucet adapter isdesignedto fit standard spouts having internal or external threads. Youwill find
the adopter and two washers in the faucetadapter packet in your dishwashe_
Toinstall faucet adapter, first remove the old aerator or trim ring on your faucet spout.
If faucet has external threads: Insertthe thinner of the two washers into the faucet adapter and
attach it to the faucet spout.
Tighten with pliers.
If faucet has internal threads: Insertboth of the washers into the faucet adapter and attach it to
the faucet spout.
Tighten with pliers.
Ifthe faucet adapter threads do not match your faucet spout, your local hardware or plumbing
supply store normally has additional fittings to adapt your faucet spout to the specialfaucet
adapter.
NOTE:A sink spray attachment hosecan burst if it isinstalled on the same sinkwith your dishwashe_
Wesuggest that _lOUdisconnectthe sink sprawlattachment if _loursinkhas oneand plug the hole.
How to Connect the Unicouple
Runthe hot water faucet to purge cold
water from the hot water line.Thehot water
must be between 120°Fand 150°Ffor best
wash performance.
Pull Unicoupleand its hoses completely out
................from storage compartment ocated at rear
of dishwasher.
Attach the Unicouple connector to the
..................faucet adapter by depressing the co ar at
the top of the connector.When Unicouple is
all the way up onto the adapter, releasethe
collar.It will then snap into position to lock
the Unicouple in place.
The Unicouple'ssmall hosecarries water
from the faucet to the dishwasher.Itslarge
hosecarries drain water to the sink.Besure
Unicouple ispointing toward the sink bowl
drain opening and the sink drain isopen for
water that will drain from your dishwasher.
If your dishwasherdrains into a disposer,
operate the disposer until it iscompletely
empty before starting the dishwasher.
Turn hot water fully on before starting the
dishwasher.
Plugthe dishwasher power cord into the
_'* out et.
Pressure
release
button_
How to Disconnect the Dishwasher
Unplug the dishwasher.
Pushthe cord back into its storage location.
i _i iiiiii
_Turn off the hot water.
}Releasethe water pressureby depressing
the pressure reease button.
Release the Unicouple from the faucet by
.....................depressing the collar at the top of the
Unicouple connector.
Drainexcesswater from the unicouple hoses
.................(seebelow). Pushthe hoses back into their
storage location.
AC, AUTION; To protect yourself and
the room from severesplashing,relievewater
pressureprior to disconnecting the unicouple.
How to Drain Excess Water From Unicouple Hoses
Ifthe sink is34" or higherfrom the floor,the excesswater in Unicouple hosescannot be drained
directly into the sink.It will be necessary to drain excesswater from hosesinto a bowl or suitable
container that isheld outside and lowerthan the sink.

Using the dishwasher
Checkthe Water Temperature
The entering water must be at least 120°Fand
not more than 150°F,for effective cleaning and to
prevent dishdamage. Checkthe water temperature
with a candy or meat thermometeE Turnon the
hot water faucet nearestthe dishwasher,place
the thermometer in a glass and letthe water
run continuouslu into the glassuntil the temperature
stops rising.
Adjust the maximum/minimum temperature of the
water heater if necessary to deliver water at the
proper temperature.
UseJet-Dry®RinseAgent
Jet-Dry _or Cascade Crystal Clear_ rinseagents remove spots and prevent new film buildup on dishes,
glasses,flatware, cookware and plastic.
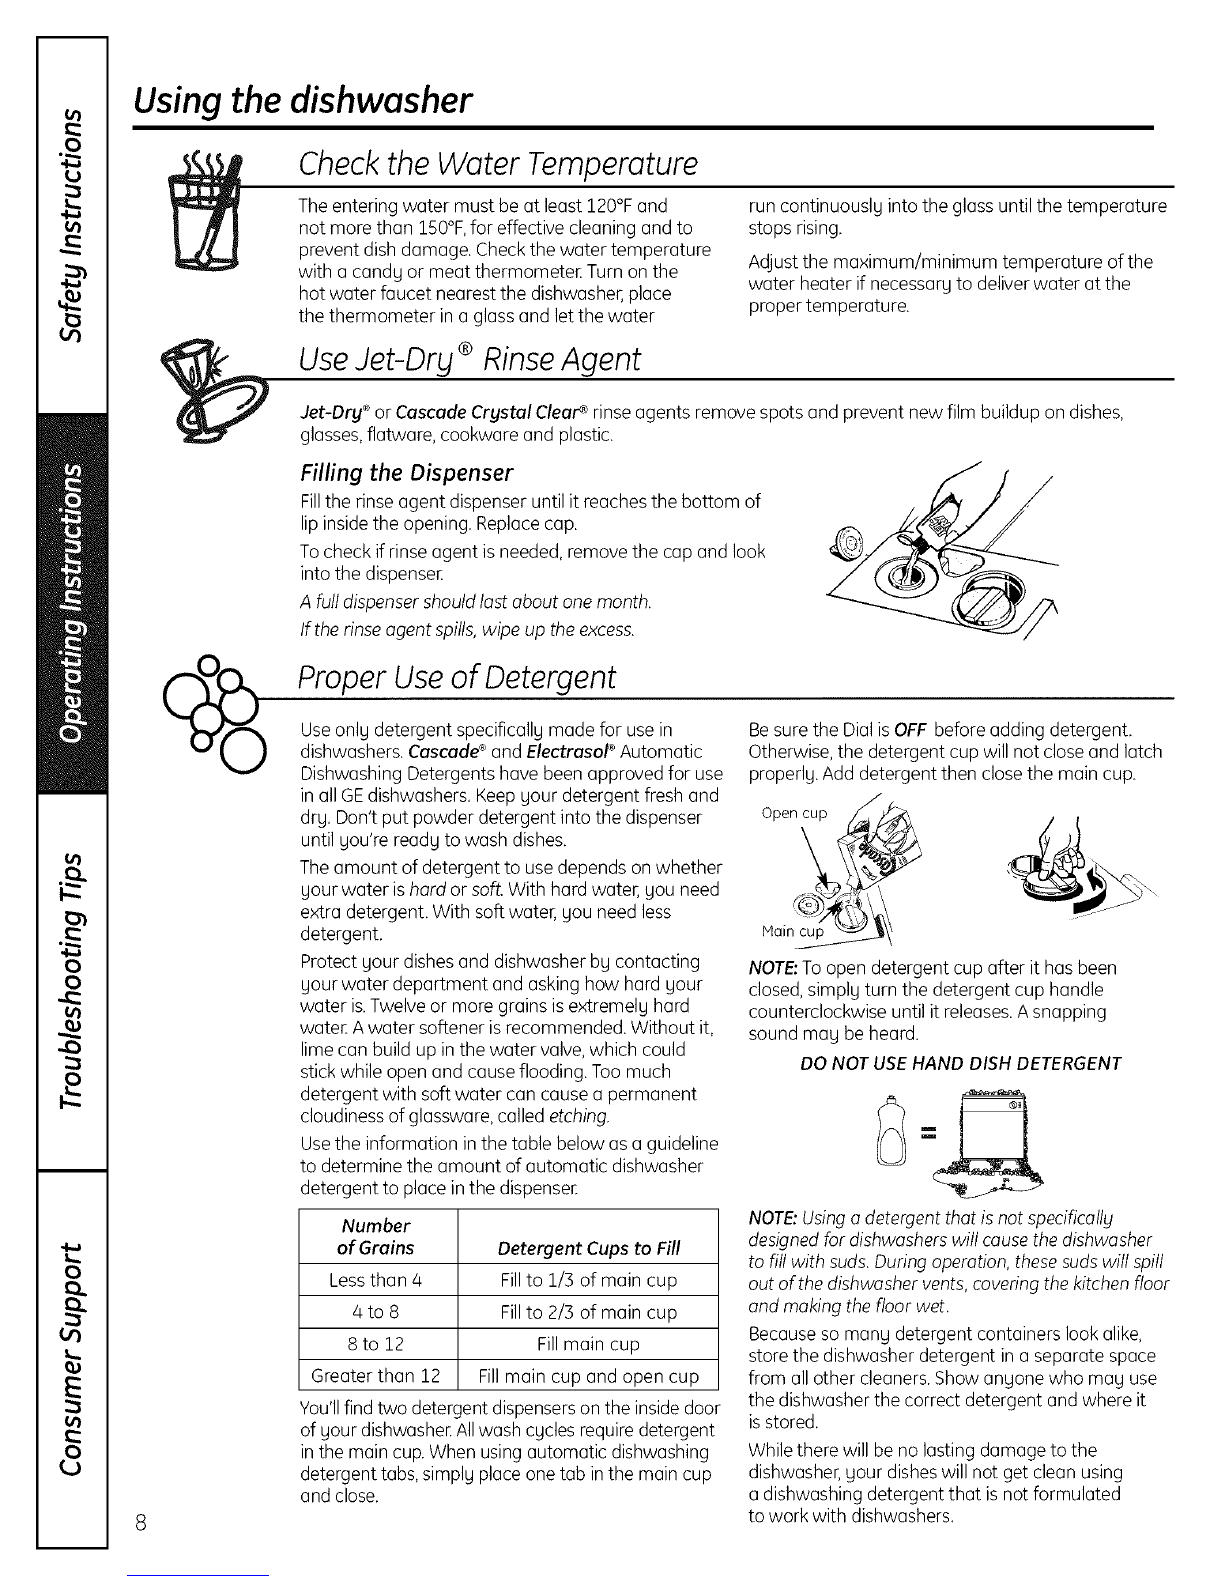
Filling the Dispenser
Fillthe rinse agent dispenser until it reaches the bottom of
lip insidethe opening. Replacecap.
Tocheck if rinseagent isneeded,remove the cap and look
into the dispenseE
A fulldispensershouldlast about one month.
tf therinseagent spills,wipe up theexcess.
Proper Useof Detergent
Useonlu detergent specificallu made for usein
dishwashers.Cascade®and Electrasol®Automatic
Dishwashing Detergents have been approved for use
in all GEdishwashers.Keepuour detergent fresh and
dry. Don'tput powder detergent into the dispenser
until Uou'reready to wash dishes.
The amount of detergent to usedepends on whether
your water ishard or soft. With hard water, you need
extra detergent. With soft water, you need less
detergent.
Protect your dishes and dishwasherby contacting
your water department and asking how hard your
water is.Twelve or more grainsis extremely hard
wateEA water softener isrecommended. Without it,
lime can build up in the water valve,which could
stick while open and cause flooding. Too much
detergent with soft water can cause a permanent
cloudinessof glassware,called etching.
Usethe information in the table below asa guideline
to determine the amount of automatic dishwasher
detergent to place in the dispenseE
Number
of Grains Detergent Cups to Fill
Lessthan 4 Fillto 1/3 of main cup
4 to 8 Fillto 2/3 of main cup
8 to 12 Fillmain cup
Greater than 12 Fillmain cup and open cup
You'llfind two detergent dispenserson the insidedoor
of your dishwasher.Allwash cycles requiredetergent
in the main cup.When usingautomatic dishwashing
detergent tabs,simply placeone tab inthe main cup
and close.
Besure the DialisOFF beforeadding detergent.
Otherwise,the detergent cup will not close and latch
properly.Add detergent then close the main cup.
Open__
Main_
NOTE:Toopen detergent cup after it hasbeen
closed,simply turn the detergent cup handle
counterclockwise until it releases.A snapping
sound may be heard.
DONOT USEHAND DISH DETERGENT
NOTE:Usinga detergent that isnot specifically
designedfor dishwasherswill causethedishwasher
to fill with suds.Duringoperation, thesesudswill spill
out ofthe dishwasher vents,coveringthe kitchenfloor
and making the floor wet.
Becauseso manu detergent containers look alike,
storethe dishwasher detergent in a separate space
from all other cleaners.Showanuone who may use
the dishwasherthe correct detergent and where it
isstored.
Whilethere will be no lasting damage to the
dishwasher,uour disheswill not get clean using
a dishwashing detergent that is not formulated
to work with dishwashers.

Loading the dishwasher racks ge.com
For best dishwoshing results, follow these loading guidelines. Features and appearance of rocks and silverware
baskets mag vary from gout model.
Upper Rack
The upper rack isfor glasses,cups and
saucers.Cupsand glassesfit best along
the sides.Thisisalso a secure place for
dishwasher-safe plastics.Theupper rack is
good for all kindsof odd-shaped utensils.
Saucepans,mixing bowls and other items
should be placed face down.
Securelarger dishwasher-safeplasticsover
two fingers when possible.
Makesuresmall plastic itemsare secureso
they can't fallonto the heatingelement.
Lower Rack
Whenloading thelower rack, do not load
largeplatters or trablsin the front right
careenTheblmoblprevent detergent from
circulatingduring the wash chicle.
Thelower rack isbest usedfor plates,
saucersand cookware. Largeitems such as
broiler pansand racks should go along the
sides.Load platters, pots and bowls along
the sides,in corners or in the back.The
soiledsideof items shouldface the center
ofthe rack.
Wash Tower
Keepthecenter areaclear in the lower
rack.
Thewash tower risesthrough the
center of the lower rack during the
wash and rinseportions of the cgcle.
Don't blockthe wash
tower or load tall things
next to it.
Be sureitems don't fall
through rack and block
rotation of the sprag arm.
Also,be careful not to
let a portion of an item
such as a pot or dish
handle extend through
the bottom rack.This
could block the wash
arm and causepoor
washing results.
Silverware Basket
Putflatware in the removable basket with
fork and knife handles up to protect gour
hands. Placespoons inthe basket with
handles down. Mix knives,forksand spoons
sotheg don't nest together Distribute
evenlg.Smallplastic items, such as
measuring spoons and lidsfrom small
containers, should go in the bottom of the
silverware basketwith silverwareon top.
DON'T LETANY ITEM EXTEND THROUGH
BOTTOM OF SILVERWAREBASKETAND
RACK,TO ENSUREPROPERFUNCTION
OF SPRAY ARM.

Loading place settings...
Follow these guidelines for loading 10 place settings. Features and appearance of rocks and silverware baskets
may vorg from your model.
Upper Rack--lO place settings
={_=====
Upper Rack--lO place settings Lower Rack--lO place settings
Upper Rack--12 place settings Upper Rack--12 place settings Lower Rack--12 place settings
Forget to Add aDish?
Aforgotten dish can be added any time beforethe main wash.
_i_ Pushthe door latch to the left.
Oncethe water calms, open the dooESteam mag riseout of the dishwasheE
iii,,i!]iiiiiiii]
Add forgotten dish.
i
Close the door and push the latch to the far right.
Tips for Loading and Good Wash Performance
_: Don't block the lower rock wash towen
_: Don't let items foil through rock and
block sprog arms.
!0

Caring for the dishwasher ge.com
Tocleon the control panel use a lightly dampened cloth, then drblthoroughly. Toclean the exterior, use o good appliance
polish. Never use sharp objects, scouring pads or harsh cleaners on ong part of the dishwoshen
Sump cover screws
Protect Against Freezing
If uour dishwasher isleft in an unheated place
during the winter,ask a servicetechnician to:
Unplug the dishwasher from the wall outlet,
iii iii i Removethe Unicouple from the faucet,
Disconnectthe hosefrom the water vave.
Drain water from the inlet line and water
va ve. Use a pan to catch the wateE
Reconnect the water inlet line to the
water va ve.
Remove the plastic sump cover in the tub
bottom and use a sponge to soak up water
in the rubber boot.
11

Before you callfor service...
RTroubleshooting Tips
Save time and money! Review the charts on
the following pages, or visit ge.com You may
not need to coil for service.
Problem Possible Causes What To Do
Dishwasher won't run Fuseis blown, or the • Replacefuseor resetcircuit breoke_Removeong other appliances
circuitbreaker tripped from the circuit.
•TrUpressingthe START/RESETpad (Electronicmodels)two times.
Power isturned off • Insome installations, power to the dishwasher isprovided through a wall
switch, often located next to the disposer switch. Hake sure it ison.
Noise Someof the sounds • Soft food disposalshredding action.
you'll hear are normal • Drainvalveopening to pump water out.
•Timer control as cgcle progresses.
• Detergentcup opening.
• Themotor starting and stopping during the cycle.
Utensils are not secure • Hake sureeveruthing issecured in dishwashe,
in rack or somethingsmall
has dropped into rack
Rattling dishes when • Hake suredishesore properlUloaded.Seethe Loading the
the spray arm rotates dishwasher rockssection.
Motor hums • Dishwasherhasnot beenusedon a regularbasis.IfUoudo not use
uour dishwasher often, set it to fill and pump out once everUweek.
Thiswill help keepthe seal moist.
Water standing in This is normal •Asmallamount of clean water around the outlet on the tub bottom
the bottom of the tub at the back ofthe tub keepsthe water seal lubricated.
Suds in the tub Wrong detergent • Useonlu automatic dishwasherdetergents to ovoid sudsing.
was used Cascade®,Cascade®Complete and Electrasol®Automatic Dishwashing
Detergents have been approved for usein all GEdishwashers.
•Toremove sudsfrom the tub, openthe dishwasher and letsuds
dissipate.Add i gallon of coldwater to the tub. Closeand latch the
dishwashen Pumpout water by slowly turning the Dialuntil a drain
period isreached. Repeatif necessary.
•Always wipe up rinseagent spillsimmediately.
• Useof the RINSEONLYcgcle after addingthe dishto the load
can decreasethe level of staining.GErecommends Cascade®
Plastic Booster to help remove these types of stains.
• Removethe stain by hand,using a solution of 1/2 cup bleach
and 3 cupswarm water
Rinse agent was spilled
Stained tub interior Some tomato-based
foods can cause reddish
steins
Tea or coffee steins
An overall yellow or
brown film can be
caused by iron deposits
in water
White film on inside
surface--hard water
minerals
AWARNING
Beforecleaningthe interior,wait at least 20 minutes after ocgcle for the
heating elementsto cool down. Failureto do so can result in burns.
•Aspecialfilter inthe water supply lineisthe only way to correct
this problem. Contact a water softener company.
• GErecommends Jet-Dry ®or Cascade Crystal CleaP_to help
prevent hard water mineraldeposits from forming.
• Rundishwasher with citric acidto remove mineral deposits.Citric
acid (Partnumber: WD35X151)can beordered through GEParts.
See back cover for ordering information.
12

ge.com
Problem Possible Causes What To Do
Dishes don't dry Low inlet water • Hake sure inlet water temperature is at least 120°E
temperature • Select HEATED DRY.
• Use HOT STARToption,
• Select ahigher cycle, such as POTS&PANS.
Rinseagent dispenser *Check therinseagent dispenserand fillas required,
isempty
Dishesand flatware Inletwater temperature *Run hotwater faucetpriortoconnectingthe Unicoupleto purge cold
not clean is below 120°R water from the hot water line.
• Use HOTSTARTand POTS& PANS.
• Raise the water heater temperature to 120°E
Too little detergent * See Using the dishwasher section, refer to Proper Use of Detergent for
detergent recommendations.
Old or dump powdered * See Using the dishwasher section, refer to Proper Use of Detergent for
detergent detergent recommendations.
Water pressure is * Turn on a faucet. Is water coming out more slowly than usual? If so,
temporarily low wait until pressure is normal before using your dishwasheE
Improper rack loading * Make sure large dishware does not block detergent dispenser or wash arm.
Spots and filming
on glasses and
flatware
Extremely hard water
Low inlet water
temperature
Overloading the
dishwasher
Improper loading
Old or damp powder
detergent
Rinse agent dispenser
empty
Too little detergent
• Use Jet-Dry ®or Cascade Crystal Clear _ rinse agents to remove spots
and prevent new film buildup.
• To remove stubborn spots and pre-existing film from glassware:
1 Remove all metal utensils from the dishwasheE
2 Do not add detergent.
3 Select the longest cgde.
4 Start the dishwasher and allow to run until the detergent cup opens.
Dishwasher will now be in the main wash.
5 Open the door and pour 2 cups (500 ml) of white vinegar into the
bottom of the dishwasheE
6 Close the door and allow to complete the cgcle. Ifvinegar rinse
doesn't work: Repeat as above, except use 1/8 cup (60 ml) of citric
acid crystals instead of vinegar.
Cloudiness on Combination of soft * This is called etching and is permanent. To prevent this from
glassware water and too much happening, use less detergent if you have soft water. Wash glassware in
detergent the shortest cgcle that will get it clean.
Water temperature • Lower the water heater temperature.
entering the dishwasher
exceeds 150°R
Detergent cup lid Timer dial is not in the * Turn the timer dial to OFF,
won't latch OFF position
Detergent left in Dishes are blocking the • Reposition the dishes.
dispenser cups detergent cups
Steam This is normal * Steam comes through the vent bg the door latch during drying and
when water is being pumped out.
Black or gray Aluminum utensils have * Remove marks with a mild, abrasive cleaner.
marks on dishes rubbed against dishes
13

0
¢5
C)
C)
v
C)
Q.
u3
E
Q
L_
Notes
!4

GE Dishwasher Warrants
All warranty service provided by our Factory Service Centers,
or an authorized Customer Care c_technician. To schedule
service, on-line, 24 hours a day, visit us at go.cam, or call
800.GE.CARES (800.432.2737). Please have serial number and
model number available when calling for service.
Staple your receipt here.
Proof of the original pumhase
date is needed to obtain service
under the warranty,
For The Period Of:
One Year
From the dote of the
original purchase
GE Will Replace:
Any part of the dishwasher which fails due to a defect in materials or workmanship. During
this limited one-year warranty, GEwill also provide,free of charge, all labor and in-home service
to replacethe defective part.
What Is Not Covered:
• Service trips to gour home to teach gou how to use
the product.
•Improper installation, deliverg or maintenance.
• Failure of the product if it is abused, misused, or used for
other than the intended purpose or used commerciallg.
•Replacement of house fuses or resetting of circuit
breakers.
• Incidental or consequential damage caused bg possible
defects with this appliance.
• Cleaning or servicing of the air gap device in the
drain line.
• Damage caused after deliverg.
• Product not accessible to provide required service.
• Damage to the product caused bg accident, fire, floods
or acts of God.
EXCLUSION OF IMPLIED WARRANTIES--Your sole and exclusive remedy is product repair as provided in this Limited
Warranty. Any implied warranties, including the implied warranties of merchantability or fitness for a particular
purpose, are limited to one year or the shortest period allowed by law. 1
This warranty is extended to the origina! purchaser and ong succeeding owner for products purchased for
home use within the USA. If the product is located in on area where service bg o GE Authorized Servicer is not
available, you mag be responsible for o trip charge or Sou may be required to bring the product to an Authorized GE
Service location. In Alaska, the warranty excludes the cost of shipping or service calls to sour home.
Some states do not allow the exclusion or limitation of incidental or consequential damages. This warrants
gives you specific legal rights, and you mag also have other rights which vary from state to state. To know
what sour legal rights ore, consult your local or state consumer affairs office or sour state's Attorneg General.
Warrantor: General Electric Company. Louisville, KY 40225
15

Consumer Support
IGEAppliances Website
Have a question or need assistance with uour appliance? TrUthe GEAppliances Website 24 hours a da U,
' an Uda Uof the uead For greater convenience and faster service, UOUcan now download Owner's Manuals,
order parts or even schedule service on-line.
ge.com
ScheduleService
Expert GErepair serviceisonlUone step awaUfrom uour door Geton-line and schedule uour service
at uour convenience 24 hours anu dau of the uead Or call 800.GECARES(800.432.2737)during normal
businesshours.
ge.com
RealLifeDesignStudio ge.com
GEsupports the Universal Design concept-products, services and environments that can be used bu
people of all ages, sizes and capabilities. We recognize the need to design for a wide range of phusical and
mental abilities and impairments. For details of GE's Universal Design applications, including kitchen design ideas
for people with disabilities, check out our Website todau. For the hearing impaired, please call 800.TDD.GEAC
(800.833.4322).
ExtendedWarranties
Purchase a GEextended warrant Uand learn about special discounts that are available while uour warrant U
is still in effect. You can purchase it on-line anutime, or call 800.626.2224 during normal business hours.
GEConsumer Home Services will still be there after uour warrant Uexpires.
ge.com
[ I
J
Parts and Accessories ge.com
Individuals qualified to service their own appliances can have parts or accessories sent directlu to their homes
(VISA, MasterCard and Discover cards are accepted). Order on-line todau, 24 hours everu dag or bg phone at
800.626.2002 during normal business hours.
Instructions contained in this manual cover procedures to be performed bg ang user. Other servicing
generally should be referred to qualified service personnel. Caution must be exercised, since improper
servicing mug cause unsafe operation.
Contact Us
If UOUare not satisfied with the service UOUreceive from GE,contact us on our Website with all the details
including uour phone number, or write to: General Manager, Customer Relations
GEAppliances, Appliance Park
Louisville, KY40225
In Canadawrite to: Director, Customer Relations, Mabe Canada Inc.
Suite 310, 1 Factor U Lane
Moncton, N.B.EIC 9iVl3
lRegister YourAppliance
Register sour new appliance on-line--at sour convenience! Timel U product registration will allow
' for enhanced communication and prompt service under the terms of uour warrantu, should the need arise.
You mag also mail in the pre-printed registration card included in the packing material.
ge.com
ge.com
_'_ Printed in the United 5totes
_Printed on Recgcled Paper
Other manuals for GSC3500NWW
1
This manual suits for next models
1
Table of contents
Other GE Dishwasher manuals

GE
GE Monogram ZBD6890NII User guide

GE
GE GE Profile PDW7700J User manual

GE
GE Profile PDW9980NSS Manual

GE
GE Spacemaker GSM603 User manual

GE
GE Monogram ZBD3000 User manual

GE
GE Profile PDW8700 Series User manual

GE
GE GSD2100VWW Manual

GE
GE Monogram ZBD5600 User manual

GE
GE GLDT690T User manual

GE
GE Triton XL GSD6900 Series User manual
Popular Dishwasher manuals by other brands

Gram
Gram OM 62-00 T RF instruction manual

Siemens
Siemens SMS4EMI02E INFORMATION FOR USE

Fagor
Fagor FI - 48 W Instructions for installation, use and maintenance

BOMANN
BOMANN TSG 5701 instruction manual

Whirlpool
Whirlpool 6ADP 8966 Quick reference guide

Eurolux
Eurolux DW9-CBE Instructions for use & warranty