Usingthe dishwasher. GEAppliances.com
Checkthe Water Temperature
The entering water must be at least 120°F and not
more than 150°K fin" effective cleaning and to
prevent dish damage. Check the water temperature
with a candy or meat them_ometei: Turn on the
hot water fimcet nearest the dishwashei; place
the them_ometer in a glass and let the water run
continuously into the glass until the temperature
stops rising.
UseJet-Dry®RinseAgent
Jet-Dry_rinse agent removes spots and prevents new fihn buildup on your dishes, glasses,
flatware, cookware and plastic.
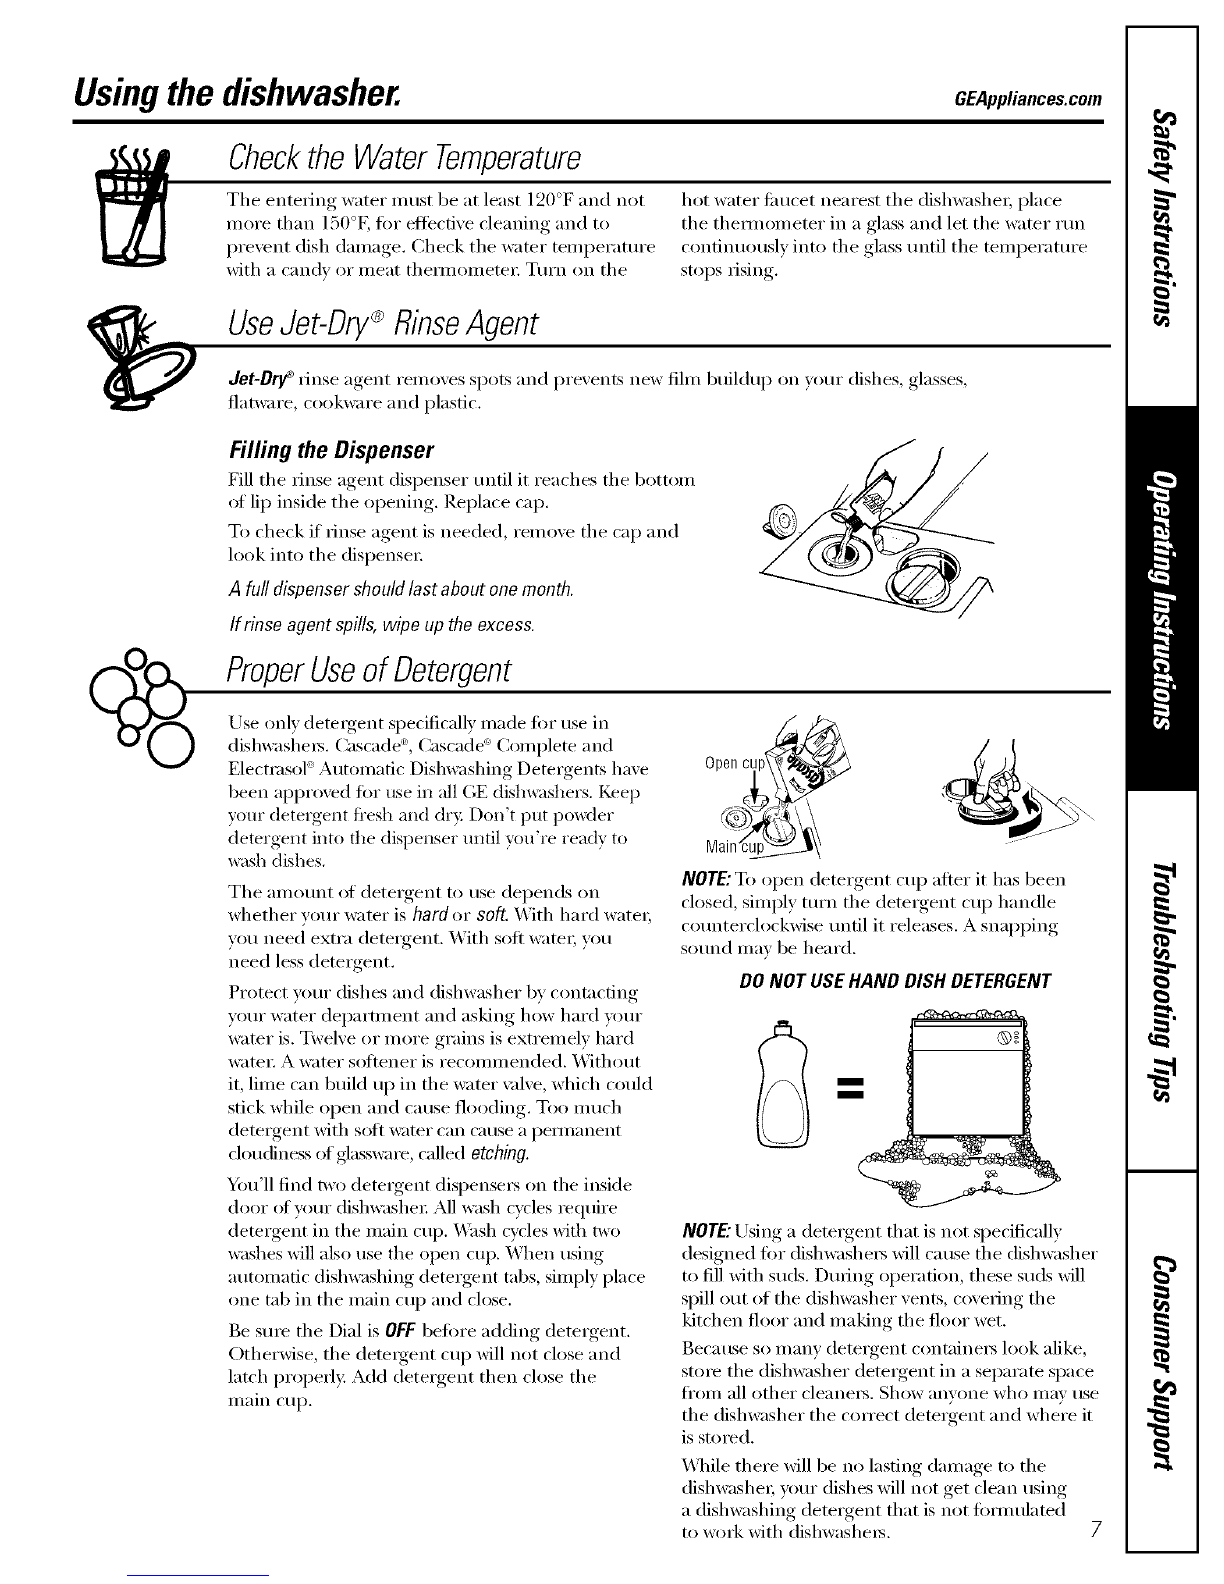
Filling the Dispenser
Fill the rinse agent dispenser until it reaches the bottom
of lip inside the opening. Replace cap.
To check if rinse agent is needed, remove the cap and
look into the dispensei:
A full dispenser should last about one month.
ff rinse agent spills, wipe up the excess.
ProperUseof Detergent
Use only detelgent specifically made fin" use in
dishwashels. Cascade D,Cascade" Complete and
ElectlasoF Automatic Dishwashing Detelgents have
been approved fin" rise ii1 all GE distm:_shers. Keep
your detelgent fi'esh and dr}: Don't put po_vler
detergent into the dispenser tmfil you're ready to
_st_ dishes.
The amount (ff detelgent to tlse depends on
whether your wamr is hard or seCt. With hard watei;
vou need extra detelgent. With soft watei; you
need less detelgent.
Protect u:,ur dishes and dishwasher by contacting
yore" water department and asking how hard umr
wamr is. Twelve or more grains is extremely hard
wami: A water softener is recommended. _4'ithout
it, lime can build up in the water \:live, which could
stick while open and cause flooding. Too much
detelgent with soft _ter can cause a pemmnent
dou(finess of glasswme, called etching.
You'll find two detergent dispensers on tile inside
door _ffyotlr dishwasheI: All wash cycles require
detergent in the main cup. _'\hsh cycles with two
washes will also use the open cup. When using
automatic dishwashing detergent tabs, simply place
one tab in the main cup and close.
Be Stile the Dial is OFF betore adding detelgent.
Othei_vise, the detelgent cup will not close and
latch properl> Add detelgent then close the
main cup.
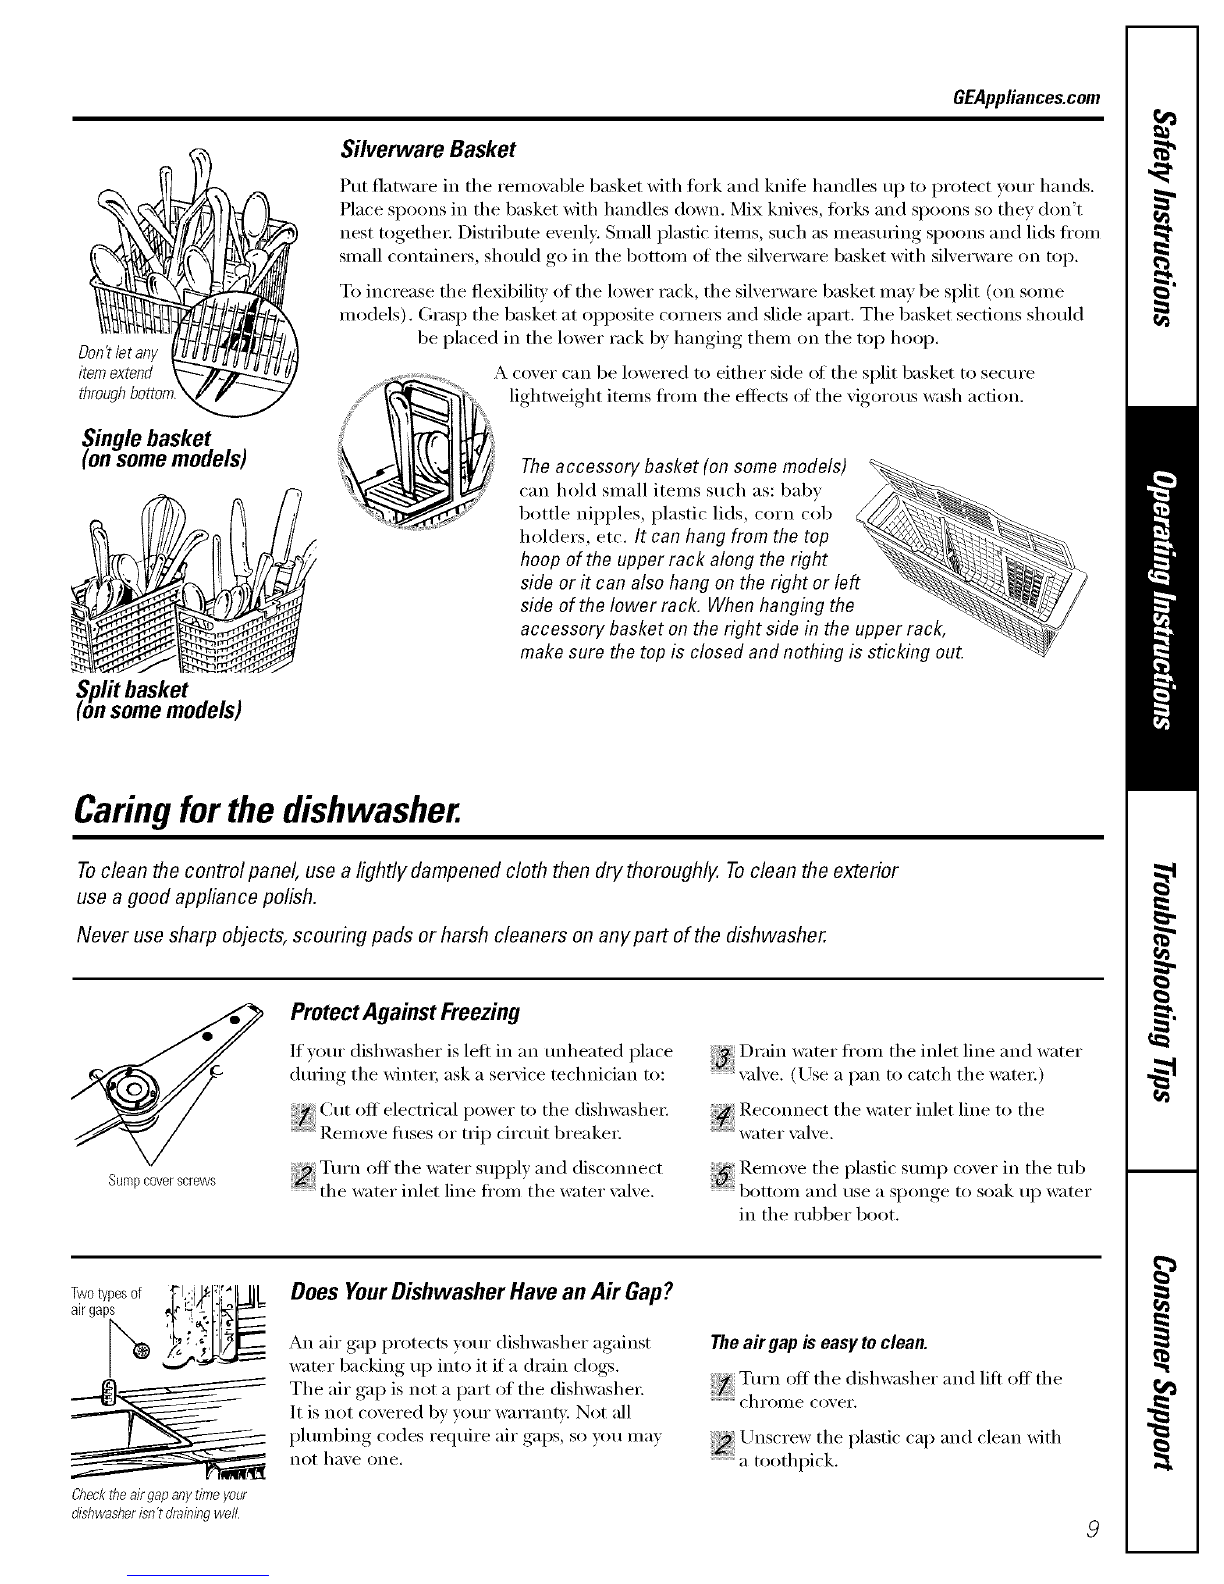
Opencup_
NOTE: To open detelgent cup alter it has been
closed, simply turn the detelgent cup handle
counterclockwise until it releases. A snapping
sotmd may be heard.
DONOT USEHANDDISHDETERGENT
' ®_
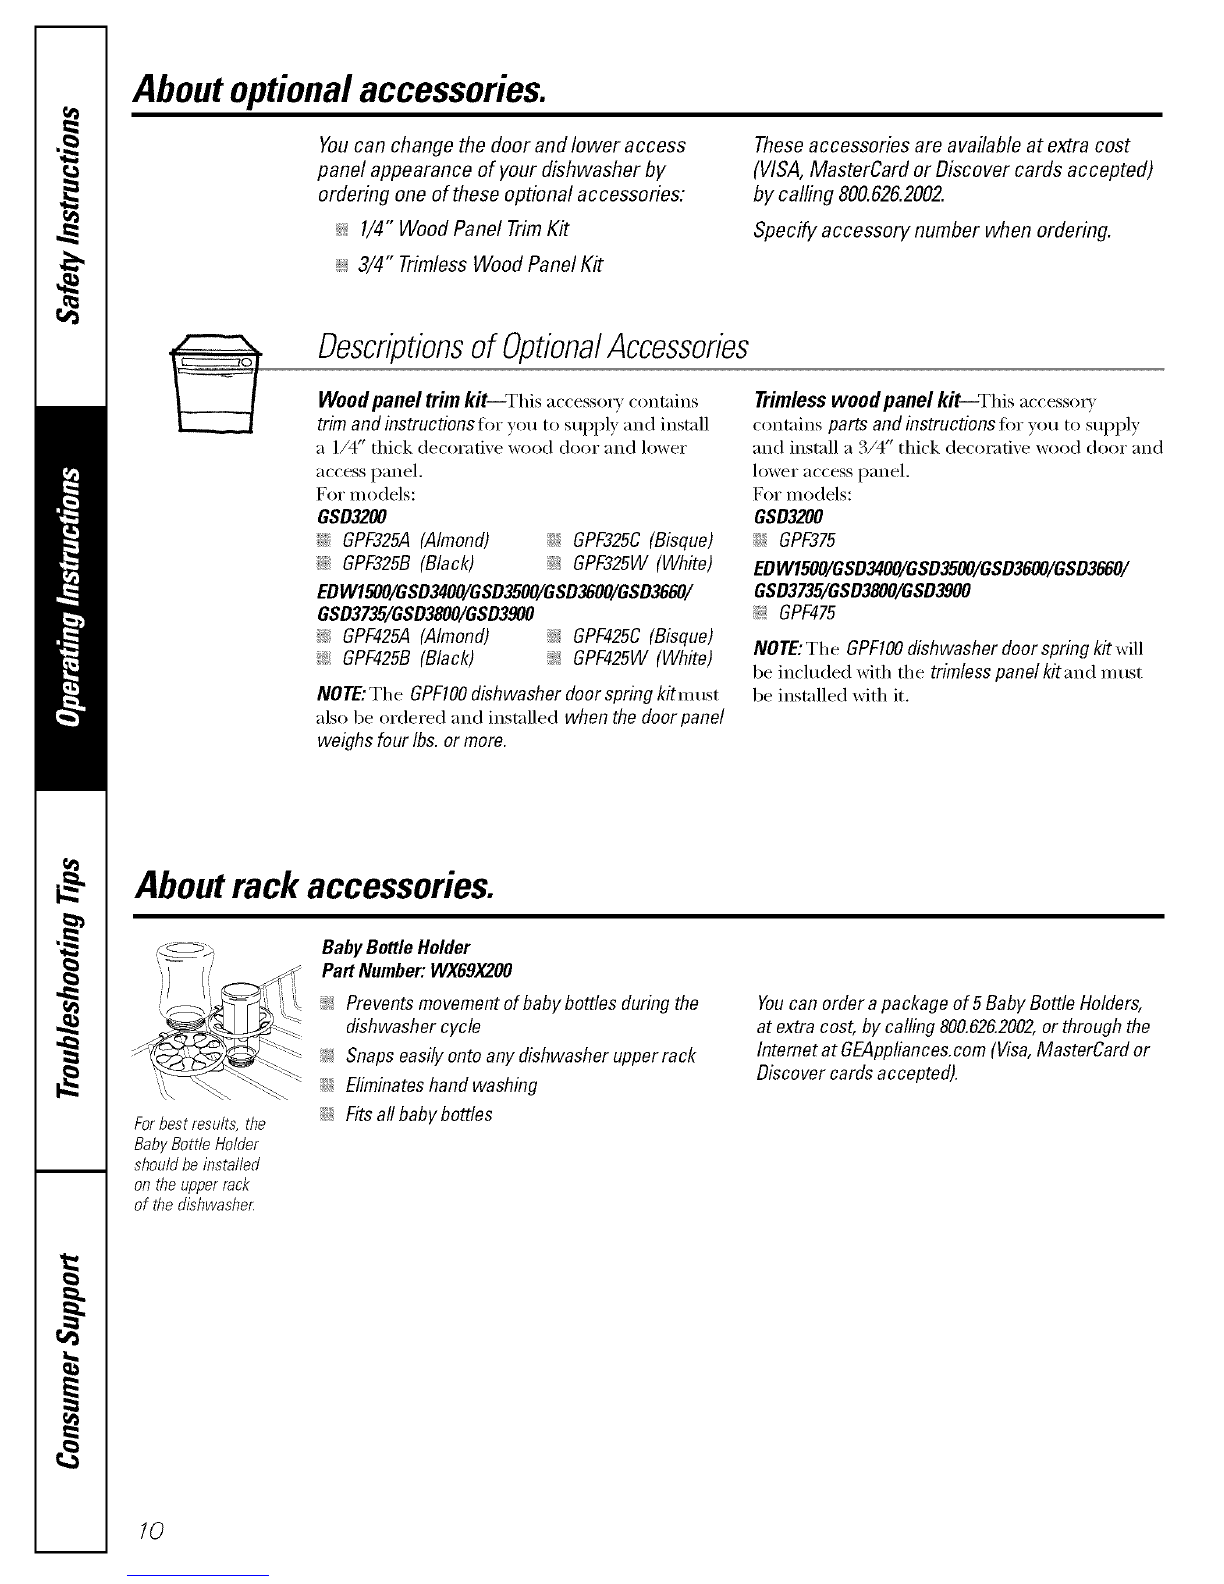
NOTE."Using a detelgent that is not specifically
designed fin" dislm_shei_ will cause the dishwasher
to fill with suds. During operation, these suds will
spill out of the dishwasher vents, coveting the
kitchen floor and making the floor wet.
Beca use so nlany detelgent containei_ look alike,
store the dishwasher detelgent in a separate space
fl'om all other cleanei_. Show anyone who may rise
the dishwasher the con'ect detelgent and where it
is stored.
_._]file there will be no lasting damage to the
dishwashei; )_ur dishes will not get clean using
a dishwashing detelgent that is not titan ulated
to wink with dishwashels.