GE GSM507 User manual

(’‘-\
f
D!!fmasher
Contents
Air Gap 14 Repair Service 15
Appliance Registration 2Rinse Agent 6
Care and Cleaning 14 Safety Instructions 3
China, Crystal, Sterling 10 User Maintenance Instructions 14
Cycle Features 5Warranty Back Cover
Detergent, Detergent Guide 6,7 Water Temperature 6
Dispenser Cups 7Winter Storage 14
Energy-Saving Tips 2
Features 4
Front Panel Color Change 15
Loading 49
Model and Serial Numbers 2
Operating Guide 4,5
Cycle Selection 5
Soil Level 7GEtktswwCbntt@
Problem Solver 11-13 m.il?wllw
Spacemaker” Model GSM507
GEQh!il’yRvduct y?” 5Y3 r

.
Help us help you...
Befoxl!usingyour (&hwashW,
read this book CtUWfi@.
It is intended to help you operate
and maintain your new dishwasher
properly.
Keep it handy for answers to your
questions.
If you don’tunderstand something
or need more help, write (include
your phone number):
Consumer Affiiirs
GE Appliances
Appliance Park
Louisville, KY40225
Wtite down the model
and serial numbers.
You’llfind them on alabel fastened
to the tub walljust inside the
dishwasher door.
These numbers are also on the
Consumer Product Ownership
Registration Cardthat came with
your dishwasher. Before sending in
this card, please write these
numbers here:
Model Number
Serial Number
Use these numbers in any
correspondence or service calls
concerning your dishwasher.
. . . . . . . .. .. .. .. ... . . ..
Energy-saw tips
fiyOU received
adamag ed dkhwasher...
Immediately contact the dealer -
(or builder) that sold you the
dishwasher.
Savetime andmoney.
Before yourequest
service ● ●
Check the Problem Solver (pages
11through 13),It lists causes of
minor operating problems that you
can correct yourself.
The power consumption of your
dishwasher can be minkixd if
you folluwthese suggestions:
.opemte dishwasher only when
it’sfull. Let the dishes accumulate
in dishwasher. When you put in
only apartial load, use the RINSE
HOLD cycle to rinse offhtxvy soils.
Be sure to latch the door when
waiting for afull load. This helps
keep soils moist, easier to remove.
●Myou don’t need your dishes right
away,use your ENERGY &SYIZll
f-ture that turns the drying heater
off automatically. Dishes dry
naturally over alonger period such
as overnight.
●Always select the cycle that us=
least amount of water that will
removethe soil from the load.
See pages 4and 5.

IMPOKIANT SAFETY INSTRUCTIONS
-Read
all instructions before usingthis appliance.
W~G—When using this
appliance, alwaysexercise basic
safety precautions, including the
following:
●Use thisappIiance only for
its intended purpose, as you
will fmd described in this Use
and Care Book.
●TM ~hwasher must be
properly installed and located
in accordance with the
Installation Instructions before
it is used. If you did not receive
an Installation Instructions sheet
with your dishwasher, you can
obtain one by contacting the
service location nearest you.
—Thisappliance must be
connected to agrounded metal,
permanent wiring system; or an
equipment-grounding conductor
must be run with the circuit
conductors and connected to the
equipment-grounding termhud
or lead of the appliance.
—Connect to aproperly rated,
protected and sized power-supply
circuit toavoidelectrical overload.
●Use only powder or liquid
detergents or wetting agents
recommended for use in a
dishwasher.
.DOnot washplastic items unless
marked “dishwasher safe” or the
equivalent. Forplastic itemsnot so
marked, check the manufacturer’s
recommendations.
●Load light plastic items so
they will not become dislodged
and drop to the bottom of the
dishwasher-they might come
into contact with the heating
unit and be damaged.
To minimize the possibility of
injury.
●When loading items to be
washed:
●
A. Locate sharp items so that
they are not likely to damage
the door seal, and
B. Load sharp knives with the
handles up to reduce the risk
of cut-type injuries.
Do not touch the heating
element during or immediately
after use.
sDo not operate your dishwasher
unless all enclosure panels are
properly in place.
●Do not tamper with controls.
●Do not abuse, sit on, or stand
on the door or dish rack of the
dishwasher.
●Close supervision is necessary
if this appliance is used byor near
children. Do not allow children
to play inside, on or with this
appliance or any discarded
appliance. Dispose of discarded
appliances and shipping or
packing material properly.
Beforediscarding adishwasher,
remove the door of the washing
compartment.
●Keep all washingdetergents
and wetting agentsout of the
Each of children, preferably in
alocked cabinet. Observe all
warnings on container labels to
avoidpersonal injury.
●~ROG~ GM is
produced by the chemical action
within your water heater. It can
accumulate in the inter heater
and/or water pipes if hot water
has not been used for aperiod of
Mweeksor longer. HYDROGEN
GASISEXPLOSIVE. Toprevent
the possibility of damage or
injury, if you havenot used hot
water for two weeks or more, or
moveinto aresidence in which
the hot water systemmay not
havebeen used for some time,
turn on all hot water fimcetsand
allow them to run for several
minutes before using any
electrical appliance which is
connected to the hot water
system, This will allow any
hydrogengas to escape. Also,
since the gas is flammable, do
not smoke or use an open flame
or appliance during this process.
SAW THESE
INSTRUCTIONS
1

How to operate your dishwasher
Steam Vent Door Latch (unlocked) Cycle Indicator Dial
,ElmEimmls~
6\
SpacemakerDishwasher
AllIIMty Prdw of flwdEktti ConpMy ‘G(?=j%, g
mm HW ON d
STEP 1. Load your dishwasher
with dishes, silverware, pots,
pans, bowls, etc. according to
instructions on pages 8and 9.
STEP 2. Add detergent to the
detergent dispenser. Make sure the
Cycle Indicator Dial is at OFF
position before adding detergent.
(See pages 6and 7.)
Use rinse aid agent to help prevent
spotting. Occasionally check to
make sure the rinse agent container
is at least half full. (See page 6.)
STEP 3. Select DRYING HEAT
Option. It must be OFF for RINSE
HOLD cycle. It can be ON or OFF,
at your option (see below), for
either of the wash cycles.
HEAT OFF
mDRYING
HEAT ON
DRYING HEAT ON. ‘lhms the
drying heater on for fast drying.
DRYING HEAT OFF (no-heat
drying). lbms the drying heater
off to saveenergy. Dishes will dry
naturally over alonger period such
as overnight.
If you need your dishes sooner,
open the dishwasher door after the
cycleis complete to reduce the
natural drying time.
Use of this option reduces the
electrical energy used by this
model approximately 7% for the
NORMAL WASHcycle.
STEP 4. Select the cycleand start
the dishwasher. See Cycle Selection
Hints on next page.
If your dishwasher drains into a
food wastedisposer, operate the
disposer until it is empty before
starting the dishwasher.
●For NORMAL WMH cycle:
a. Latch the door.
IORYING
HEAT OFF
EOWING
HEAT ON
I
b. Slowly turn Cycle Indicator Dial
to ON position to start the cycle.
Youwill hear the motor start.
There is atime delay between
start-up and water fill so you will
not hear any wash action right
away.
Toobtain the benefits of acomplete
cycle, be careful that you do not
turn the dial any further than
necessary to start the dishwasher.
●ForLIGHT WASHcycle:
a. Be sure door is unlatched.
‘IGHT,qif$.:fB
ORYING HEAT ON
—
b. Slowly turn Cycle Indicator Dial
to LIGHT WASHposition.
c. Latch door to start the cycle.
●ForRINSE HOLD cycle:
a. Be sure door is unlatched.
b. Select DRYING HEAT-OFF
drying option.
‘lGHT,?@,t’J~
DRYING HEAT ON
c.
d
Slowly turn Cycle Indicator
Dial to RINSE HOLD position.
Latch the door to start the cycle.

Cycleselection hints
It is important to follow the loading
instructions on pages 8and 9.
NORMAL WASH—For most loads
of everyday dishes, glasses and
cookware with medium soils.
LIGHT WASH—For dishes
that havebeen pre-rinsed before
loading. Also, for washing very
lightly soiled dishes with soils
that have not dried on.
RINSE HOLD—For rinsing partial
loads which will be washed later.
Select DR~G HEAT OFF drying
option. Do not use detergent.
What happens in each cycle
●You’llhear occasional clicking ●During the drying period:
sounds: —Themotor stops.
—Softfood disposer shredding —Watervapor comes through the
action. vent bythe door latch during
—Drain valve opening to pump drying and when water is being
water out.
—Timercontrol as cycle
*progresses.
—Detergent cup opening.
+,
~
NORMAL WMH 12.1
LIGHT WASH 10.3
RINSE HOLD 3.6
pumped out.
Wash
Cycle Time
Minutes
(approx.) Cycle Sequence
56 ~FIHRIFIF=lFl
51 FIFIEIHFIFI
10 Rinse Rinse
DryingOptions:
DRYING HEAT ON. Available on all wash cycles except RINSE HOLD, Add 29 minutes to wash
cycle time.
DRYING HEAT OFF. Drying heater is turned off. Dishes dry naturally.

Good dishwashing starts
with H(YI?water.
Toget dishes clean and dry you
need hot water. Tohelp you get
water of the proper temperature,
your dishwasher automatically
heats the water in the wash cycle.
For good washing and drying, the
entering water must beat least
120”F.Toprevent dish damage,
inlet water should not exceed 150°F.
How to test water temperature:
Check the water temperature
inside your dishwasher with a
candy or meat thermometer.
Let the dishwasher run through
one fill and pump out cycle, then
let the dishwasher fill with water
the second time.
When you hear the water stop
filling, unlatch the door and slowly
open it.
Measurethe temperature of the water
in the bottom of the tub this way:
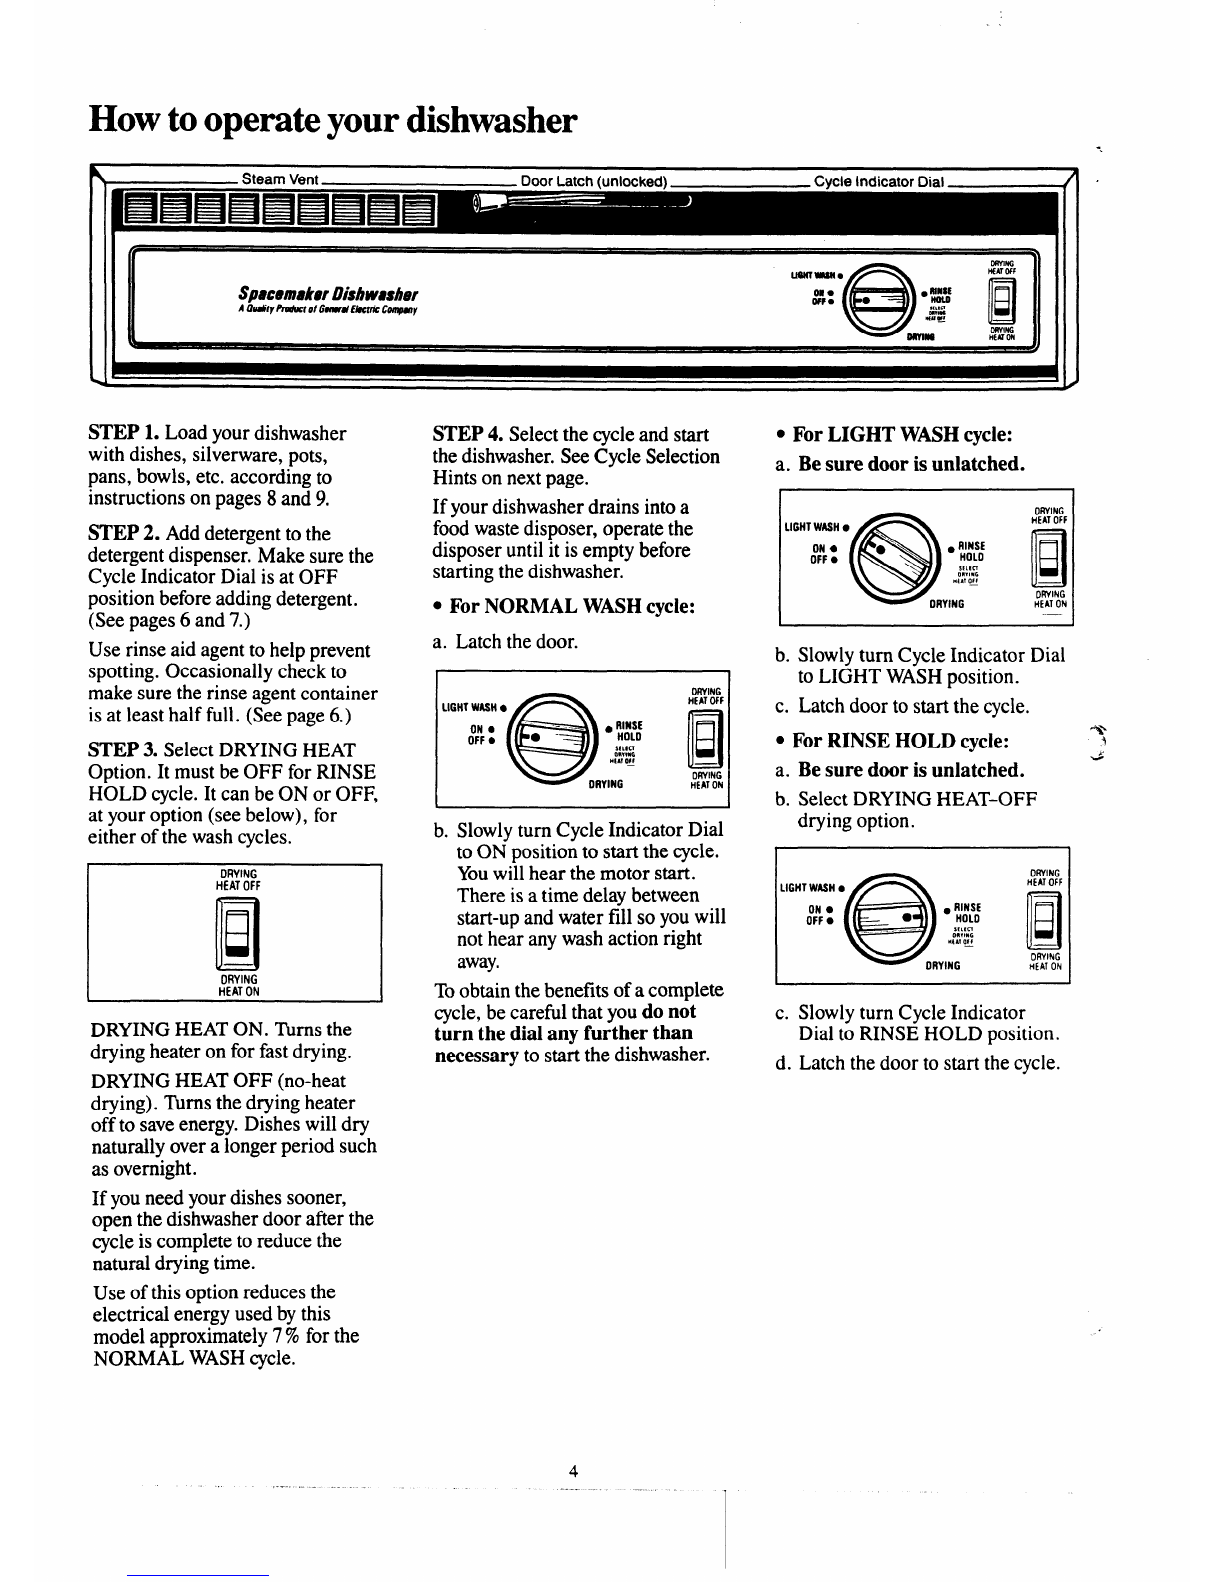
Remove the silverware basket and
Place acandy or meat thermometer
;n the water towards the middle of
the tub. If the temperature is less
than 120”F,you will not get good
washing results. Higher water
temperature is needed to dissolve
grease and activate powder
detergents.
Helpful hints: If outside
temperatures are unusually low,or
if your water travels along distance
from water heater to dishwasher,
you may need to set your water
heater’s thermostat up. If you have
not used hot water for some time,
the water in the pipes will be cold.
Turn on the hot water faucet at the
sink and allow it to run until the
water is hot. Then start the
dishwasher. If you’verecently
done laundry or run hot water for
showers, give your water heater
time to recover before operating the
dishwasher.
Toimprove washability if the water
is less than 120°Fand you cannot
adjust your water heater: Select a
longer cycleand fill both detergent
cups at leasthalf-fill with detergent.
Howto use arinse agent.
Arinse agent makes water flow
off dishes quicker than usual. This
lessens water spotting and makes
drying faster, too.
For best dishwashing performance,
useofarinse agentsuchas JET-DRY
brand is recommended.
Rinse agents come in either liquid
or solid form. Yourdishwasher’s
dispenser uses the liquid form.
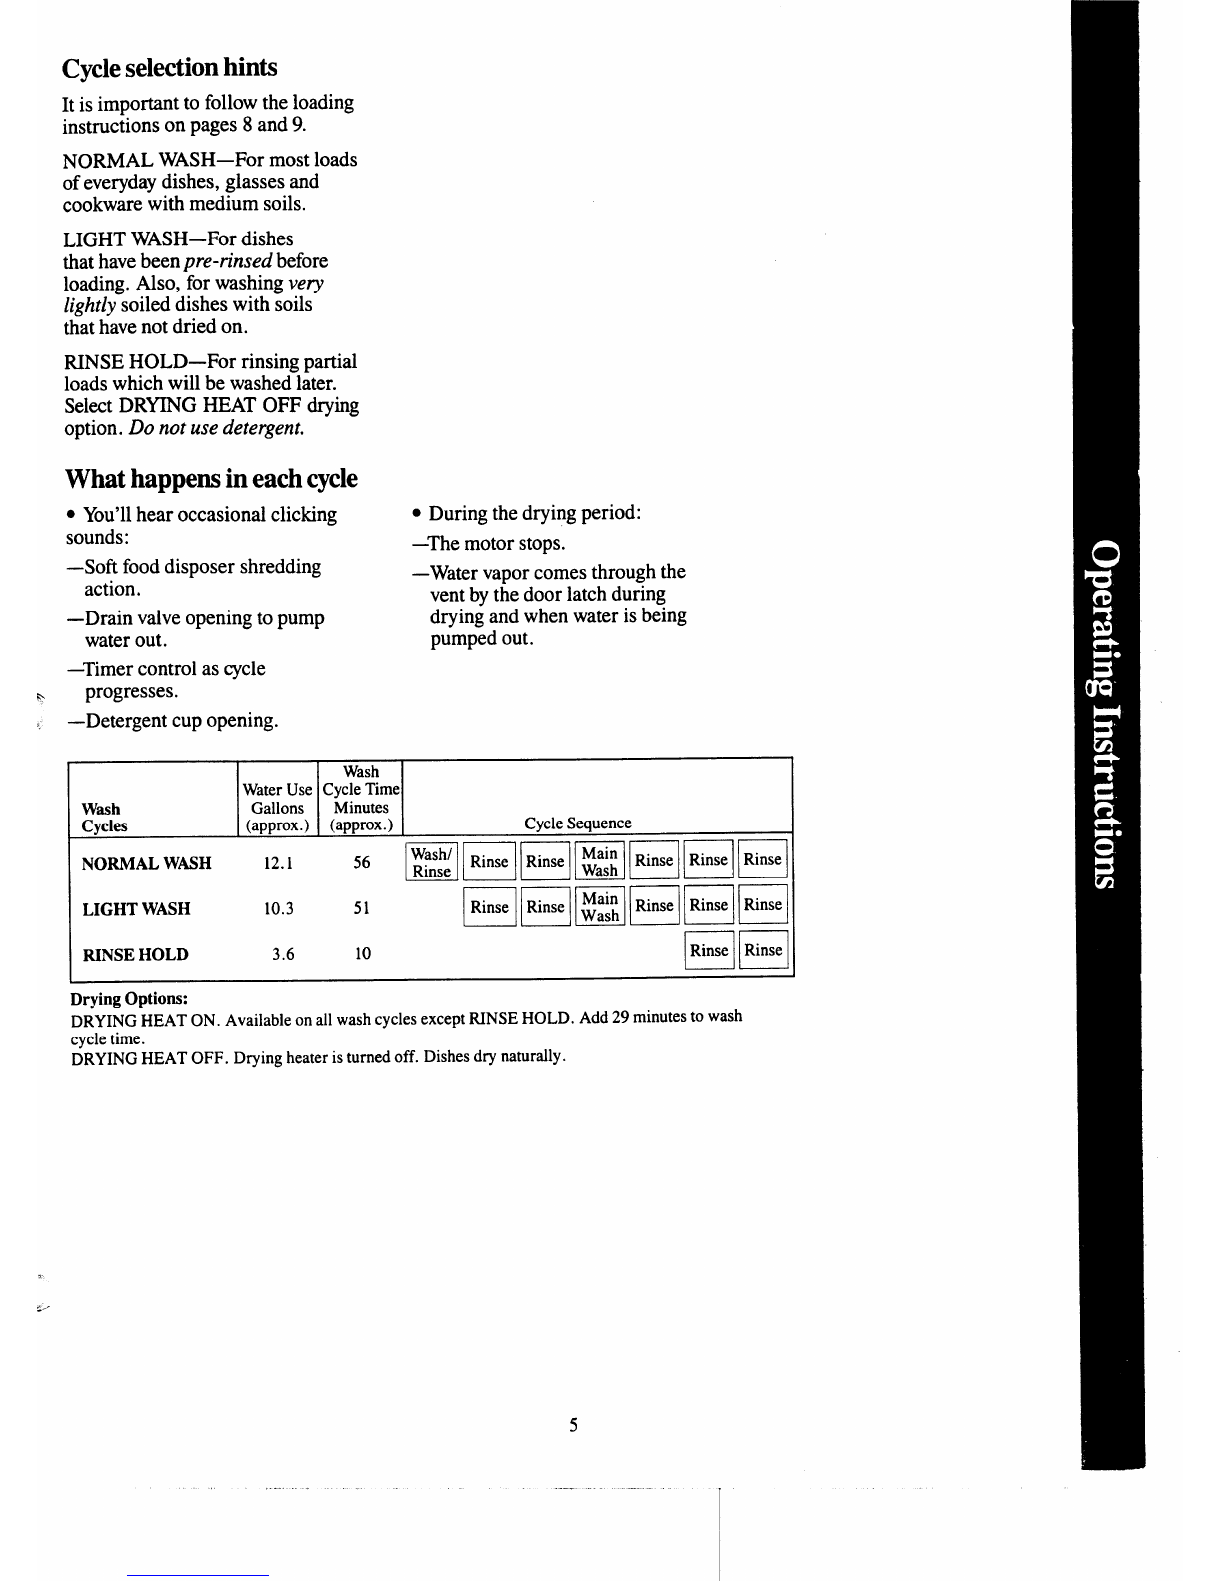
How to fill the rinse agent
dispenser. Unscrew the cap. Add
the liquid rinse agent until itjust
reaches the bottom of the lip inside
the dispenser opening. Replace the
cap. The dispenser automatically
releases the rinse agent into the
final rinse water.
If you accidentally spill: Wipe
up the rinse agent with adamp
cloth. Don’t leavethe spill in the
dishwasher. It can keep your
detergent from working.
If you can’tfind any rinse agent,
write:
BENCKISER CONSUMER
PRODU~S, INC.
(“JET DRY”)
411W. Putnam Ave.
Greenwich, CT’06830
Yourdishwasher’s rinse agent
container holds 4% ounces. This
should last about 3months. Fill
as needed. Do not overfill.
Howto choose and use
detergent. .
First, use only powder or liquid
detergents specifically made for
use in dishwashers. Other types
will cause oversudsing.
Second, check the phosphate
content. Phosphate helps prevent
hard-water materials from forming
spots or film on your dishes. If your
water is hard (7 grains or more),
your detergent has to work harder.
Detergents with ahigher phosphate
levelwill probably work better. If
the phosphate content is low (8.7%
or less), you’ll haveto use extra
detergent with hard water.
Yourwater department can tell
you how hard your water is. So
can your county extension agent.
Or your area’swater softener
company. Just call and ask them
how many “grains of hardness”
there are in your water.
How much detergent should you
use?That depends. Is your water
“hard” or “soft”? With hard water,
you need extra detergent to get
dishes clean. With sofl water, you
need less detergent.
Toomuch detergent with soft water
not only wastes money, it can be
harmful. It can cause apermanent
cloudiness of glassware, called
“etching.” An outside layerof glass
is etchedaway!Of course, this takes
some time. But why take achance
when it’seasy to find out the
hardness of your water.
Keep your detergent fresh and
dry. Under the sink isn’tagood
place to store detergent. Toomuch
moistu~. Don’tput powderdetergent
into the dispenser until you’re
ready to wash dishes, either. (It
won’tbe fresh OR dry.)
If your powder detergent gets old
or lumpy, throw it away.Itwon’t
wash well. Old detergent often
won’tdissolve.
If you use aliquid dishwasher
detergent, these precautions are not
necessary because liquid detergents
don’t “lump” as they age or come
in contact with water.

You’llfind two detergent
dispensers on the inside door of
your dishwasher. There are two,
because some cyclesusetwowashes.
See “DetergentUsageGuide’’below.
(Besure the Cycle Indicator Dial
is at OFFposition before adUing
detergent. Otherwise, the deteqent
cup lid will not close and latch
properly)
How to prepare the
dishes for washing
If this is your first dishwasher, or
if you’rereplacing amuch older
model, you may wonder how much
preparation your dishes need.
Actually very little. Pre-rinsing of
normal f~ soils is not necessary.
Wkh common sense and alittle
practice, you’ll soon know what
f~s to remove. Here are some
guidelines:
1. Scrapeoff bones, seeds, skins,
toothpicks and other hard solids, It
is also best to remove hard shelled
vegetables, meat trimrmn
“gs, leafy
vegetables and crusts. Remove
excessive quantities of oil or
grease.
2. Remove large quantities of any
food. Yourdishwasher has abuilt-in
soft food disposer that pulverizes
softfd bits and flushes them away.
It can handle small amounts of
soft fds, but large amounts will
be difficult to handle.
Always close the main cup tightly.
When it isflnnly latched, you w“ll
hear aclicking sound. Do not
overtighten.
NOIE Deteqent cupmaybe opened
manually withno harm fim handle
counterclockwise until it releases.
Asnapping sound is normal when
it opens.
Detergent Usage Guide (powderor liquid)
3. Trytoremovefoodscrapsand
place dishes in dishwasher before
soil has achance to dry and become
hard. Dishes with dried-on soil are
more difficult to wash and may
not come clean in the NORMAL
WASHcycle. Remember to use
your RINSE HOLD cycle for small
“holding” loads.
Note: The foods mentioned here
are for examples only. Other foods
not mentioned may also need to be
removed from your dishes. You
may also wantto consider removing
fds such as mustard, mayonnaise,
vinegar, lemonjuice and other foods
that can cause discoloration of
stainless steel if allowed to remain
on dishes for along period of time.
(O-3grains hardness) (3-7grains) (7-12grains*)
CYCLES Main Cup$ IOpen Cup* Main Cup$ IOpen Cup$ Main Cup~ IOpen Cup*
NORMAL WASH~cle 1‘lhblespoon ~1lhblespoon Half Full :Half Full Completely J Completely
minimum minimum Full Full
LIGHT WASHcycle 1Tablespoon None Half Fu~ None ~:l~pletely None
minimum
RINSE HOLD cycle Usenodetergent Use nodetergent Usenodetergent
12grains and up is extremely hard water. Awatersof?eneris recommended. Without it, $Filled Main Cup holds 3 tablespoons;
lime can build up in water valve. Water valve may stick while open and cause flooding. Filled Open Cup holds 2 tablespoons.

How toload your dishwasher Howtoload the TOPRACK
This is arandom mixed load, the most common type you
will have.
Make sure dishes are properly loaded to insure that
water can reach the soiled surfaces. The wash arm in the
bottom sprays waterup. Thetowerthat risesinthe
center sends water out over the dishes to wash the items
in the upper rack.
WAXH OUT FOR THIS.
The wash tower rises through the center ofthe bottom
rack during the wash and rinse portions of the cycle.
Don’tblock it or load tall things next to it. Also, be
careful not to let portion of an item such as apot or dish
handle extend through the bottom rack. This could
block the wash,arm and cause poor washing results.
Place tall glasses, mugs, tumblers and stemware in the
deep front section. The shallow rear section is ideal for
cooking and serving utensils. Make sure that all
items—front and rear sections—do not extend abovethe
side wires of the rack. Arrange stemware so that It
cannot move easily. Don’t let glasses touch each other.
This rack is ideal for dishwasher-safe plastics. Load
small shallow items in the rear section; larger, deeper
bowls in front section. If loading plastic tumblers in
deep front section, be sure that each plastic tumbler is
secured overtwo fingers.

Howtoload the BOTTOM RACK
f-
.’
...
Fit plates and saucers between the pins. Place items so
tha~water and detergent from wash arm can reach soiled
surfaces.
L
m
Put flatware in the removable basket with handles up to
protect your hands. Mix knives, forks and spoons so
they don’t nest together. Distribute evenly.Small plastic
items, such as measuring spoons and lids from small
containers are not recommended for automatic
dishwashing. If placed in dishwasher, they should go in
bottom of silverware basket with silverware on top.
Pots, pans, casseroles, salad bowls, mixing bowls and
lids must be loaded in the bottom rack, facing down.
Don’
item
through bottom. I
Precaution!
Takeout anything that may fallor extend through the
bottom of the basket.

What you can usually wash safely in your dishwasher.
And what you can’t.
Usually
Material Safe Exceptions (not safe) Speeial Instructions
Aluminum YES Some colored anodized Some darkening or spotting possible. Remove by
aluminum can fade. scouring with soap-lllled steel wool pads.
China} YES Antique, metal-trimmed,
Stoneware Ifindoubt, check with the manufiicturer. Or test wash
hand-painted or over-the-glaze one pieee daily for at least amonth. Compare with the
patterns fade. rest of the set.
Goid leaf will discolor.
crystal YES Antique, metal-trimmed or Load securely to prevent movement.
hand-painted patterns fade. Check your manufacturer’s instructions for your crystal.
Gold leaf will discolor.
Non-dishWare NO Donot wash in dishwasher. Damage to dishwasher
items—such anddiscoloration
or staining of dishwasher may result.
as electronic
aircleaner
filters,furnace
filters,paint
brushes, etc.
Glass YES Milk Glass may yellow.
Iron NO Iron will rust.
Pewter NO Pewter tarnishes.
Plastics YES If it doesn’t say DISHWASHER SAFE, test one piece in
the top rack before dishwashing an entire set. Wash in
top rack Ody.
Stainlesssteel YES Rinse if not washing immediately. Salty or acid fbods
can stain if left on.
SterlingSilver YES Don’tput in same silverware Rinse if not washing immediately. Salty or acid fds can
andSilverplate basket with stainless steel. stain if left on. Dry detergent can cause difficult-to-remove
Contact between metals can black spots. Place in back section of silverware basket to
damage silver. avoidexposure to detergent from the detergent cup.
Don’t wash copper utensils in
the same load. Silver may get a
brown film.
Adhesive used to attach some
hollow-handle knives can loosen.
Non-stick YES Atler washing, wipe the non-stick coating area with
coatings vegetable oil to keep it from losing its non-stick quality.
Tin NO Tin can rust.
wood NO Woodcan warp, crack or lose
its finish with any type washing.
Forgetadish?Here’swhen
you-canadd it.
Add dishes any time during the
RINSE HOLD cycle. With other
wash cycles, you can add dishes at
anytimeBEFORE themaindetergent
wash portion of the cycle.
However, opening the door during
any cyclelessens cleaning power
because the temperature inside the
dishwasher is lowered. So try to
load everything at the beginning.
Here’show to add aforgotten dish:
1. Push the door latch to the left.
Washing will stop.
2. Waitafew seconds until the
water calms. Then open the door.
3. Adddishes you’ve forgotten.
4. Close the door and push the
latch to the far right. When the
door is locked, washing will
continue.

~Questions?
mUse This Problem Solver
—.
PROBLEM POSSIBLE CAUSEAND REMEDY
DISHWASHER Afuse in your home maybe blown, or the circuit breaker tripped. Replace fkse or
WON’T RUN reset circuit breaker. Remove any other appliances from the circuit.
UNUSUAL NOISE Utensils may not be secure on rack pins, or something small may havedropped from
the rack. Wateris causing utensils to rattle. Make sure everything is securely placed
in dishwasher.
DISHES DON’T DRY Make sure inlet water temperature is correct. (Seepage 6.)
Unload the bottom rack first. Waterfrom dishes in the top rack maybe spilling into the
bottom rack.
Check for improper loading. Dishes shouldn’t nest together. Avoidoverloading.
Check the rinse agent dispenser to see that it’snot empty.
UNCLEAN DISHES Check inlet water temperature. It should be at least 120°F.(Totest, see page 6.)
AND FLATWARE Toobtain the benefits of acomplete cycle, be carefbl that you do not turn the dial any
further than necessary to start the dishwasher.
Waterpressure may be temporarily low. lb-non afaucet. Is watercomingoutslower
thanusual?If so, wait until pressure is normal before using your dishwasher.
Plugged air gap. (See page 14.)
Improper rack loading. (Seepages 8and 9.)
BLACK OR GRAY Aluminum deposits often leavemarks when they rub against other things. Remove
MARKS ON DISHES marks with amild abrasive cleanser.
DETERGENT LEFT Watermay not be reaching the detergent cups. Move dishes that maybe blocking
IN DISPENSER CUPS detergent cup.
The dispenser cover may not be opening or may be blocked by improperly loaded
items. If you used apowder detergent, open the cup and remove any caked-on
detergent. If the cup still doesn’t open automatically, call for service.
Detergent may be old. If the powder detergent is hard or caked in the box, throw it
away.The detergent may not be working well. Try another brand.
—..
DETERGENT CUP Cycle Indicator dial must be in OFF position for cup lid to close and latch properly.
LID WON’T LATCH If you unlatch the door and open it to dry your dishes, the Cycle Indicator does not
AFTER ADDING advance to OFF by itself.
DETERGENT
YELLOW OR BROWN Teaor coffee can stain cups. Remove the stains by hand, using asolution of 1/2cup
FILM bleach and 3cups warm water.
An overall yellow or brown film on dishes or glassware can be caused by iron deposits
in water.Aspecialfilterin the watersupplyline is the only wayto correctthis problem.
Yourwater softener company can tell you about the filter.
Yellowfilm on sterling silver results when you wash copper utensils in the same load.
Silver polish will usually remove this stain. .

The Problem Solver(continued)
PROBLEM POSSIBLE CAUSEAND REMEDY
IPOTSAND FILMING Spotting can be caused by all these things:
3N GLASSES AND
?LATWARE ●Extremely hard water. (See page 6.)
●Low inlet water temperature. (Totest, see page 6.)
●Overloading the dishwasher.
●Improper loading. (See pages 8and 9.)
●Old or damp powder detergent.
.Phosphate level in detergent too low. (See page 6.)
.Rinse agent dispenser empty. (Seepage 6.)
●Toolittle detergent. (See pages 6and 7.)
Local water conditions and personal preferences vary.Try several brands of detergents
to find one that gives the best results for you. Aliquid dishwashing detergent may help
reduce filming.
Toremovestubborn spots and film from glassware:
1. Removeall metal utensils from the dishwasher.
2. Do not add detergent.
3. Start the dishwasher (use NORMAL WASHcycle)and allow to run for Hto 20
minutes. The dishwasher will now be in the main wash.
4. Then open the door and pour 2cups (500 ml) of white vinegar into the bottom of
the dishwasher.
5. Close the door and allow to complete the cycle.
If vinegar rinse doesn’t work: Repeat as above, except use 1/4cup (60 ml) of citric
acid crystals instead of vinegar. (Most drugstores carry citric acid crystals. If yours
doesn’t, call GE Factory Service.)
Using avinegar or citric acid crystal rinse more than twice amonth? Consider ahome
water softener.
CLOUDINESS ON If vinegar or citric acid crystal rinse doesn’t work, the cloudiness is “etchingV The film
GLASSWARE cannot be removed.
It can be prevented: Use less detergent if you have sofi water. Washglassware in the
shortest cyclethat will get them clean.
Watertemperature entering dishwasher exceeds 150”F.
CHIPPING OF CHINA Rough handling can cause chipping. Load with care. Make sure glassware and china
are secure and can’tjar loose. (See page 8for correct wayto load glassware.) Make
sure tall glasses and stemware will clear the top of the tub when you push the rack into
the dishwasher.
Alwaysuse the top rack for delicate items.

PROBLEM POSSIBLE CAUSEAND REMEDY
SMALL AMOUNT OF Wateraround the outlet on the tub bottom at the back of the tub is normal. It is clean
WATERSTANDING water. It’sthere to keep the water seal lubricated.
IN THE BCXMOM
OF THE TUB
WATERWON’T PUMP If the entire bottom of the tub has water, you may haveadrain problem. Clean the air
OUT OF THE TUB gap, if you haveone. (See page 14.)
Check the kitchen sink. Is it draining well? Youmay need aplumber.
If dishwasher drains into disposer, run disposer to clear. Be sure disposer is not
clogged.
SUDS IN THE TUB Sudsing detergents are not meant for dishwashers. USE ONLY AUTOMATIC
DISHWASHER DETERGENTS ‘K)AVOIDSUDSING.
Toremovesuds from the tub: Open the dishwasher. Let suds evaporate. Add 1gallon
of cold water to the tub. Close and latch the dishwasher. Pump out water by slowly
turning the control dial until adrain period is reached.
Repeat if necessary.
DISHWASHER LEAKS Suds can cause unit to overflow. That’s why it’sso important to use adetergent that’s
designed for automatic dishwashers.
Spilling the rinse agent can cause foam during washing. This can lead to overflowing.
Wipe up accidental spill of rinse agent with adamp cloth.
L
If you need more help.. call, toll free:
GE Answer Center@
800.626.2000
consumer information service
4)
\

Care and Cleaning
USER MAINTENANCE
INSTRUCTIONS
Clean the control panel with a
lightly dampened cloth. Dry
thoroughly. Donot use abrasives
or sharp objects on the panel.
They can damage it.
Clean the outside with agood
appliance polish wax. The outside
cabinet finish is durable, but it can
scratch. So use no scouring pads,
harsh or gritty cleaners.
Appliance Polish Wax&Cleaner
(Cat. No. WR97X216)is available
from GE/Hotpoint Appliance
Parts Marts.
The inside usually takes care of
itself. If it should ever need
cleaning, use amild cleansing
powder. Scouring pads and harsh
cleaners can mar the finish.
Built-in dishwashers
often use an air gap.
Keepit clean.
An air gap is aplumbing device.
It protects your dishwasher against
waterbacking up into it if adrain
clogs. The air gap is not apart of
the dishwasher. And you may not
evenhave one. Not all plumbing
codes require air gaps.
TWO TYPES
OF AIR GAPS 1’Mf~ III
If you have an air gap, check it
at least once amonth. IT IS N~
PARTOF YOUR DISHWASHER.
IT IS N~ COVERED IN YOUR
WARRANTY.
The air gap is easy to clean. With
most types, firstturn off dishwasher,
then lift off chrome cover. Then
unscrew plastic cap and check for
anybuildup of grit. Atoothpick
makes cleaning easy.
%-
Notusingyour dishwasher “
in winter?Protect against
freezing.
If your dishwasher is lefi in an
unheated place during the winter,
ask aservice technician to:
●Cutoff electric power to
dishwasher. Remove fuses or
trip circuit breaker.
●‘llm off water supply.
●Disconnect water inlet line from
water valve.
●Drain water from inlet line and
water valve. (Use apan to catch the
water.)
●Reconnect water inlet line to
water valve.
●Removethe plastic pump cover
in tub bottom and use asponge to
soak up water in the rubber boot.
, ,
IPUMP COVER, SCREWS I
Check the air gap any time your
dishwasher isn’tdraining well.
...
.)

How to change color panel
\
;If you are redecorating, you can
change your dishwasher’s front
panel to match or blend with your
new colors.
The door panel is held in place by
the door trim. Each side ofthe
panel is adifferent color. Or you
can paint apanel with the color of
your own choice.
How to change door panel insert:
1. T!akeout three trim screws on
either side of the dishwasher door.
Remove the side trim.
2. Slide out the insert panel.
3. Put the color you want in front.
(Carefhl-edges maybe sharp.)
4. Replace insert panel, side trim
and screws.
Note: Do not operate dishwasher
while changing door panel insert
or when lower access panel is
Tremoved.
/
*,
-1
Awood panel trim kit contains
trim and instructions for adding a
decorativewooddoor panel or lower
access panel to match kitchen
cabinets. The kit is available at no
extra cost. (Specify GPF 40.)
Orderfrom:
GE Appliances
c/o Dri-ViewManufacturing
4706Allmond Ave.
Louisville, KY 40209
Change color in minutes. Just
removetrim and change.
If you need service
Toobtain service, seeyour warranty
on the back page of this book.
We’reproud of our service and
want you to be pleased. If for some
reason you are not happy with the
service you receive, here are three
steps to follow for fhrther help.
FIRST, contact the people who
serviced your appliance. Explain
why you are not pleased. Inmost
cases, this will solve the problem.
NEXT, if you are still not pleased,
write all the details-including
your phone number—to:
Manager, Consumer Relations
GE Appliances
Appliance Park
Louisville, Kentuclq 40225
FINALLY, if your problem is still
not resolved, write:
Major Appliance
Consumer Action Panel
20 North WackerDrive
Chicago, Illinois 60606

YOUR GENERAL ELECTRIC AUTOMATIC DISHWASHER
WARRANTY .
Save proof of original purchase date such as your sales slip or cancelled check to establish warranty period.
WHAT IS COVERED FULL ONE-YEAR WARRANTY This warranty is extended to
For one year from date of original the original purchaser and any
purchase, we will provide, free of succeeding owner for products
charge, parts and service labor purchased for ordinary home use
in your home to repair or replace in the 48 mainland states, Hawaii
any part of the dishwasher that and Washington, D.C. In Alaska the
fails because of amanufacturing warranty is the same except that it is
defect. LIMITED because you must pay to
ship the product to the service shop
or for the service technician’s travel
costs to your home.
All warranty service will be provided
by our Factory Service Centers or
by our authorized Customer Care”
servicers during normal working
hours,
Look in the White or Yellow Pages
of your telephone directory for
GENERAL ELECTRIC COMPANY,
GENERAL ELECTRIC FACTORY
SERVICE, GENERAL ELECTRIC-
HOTPOINT FACTORY SERVICE or
GENERAL ELECTRIC CUSTOMER
CARE@ SERVICE.
WHAT IS NOT COVERED ●Service trips to your home to
teach you how to use the product.
Read your Use and Care material.
If you then have any questions
about operating the product,
please contact your dealer or our
Consumer Affairs office at the
address below, or call, toll free:
GE Answer Center@
800.626.2000
consumer information service
●Improper installation.
If you have an installation problem i
contact your dealer or installer.
You are responsible for providing
adequate electrical, plumbing and
other connecting facilities.
●Replacement of house fuses or
resetting of circuit breakers.
●Cleaning or servicing of air gap
device in drain line.
●Failure of the product if it is used
for other than its intended purpose
or used commercially.
●Damage to product caused
by accident, fire, floods or acts
of God.
WARRANTOR IS NOT RESPONSIBLE
FOR CONSEQUENTIAL DAMAGES.
Some statesdo not allow the exclusion or limitation of incidental or consequential damages, so the above limitation or exclusion
may not apply to you. This warranty gives you specific legal rights, and you may also have other rights which vary from state to state.
To know what your legal rights are in your state, consult your local or state consumer affairs office or your state’s Attorney General.
Warrantor: General Electric Company
If further help is needed concerning this warranty, write:
Manager—Consumer Affairs, GE Appliances, Louisvifie, KY 40225
EEEEElll.8g GSM507
..... . . ... . . .. .- ,
Table of contents
Other GE Dishwasher manuals

GE
GE EDWSO00 Series User manual

GE
GE GLD7400R User manual

GE
GE Monogram ZBD3500 User manual

GE
GE GDT550HGD How to use

GE
GE Cafe CDWT280VSS Assembly instructions

GE
GE Appliances GSD4410 User manual

GE
GE Spacemaker GSM603 User manual

GE
GE Profile CDW9000 Series User manual

GE
GE 206C1559P195 User manual

GE
GE Built-In Dishwasher User manual